
Target setting & tracking at KPI level
This page provides you with information on target setting and tracking them through charts.
You can set a target for a KPI and dimension and track it through the reports associated with the same KPI and dimension. For example, you can set a target sale amount at the store level and then track the status of the sale through the reports that have the same KPI and dimension.
Setting target
To set a target value for a KPI, perform the following:
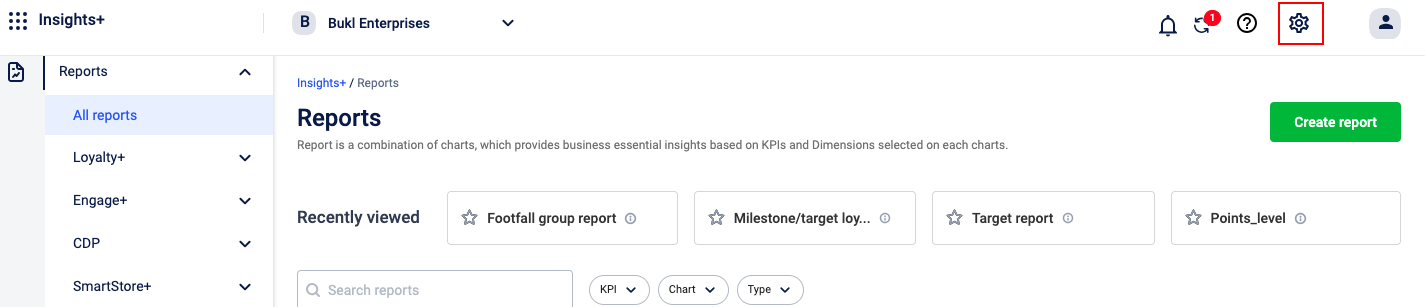
- From the home page, click the settings icon.
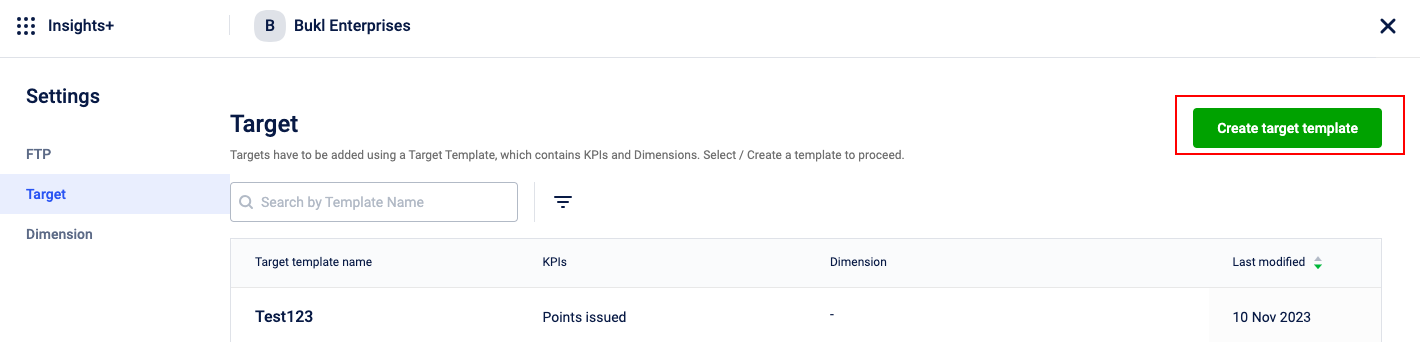
- On the Settings page, select Target and click Create target template.
- In the Template name field, enter a name for the target template.
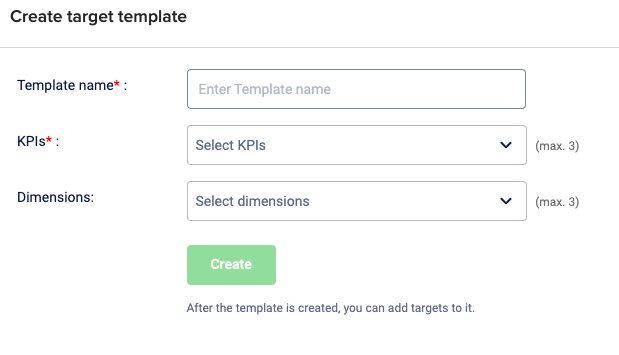
- From the KPI drop-down, select the KPI for which you want to set a target. You can select up to a maximum of three KPIs.
- From the Dimensions drop-down, select the dimensions. You can select up to a maximum of three dimensions.
- From the target templates list, select the the template.
- Click Download target template.
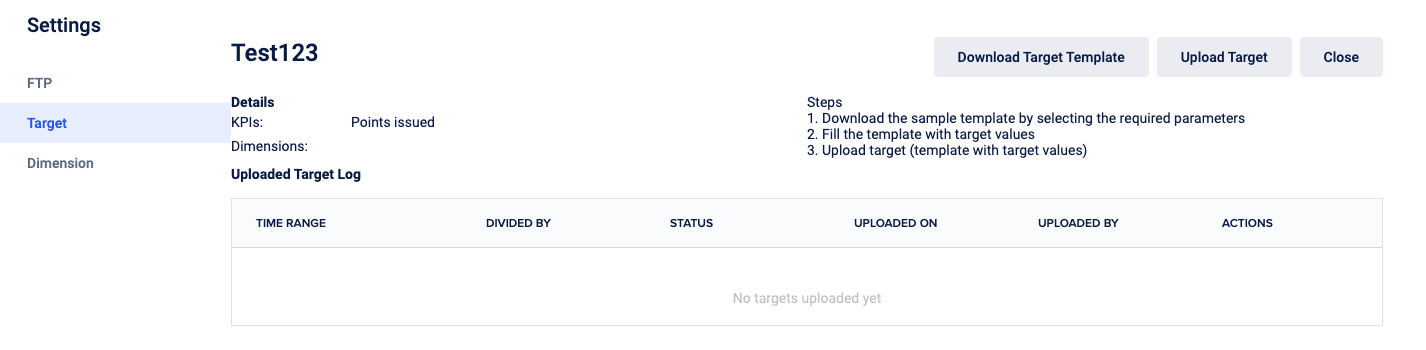
- In the template, enter the target values.
- Click Upload Target and upload the template.
The target for the selected KPI and dimension is set and ready to track.
Tracking target
To track the targets that you have created, perform the following:
- Create a chart using the same KPI and dimension that you used to set the target. For information on creating a chart, refer to the documentation on creating charts.
- Add the chart to a report. For information on adding a chart to a report, refer to the documentation on reports.
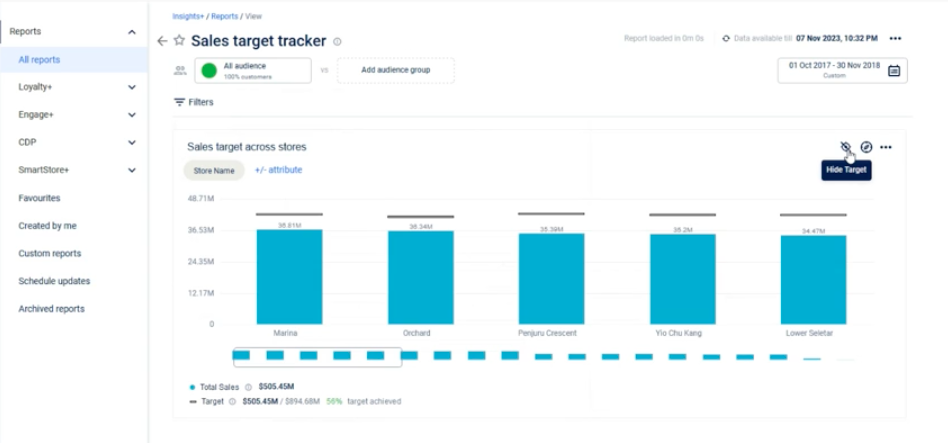
- From the Reports, open the report with the KPI and dimension that you used to configure and create the target and filter the dates accordingly.
The chart displays the target values. You can use the hide/view icon to view or hide the target from the chart.
Updated 5 months ago