
Getting Started
This section covers essential concepts, setup prerequisites, access roles, application setup steps, and internationalization, enabling you to get started with Vulcan.
Terms and Abbreviations
UI: User Interface
UX: User Experience
UAT: User Acceptance Testing
CLI: Command Line Interface
SDK: Software Development Kit
TDD: Test-Driven Development
QA: Quality Assurance
API: Application Programming Interface
GTM: Google Tag Manager
GA: Google Analytics
Global Application: Applications accessible to all organizations. They are not editable after creation.
Native Application: Applications accessible to a specific organization shareable with other brands.
External Application: Applications developed as standalone React projects with Capillary UX dependencies. [Currently Unsupported]
InTouch: InTouch is a platform designed to manage various aspects of an organization, including user onboarding, role-based access, and organizational structure.
Cluster: InTouch is deployed in different clusters. They are EU, India, APAC2, SG, CN and US.
Prerequisites
Before setting up your application on Vulcan, ensure that you have the following prerequisites:
- Mac or Linux system.
- Node.js 14 (preferably using nvm).
Tip
You can also install npm using the following command:
curl -o- <https://raw.githubusercontent.com/nvm-sh/nvm/v0.39.1/install.sh> | bash
- React 16 with Webpack 5
- Vulcan module for your organization.
Note:
For access, raise a JIRA request to the Capillary UI team.
- User access to Vulcan UI.
- Read-only npm token for the Capillary organization NPM registry:
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 - Vulcan setup script with execution permissions.
Note:
The setup script is used to automate the setup of a Vulcan application executing a few tasks.
The setup script does the following:
- Requests npm token.
- Configures npm settings.
- Runs the command to create the Vulcan application with the provided name.
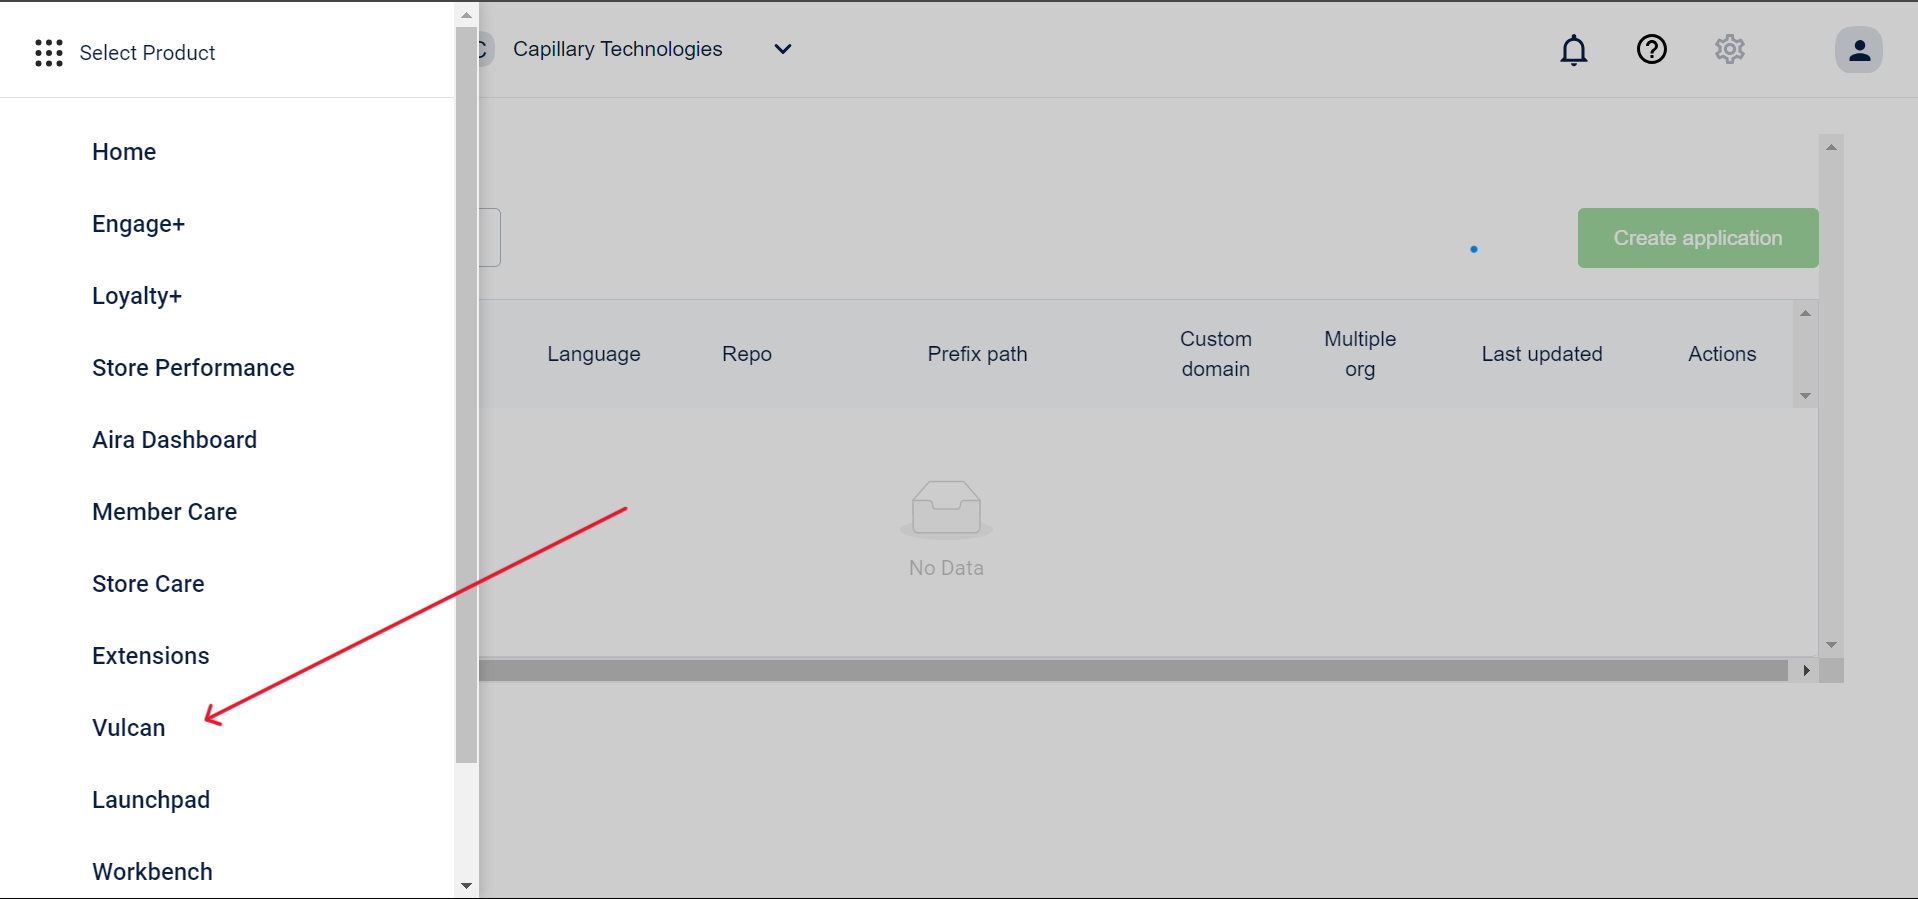
Accessing Vulcan UI
The Vulcan UI lets you access and manage your applications within the Vulcan platform. Users have different permission levels to view and access Vulcan applications. For information on the access roles, refer to Access Roles.
To access the Vulcan UI, follow these steps:
- On the InTouch portal, click on Home on the left-hand corner.
- Select Vulcan from the side bar menu.
Access Roles
Accessing Vulcan involves various permission levels tailored to specific roles within the development and management process.
The roles are as follows:
| Role | Description |
|---|---|
| VULCAN READ ONLY | This access level is for users to view the application without making any changes. Users with this level cannot modify or manage the application. |
| VULCAN DEV | This access level is for developers actively working on application development and testing. Users with DEV access can upload new builds to the platform and enable or disable User Acceptance Testing (UAT) mode. |
| VULCAN ADMIN | This access level is for administrators managing the overall application. Users with ADMIN access have full control over the application management process and can upload new builds, enable or disable User Acceptance Testing (UAT) mode, enable or disable production (PROD) mode, and delete applications. |
Application Setup
Setting up an application on Vulcan involves two steps:
- Creating and configuring the application on Vulcan UI.
- Initializing the project on your local machine.
Start by configuring the application on the Vulcan UI. This includes entering the basic details, selecting the appropriate application type, and configuring internationalization settings.
After completing the setup on Vulcan UI, initialize the project on your local machine. This includes setting up the development environment, providing necessary credentials, and configuring project details and endpoints.
Application Setup in Vulcan UI
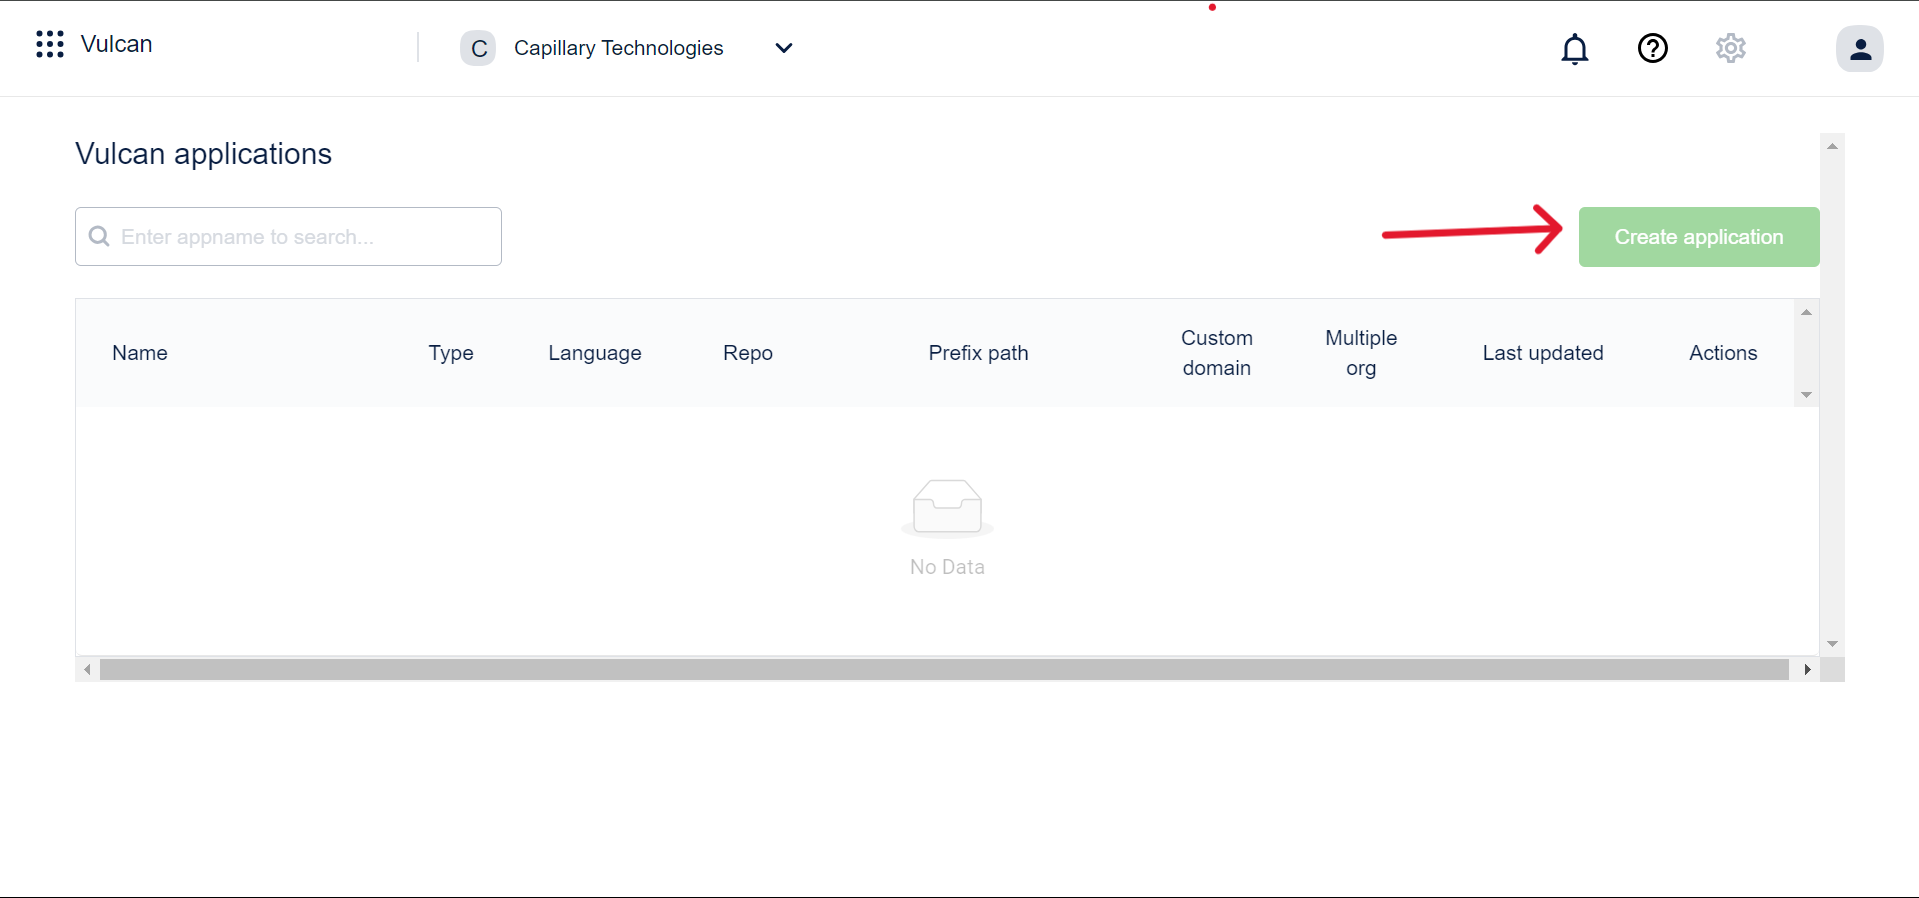
To create and configure your application on the Vulcan UI, follow these steps:
- Access the Vulcan UI page from InTouch.
- Click Create application on the Vulcan UI.
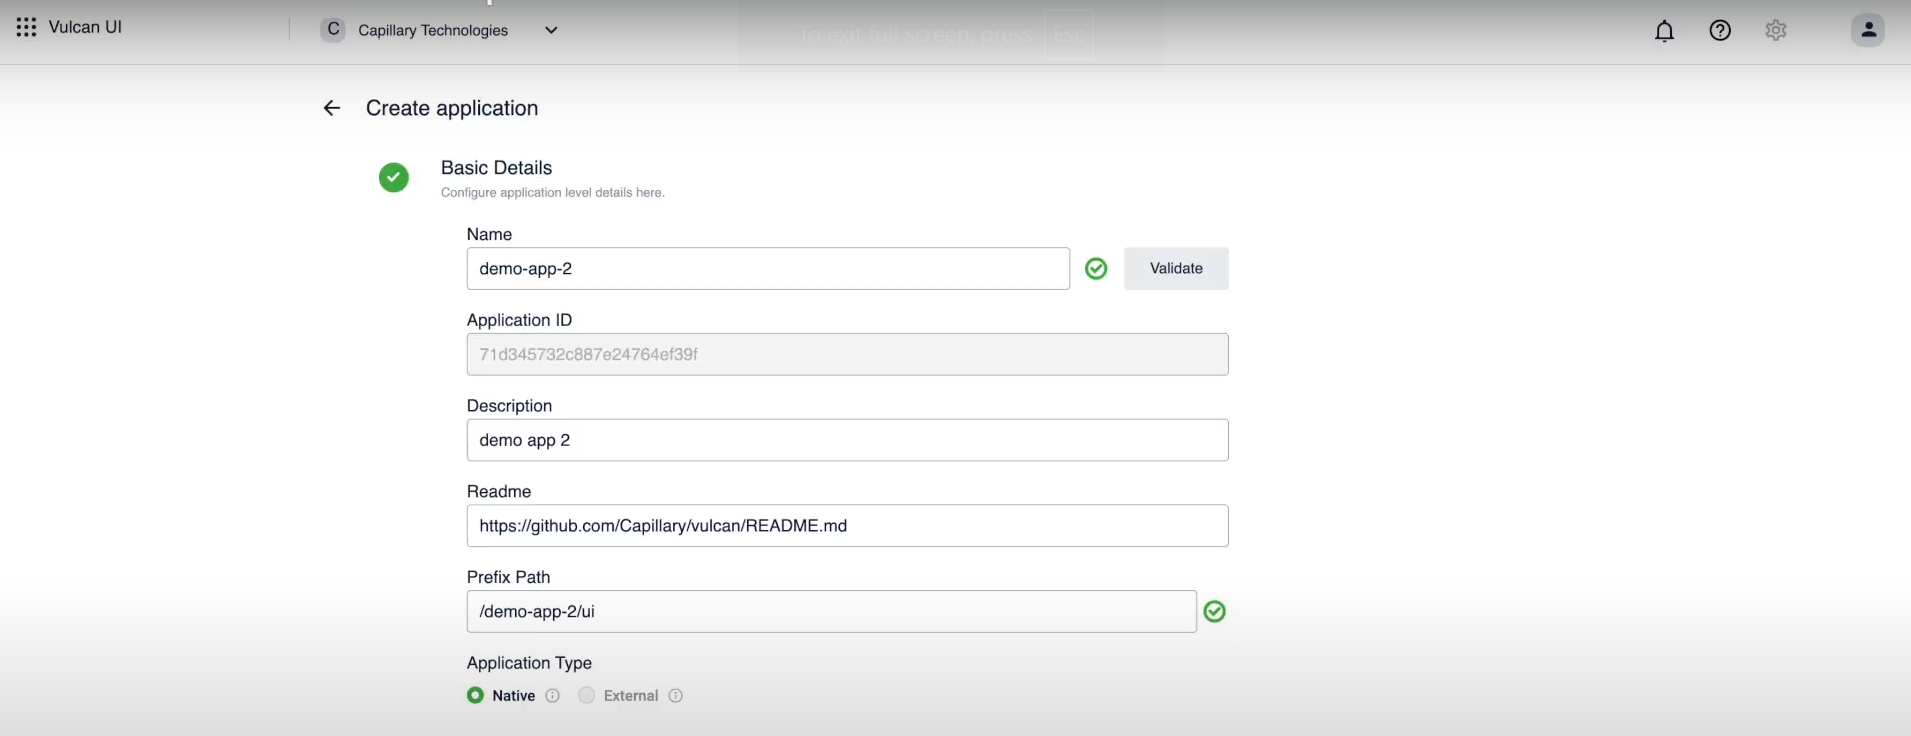
- In the Basic Details section, define the basic details for the application, validate the name and prefix path and set the application type. Refer to the section Basic Details.
- Enter the Authentication details. This is applicable for external applications and is currently unsupported.
- If localization is required for the application, enter the Internationalization details. Refer to the section on Internationalization Details.
Basic Details
The details of each field are as follows:
| Field | Description |
|---|---|
| Name | Name of the application + Organization ID. |
| Application ID | Unique ID specific to the application. |
| Description | Short description explaining the basic functions of the application. |
| Readme | Details on the features and functions of the application. |
| Prefix Path | The public URL path, pointing to the entry point where the application will be loaded on the Vulcan UI. |
Note:
The name and its associated Organization ID and Prefix Path must be unique across the entire cluster. No two applications can have the same name, Organization ID and Prefix Path within the same cluster.
There are three types of applications available on Vulcan:
Note:
Creating global applications requires Capillary Organization access and Vulcan ADMIN permissions.
Native and external applications can be edited or deleted by users with Vulcan ADMIN access.
Note:
Since global and native apps are embedded in Member Care, they use InTouch authentication by default and do not require additional authentication.
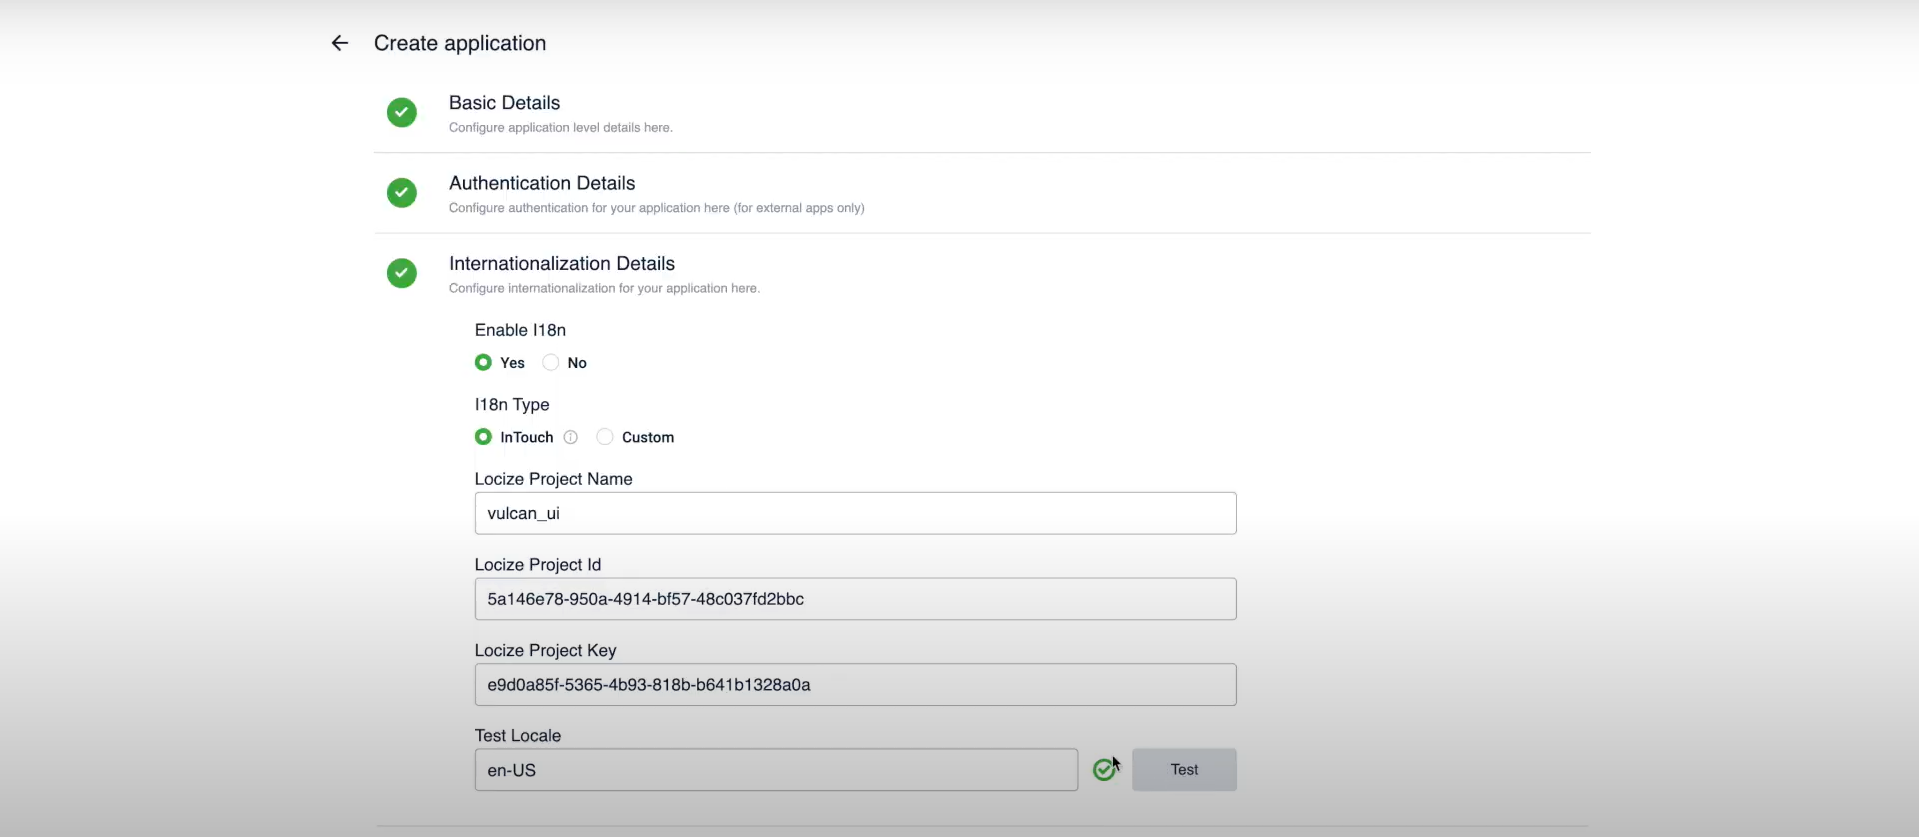
Internationalization Details
The internationalization (I18n) setup in Vulcan allows developers to configure applications to support multiple languages and regional settings.
Note:
Vulcan provides built-in support for InTouch (Locize) or the option to implement a custom API-based solution for internationalization.
To enable internationalization for your application, follow these steps:
- Navigate to the Internationalization Details section.
- Choose Yes under Enable I18n.
- Choose the I18n Type.
Note:
The types are as follows:
InTouch: Through Locize
Custom: External I18n provider or API
- Enter the details for internationalization.
Note:
You can find your Locize Project Id and Project Key in your projects settings under your Locize account.
To get started and configure Locize, refer to the Locize developer documentation.
- Click on test to validate the details.
- Click Create Application to register the app on the Vulcan platform.
The details of each field are as follows:
| Field | Description |
|---|---|
| Locize Project Name | The name of your translation project in Locize, used to organize translation resources for your application. |
| Locize Project ID | A unique identifier for your Locize project, ensuring your app pulls the correct translations. |
| Locize Project Key | A unique key provided by Locize, used to authenticate and access your specific translation project. |
| Test Locale | The locale code (en-US, fr-FR) used for testing your app's internationalization setup. |
Note:
To manually setup internationalization during application development refer to the Setting Up Internationalization During Development section.
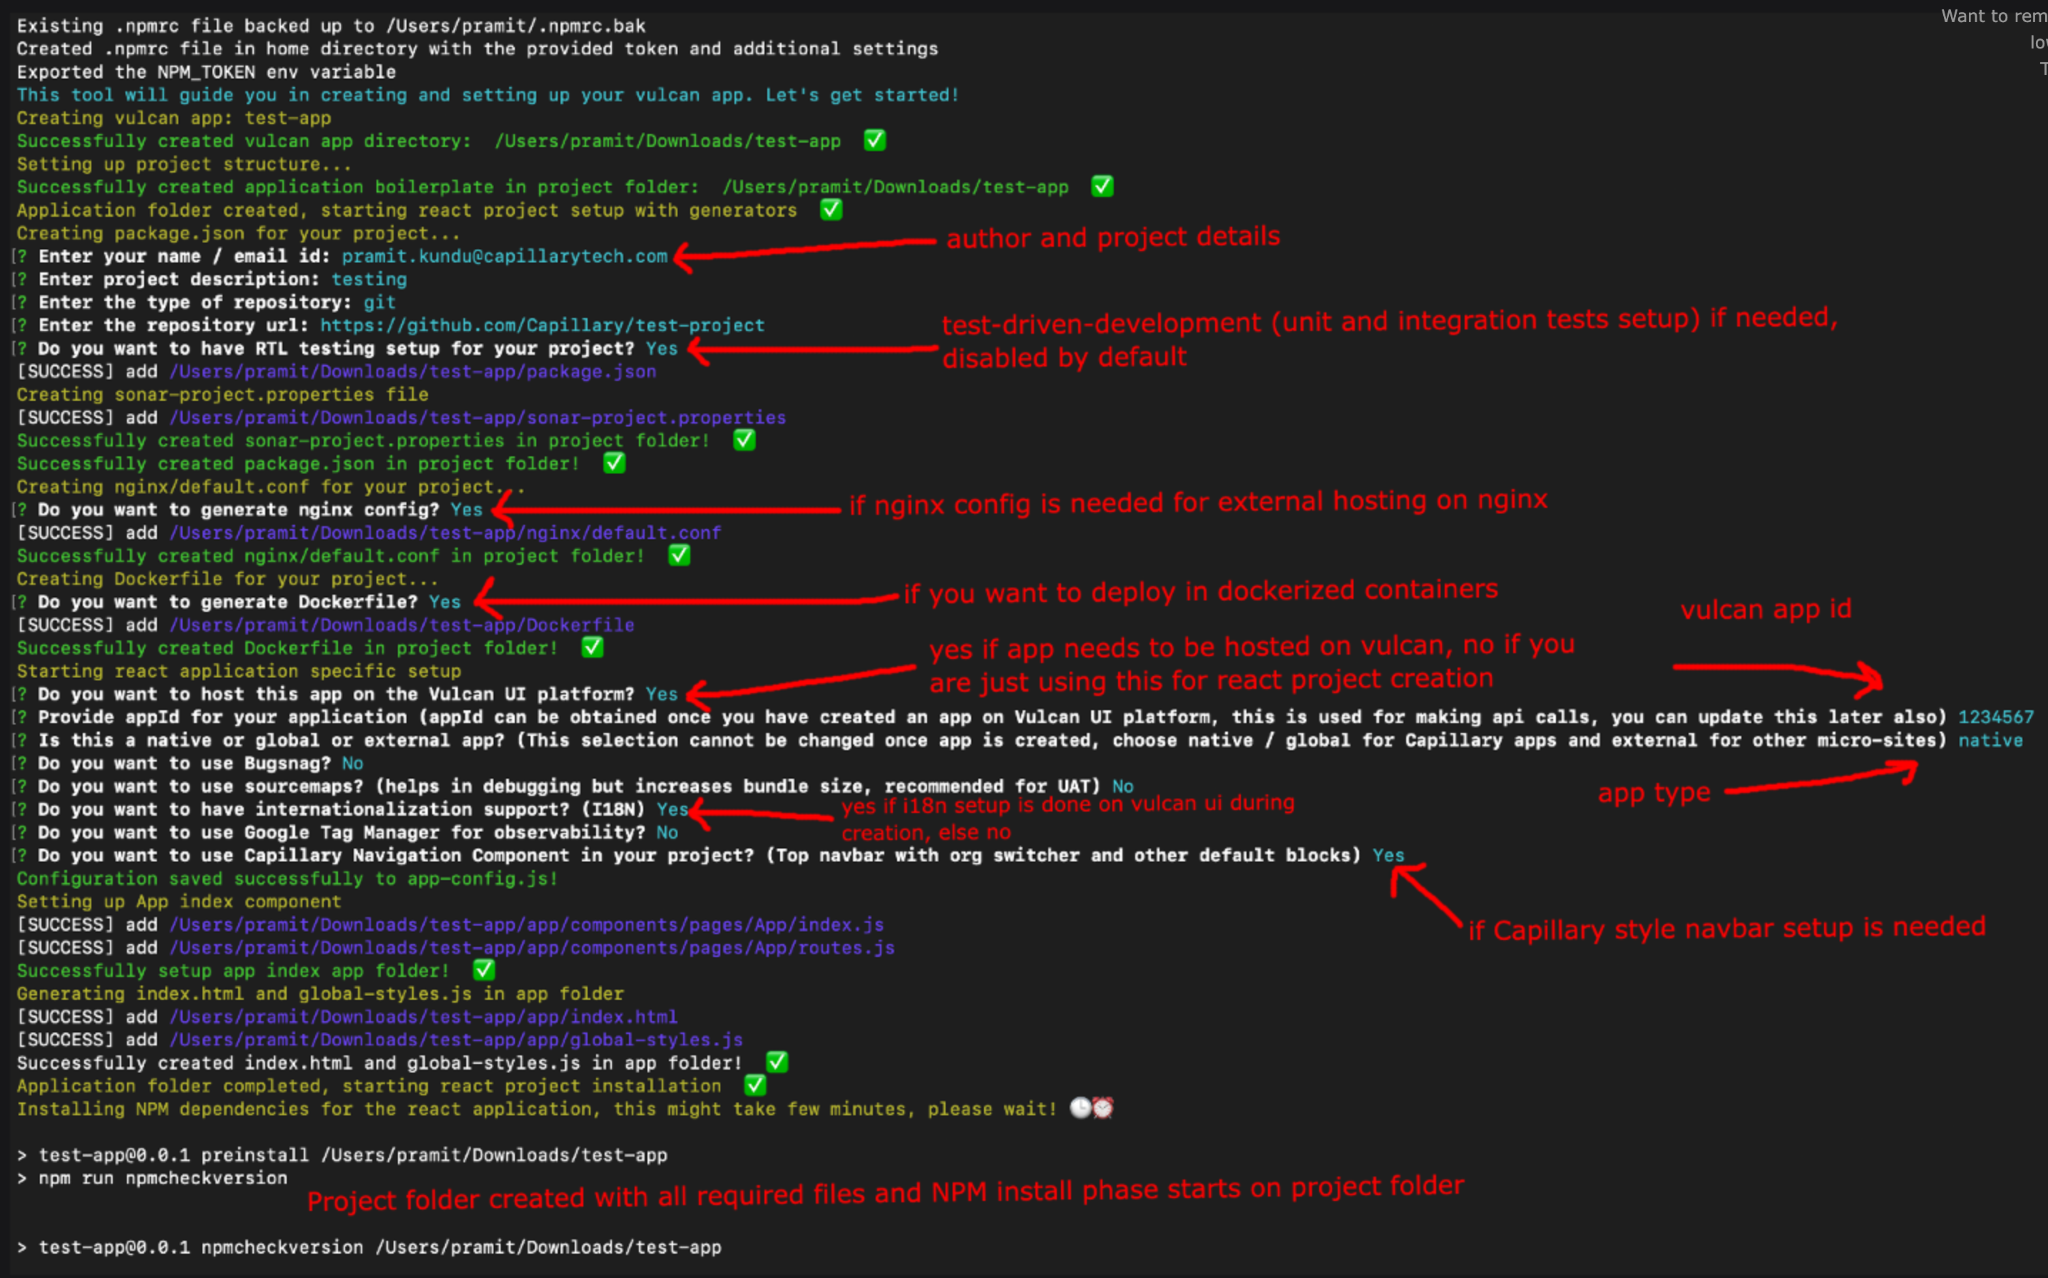
Local Project Initialization
Once you have created an application in the Vulcan UI, you can start initializing the project on your local machine.
- On the CLI, run the command and press Enter on the keyboard. Use the same application name as provided during the application creation.
sh create-vulcan-app.sh <app-name>
Note:
The create-vulcan-app is a required setup script. Ensure you have appropriate system permissions to run the script.
- Provide the npm token (required to pull Capillary-specific modules from the NPM registry) and press Enter on the keyboard.
- Enter the required details: name, email ID, project description, repository type, and repository URL.
- Answer the questions (Y/N) when prompted.
- Enter your Vulcan application ID (generated when creating the application on Vulcan UI).
- Enter the cluster where the application is created. This action sets up the endpoints for the specified cluster.
Updated about 1 month ago