
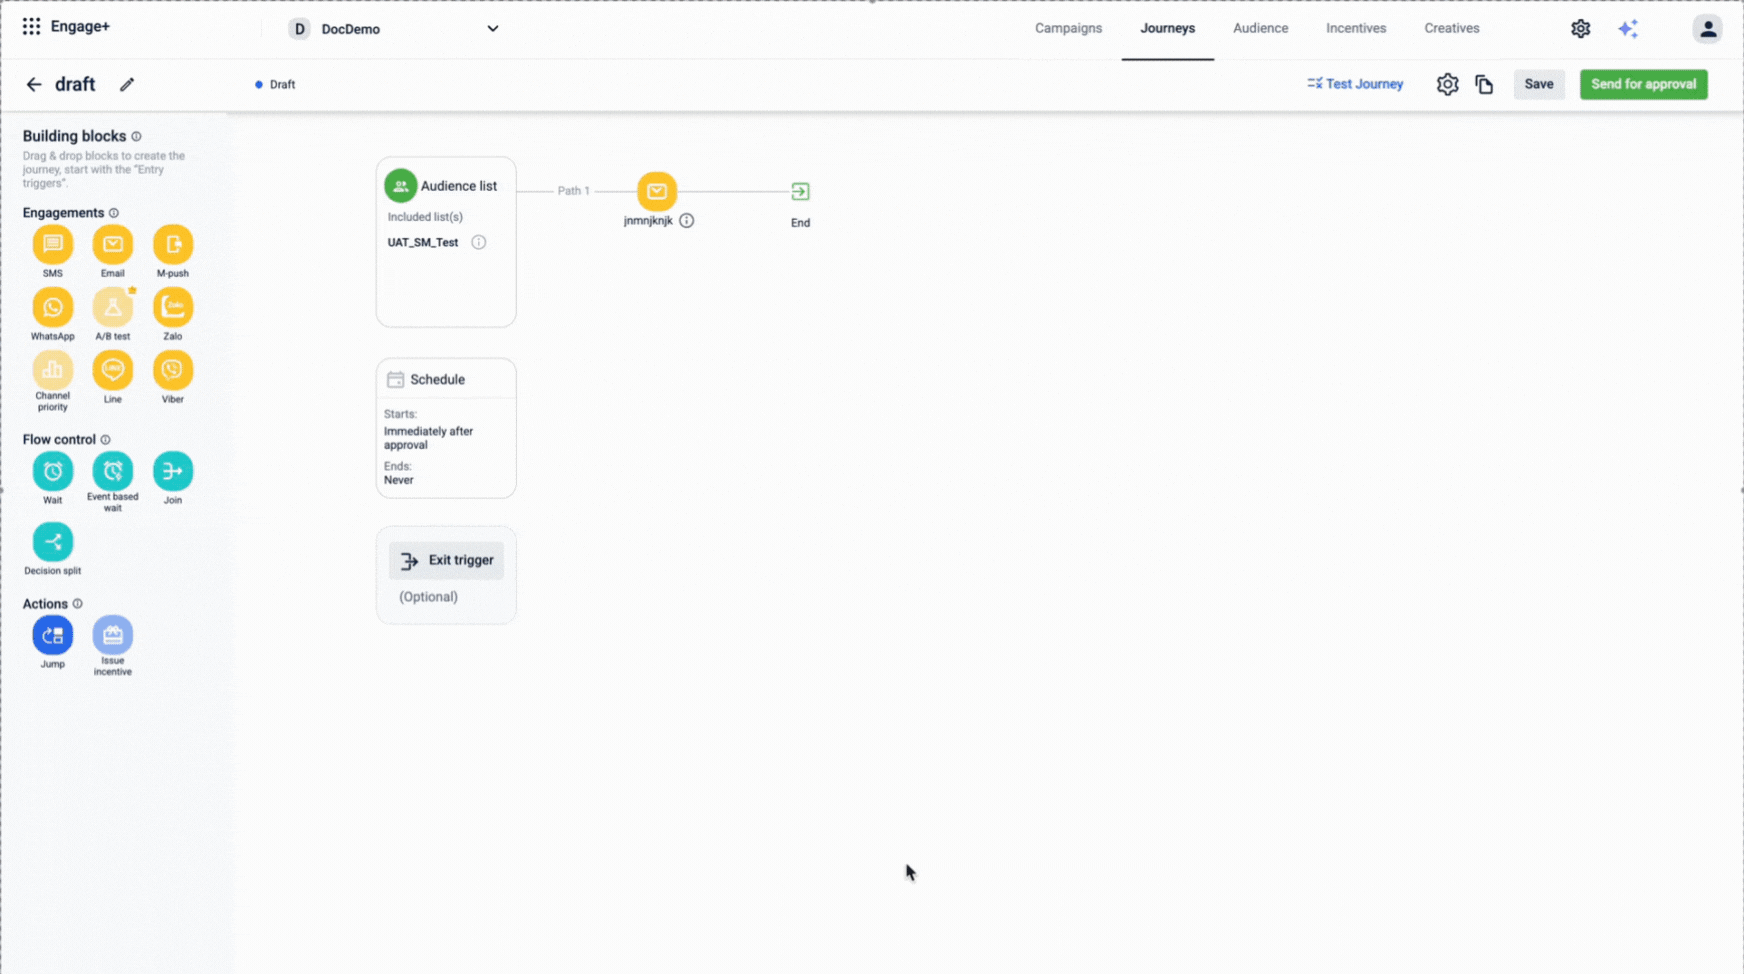
Test Journey
The Test Journey feature within the journey framework enables users to simulate and validate journey workflows before deploying them to customers. It provides a real-time view of how a journey will behave, without having to wait for configured delays.
You can execute the journey for a set of Test customers, triggering events to observe exactly how they progress through the journey. When testing, you can bypass any configured wait times for quicker results. Testing is limited to draft journeys, ensuring no impact on live workflows
Key features & benefits:
| Features | Benefits |
|---|---|
| Real time validation | Understand journey behavior before launch |
| Skip wait time | Speed up testing cycles by bypassing delays |
| Persistent test mode | Continue testing across sessions without needing to reset or re-enter the flow |
| Sale for live workflows | Testing is limited to draft journeys, ensuring no impact on live workflows |
| Version testing support | Easily test updates or new journey versions with separate entry criteria |
Prerequisite
- Only journeys in draft state can be tested. Once a journey is live, the test mode becomes unavailable.
- If Test customers are removed from the group, either during setup or testing, they will not enter the journey.
Testing journey
To test a journey, perform the following:
-
Navigate to the journey that you want to test.
-
Click Test journey and confirm by selecting Yes, switch to test.
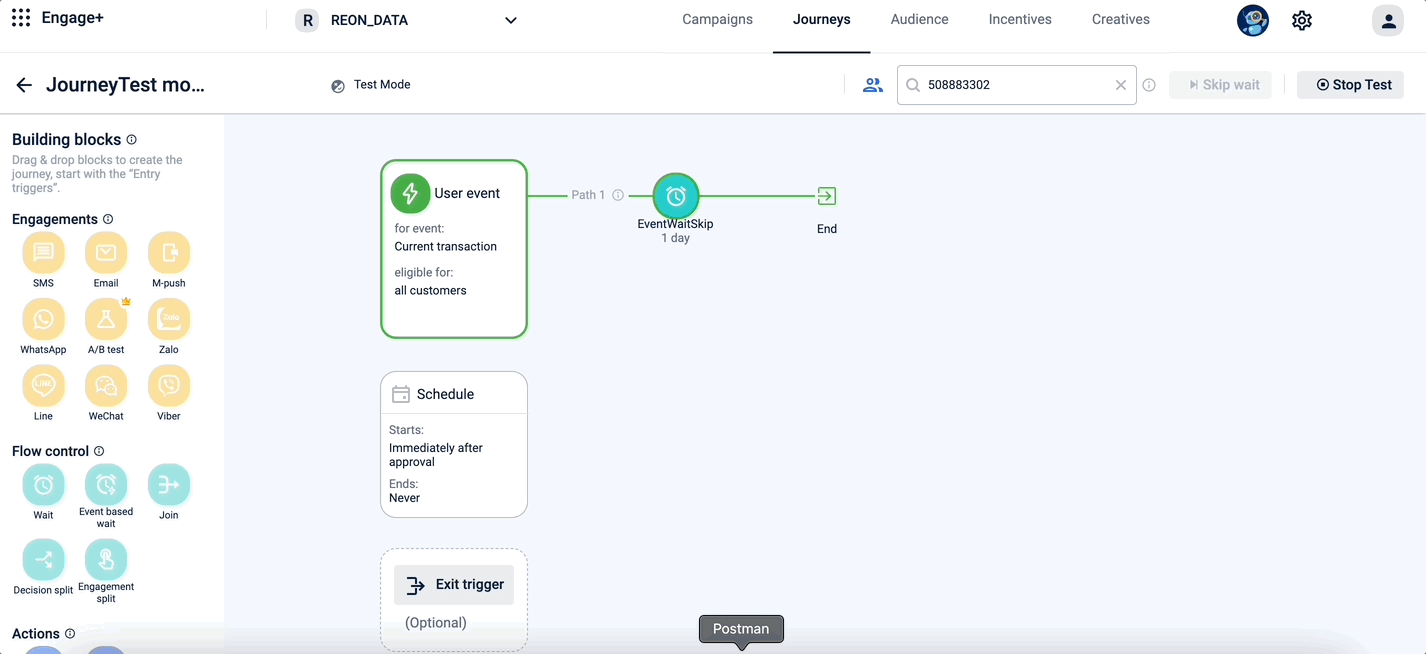
-
Once the journey switched to TEST Mode, trigger events via API to satisfy the journey’s entry criteria.
For example, simulate a transaction of $500.
Notes
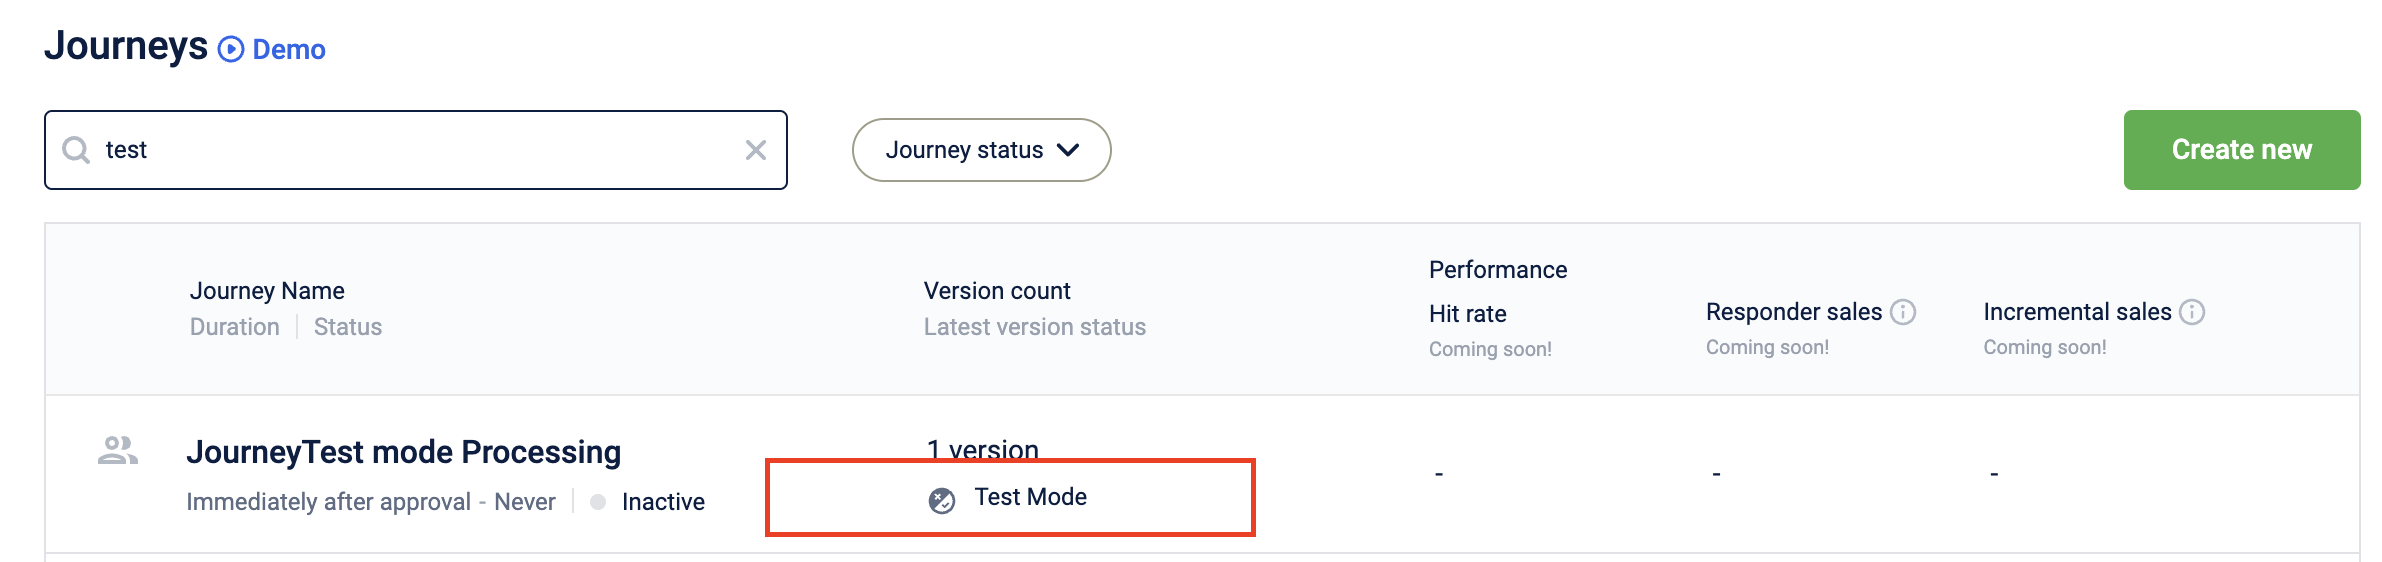
- If the journey is complicated it may take some time to enter test mode, displaying a Processing to run test status until ready.
- Ensure that all dynamic labels used in the engagement channel are added through the Add Label section and are correct and valid. If an incorrect or invalid dynamic label is used, the journey fails to switch to Test Mode, and the system will throw an error.

- To track customer progress, enter the customer ID (mobile number with country code or user ID). A green line indicates a completed event; blue means an event is pending or processing.

- If a customer reaches a wait block, use Skip wait to skip the configured wait time and proceed to the next block immediately.

-
For event-based waits, you may simulate the trigger (for example, a transaction) to skip the waiting period and move the customer to the next block.
-
Once you've validated the desired paths, stop the test to revert the journey to draft. From there, proceed with your standard approval process to make it live.
Limitation when issuing points or coupons in test mode
When testing journeys that issue points or coupons, the system uses default values for store and approver details. Specifically,
storeUnitIdandApproved By IDare set to0, which can cause incentive issuance to fail with an error. You may see error messages indicating an invalid store or approver ID.This behavior is limited to Test Mode. In Live Mode, valid store and approver details are used, and incentive issuance works as expected.
To validate end-to-end incentive issuance, execute the journey in Live Mode using valid customer data
Notes
- Test mode persists indefinitely, so you can pause and resume testing across sessions. Your journey remains in test mode until you stop it and you can always find it on the listing page of Journeys.
- If you create a new version of a Live journey by editing it, you can test it similarly, provided Test customers meet the new entry criteria. Avoid duplicating incentives. For example, reusing reward IDs results in errors.
- Journeys in draft can be tested repeatedly by adding relevant users to the Test customers group.
Updated 4 months ago