
Connect to Source
This block enables you to define the source location of the data that needs to be ingested.
Connection to the SFTP/FTP server fails if your FTP/SFTP account has Multi-Factor Authentication (MFA) enabled.
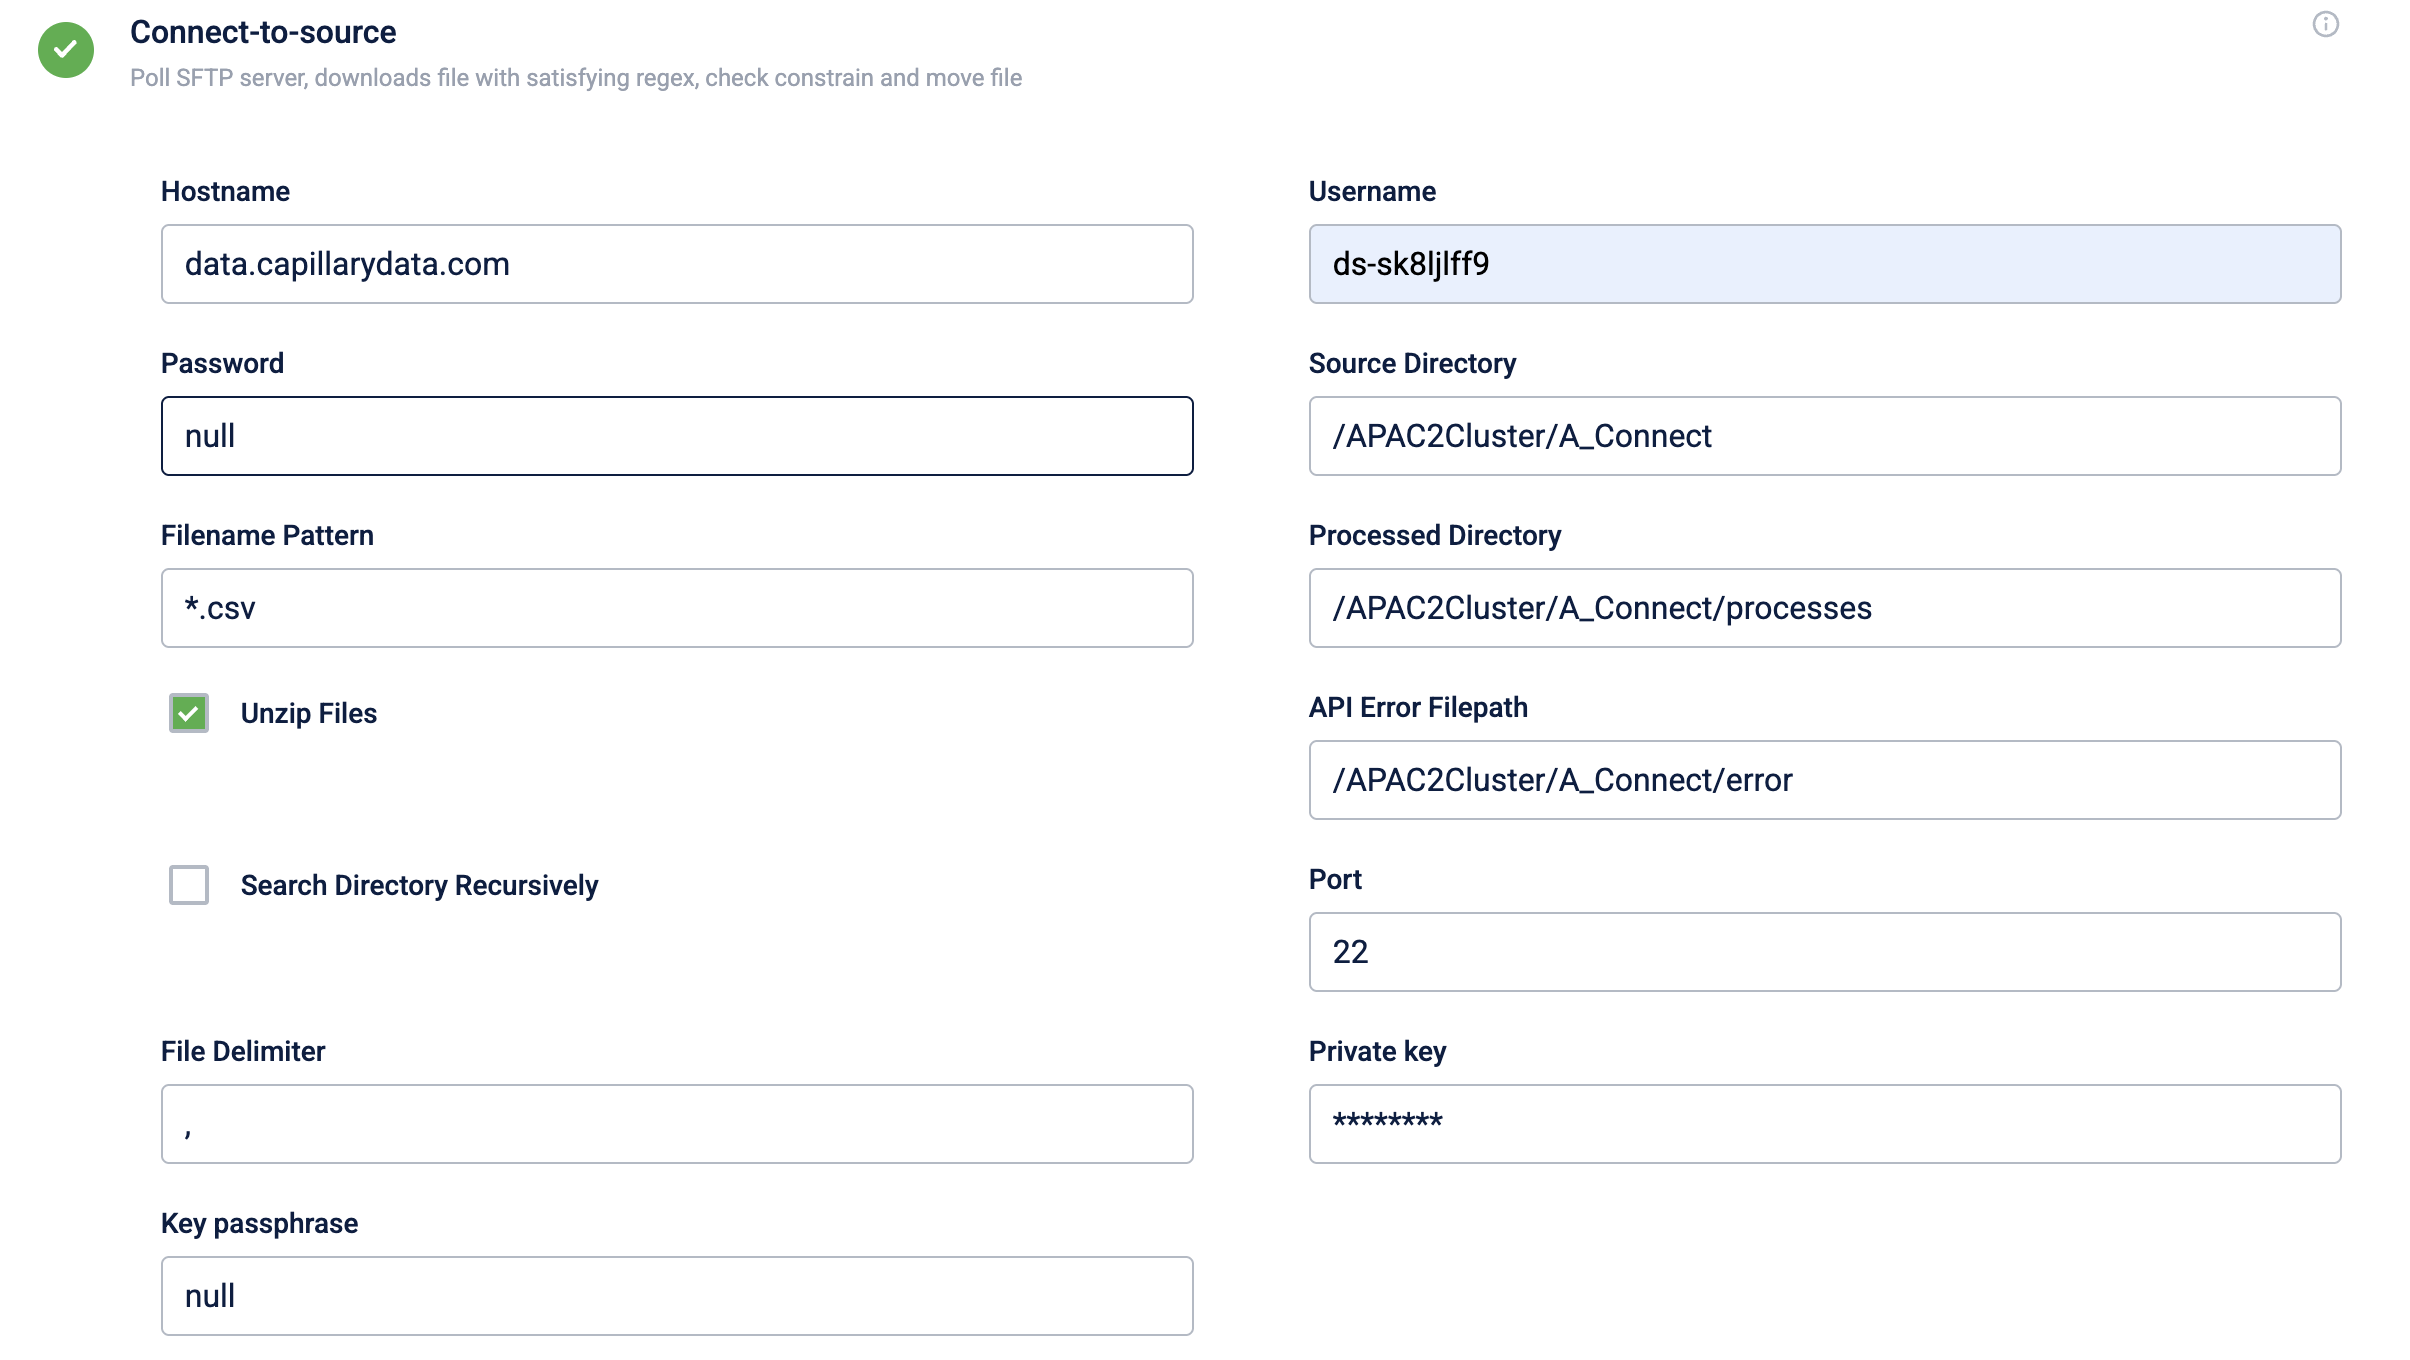
The Connect to Source block has the following fields:
| Field name | Description |
|---|---|
| Hostname | URL (address) of the SFTP/FTP server from where the source file is available. For example, data.capillarydata.com. |
| Username and Password | Credentials to access this SFTP/FTP server. This provides read/write access to the files on the server. |
| Source Directory | The directory path where the source file is available. For example, /APAC2Cluster/A_Connect Connect+ usually supports any text-based files with a delimiter, irrespective of extensions such as .txt, .csv, or .dat etc. In addition, _.ok _file format is also supported. |
| Filename Pattern | File names in the regex pattern. If you give a filename pattern file.*.csv _, the application takes any file that starts with the file name file. |
| Processed Directory | The path to save the file to be processed. The data to process is captured from the processed file. Processing is the operation of formatting and transforming a given set of data to extract the required information in the appropriate format. For example, /APAC2Cluster/Process. |
| Unzip Files | If the files are compressed, you can select this option to unzip the file and then select the original file. |
| API Error Filepath | The SFTP/FTP path where you want to save the API error file. This file includes the error details that occurred during the API calls. This field is applicable only where API endpoints are required (data ingestion). |
| Search Directory Recursively | Select the checkbox, if you want to search for the defined file anywhere in the root folder of the server. For example, if there are multiple folders inside /APAC2-Cluster/A_Connect, it looks for files matching the pattern inside each folder under /APAC2-Cluster/A_Connect. |
| Port | The source SFTP/FTP port number. Generally, 22 for SFTP and 21 for FTP. |
| Private key | Private key used to authenticate an SFTP connection using SSH. |
| Key passphrase | An optional passphrase associated with the SSH key. Provide the passphrase only if the passphrase was set during the key generation. If the private key does not have a passphrase, set the field to null. |
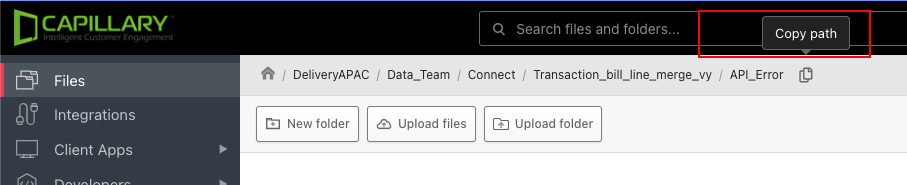
Copy the directory file path
Note
Use unique source, processed, and API error directories for each dataflow. Sharing directory paths across multiple dataflows can result in files being picked up by the wrong dataflow, incorrectly processed, or routed to an incorrect error directory. This may lead to race conditions and unreliable file handling behavior.
Defining column header for transform block
Adding the source file header information using a CSV file with the column headers
You can upload a CSV file with the column headers of the input source file or define the header data manually. This makes mapping fields in the transformation block easier. Once you define the headings, they are automatically retrieved in the transformation blocks and you can map corresponding API fields against them.
The maximum supported size of a CSV file is 5 MB. After attaching the file, you can delete it by clicking the delete icon. The system allows you to switch to the manual option after uploading the CSV file. The values should be separated by a comma only. Watch the video below for more information on uploading the CSV file and mapping the API fields.
Adding the header information manually
If you do not have a CSV file for mapping, you can select the Add manually option and define the headings manually in the transformation block. Watch the video below for more information.
If you do not have a CSV file for mapping and the source file is headerless you can select the Add manually option and choose the Is file headerless option to define the headings separated by a comma. These headings are retrieved in the Transformation block, and you can also add additional headings in the transformation block itself. Watch the video below for more information.
S3 File Service Location as a Source
| Field Name | Description |
|---|---|
| Bucket Name | The name of your S3 bucket. Provided by the access team. |
| Region | Region in which your bucket is located. Provided by the access team. |
| Access Key and Secret | These credentials are required to access the S3 bucket. Provided by the access team. |
| Input Path | The location within the S3 bucket is where the input data resides. |
| Output Path (Processed Path) | Defines where the processed data will be placed in the S3 bucket. The output path cannot be the same as the input path or a sub-path of the input path (e.g., you cannot have "input/" and "input/processed/"). Additionally, the output path cannot be the root ("/"); a folder must be created within the root for this purpose. |
| Error Path | Designates the location for storing error files. |
SSH Authentication
SSH (Secure Shell Protocol) is a secure method of connecting to your SFTP (SSH File Transfer Protocol) servers for data transfer. Instead of passwords, SSH authentication relies on a key pair: a public key and a private key.
- Private key: Stored on your device and used when you connect to the server.
- Public key: Shared with the access team, who link it to your username on the SFTP server to enable SSH-based authentication.
Optionally, you can add a passphrase when creating your key for additional security.
Steps to Enable SSH Authentication for SFTP
To use SSH for SFTP connections in the Connect to Source block, complete the following steps:
-
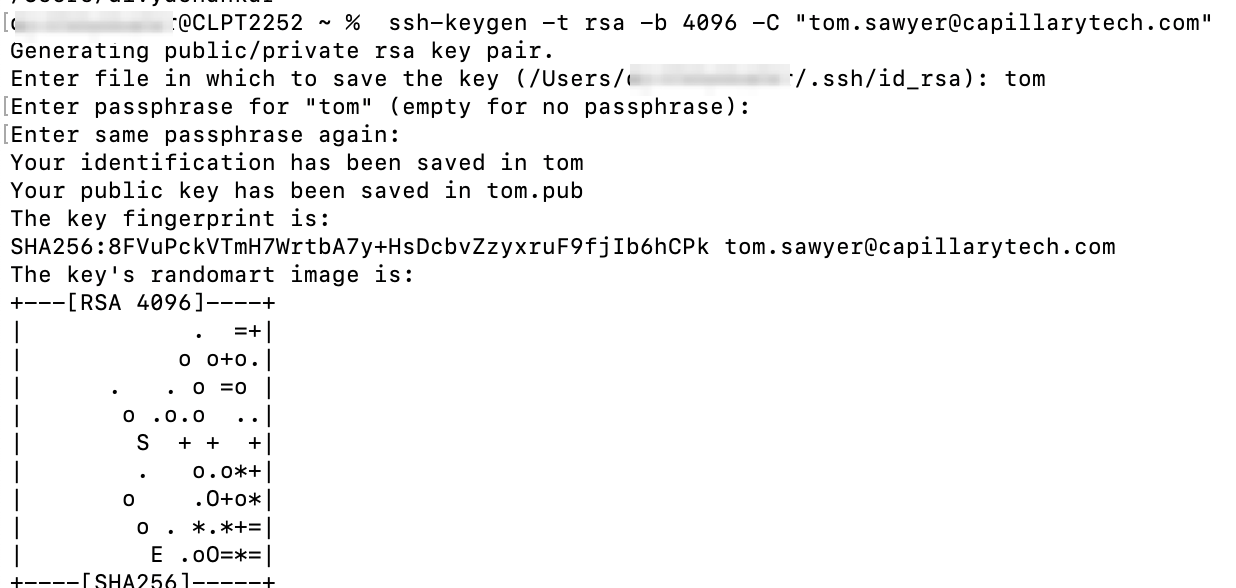
Generate an SSH key pair
- Open your terminal (macOS or Windows) and run:
ssh-keygen -t rsa -b 4096 -C "[email protected]"-t: Specifies the key algorithm. RSA is recommended.-b: Specifies the key length in bits. A higher value indicates stronger encryption.-C: Adds a comment, typically your email address, for identification.
ii. When prompted, choose a location to save the keys.
- macOS:
/Users/user_name/.ssh/ - Windows:
C:\Users\user_name\.ssh\
Two files are generated:
id_rsa→ Private key
The private key is in the OpenSSH format, including the header and footer lines (
-----BEGIN RSA PRIVATE KEY-----and-----END RSA PRIVATE KEY-----).id_rsa.pub→ Public key
iii. (Optional) When prompted, add a passphrase to secure the key. Press Enter to skip if you do not want one.
-
Share the public key
- Locate the
.pubfile (public key) on your device. - Create a Jira ticket for the access team, and include:
- Locate the
- Public key
- User email ID
- Folder path for error and processed files
- Required permissions
For details, refer to the sample Jira ticket for instructions.
- Prepare your private key for Connect+
-
Locate your private key file (e.g.,
id_rsa). -
Encode the private key in Base64 format. You can use a terminal command or an online Base64 encoding tool.
The encoded key must include the BEGIN/END tags:
-----BEGIN OPENSSH PRIVATE KEY-----
[Base64 content]
-----END OPENSSH PRIVATE KEY-----
Keys without these tags are invalid.
-
Authentication Rules
- If a private key is used, set the Password field to
null. - You cannot provide both a password and a private key.
- If you switch from password-based authentication to key-based, replace the password with
nulland configure the private key.
Updated 2 months ago