
Configure SFTP server for data export
Brands are required to have their own Secure FTP (SFTP) infrastructure for exporting data. Currently, Capillary supports data exports only via SFTP.
You can configure up to five SFTP servers. After the data is exported to the SFTP server, you can download it to your local machine.
NoteAn SFTP once added you cannot be deleted or renamed. However, you can change server details and the path within that SFTP.
Prerequisites
- Destination SFTP server for data storage
- Source Host server IP for data retrieval
- FTP Configuration Details:
- Hostname
- Port number
- Username and Password
- Path to the folder
Configuring SFTP
To configure the SFTP server, follow these steps.
-
Whitelist the below Capillary's IP addresses to allow connections to the brand's SFTP server.
Cluster IPs APAC1/INCRM (India) 54.235.251.85
3.227.110.70APAC2/AsiaCRM (Rest of Asia) 13.126.188.129 EUCRM 54.247.60.162
52.214.98.25USCRM 18.224.36.121
18.189.151.155 -
In the Insights+ UI, navigate to Settings > FTP, click Add Ftp Server.
The Add FTP modal appears.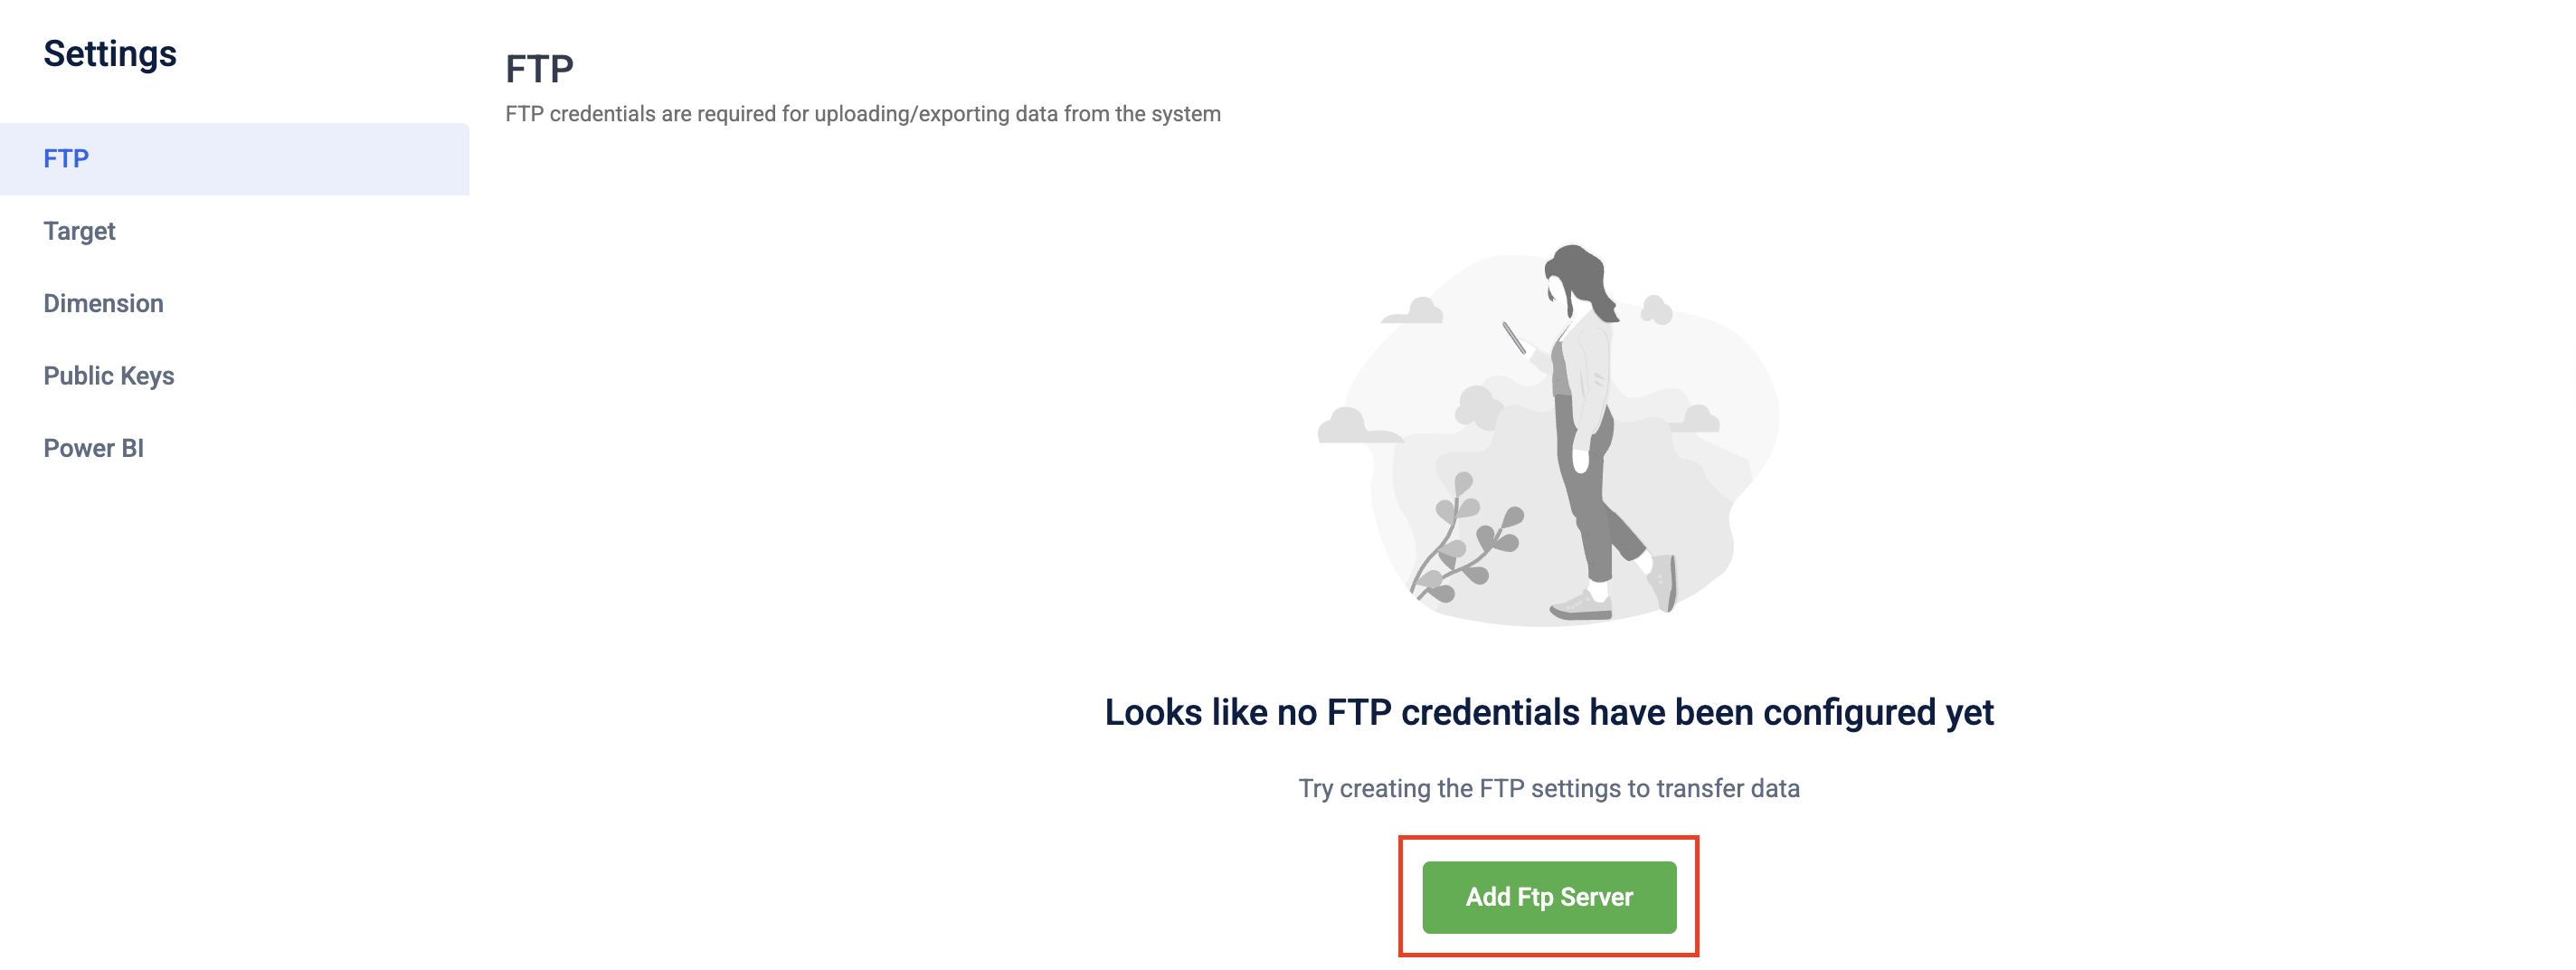
-
Enter the following information:

Field Required Description FTP name Yes A unique name to identify this FTP server configuration. The name will be displayed when configuring an export job in Select FTP. Server address Yes The hostname or IP address of the FTP server. If the default port (22) is being used, then enter the URL of the client SFTP server. For example, abc.def.com. If custom port 82 is used, then enter the URL with the port number of the client SFTP server. For example,abc.def.com:82Default target folder Yes The folder path on the FTP server where exported files are saved. For example, '/export'. If the path is not specified, data will be saved in the root directory of the SFTP server. Username Yes The username used to authenticate with the FTP server. Authentication method Yes The method used to authenticate with the FTP server. Select Password or SSH key. Password Yes The password for the FTP server account. This field appears when you select Password as the authentication method. SSH key Yes The private key used to authenticate the SFTP connection through SSH. This field appears when you select SSH key as the authentication method. Passphrase No The passphrase that protects the SSH key. This field appears when you select SSH key as the authentication method. Leave this field blank if the private key does not have a passphrase. -
Click Submit.
Note
- Connection to the SFTP/FTP server fails if your account has Multi-Factor Authentication (MFA) enabled.
- If the specified folder is not identified in the Target Path of the SFTP server, the configuration fails.
- The file name of an exported file will have the following naming convention.
- schedulenametemplateName_timestamp. For example, DailySlabChangeSlabChangeLog2019-10-29-12-30-021572356331802.
Setting up the public key in the Capillary SFTP server
Upload your SSH public key to the Capillary SFTP server before using SSH-based authentication. The SFTP server uses the public key to validate your connection when files are transferred.
Prerequisites
- Access to the Capillary SFTP server
- Permission to create folders
Set up the public key
To set up the public key,
-
Sign in to the Capillary SFTP portal at https://data.capillarydata.com/newSession using your username and password. The SFTP home page appears.
-
Select the Profile icon and select My account.
The My Account page opens.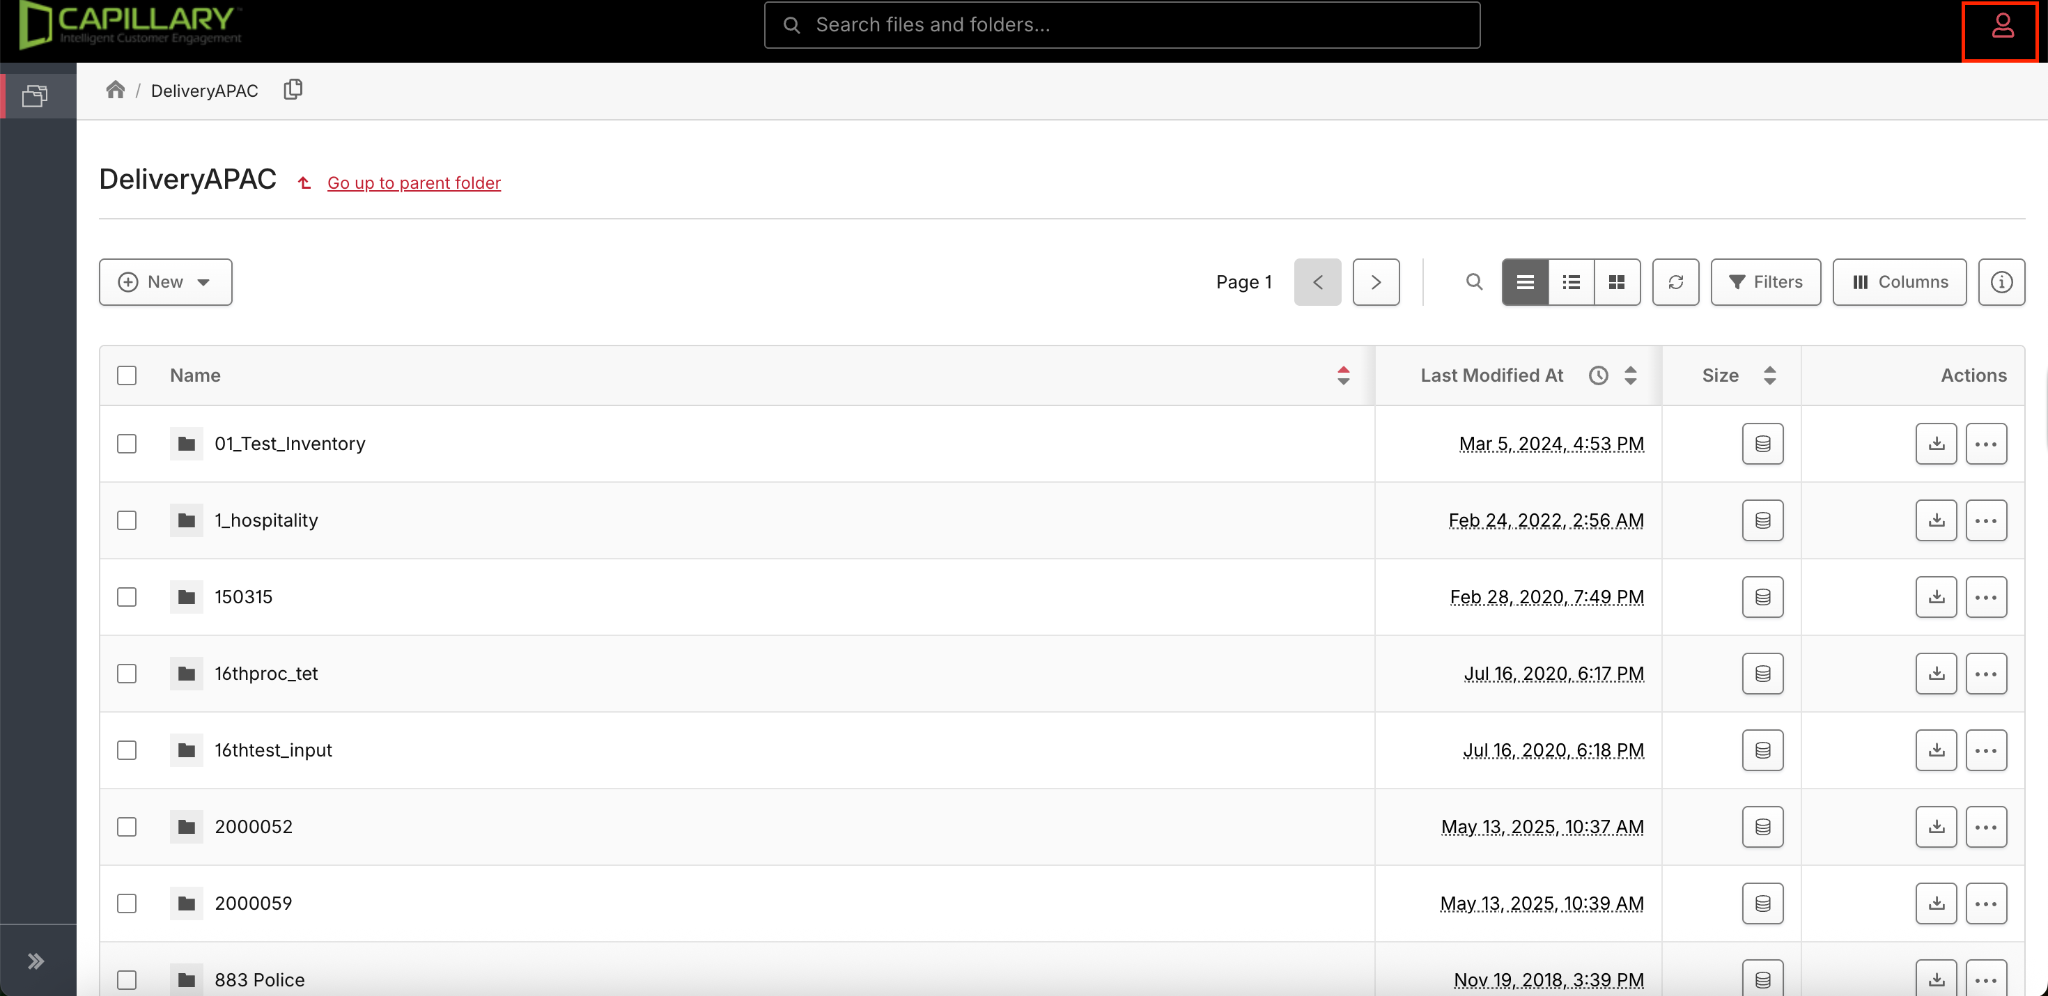
-
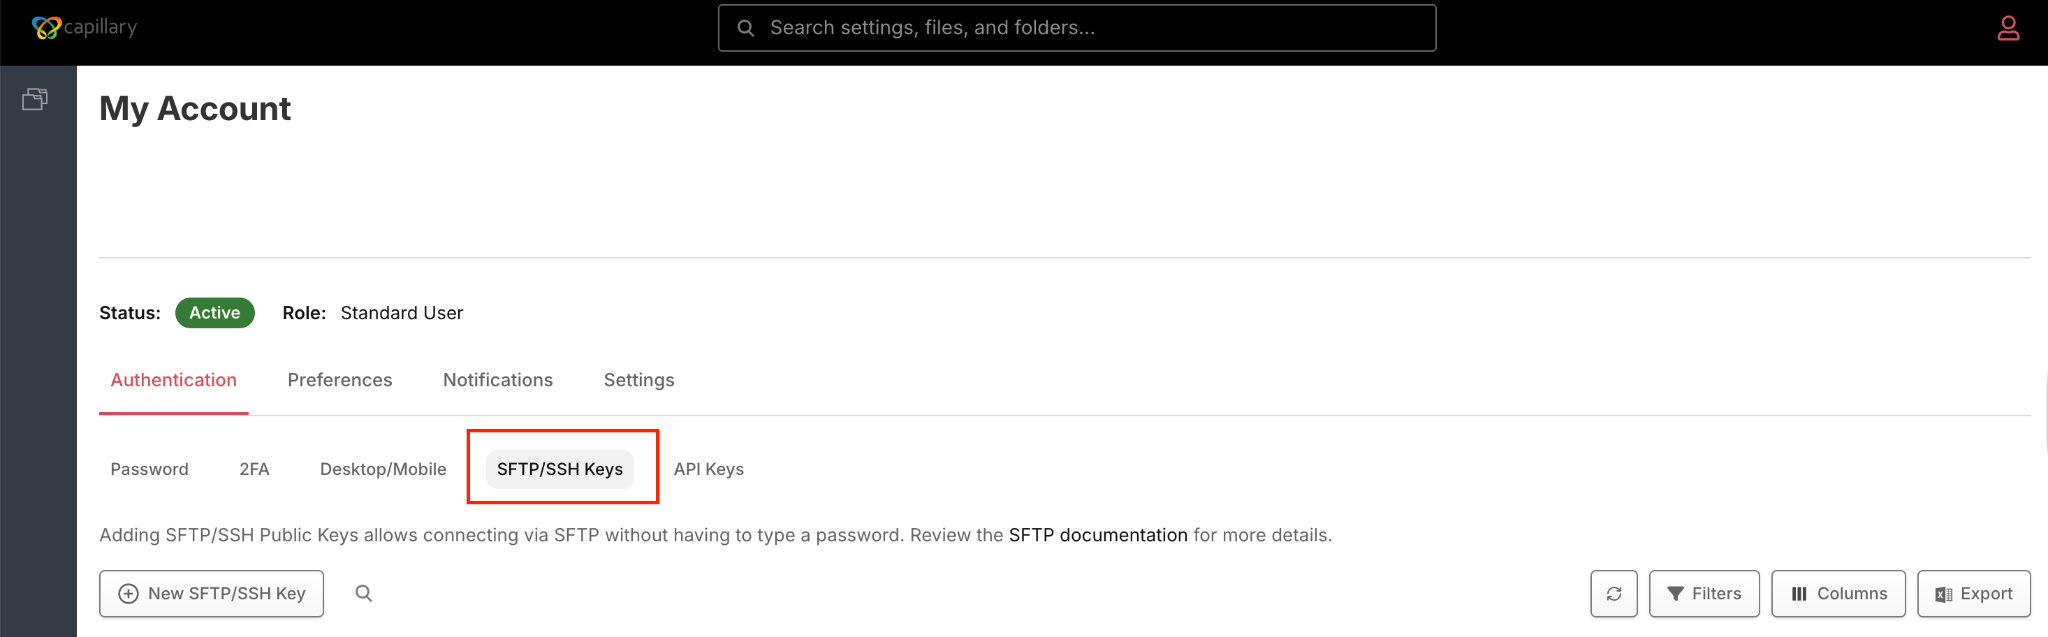
Select Authentication > SFTP/SSH Keys.
-
Click New SFTP/SSH Key.
The Create SFTP/SSH Key page opens.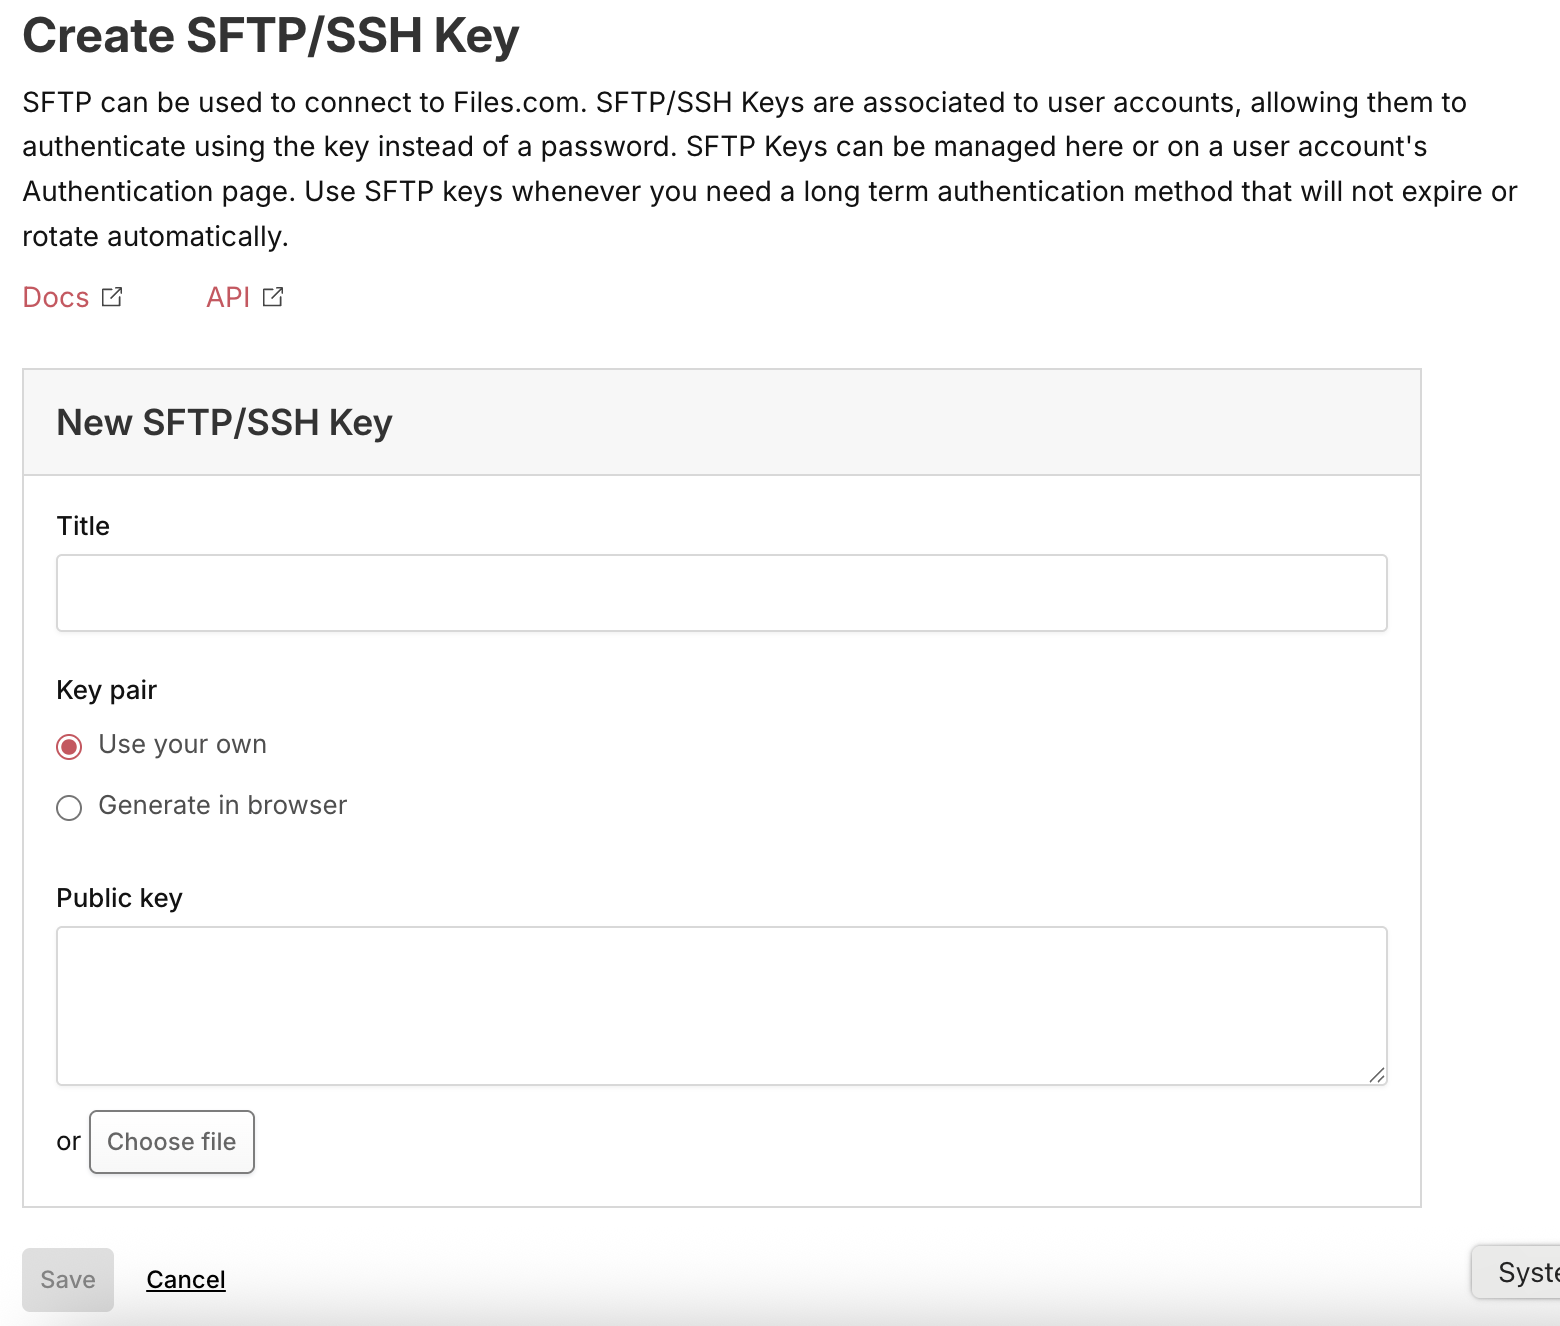
-
Under Title, enter a name for the SSH key.
-
Under Key pair, choose one of the following options:
- Use your own
- Generate in browserFor details on creating the key using the different options, refer https://www.files.com/docs/services/sftp/sftp-ssh-keys/generating-sftp-ssh-keys
-
Under Public key, paste your SSH public key.
-
Select Save.
Testing SFTP configuration
You can either export a test file from Insights and test if the file is exported successfully or can also check the connection using Wetty.
To check the connection using Wetty,
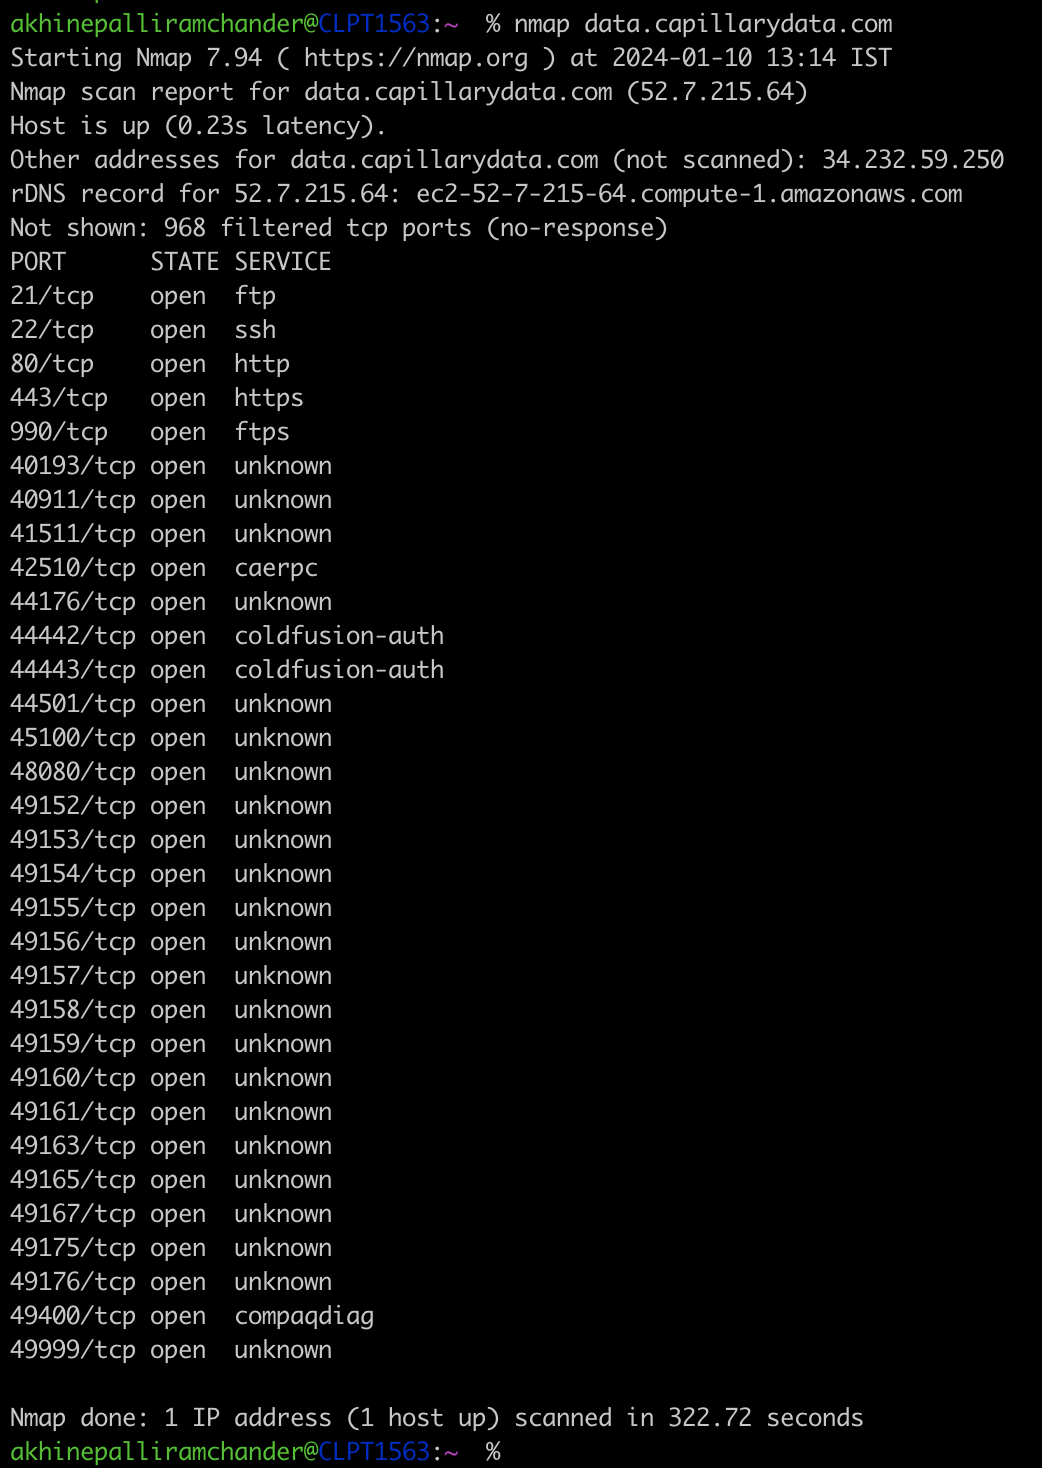
- Run the command
nmap <hostname>to check the open port for a host.
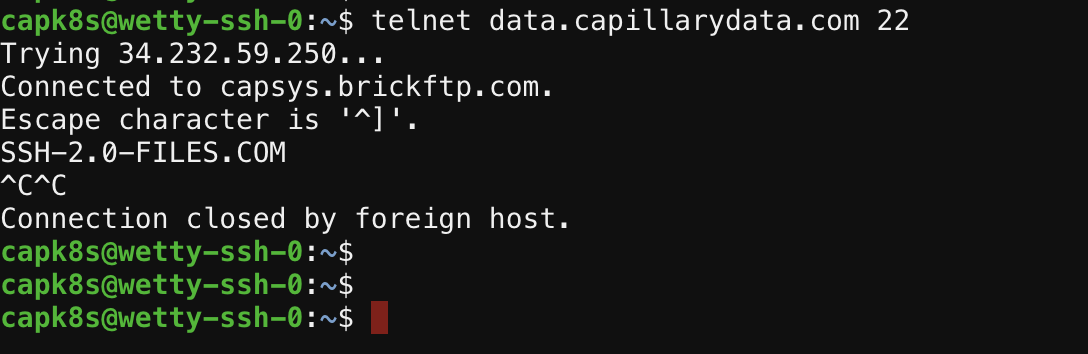
- Run the command
telnet <hostname> <port>.
SSH authentication
SSH (Secure Shell Protocol) is a secure method of connecting to your SFTP (SSH File Transfer Protocol) servers for data transfer. Instead of passwords, SSH authentication relies on a key pair: a public key and a private key.
- Private key: Stored on your device and used when you connect to the server.
- Public key: Shared with the access team, who link it to your username on the SFTP server to enable SSH-based authentication.
Optionally, you can add a passphrase when creating your key for additional security.
Steps to create SSH authentication for SFTP
To use SSH for SFTP connections, complete the following steps to generate the SSH key pair:
-
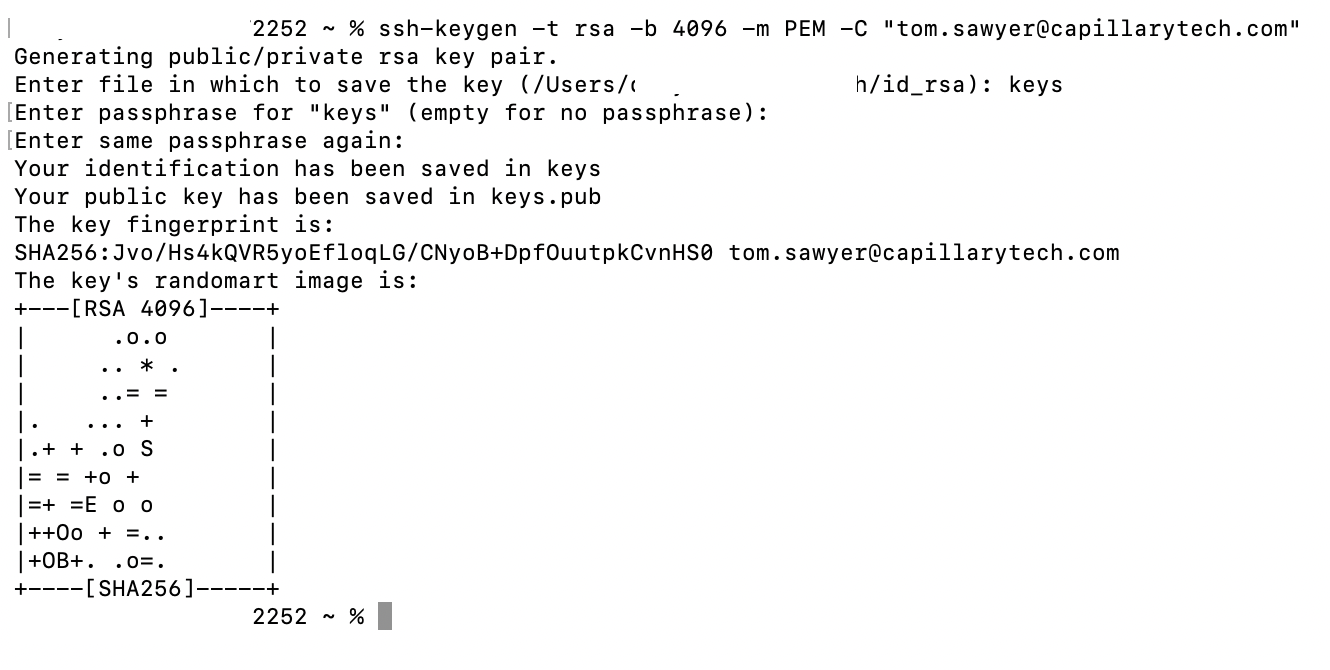
Open your terminal (macOS or Windows) and run the command:
ssh-keygen -t rsa -b 4096 -m PEM -C "[email protected]"Note: Only PEM file formats are supported to store the keys.
The command uses the following options:-t: Specifies the key algorithm. RSA is recommended.-b: Specifies the key length in bits. A higher value indicates stronger encryption.-m: Saves the private key in PEM format.-C: Adds a comment, typically your email address, for identification.
-
When prompted, choose a location to save the keys. The default locations are:
- macOS:
/Users/user_name/.ssh/ - Windows:
C:\Users\user_name\.ssh\
Two files are generated:
id_rsa: Private key. The private key is in OpenSSH format, including the header and footer lines (-----BEGIN RSA PRIVATE KEY-----and-----END RSA PRIVATE KEY-----).id_rsa.pub: Public key.
- macOS:
-
Optional: When prompted, add a passphrase to secure the key. Select Enter to skip if you do not want a passphrase.
Updated about 10 hours ago