Add event notification account
An event notification allows you to send triggered notifications to external webhooks such as your client webhooks.
To create a new event notification, follow these steps.
- Log on to InTouch of your cluster and navigate to Profile icon > Organization Settings > Event Notifications.

- Click New notification.
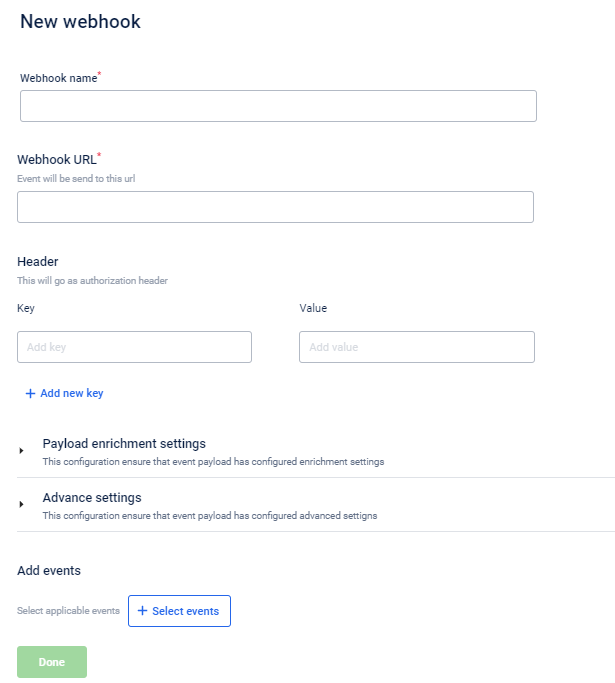
- In Webhook name, specify a name for the event notification.
- In Webhook URL, enter the Webhook URL that you want to associate with the event notification. To get a Webhook URL, you need to have a Webhook account. You can use the URL generated for the account to configure event notifications.
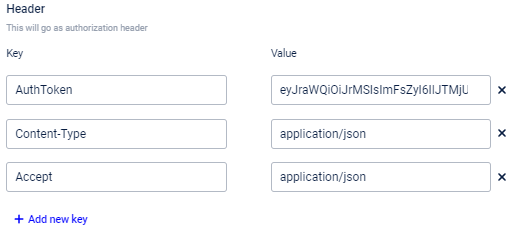
- In Header, enter the required headers (for integration authentication) as keys and values required to authenticate event notification.
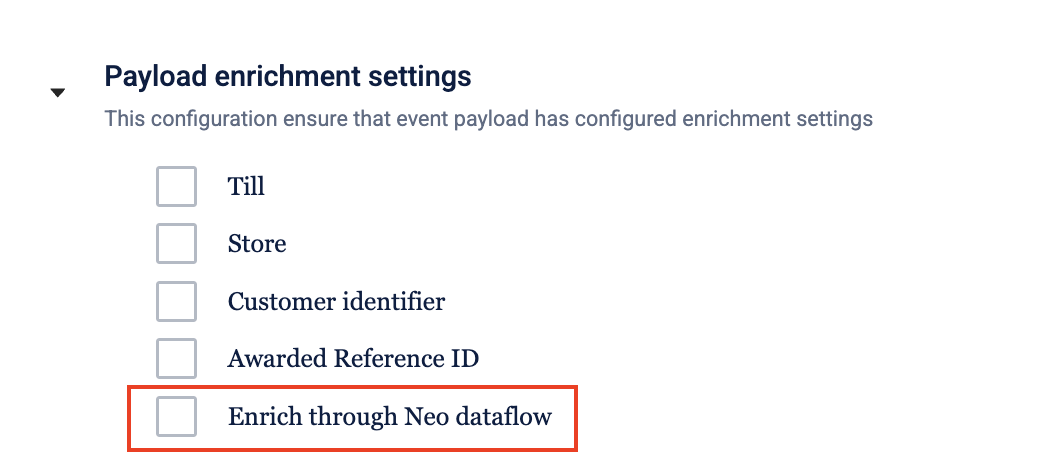
- In Payload enrichment settings, select the entries that you want to capture in the current notification. This provides better data enrichment by including the selected entry parameters in the payload.
Note
By default, the customer identifiers are not available in the event notification payload. The presence of identifiers in the payload depends on:
- How the API was called - the identifier used to make the API call will be included in the payload
- Whether identifier enrichment is explicitly enabled
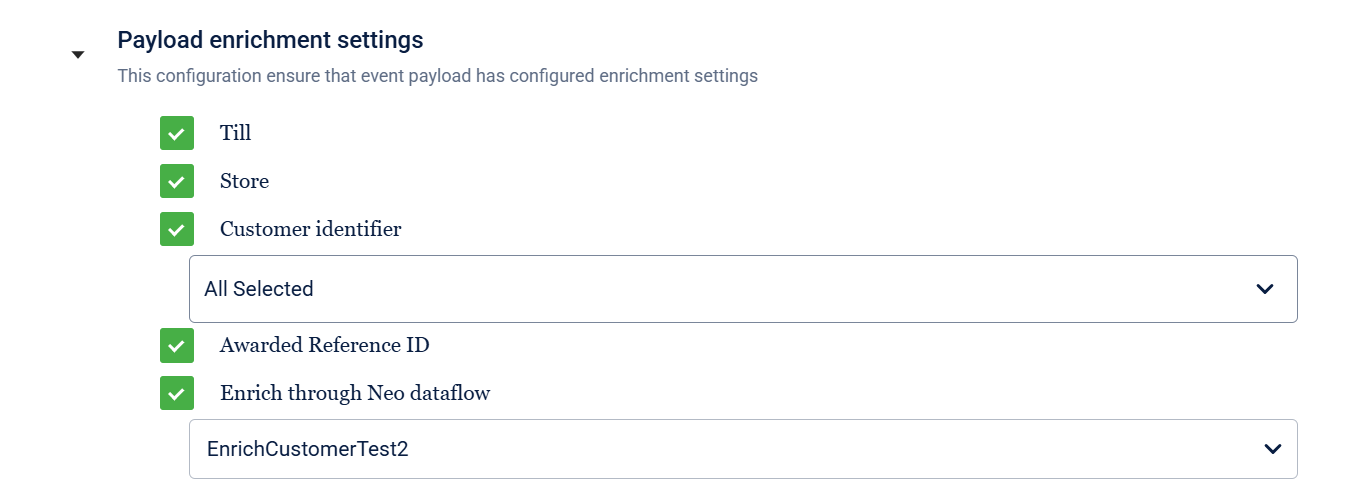
Event notification UI
- Select Till to capture till details - till data enrichment. The payload will contain till details such as till code, till name, and till ID.
- Select Store to capture store details - store data enrichment. The payload will contain store details such as store name, store ID, store code, and store external ID.
- By default, the customer identifiers are not available in the event notification payload. The presence of identifiers in the payload depends on:
- How the API was called - the identifier used to make the API call will be included in the payload
- Whether identifier enrichment is explicitly enabled.
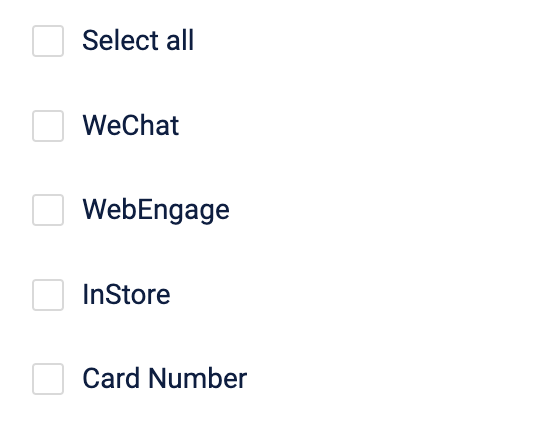
To include a customer identifier in the payload, select Customer identifier to capture customer identifiers according to the selected source - customer data enrichment. You will see the Source drop-down as shown in the following screenshots. Select the source identifier that you want to capture. The available options are WeChat, WebEngage, and InStore. For example, if you select Instore and the Instore profile of the customer contains an external ID, mobile and email, the event response payload will include the identifiers external ID, mobile and email.
- Including card information along with the customer identifier information - You can select the Card Number to include card details of the customer in the event payload. An associated source (channel or source from which the card number is obtained or linked to a customer's profile) must be selected before selecting the Card Number check box. If the customer has multiple card numbers, all the card numbers are added.

-
The Awarded Reference ID is a unique identifier associated with each issued point or redemption transaction within the system. These IDs are generated upon awarding loyalty points and can be used to track points issuance and redemption activities. In this context, you can select the Awarded Reference ID checkbox to capture the reference ID of the points issued as a result of the behavioural events.
-
Available Points Balance: To capture the total available points across multiple program IDs the customer is associated with, you can raise a JIRA ticket to the sustenance team and enable the configuration
availablePointsBalanceEnrichmentEnabled. Once activated, the system automatically records the customer's total points balance acrosspointsIssuedandpointsRedeemedevents in theAvailablePointsBalancefield. -
Select Enrich through Neo dataflow to enrich or transform data through Neo dataflows. Choose the required Neo dataflow from the drop-down. For details, refer to Event Notification Enrichment. This option is not available by default. Create a Jira support request with the Product Support Team to make this option available.
- In Advanced Settings, you can configure the following.

- Maximum allowed connections: Set the maximum number of concurrent webhook calls that could be allowed.
- Delivery SLA (in seconds): This feature is no longer supported. By default, the delivery SLA duration is one hour.
- In Add Events, click + Select events to add events to the notification and click Done. Use the Search box to easily find the event.
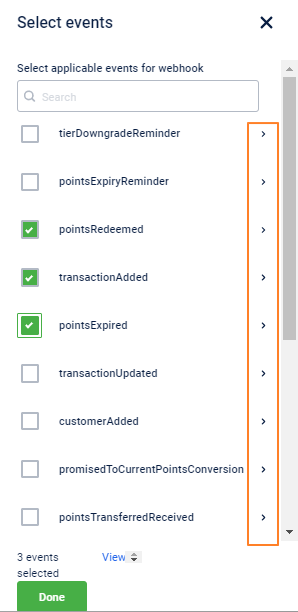
- To view the complete schema of a specific event click the respective > icon. See the image below.
{
   "allOf":[
      {
         "$ref":"commonEvent.json"
      }
   ],
   "javaInterfaces":[
      "com.capillary.eventNotification.bo.BaseEvent"
   ],
   "$schema":"http://json-schema.org/draft-06/schema#",
   "extends":{
      "$ref":"commonEvent.json"
   },
   "name":"pointsExpired",
   "description":"Schema for Points Expired",
   "type":"object",
   "properties":{
      "eventName":{
         "type":"string",
         "default":"pointsExpired"
      },
      "data":{
         "javaType":"com.capillary.eventNotification.bo.PointsExpiredAttributes",
         "type":"object",
         "required":[
            "customerIdentifiers"
         ],
         "properties":{
            "customerIdentifiers":{
               "$ref":"internal/customer.json"
            },
            "triggeringActivity":{
               "$ref":"internal/triggerActivity.json"
            },
            "loyaltyProgramId":{
               "type":"integer"
            },
            "pointsExpired":{
               "type":"number"
            }
         }
      }
   }
}
Updated 5 days ago
