
Install SDK
This guide provides information on how to integrate your mobile apps with Capillary's iOS SDK.
The HydraSDK repository is private.
- To access hydra-sdk-ios-packages repository, you must either have valid GitHub credentials with access to the repository or you can use your GitHub username and provide a Personal Access Token.
- If you have a valid GitHub credentials with access to the hydra-sdk-ios-packages repository, you need to add them to the Xcode accounts section to integrate the SDK. Follow these steps to complete the process.
Prerequisites
Access to HydraSDK Repository:
Valid GitHub credentials with access to the hydra-sdk-ios-packages repository.
OR
GitHub username and a personal access token with access to the repository.
- Using Valid GitHub Credentials:
If you are using GitHub credentials, add your GitHub credentials to the Xcode Accounts section. FOr more information, refer to this documentation. - Using GitHub Username and Personal Access Token:
If you are using GitHub username and personal access token, modify the package URL in Swift Package Manager:
https://Username:[[email protected]](mailto:[email protected])/Capillary/hydra-sdk-ios-packages.git
You can install the SDK using Swift Package Manager (SPM) or Xcode.
Installing SDK using Swift Package Manager directly
SPM is a tool that helps to manage the distribution of Swift code. For more information, refer to Swift.org.
To install the Capillary iOS SDK using SPM, define the package and dependencies in the SPM's configuration file. Use the below snippet:
import PackageDescription
let package = Package(
  name: “<Project-name>”,
  dependencies: [
    .package(url:"https://github.com/Capillary/hydra-sdk-ios-packages",upToNextMajor(from: "1.1.0"))
  ]
)
This makes sure that the SPM fetches the Capillary iOS SDK from the specified repository and includes it as a dependency in your project.
Installing SDK Using Xcode
You can also use Xcode and define the dependencies in SPM. To install the SDK using Xcode, perform the following:
Prerequisites:
- Xcode 14 or later
- Valid iOS project to integrate Hydra packages
- Internet connectivity
To install the SDK using Xcode, perform the following:
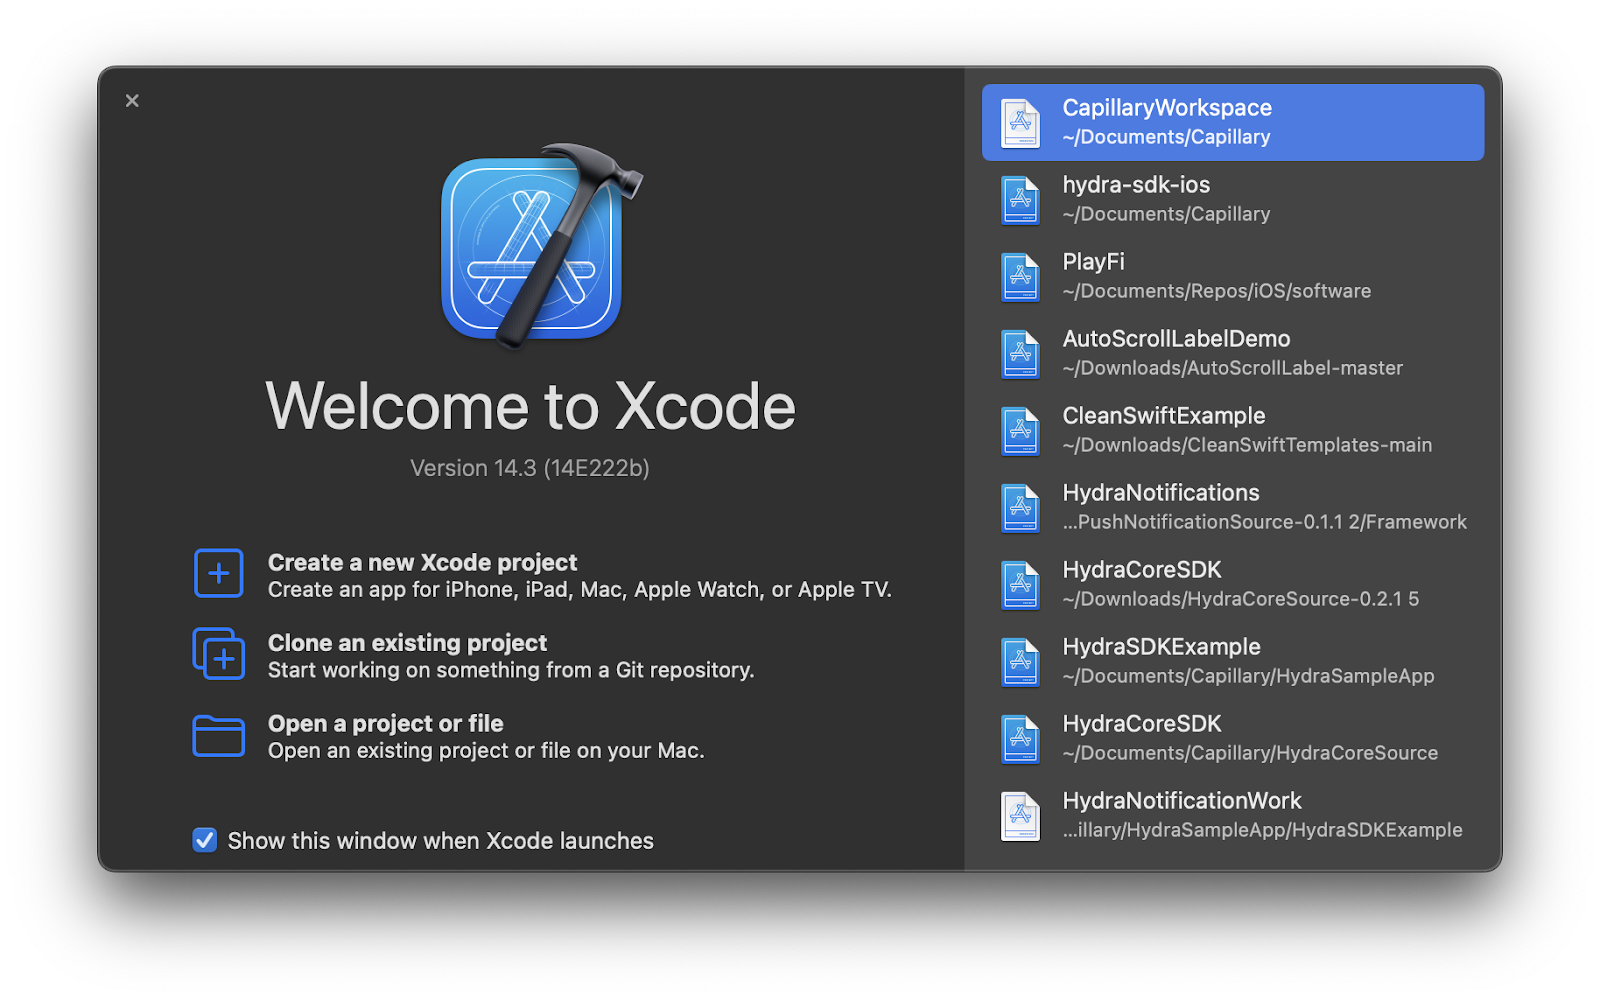
- Open the iOS project in Xcode.
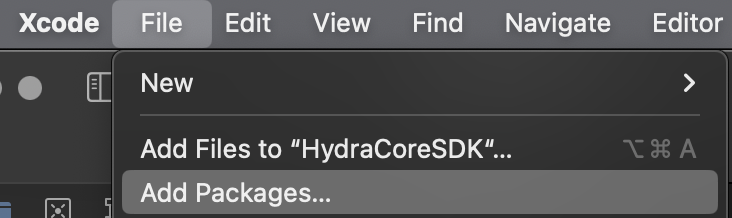
- On the File menu, select Add Packages.
- In the search field, enter the URL
<https://github.com/Capillary/hydra-sdk-ios-packages>orhttps://Username:[email protected]/Capillary/hydra-sdk-ios-packages.git.You can also select the package from the list of recently added packages.
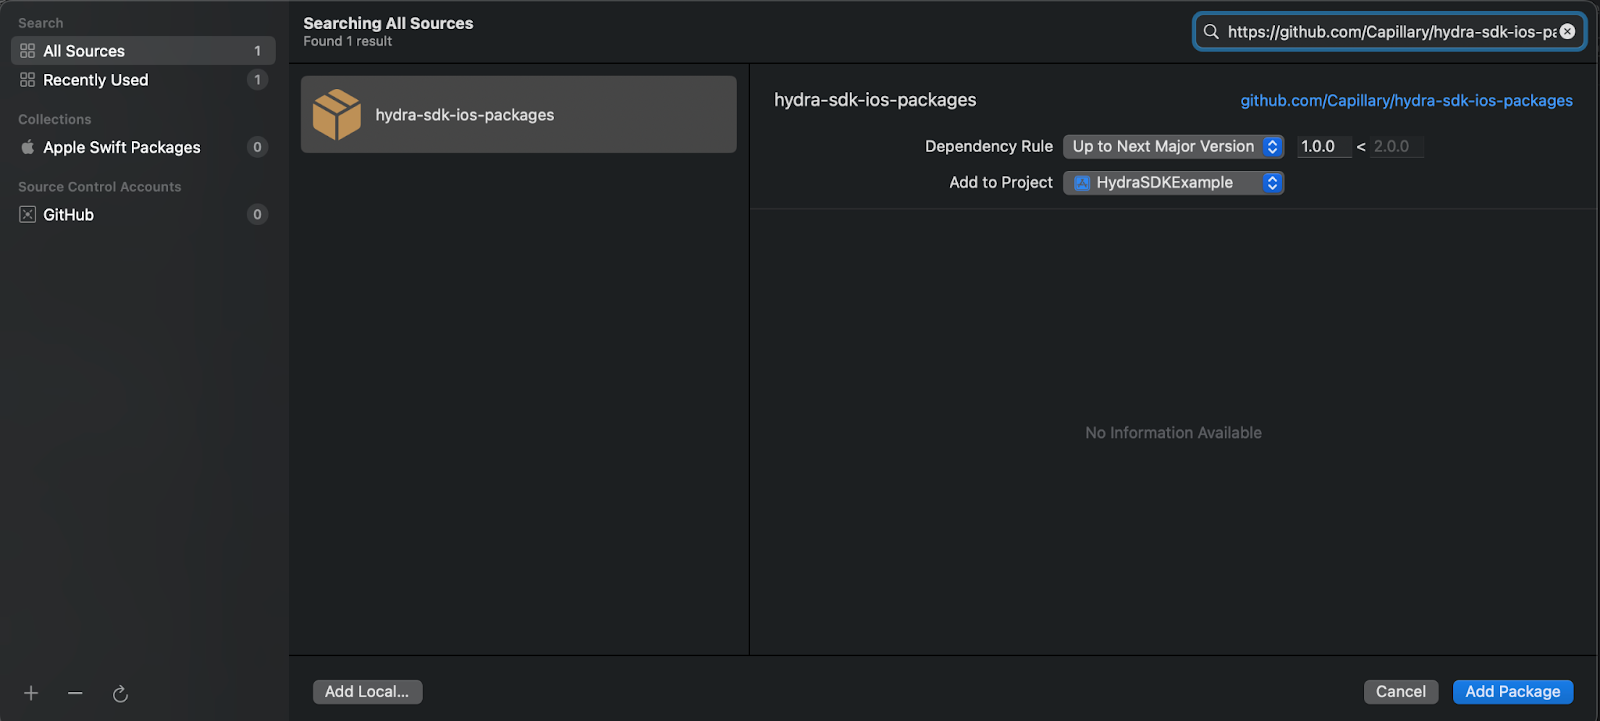
- From the Dependency Rule, select the version or branch of the package you want to use. To select the latest version of the package automatically, leave the version field blank.
Xcode fetches the package’s manifest file and displays its dependencies. Review these dependencies and make sure that they do not conflict with your project’s dependencies. - From the Add to project combo box, select the appropriate project.
- Click Add Package .
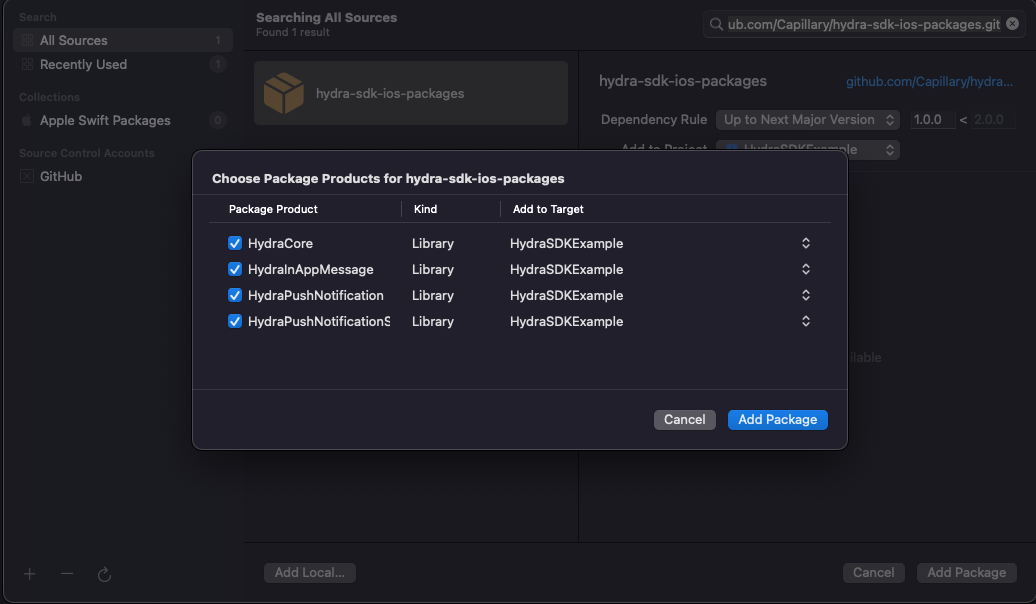
A package selection box appears. Select the desired frameworks and click Add package.
Xcode will automatically update your project’s dependencies and generate an Xcode project file for the package.
- Add the import statement at the top of the file where you want to use the package’s functionality and import the package to your project.
Installing SDK Using CocoaPods
To install the SDK using CocoaPods, follow these steps:
-
Update your PodfileAdd by adding the following to your podfile, replacing placeholders if using a PAT.
# Uncomment the next line to define a global platform for your project
platform :ios, '13.0'
use_frameworks!

target 'YourAppTargetName' do

# If using PAT, uncomment and define the private_repo URL
private_repo =
    'https://<YOUR_GITHUB_USERNAME>:<YOUR_PERSONAL_ACCESS_TOKEN>@github.com/Capillary/hydra-sdk-ios-packages.git'

# Define source for private repo if needed (adjust based on your setup)
source 'https://github.com/Capillary/hydra-sdk-ios-packages.git' # Or use the private_repo variable

# Add required Hydra pods
Ensure you are using the correct source or git URL
pod 'HydraCore', :git => private_repo
pod 'HydraPushNotification', :git => private_repo
pod 'HydraPushNotificationServiceExtension', :git => private_repo
pod 'HydraInAppMessage', :git => private_repo
pod 'HydraInboxCore', :git => private_repo
pod 'HydraInboxUI', :git => private_repo

# Other pods...
end

# If using a PAT and have a Notification Service Extension target:
target 'YourNotificationServiceExtensionTargetName' do
# Use the same private_repo variable if defined above
pod 'HydraPushNotificationServiceExtension', :git => private_repo
end
Note:The git approach requires specifying the URL for each pod. Alternatively, if you have set up a private Spec Repo for your organization, you might use the source directive and standard pod names.
- Install Pods in your project directory. To install, run one of the following:
-
pod installpod install --repo-update - Open the workspace and use the .
xcworkspacefile generated by CocoaPods.
Updated 5 months ago