
Labels
Labels are dynamic tags used to personalize message content in the respective communication channel. These tags allow you to insert specific information, such as a recipient’s name, store name, or other relevant details, into the message. For example, you can use a label like {{first_name}} to include the recipient’s name in each message. The label retrieves the correct name from the recipient’s profile in the system and replaces it with the actual value when the message is sent.
Labels are available by default when configuring content for any engagement channel. If a new label is required, you can create a ticket to the Capillary Product Support team.
For information on supported labels across engage+, refer to Supported labels across Engage+ documentation.
Notes
- While creating a template in the Creatives section for any engagement channel, it is not mandatory to select labels from the Add Labels section. You can manually add any label, save the template without errors, and also use Test & Preview within Creatives. However, ensure that all curly braces are properly closed; improperly closed
{{or{%tags will still throw a validation error when saving the template.
During campaign creation or journey, if the selected template contains unsupported or improper labels, the system will throw an “Unsupported Tags” error and will not allow you to select or use that template.- When you use the label
{first_name}}in your message, the system replaces it with the recipient’s first name from their profile. If the first name is unavailable or empty, the system uses Customer as the default value to ensure that the message remains personalized.
Use cases
Coupon start and end date
Coupons or offers have varying start and end dates for each customer based on their interactions with the brand. To provide information to customers regarding their offers' start and end dates, you can use these tags and send communications.
Example: Consider two users: David and Roy. David receives an offer assigned on January 1st, with redemption starting on January 7th and ending on January 10th. Roy, on the other hand, is assigned an offer on January 11th, with start and end dates of January 17th and January 20th, respectively. If you want to send an SMS to remind them about their coupons' validity periods, you can use the coupon expiry and coupon start date tags in the message content. When they receive the message, these tags are replaced with the actual values.
Entry event
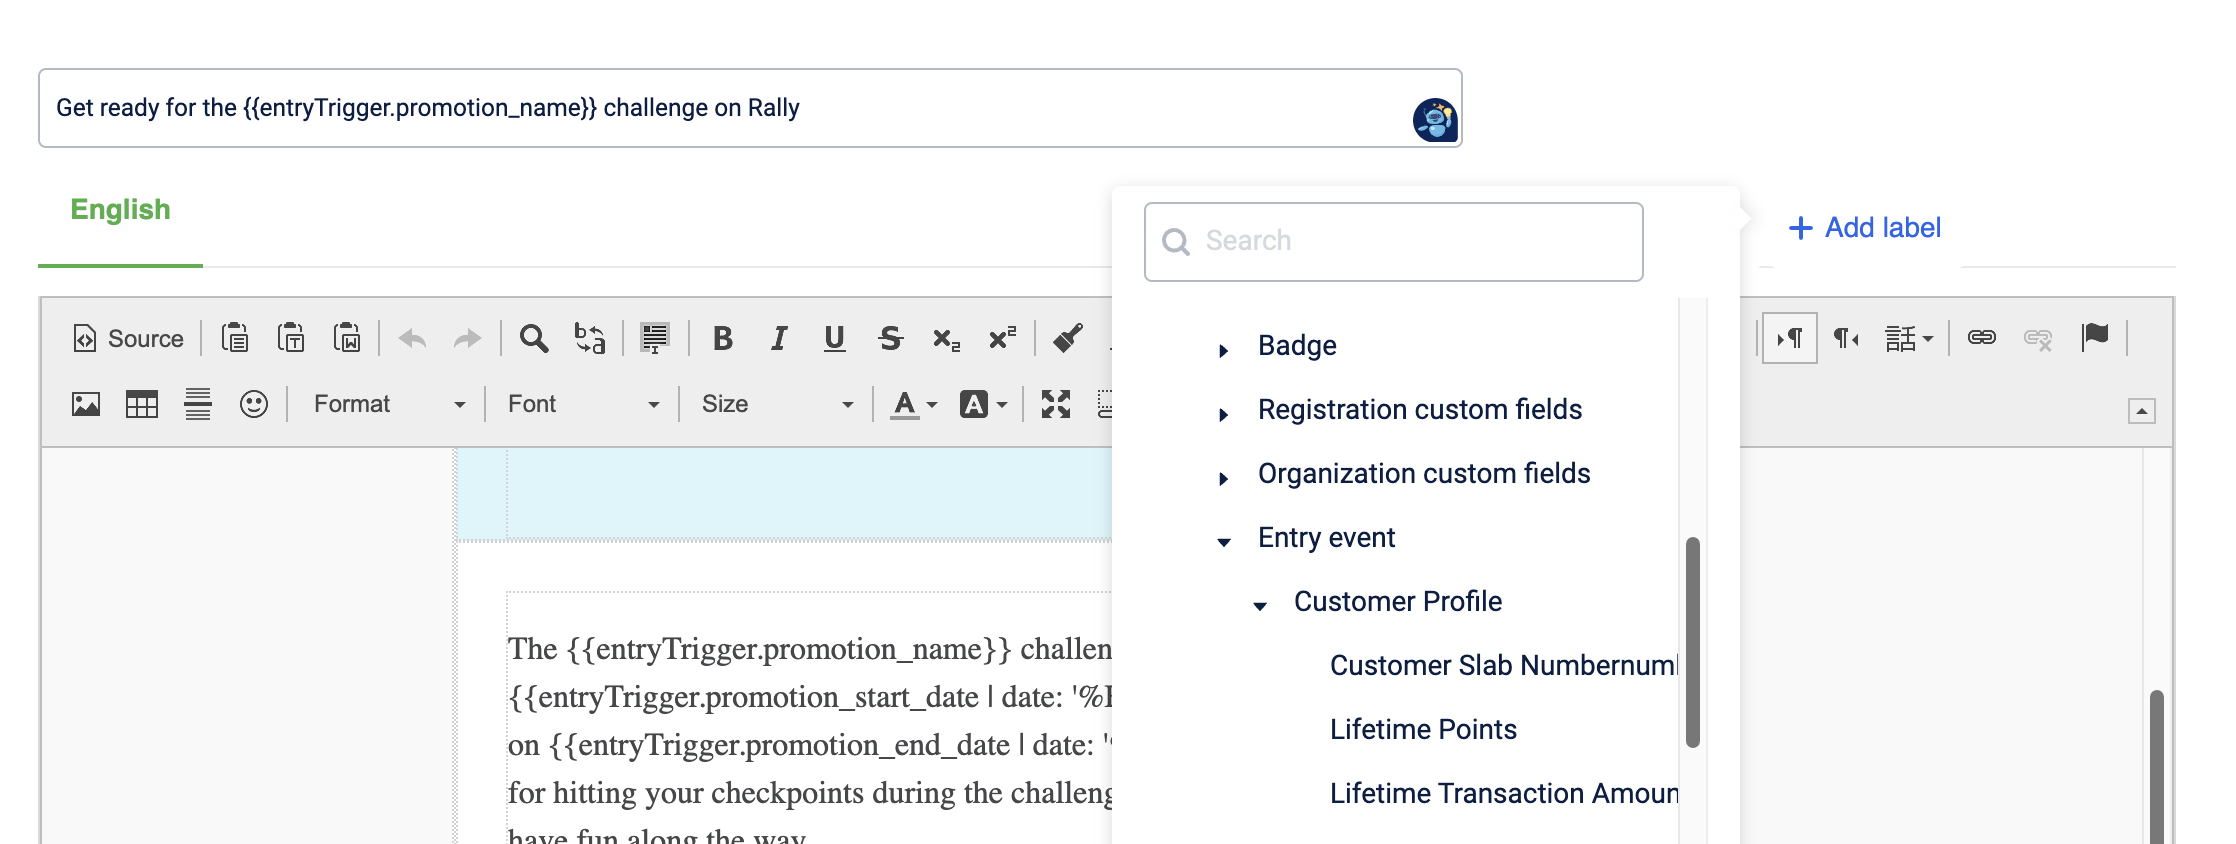
You can use the entry event label (dynamic tag) in a journey to include the values associated with the user's entry event in your communication message. The available tags depend on the entry trigger. For example, if the user entry event is based on a promotion, you can include details such as the promotion name or promotion start date in the message. To add this, select the Entry Event option from the drop-down menu and choose the appropriate label tag.
If the entry event is changed after using the entry event label, a warning message is displayed. If the warning is ignored, the labels will fail to function correctly.
Add labels in message content
This helps in personalizing the message content and ensures more relevant communication for each recipient. To add labels in message content, follow the given steps below:
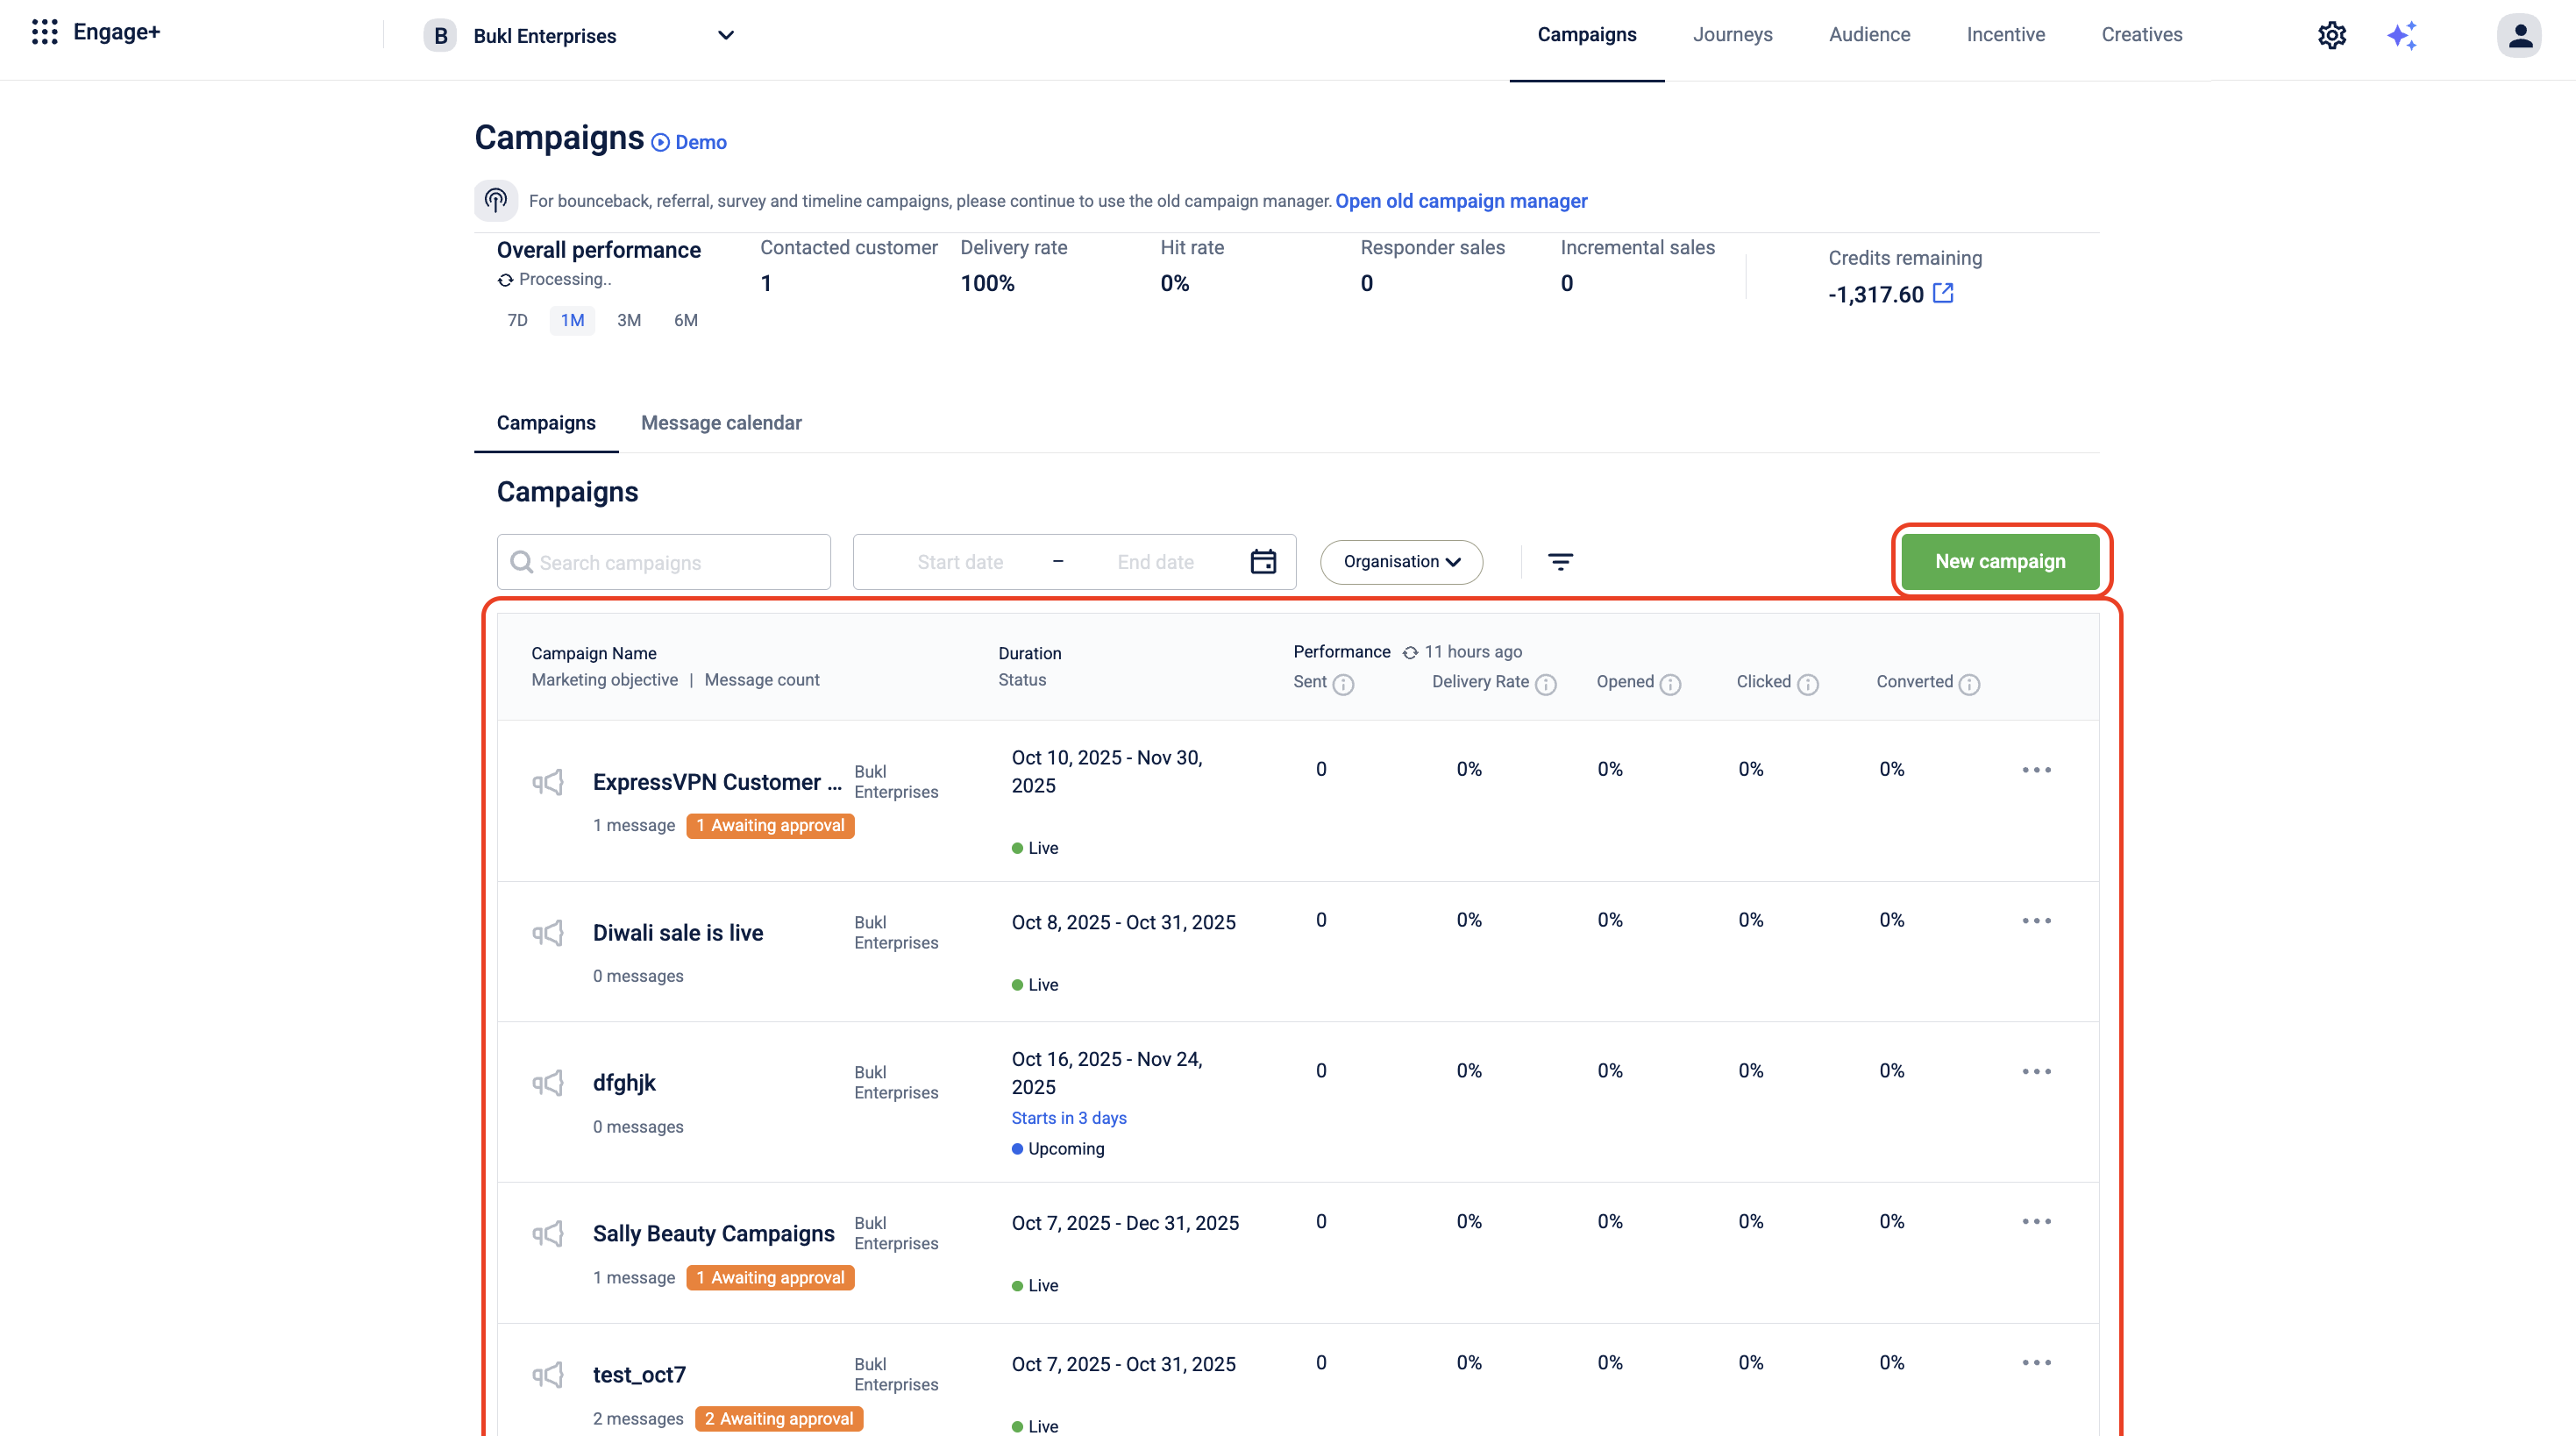
- Create a campaign or select an existing campaign.
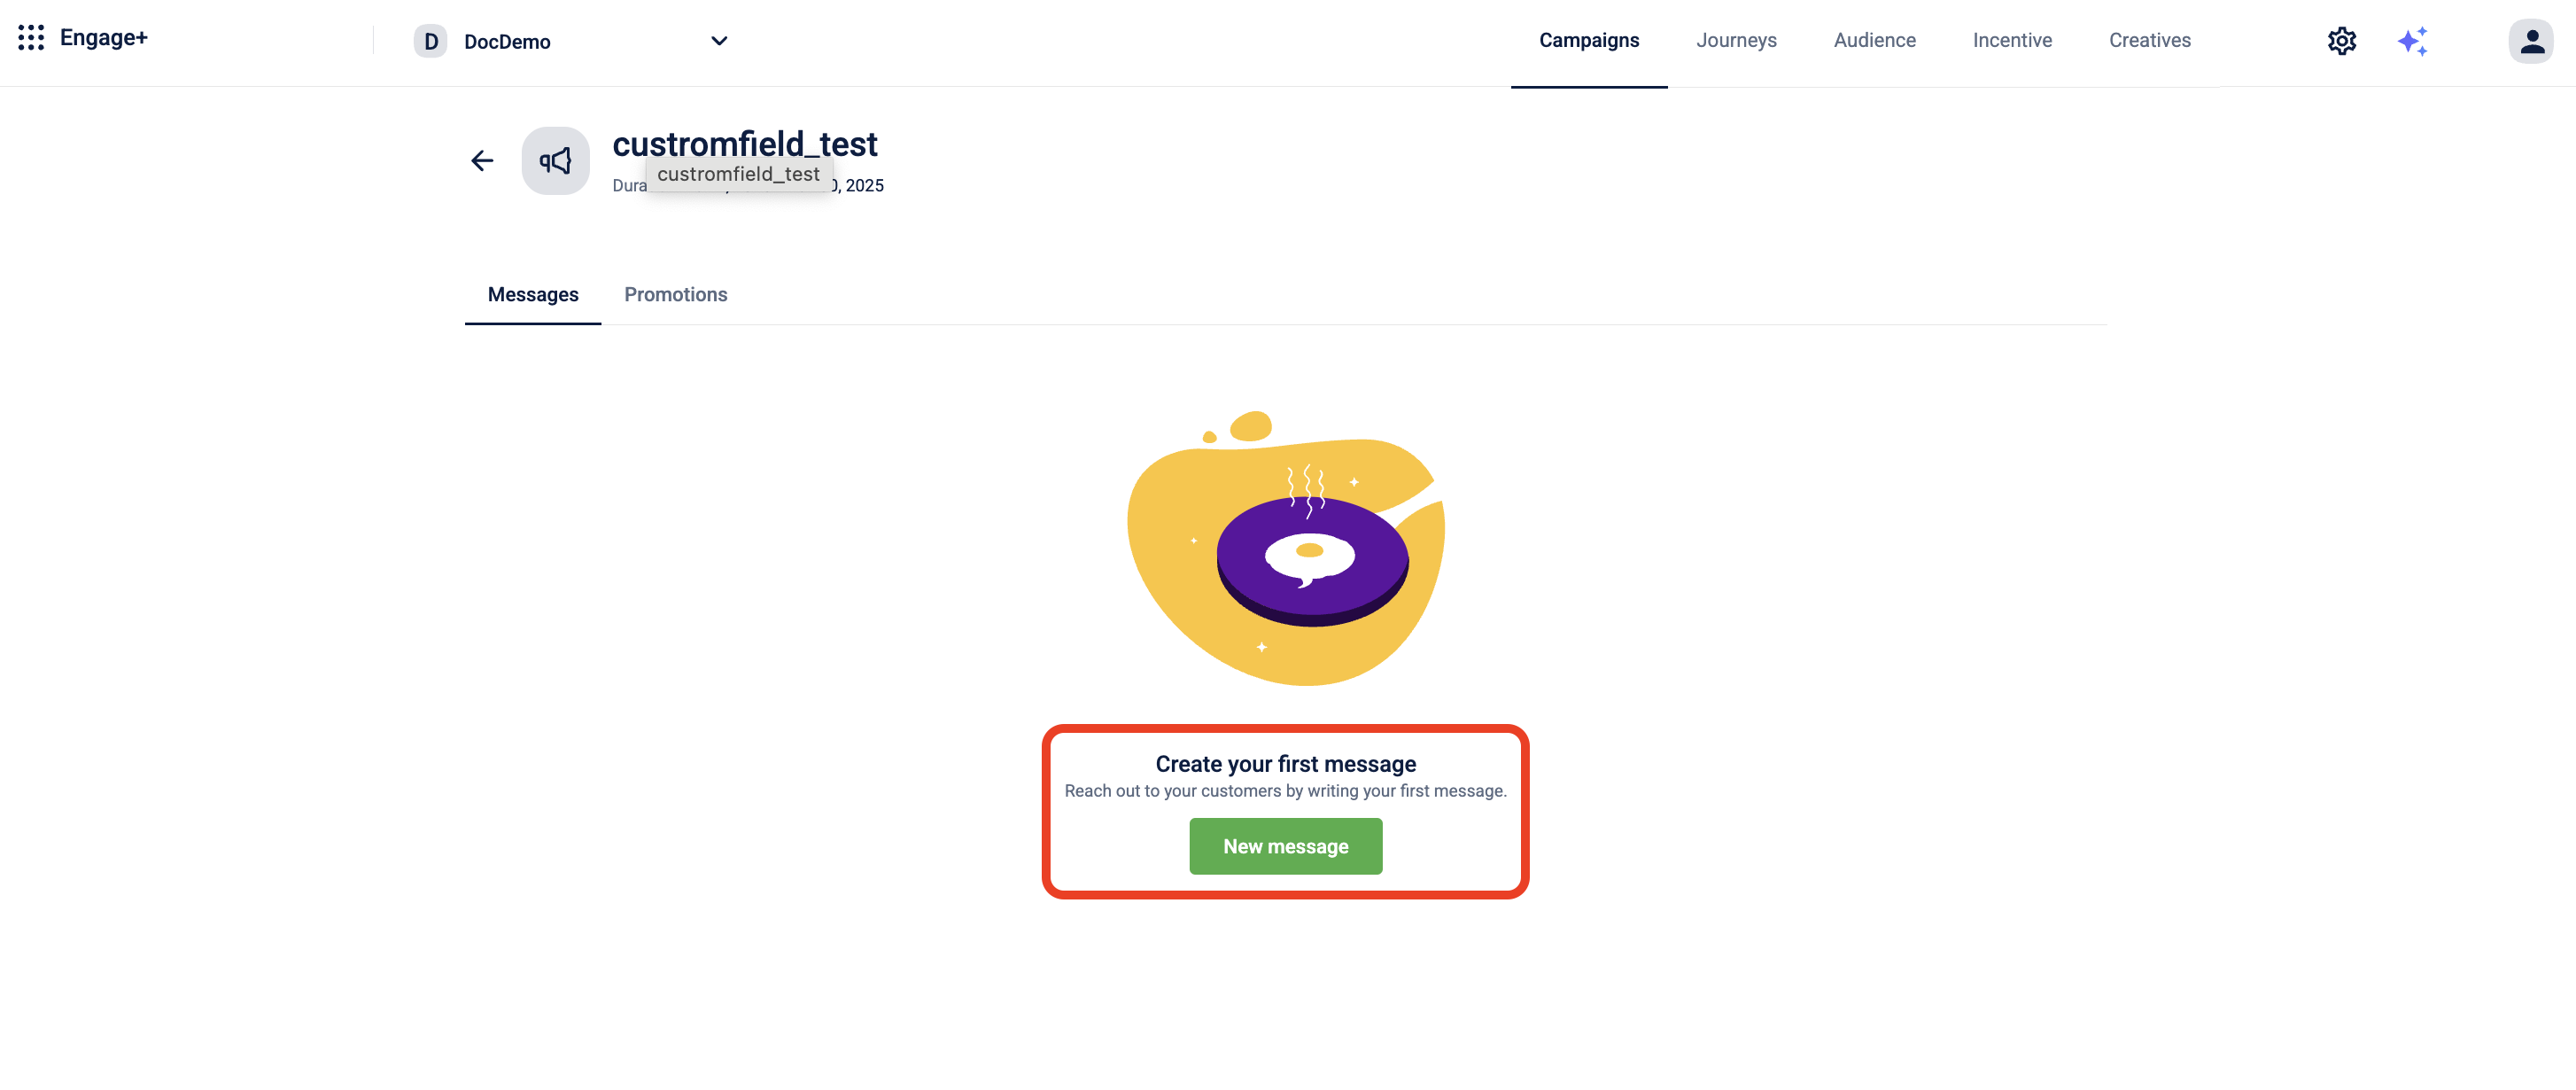
- Create a message within the campaign.
-
In the Content section, select Add Creative and choose the engagement channel for your communication.
-
Create a new template or select an existing one.
-
In the message content, select + Add Label to view the list of available labels. To know more about the labels supported across engagement channels, refer to Supported Labels for Engagement Channels.
-
Select the desired label(s) and click Done.
Once added, the labels in your message content will automatically be replaced with the actual values (like customer name, store name, etc.) when the communication is sent.
Updated about 2 months ago