
Configure Push Notifications
Configuring push notifications for Android
Follow these steps to configure push notifications for your Android project:
- Add the
google-services.jsonfile you downloaded from Firebase to the android/app folder in your project. - Add the Google services plugin to your project's settings file.
- If your app uses
android/settings.gradle.kts(Kotlin), add the following plugin:plugins { // ... other plugins id("com.google.gms.google-services") version "4.4.2" apply false } - If your app uses
android/settings.gradle(Groovy), add the following plugin block:plugins { // ... other plugins id 'com.google.gms.google-services' version '4.4.2' apply false }
- If your app uses
- Apply the Google services plugin in your app-level build file.
- If your app uses
android/settings.gradle.kts(Kotlin), add the following plugin:plugins { // ... other plugins id("com.google.gms.google-services") } - If your app uses
android/settings.gradle(Groovy), add the following plugin block:plugins { // ... other plugins id 'com.google.gms.google-services' }
- If your app uses
- Add a
colors.xmlresource file in theandroid/app/src/main/res/valuesfolder if one does not already exist. Add the following color resource within the<resources>tag:<color name="hydra_notification_color">#FF03DAC5</color> - Add a small icon file named
hydra_notification_small_iconto theandroid/app/src/main/res/drawablefolder. This icon is used in the notification drawer. The file can be in XML, PNG, or JPG format.
Configuring push notifications for iOS
Follow these steps to configure push notifications for your iOS project:
- Add the GoogleService-Info.plist file you downloaded from Firebase to your iOS project using Xcode.
- Ensure you have added the Push Notification capability for your app identifier on the Apple Developer website.
- In your Xcode project settings for your application target, add the following capabilities under Signing & Capabilities:
Configuring rich notifications for iOS
Follow these steps to configure rich push notifications for your iOS project.
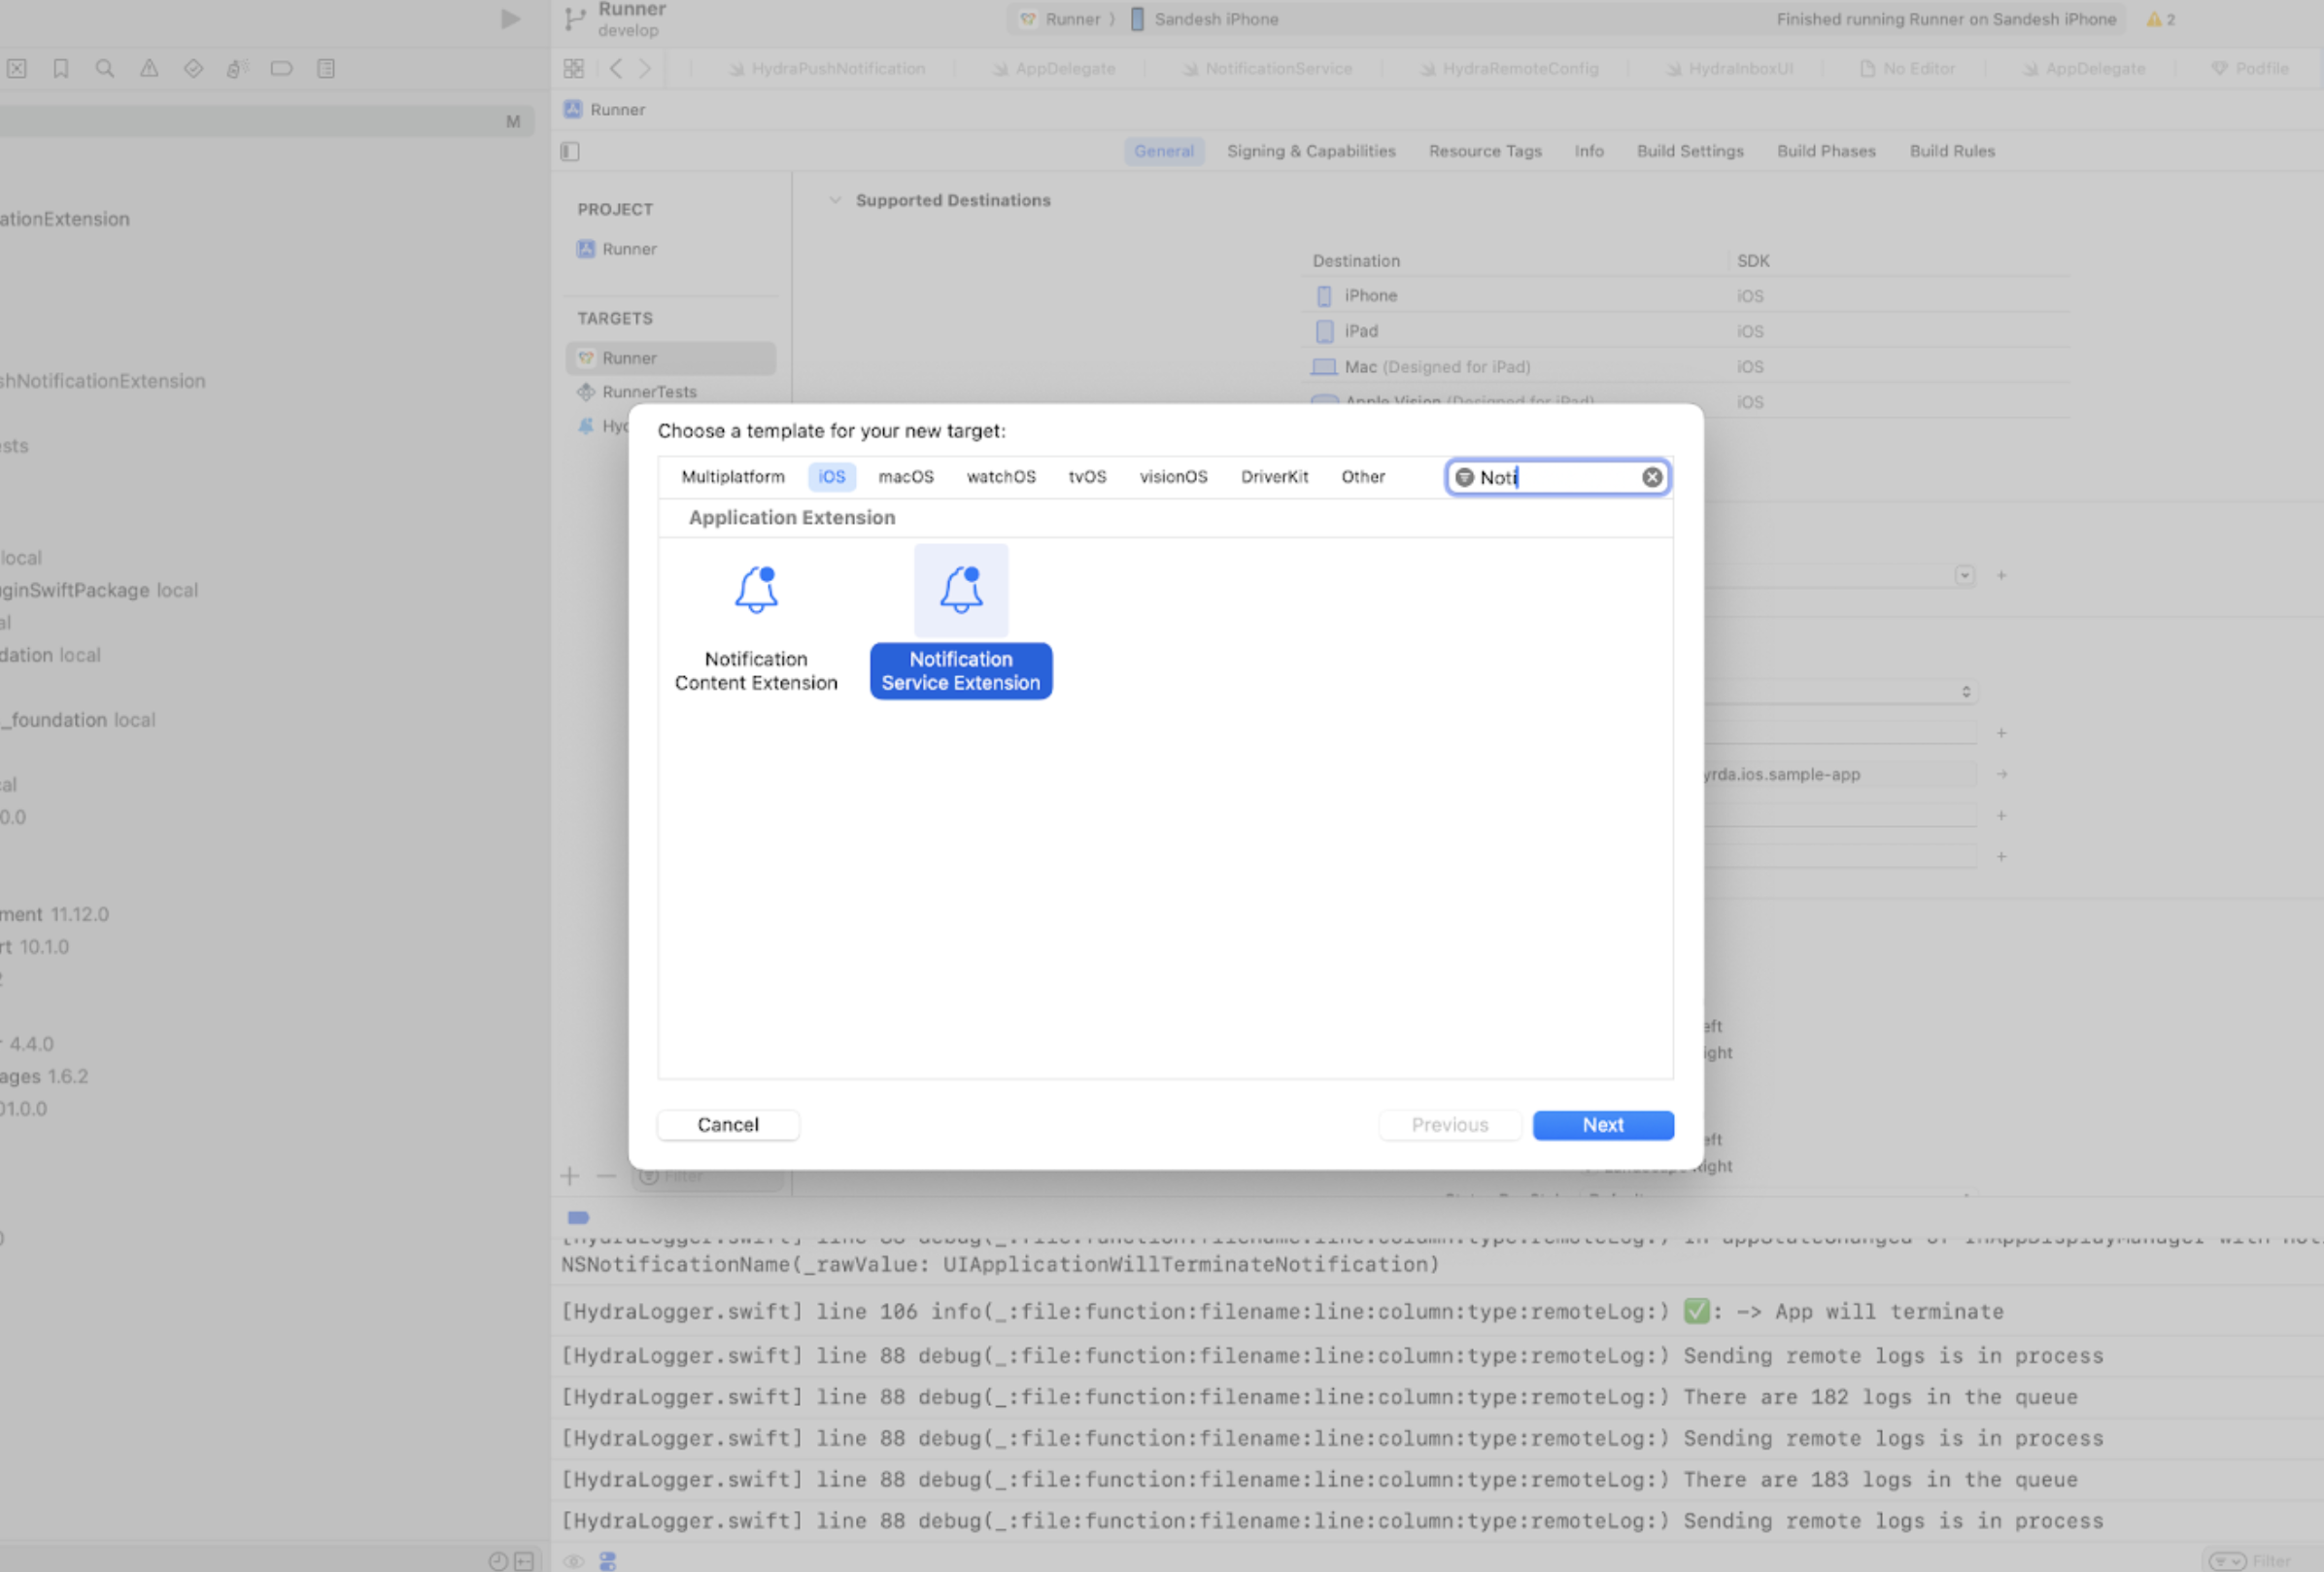
-
Go to your project settings in Xcode and add a new target and select Notification Service Extension from the available templates. This adds a Notification Service Extension to your project.
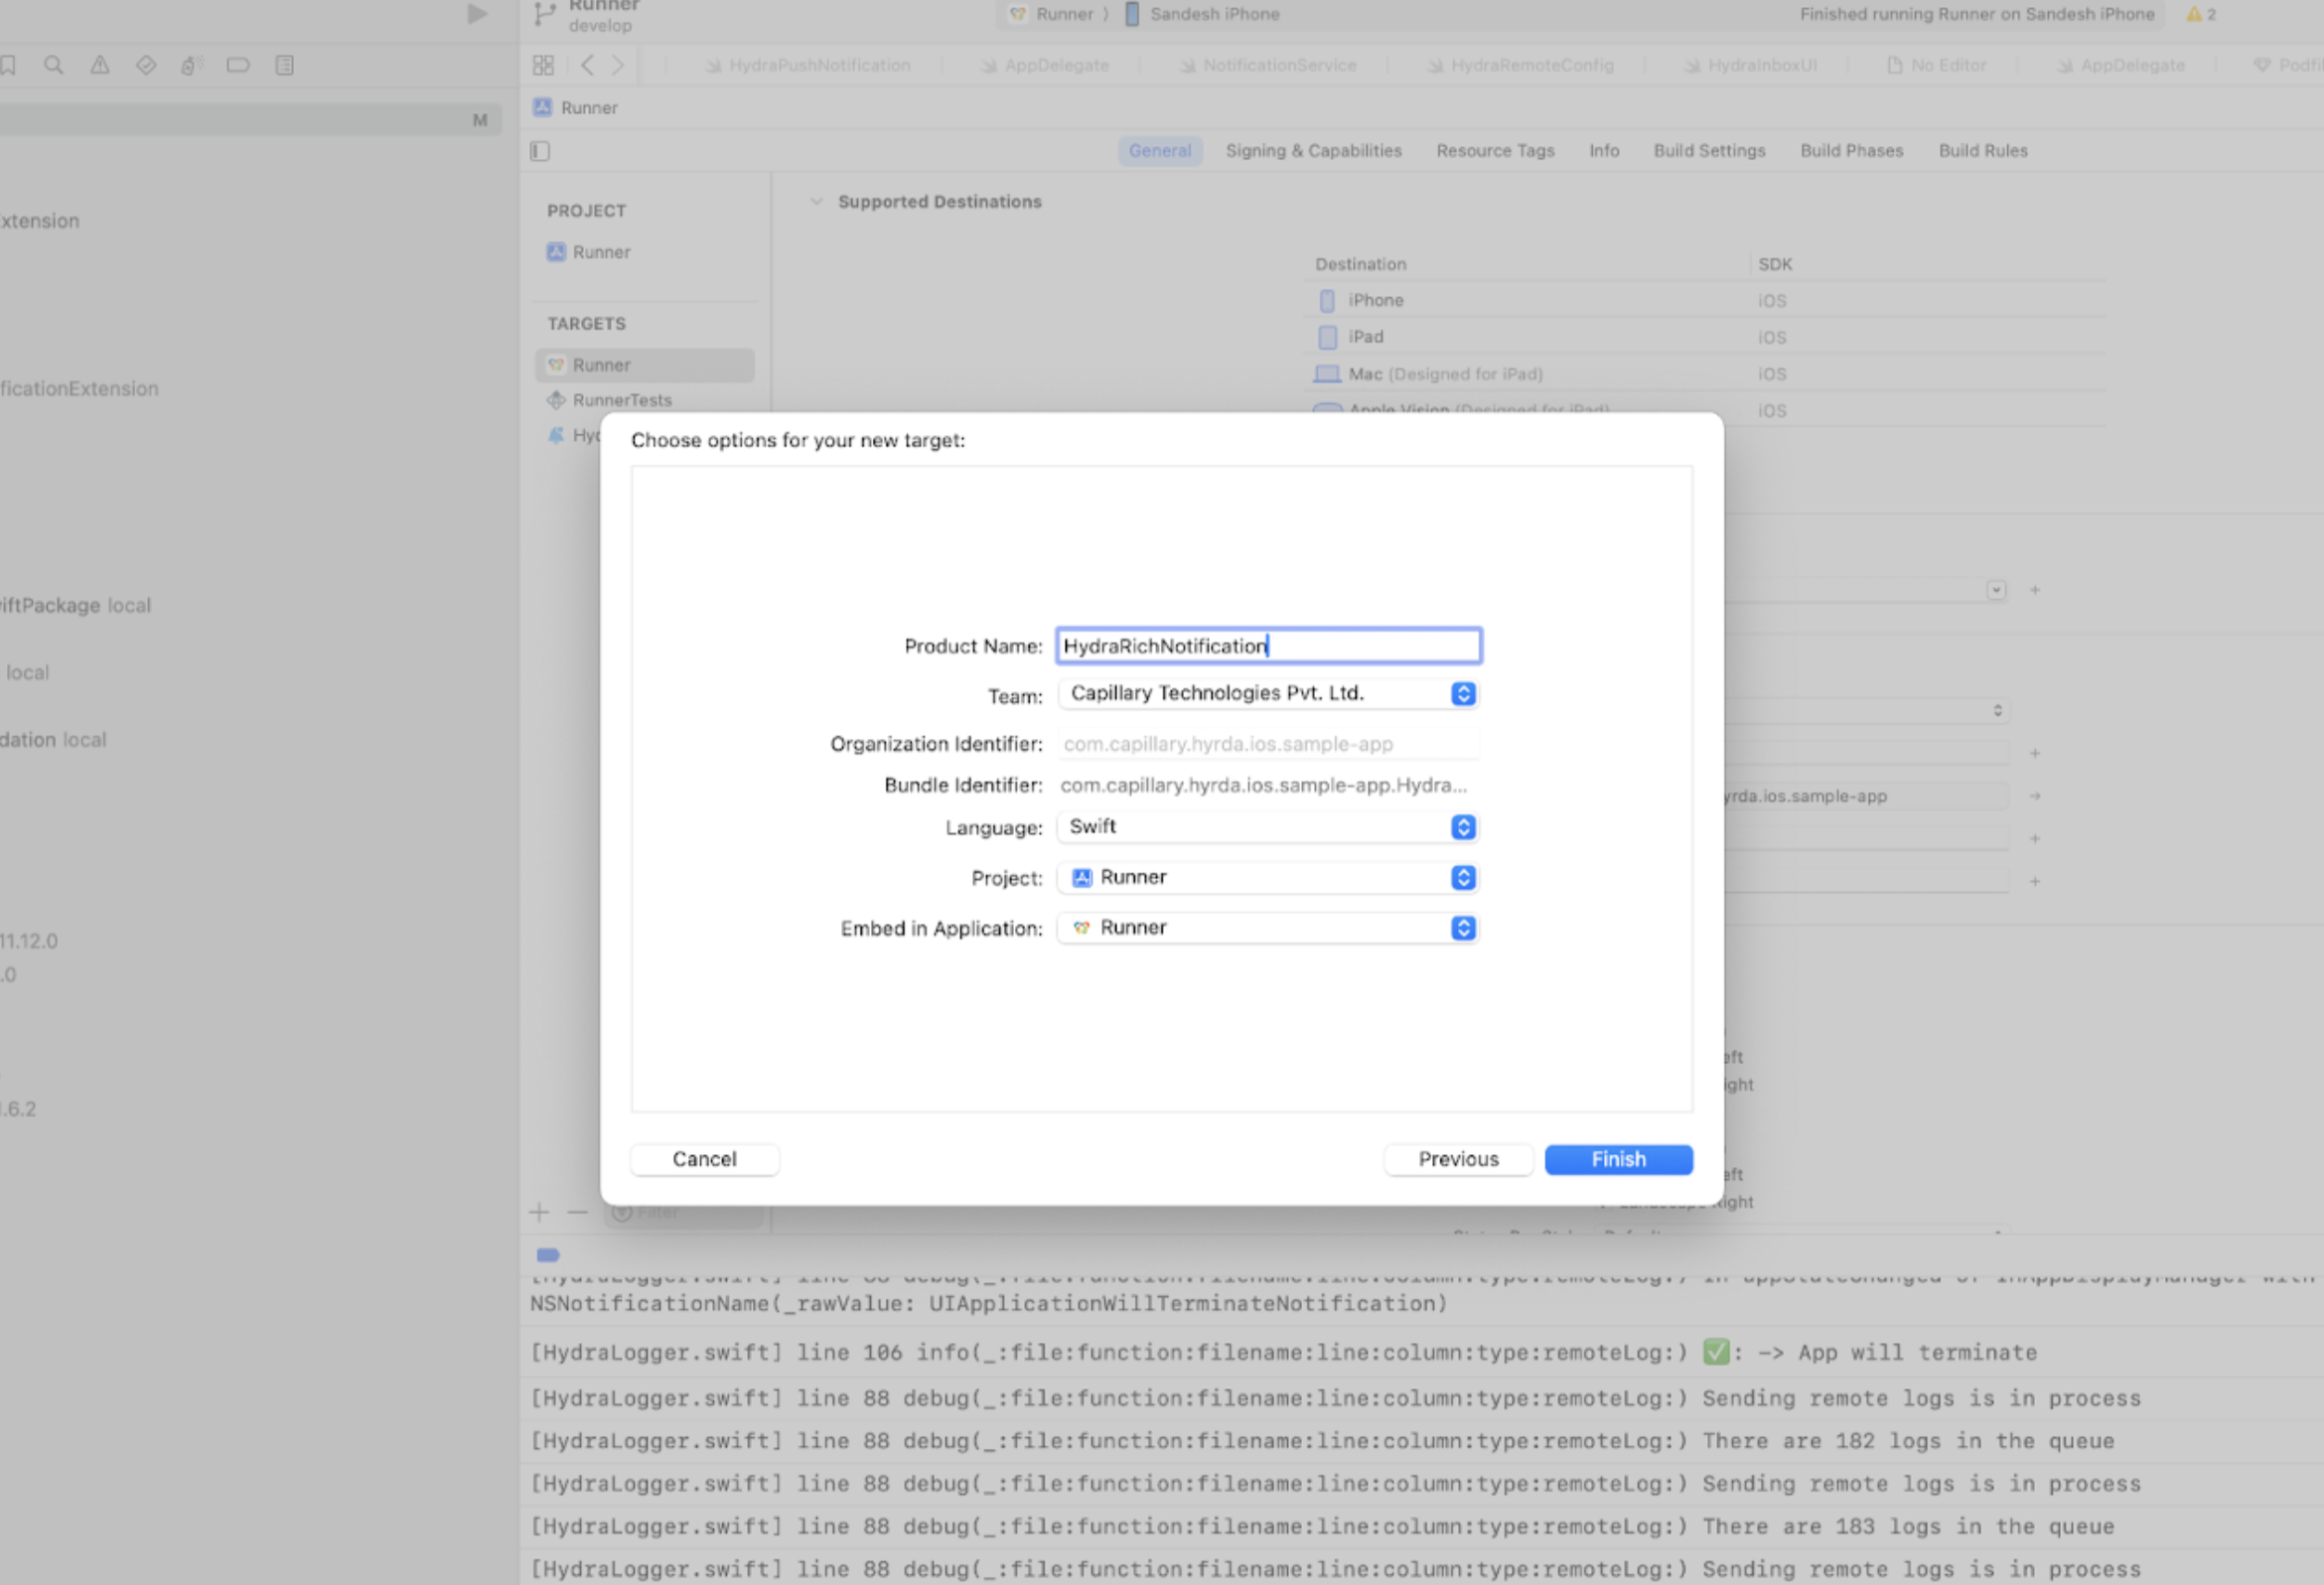
-
When configuring the new target, Xcode will append the
ProductNameof your main target to its bundle identifier to create the bundle identifier for this extension. You must add this extension bundle identifier on the Apple Developer website.
-
Add the
App Groupscapability inSigning & Capabilitiesfor both your main application target and the new extension target. You will need to create and add a group in both targets. The group name must follow the formatgroup.<runner_target_bundle_id>.hydra, where<runner_target_bundle_id>is replaced with the actual bundle identifier of your main application target. This App group also needs to be added on the Apple Developer website for both app identifiers. -
In your ios/Podfile, add
extension_podswithin the target block for your new extension target, as shown here:target "HydraRichNotification" do use_frameworks! extension_pods # Add this line end -
Install the pods again by opening your terminal, changing the current working directory to your project's ios folder, and running the command:
pod install
NoteIf Swift Package Manager is enabled for your project, skip steps 4 and 5 and proceed to step 6.
-
Replace the entire code content in your NotificationService.swift file with the following code:
import UserNotifications
import HydraPushNotificationServiceExtension

class NotificationService: UNNotificationServiceExtension {
    let service:HydraRemoteNotificationService = .init()

    override func didReceive(_ request: UNNotificationRequest, withContentHandler contentHandler: @escaping (UNNotificationContent) -> Void) {
        service.didReceive(request, withContentHandler: contentHandler)
    }

    override func serviceExtensionTimeWillExpire() {
        service.serviceExtensionTimeWillExpire()
    }
}
Updated 4 months ago