
Data Validation Block
The Data Validation block ensures data quality by cleaning, validating, and preparing information before moving to the next step in a workflow. Typically, it acts as a middle step, placed after a source or decrypt block and before an API call block. The block is optional and available in both Do-It-Yourself (DIY) and standard templates.
The block runs a Databricks job, identified by its job ID, to process incoming data. The job reads the input file retrieved from the source block, converts it into a temporary table, applies the required validations and transformations, and writes the results to an output table. The output table then serves as the data source for field mapping in subsequent blocks.

Key capabilities
The Data Validation block prepares your data before it moves downstream. You can use it to:
-
Filter data: Keep only the records that meet specific conditions.
-
Remove duplicates: Eliminate repeated records to retain only one copy.
-
Fill missing values: Add default or random values in required fields to prevent errors later in the workflow.
-
Add missing details: Retrieve additional information from other Databricks tables.
-
Rename headers: Update column names to match the format required by subsequent steps.
-
Apply custom rules: Define validation logic in Databricks, such as validating formats or ensuring uniqueness.
-
Transform data: Adjust fields, standardize formats, or reorganize records.
Process Overview
The Data Validation block uses Databricks to apply the capabilities listed above. The workflow follows these steps:
-
File is read – Connect+ retrieves the input file from a source such as SFTP. If the file is encrypted, it is decrypted first.
-
Databricks job runs
- Temporary table is created – The file is automatically converted into a temporary table in Databricks.
Example: A CSV file with 10,000 rows and five columns becomes a temporary table with the same structure. - Databricks job runs – You create a Databricks notebook with your validation and transformation rules. Spark SQL applies these rules to the temporary table.
- Output table is generated – The cleaned, transformed, and validated data is saved to a new temporary output table.
- Temporary table is created – The file is automatically converted into a temporary table in Databricks.
-
Data returns to Connect+ – Connect+ retrieves the processed data from the output table and continues the workflow, such as sending it to an API.
-
Tables are deleted – Both the input and output temporary tables are automatically deleted after 10 days, ensuring the block is used for preparation and not storage.
Use cases
The Data Validation block provides multiple options for improving data quality, enriching records and ensuring that only valid and complete information progresses through a workflow. Below are its key applications:
Use Case 1: Validate Customer Status Before Processing Transactions
A retail brand wants to award loyalty points only for purchases made by active customers. However, transaction files often include records from inactive or deleted customers, leading to incorrect point allocation.
Solution
Use the Data Validation block to check the customer status before processing transactions. Configure a Databricks job that:
-
Confirms whether the customer is active.
-
Rejects transactions from inactive or deleted customers with an error reason.
After validation, only eligible transactions proceed for point allocation.
Use Case 2: Retrotagging for Late Enrollments
Customers sometimes make purchases before enrolling in the loyalty program. When they sign up later, the brand wants to link the past purchases to the customer’s new account and award points retroactively.
Solution
Use the Data Validation block to retrotag earlier transactions. Configure a Databricks job that:
-
Matches past purchases with the newly created member profile.
-
Tags earlier visits against the correct customer account.
The validated data is then forwarded for point allocation, ensuring customers are rewarded fairly.
Use Case 3: Enrich Customer Data with Required Identifiers or Append Missing Data
A brand’s transaction files often include basic details such as LoyaltyID or points, but miss Capillary identifiers like user_id or bill_id. In some cases, files include only a mobile number, while downstream API calls require the first and last names.
Solution
Use the Data Validation block to enrich incomplete records. Configure a Databricks job that:
-
Looks up missing Capillary identifiers, for example,
user_id,bill_id,and missing information likefirst and last namefrom other Databricks tables. -
Validates that the customer exists and is active.
This produces a complete dataset ready for transaction processing.
Use Case 4: Perform Reconciliation and Audit Checks Before Storing Transactions
Before storing transactions, a retail brand needs to verify store IDs, avoid duplicate entries, and identify suspiciously large bill amounts. Without these checks, errors and fraud may affect reporting and rewards.
Solution
Use the Data Validation block to perform reconciliation and audit checks. Configure a Databricks job that:
-
Confirms store IDs exist in the system.
-
Rejects transactions already recorded.
-
Flags transactions with unusually high values for further review.
The cleaned data then continues to the next block for storage or processing.
Use Case 5: Filter Data
A retail brand imports a transaction file containing 10,000 records. However, only bills greater than 1,000 rupees are eligible for loyalty points. Without filtering, unnecessary records slow down processing and API calls.
Solution
Use the Data Validation block to filter input data. Configure a Databricks job that selects rows with a transaction value greater than 1000 rupees.
Only qualifying records are returned to Connect+ for further processing.
Use Case 6: Fill Missing Values
Input files sometimes contain null values in mandatory fields such as transaction dates. These gaps cause errors in subsequent API calls.
Solution
Use the Data Validation block to fill missing values. Configure a Databricks job that:
-
Replaces nulls in required fields with default values.
-
Ensures mandatory fields are always populated before forwarding the data.
This prevents failures during downstream processing.
Use Case 7: Cleaning Customer Data Before Loyalty Points Allocation
A retail brand uses Capillary’s loyalty platform to allocate points by importing customer data from an external system. However, the incoming file often includes duplicate records and rows with missing mobile numbers, which impacts point allocation.
Solution
Use the Validation block in Capillary to clean the data before processing it. Configure a custom Databricks job that:
- Removes duplicate customer records based on email address or mobile number.
- Eliminates rows where the mobile number is missing.
Provide the Databricks job ID in the Validation block configuration. After validation and cleaning, Capillary forwards the processed data to the next blocks for loyalty points allocation.
Configuring the Data Validation Block Interface
Pre-Requisites
- Ensure you have access to the database for your organisation's group. For access, create a ticket to the Capillary Access team.
- Name of the target database.
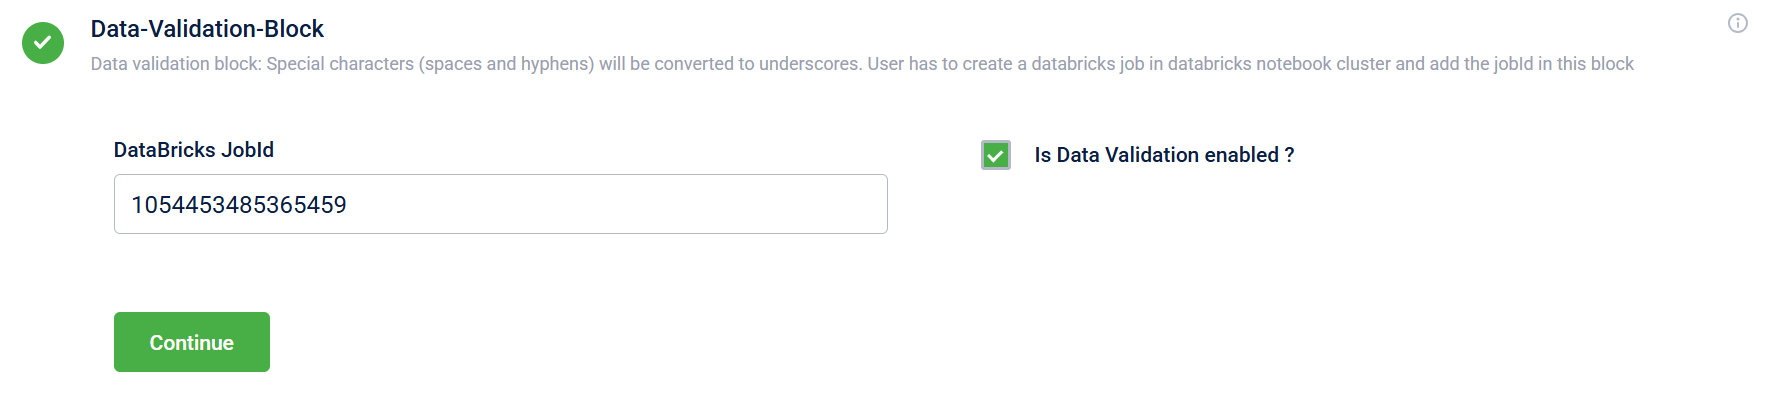
| Field name | Description |
|---|---|
| DataBricks JobId | The that defines the validation and transformation logic. |
| Is Data Validation enabled? | Indicates whether to perform data validation:
|
Creating a Databricks Job and Job ID
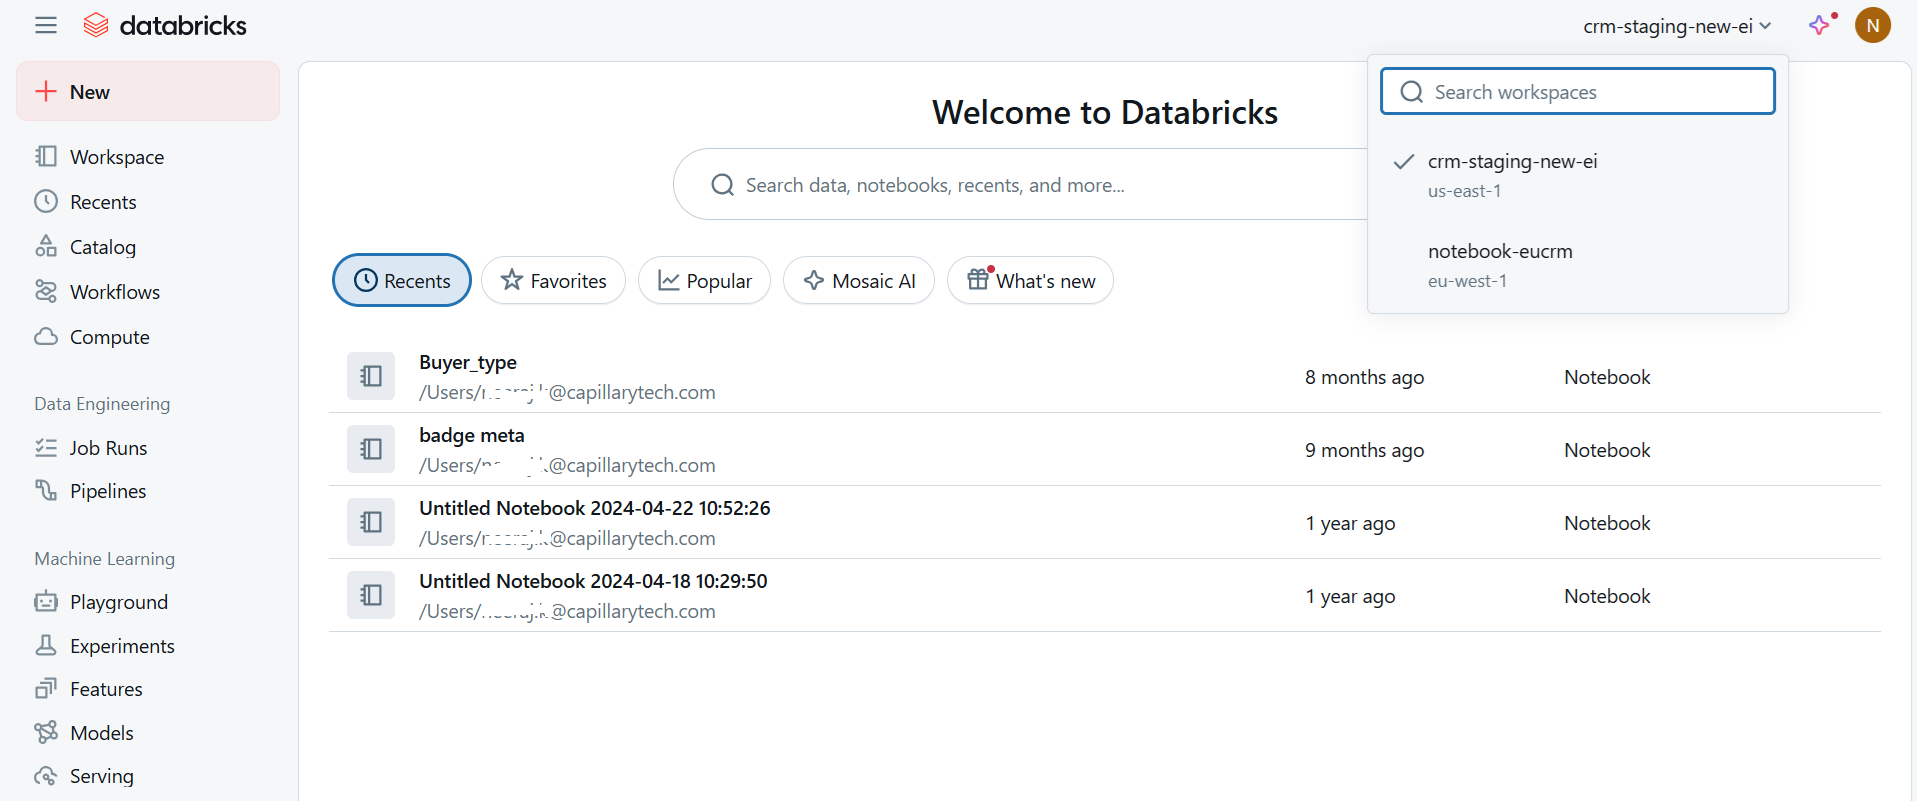
- Log in to the Databricks portal.
- From the drop-down menu in the top right corner, select your workspace.
Your workspace is namednotebook-cluster in which your organisation exists.
Example:notebook-eucrm, whereeurcrmis the cluster in which the organisation exists.
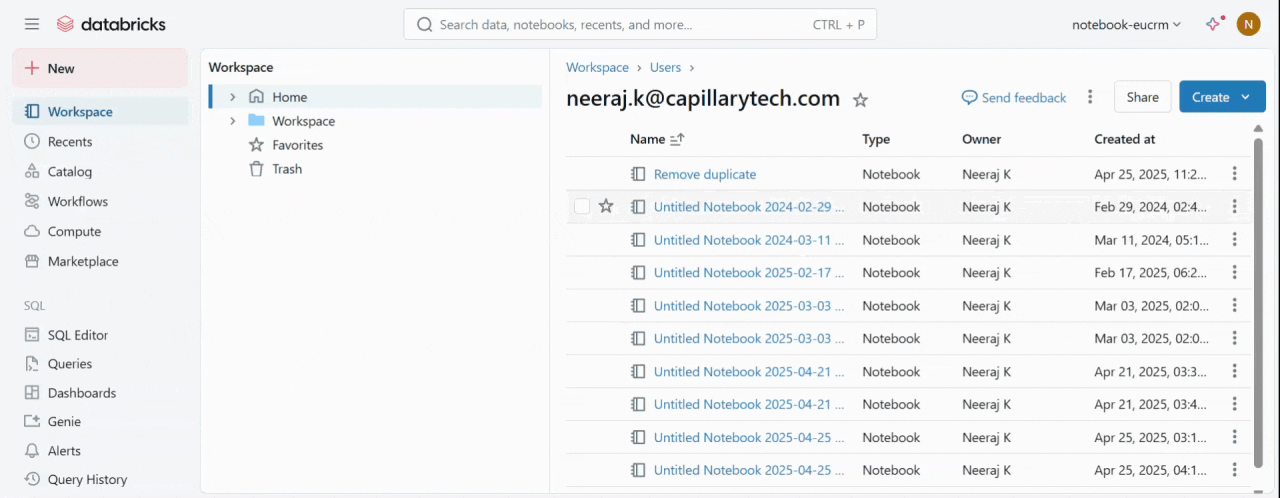
- From the left pane, click Workspace > Create > Notebook.
Write a Databricks notebook for the required validation and transformation.
Note: A complex Databricks job might slow down the workflow.
Databricks Notebook
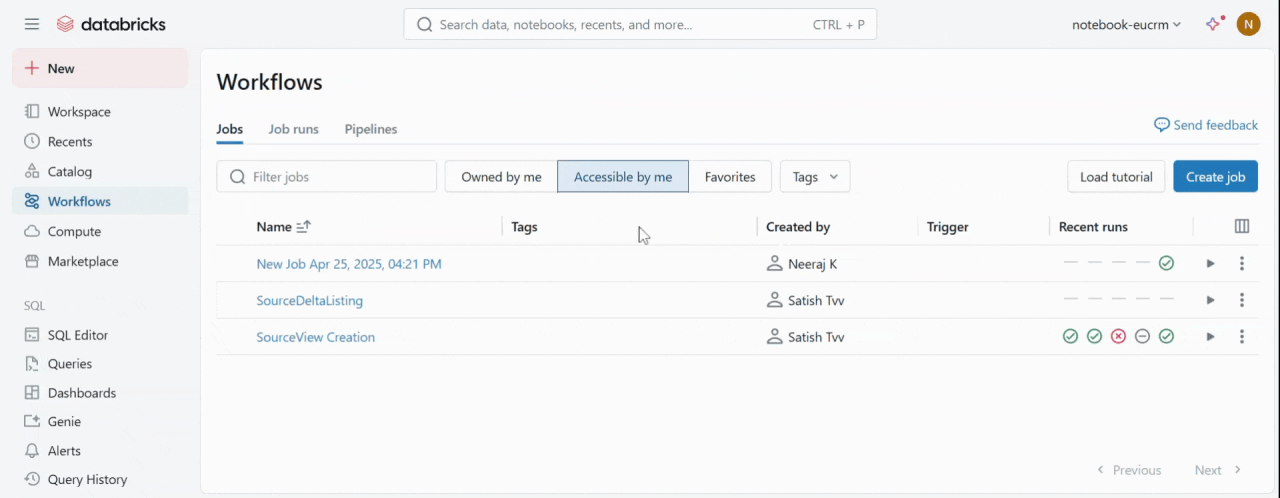
- From the left pane, click Workflows> Create job.
The job ID is created. Use the Job ID in the DataBricks JobId field of the Data Validation block.
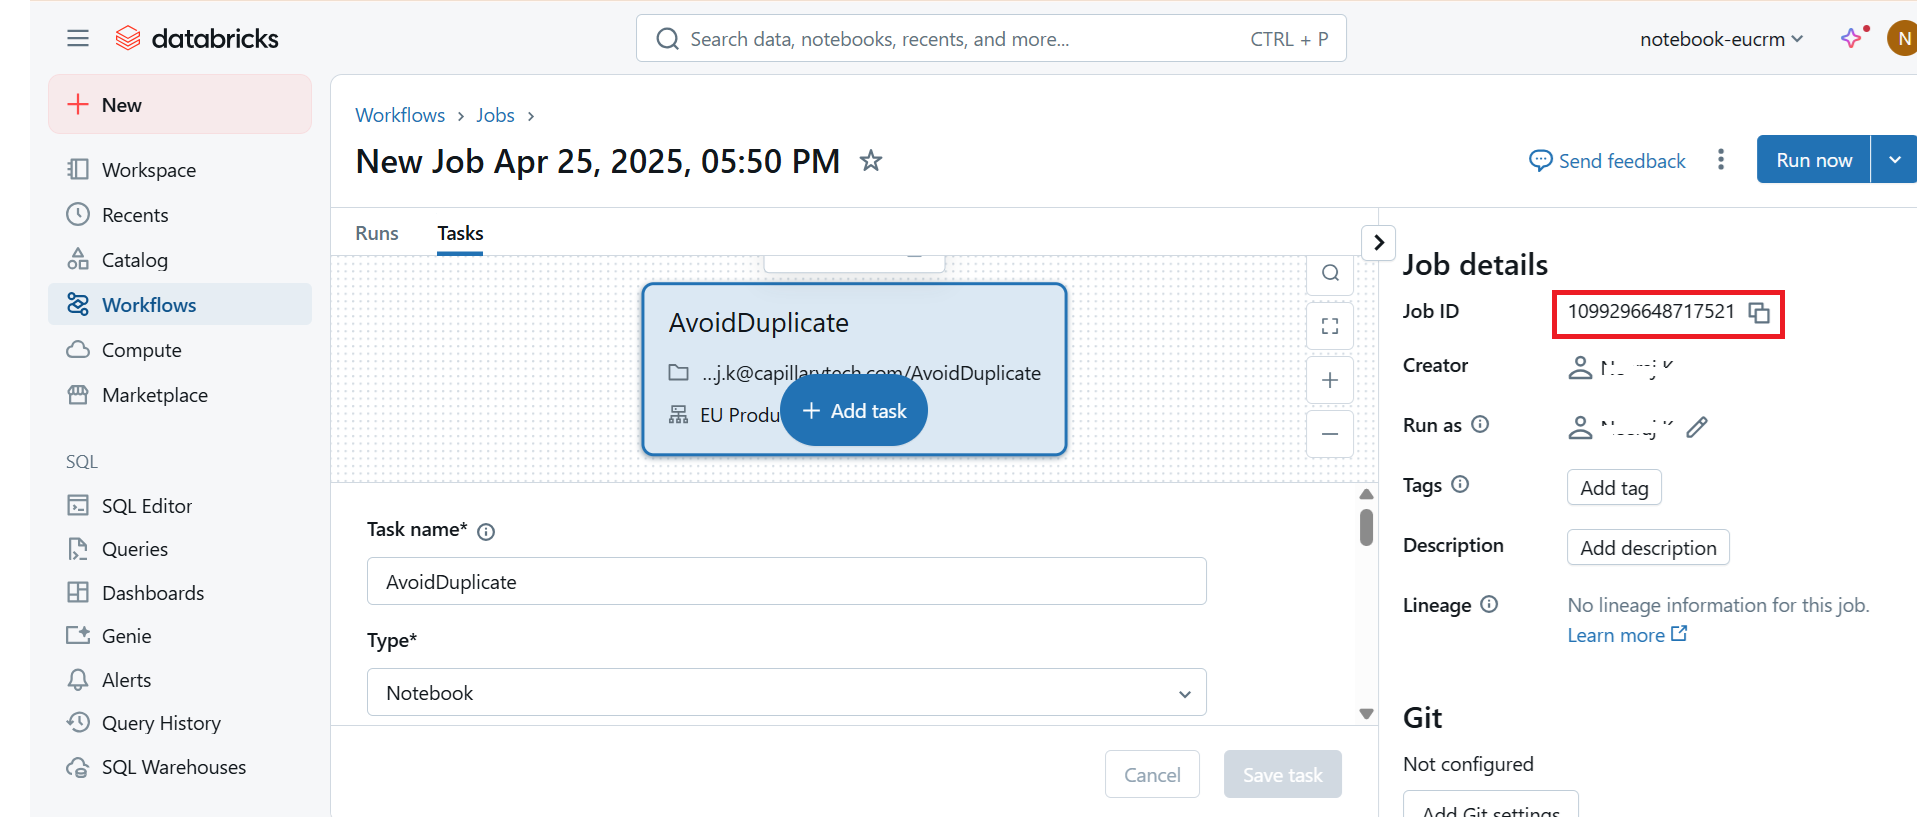
- Create a job and add a task.
Note: In the Path field, give the path of your Databricks Notebook.
Create a job and a task
Creating the Databricks Notebook Script
You can create a Databricks script to transform and validate the data as per your requirements. The following code should be included in your script.
input_table = dbutils.widgets.get("inputTable")
output_table = dbutils.widgets.get("outputTable")
database_name = dbutils.widgets.get("database_name")

# Define full table names
input_table_name = f"{database_name}.{input_table}"
output_table_name = f"{database_name}.{output_table}"
Use the following line to write data to the output table. You can change the name of the DataFrame in your script, but the rest of the code must remain unchanged. Here, renamed_df is the Dataframe name.
renamed_df.write.mode("overwrite").format("delta").saveAsTable(output_table_name)Note: Use the delta format to store data into the output table
The following is a sample Databricks notebook script. The script fetches all the rows from the input table where the value of id is less than or equal to 30. These rows are written into the output table, and the columns id and name are renamed to customer_id and customer_name, respectively.
import json
from pyspark.sql import SparkSession

# Initialize Spark
spark = SparkSession.builder.appName("Databricks S3 to Table").getOrCreate()

# Step 1: Read Job Parameters from notebook_params
input_table = dbutils.widgets.get("inputTable")
output_table = dbutils.widgets.get("outputTable")
database_name = dbutils.widgets.get("database_name")

# Define full table names
input_table_name = f"{database_name}.{input_table}"
output_table_name = f"{database_name}.{output_table}"

# Read data from the input table - This query selects all rows from the table where the `id` column is less than or equal to 30.
df = spark.sql(f"SELECT * FROM {input_table_name} WHERE id <= 30")

#  Perform the required transformation - Here, rename columns to customer_id and customer_name
renamed_df = (
    df.withColumnRenamed("id", "customer_id")
      .withColumnRenamed("name", "customer_name")
)  # Add more columns as needed

# Write the transformed data to the output table. It is mandatory to write the transformed data into the output table. Here, the data is written to the output table in Delta format.
renamed_df.write.mode("overwrite").format("delta").saveAsTable(output_table_name)
FAQs
- Where should I create the Databricks job?
Answer: You must create the Databricks job in the notebook cluster where your organisation resides.
- What kind of transformations can I perform using this block?
Answer: You can remove duplicates, drop empty rows/columns, standardise headers, or apply custom logic such as formatting phone numbers or merging columns.
- What should the Databricks job contain?
Answer: The job should read the input table, apply transformation or validation logic, and write the results to the output table. Subsequent blocks then use the output table for field mapping.
- Can I write a complex Databricks job to achieve my transformation?
Answer: You can write a complex Databricks job, but it can slow down the workflow.
- How are spaces and hyphens in the header names handled?
Answer: The spaces ( ) and hyphens (-) in the header names are converted to underscores (_).
Example: If the header name is Customer ID it is converted into Customer_ID.
Updated 4 months ago