Setup Localization
Orgs with an online presence (web/mobile app) in languages, other than English, need multi-lingual support to show cart promotion and store details in their preferred languages. It supports translations for both standard fields and custom fields.
The promotions and store details are created from the Capillary side. Hence, to show these details in a different language, you will first need to add the translation in your preferred language and then use the APIs to display it on the web or mobile app accordingly.
Limitations
By default, not all fields of cart promotions or stores are enabled for translation. It will require effort from development and will go through the customer request or enhancement process.
Prerequisites
- Before configuring information in different languages, you will need to get the required languages enabled for the org.
- You will need to get the required fields (of cart promotion or stores) enabled for the org.
Create a JIRA ticket and assign it to the support or project management team with the complete details of the requirement. It might take 24 to 48 working hours to enable multi-language/fields for translation for an org.
Enabling multi-lingual support for any other module/entity will require effort from development. You can create a ticket and assign it to the support or project management team.
Add translations for different fields
To add translations for fields that are enabled for your org, follow these steps.
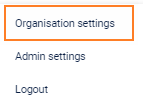
- On Intouch, go to Organisation Settings.
- Click Tools > Localize.
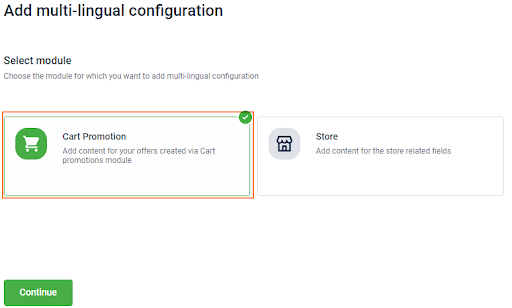
- Select Cart Promotions.
- Click on Cart promotion or Store for which you want to add the translation. You will see all the languages enabled for the org in different tabs.
- Navigate to the language to add the translation. Enter translated text for each of the available fields. Translations are always against the Original text.
Label names are enabled as per the requests of the org.
- Click Save Configuration.
APIs to fetch details in your preferred language
Request Type | GET |
|---|---|
Headers | Content-Type: application/json |
Headers | Content-Type: application/json |
Language Translation for our Products
This article provides information on how to add translation strings to all our products.
In Capillary applications, language is detected based on the user locale or the default language set for the user account. If default language is not set for the user, the will be considered
Prerequisites
Currently, we support localization (or i18n) in English and Simplified Chinese. If you want the support for any other language, you need to raise a Jira ticket (as a Task) with all the details.
Admin access to Locize, a third party application integrated with Capillary for seamless translation.
Translation Process
We use Locize, a third-party app, for the translation. Once the language is enabled from the back-end, you can start with the translation process mentioned in the following.
Currently, we have enabled only English and Simplified Chinese. To get support for any other language, please log a task in Jira.
To translate the UI field name in your preferred language, follow these steps.
- Log on to https://www.locize.io as an Admin. You will see the list of products integrated with Locize.
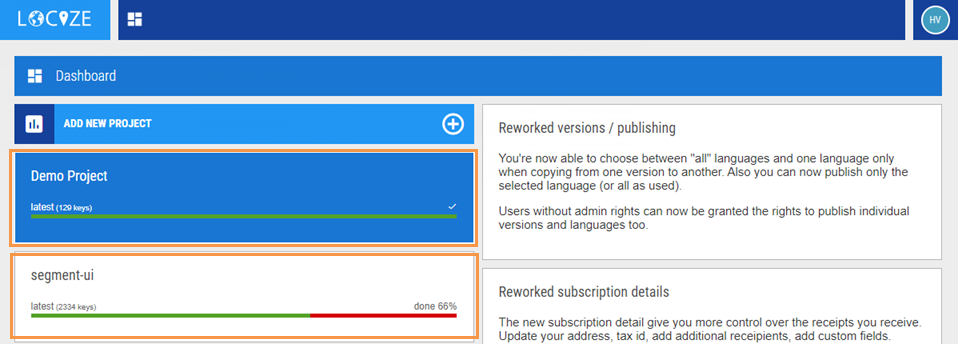
- Click on the product for which you want to add translations.
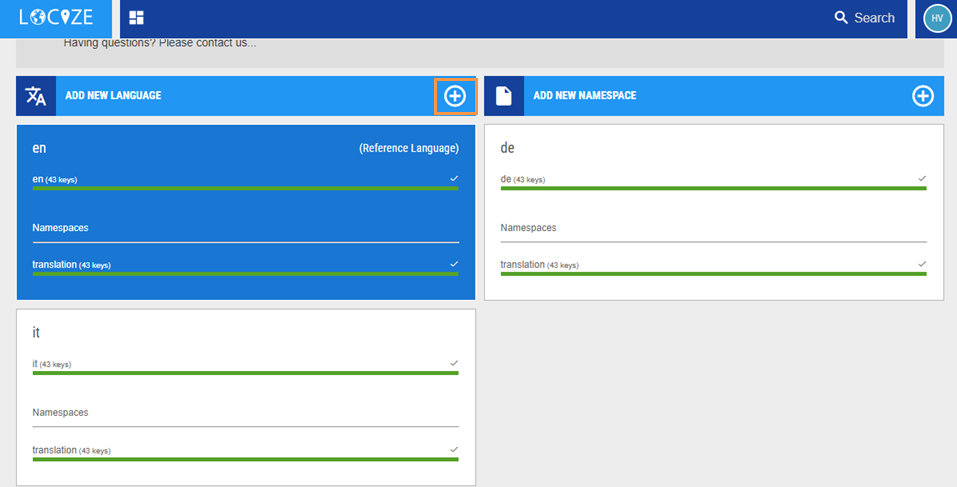
- Click on the + icon to add a new language.
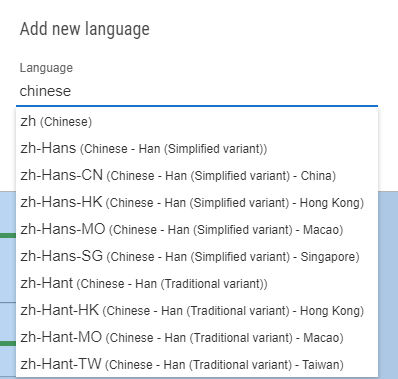
- In the Language search box, type the language name or code that you want to add and select the language from the drop-down that appears. For example, Mandarin for Traditional Chinese (Zh-Hant).
- Click Save. You will see the new language as shown below.
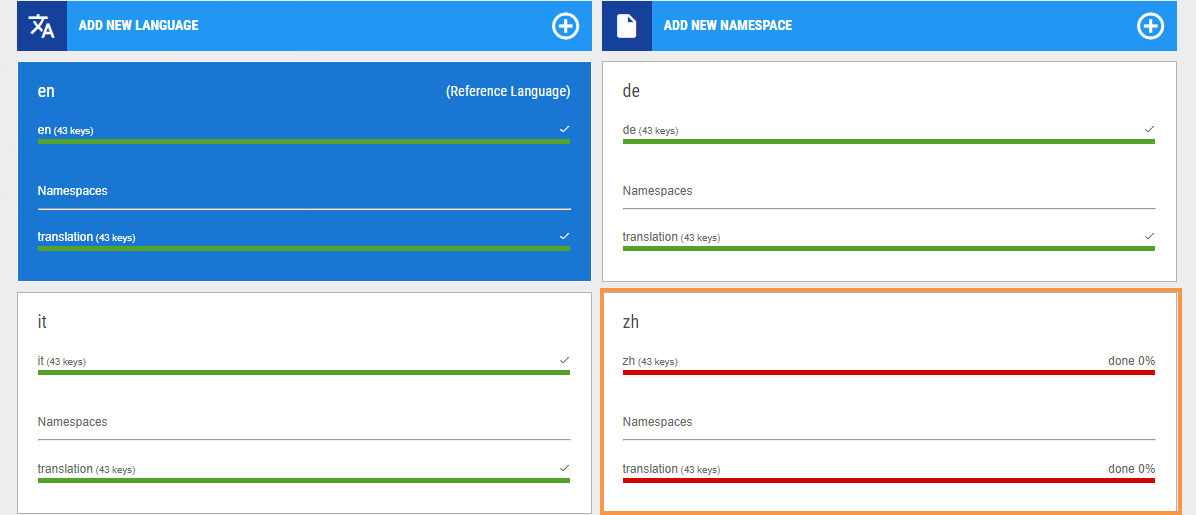
- Red indicates that the translation has not started for the language.
- Green indicates that the translation is completed for the language.
- Click on the language that to add translations.
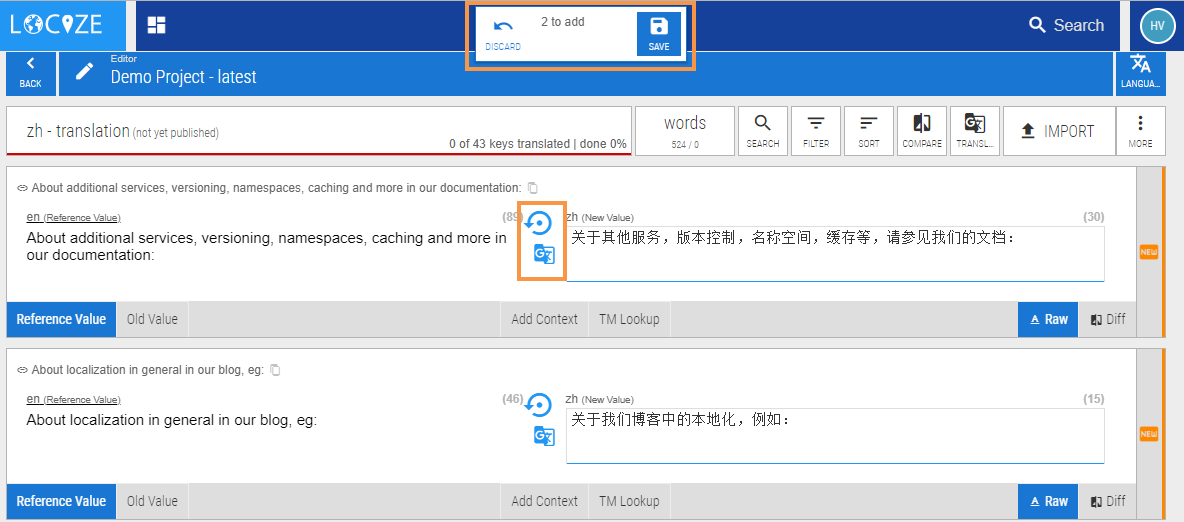
- In the New Value box, type the translated version of each string. You will see the number of fields translated on the top of the page as highlighted in the screenshot above.
Please do not use the built-in Google Translator. It is highly recommended to translate strings manually.
You can also upload the translations in bulk through JSON, CSV, Excel sheet and many other formats. To do this you need to do the following
- Click the More option available on the top right and click on the preferred format that you want to download.
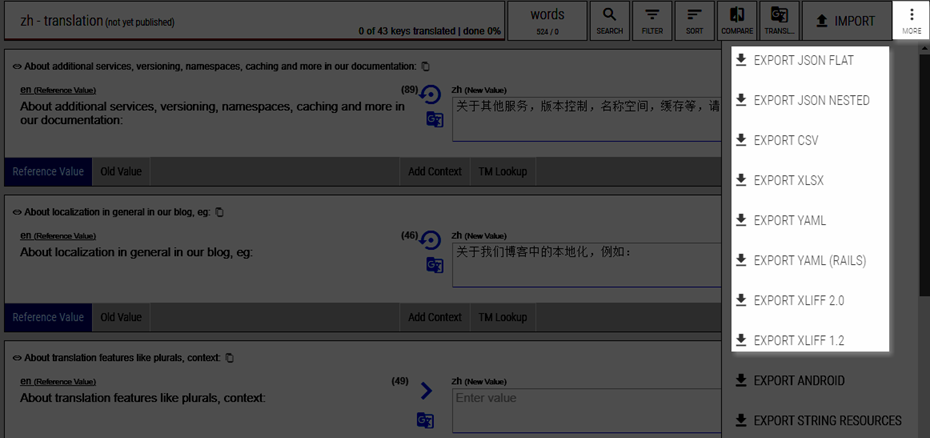
- Open the downloaded file and add the translated strings for each key
- Under the language code, add translations for each key and same the file
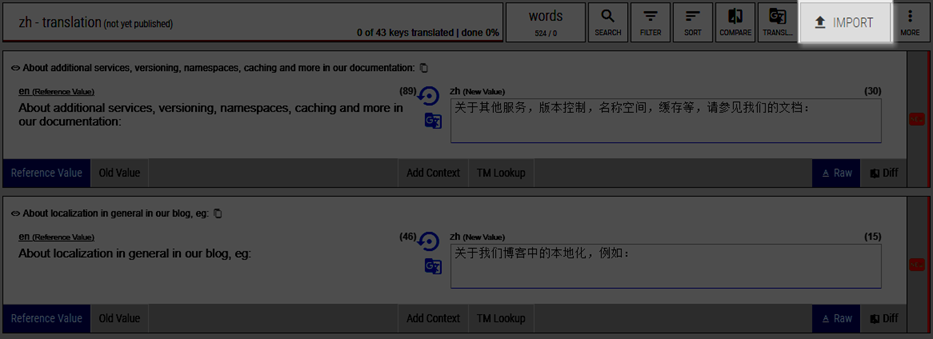
- Click Import and upload the file with translations and Save the changes
- Click Save to save your translations.
- Once the translations are done, it will automatically reflect on the product UI. The translated UI is shown based on the user language preference or org level default language.
This translation process works only for web-based applications.
Updated 8 months ago
