
Workspace & user management
This page provides information about creation, modification and deletion of workspace and users in Connect+.
A Workspace is an org-level environment to set up dataflow pipelines for ingesting data from source to org-level tables on the Capillary database.
Connect+ has two types of users, administrators and system integrators.
You need to have administrator access to perform operations on workspaces and grant access to other users.
Prequisites
- Administrator access to the org. For access, send an email to [email protected] with org ID and name of the org.
Workspace
In the Workspace tab, you can add an organization to a workspace, and edit and delete workspaces.
Creating a workspace
To create a workspace, perform the following:
- On the Connect+ homepage, click on the Settings icon.
- Enter the name of the workspace.
- From the drop-down, select the appropriate region/cluster and organization.
- Click Done
The created workspace is created on the workspace's home page.
Edit a workspace
You can modify an existing workspace to add or remove orgs from it.
To edit a workspace, perform the following:
- On the Connect+ homepage, click on the Settings icon.
- Select the kebab menu to view the options and click Edit.
- From the drop-down, select the appropriate region/cluster and organization.
- Click Done.

You have successfully updated a workspace.
Delete a workspace
To delete a workspace, perform the following:
- On the Connect+ homepage, click on the Settings icon.
- Select the kebab menu to see the options and click Delete.
- Click Yes, delete to delete your workspace.
You have successfully deleted a workspace.
Users
In the Users tab, you can assign roles, either as an Administrator or a System Integrator, and grant access to workspaces.
Add a user
To add a user, perform the following:
- On the Connect+ homepage, click on the Settings icon.
- Click the Users tab.

- Click on Add User.
- Enter the name, and email ID of the user.
- Assign the role from the Role dropdown.

- Assign the workspace applicable to the user.
- Click Done.
- You can view the newly added user on the Users page.
You have successfully added a user..
Edit a user
To edit a user, perform the following:
- On the Connect+ homepage, click on the Settings icon.
- Click the Users tab.
- Click the kebab menu.
- Click Edit.
- Edit user name, role or workspace as required.
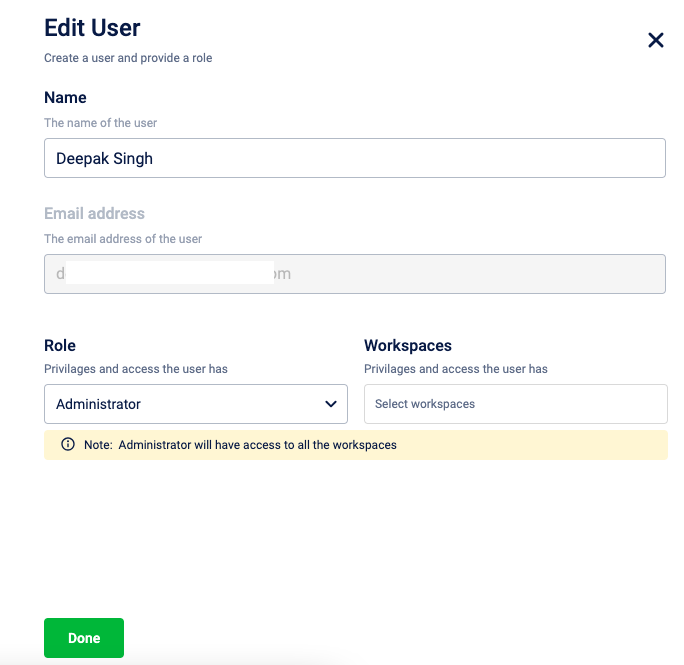
- Click Done.
The changes are saved.
Delete a user
To delete a user, perform the following:
- On the Connect+ homepage, click on the Settings icon.
- Click the Users tab.
- Click the kebab menu.
- Click Delete.
- Click Yes, Delete.
The user is deleted.