
Configure Email Template & Content
You can create an Email template from scratch or by using an existing template.
Creating a new email template from scratch
- Navigate to Creatives, section > Email tab, click Create New.
- In the Creative name, enter the name for the Email template.
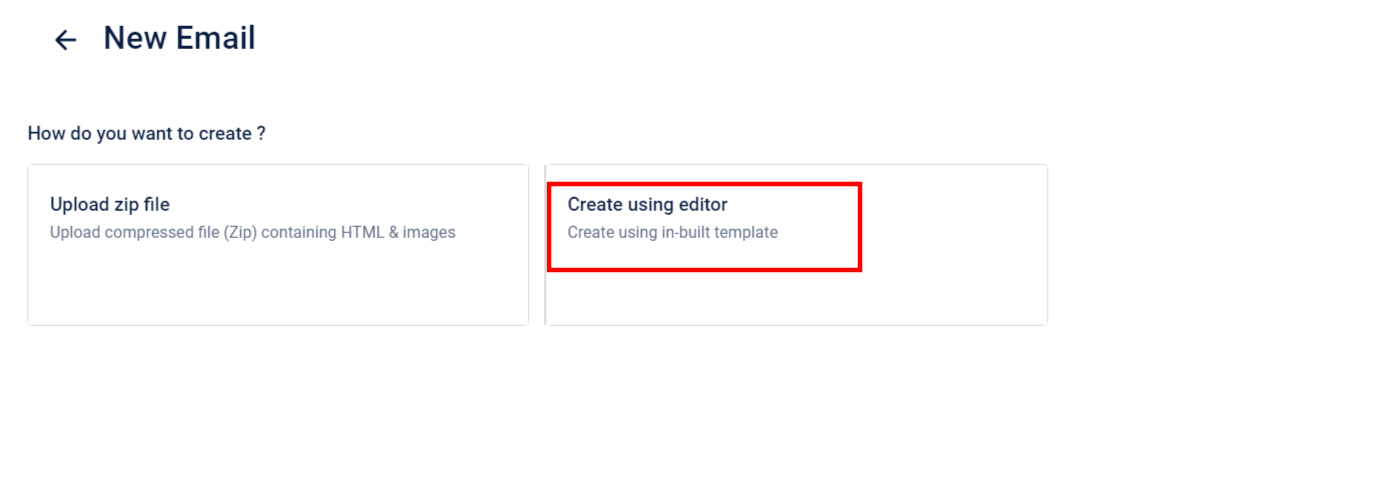
- Select the mode for creating the template. You can either upload a ZIP file containing the HTML and images for the template, upload an HTML/HTM file, or start configuring the template using the editor. You can upload a file with a size limit of up to 5MB.
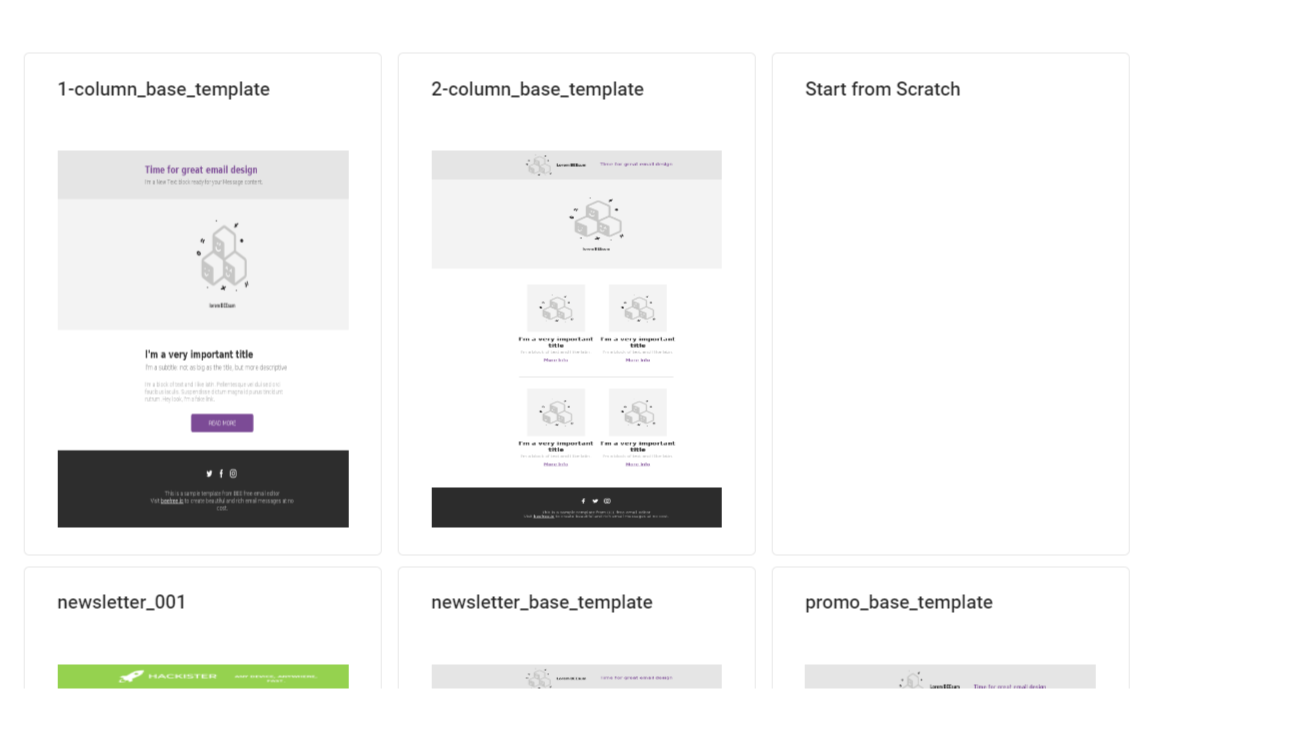
- Select Start from Scratch.
- Enter the subject and configure the Email body.
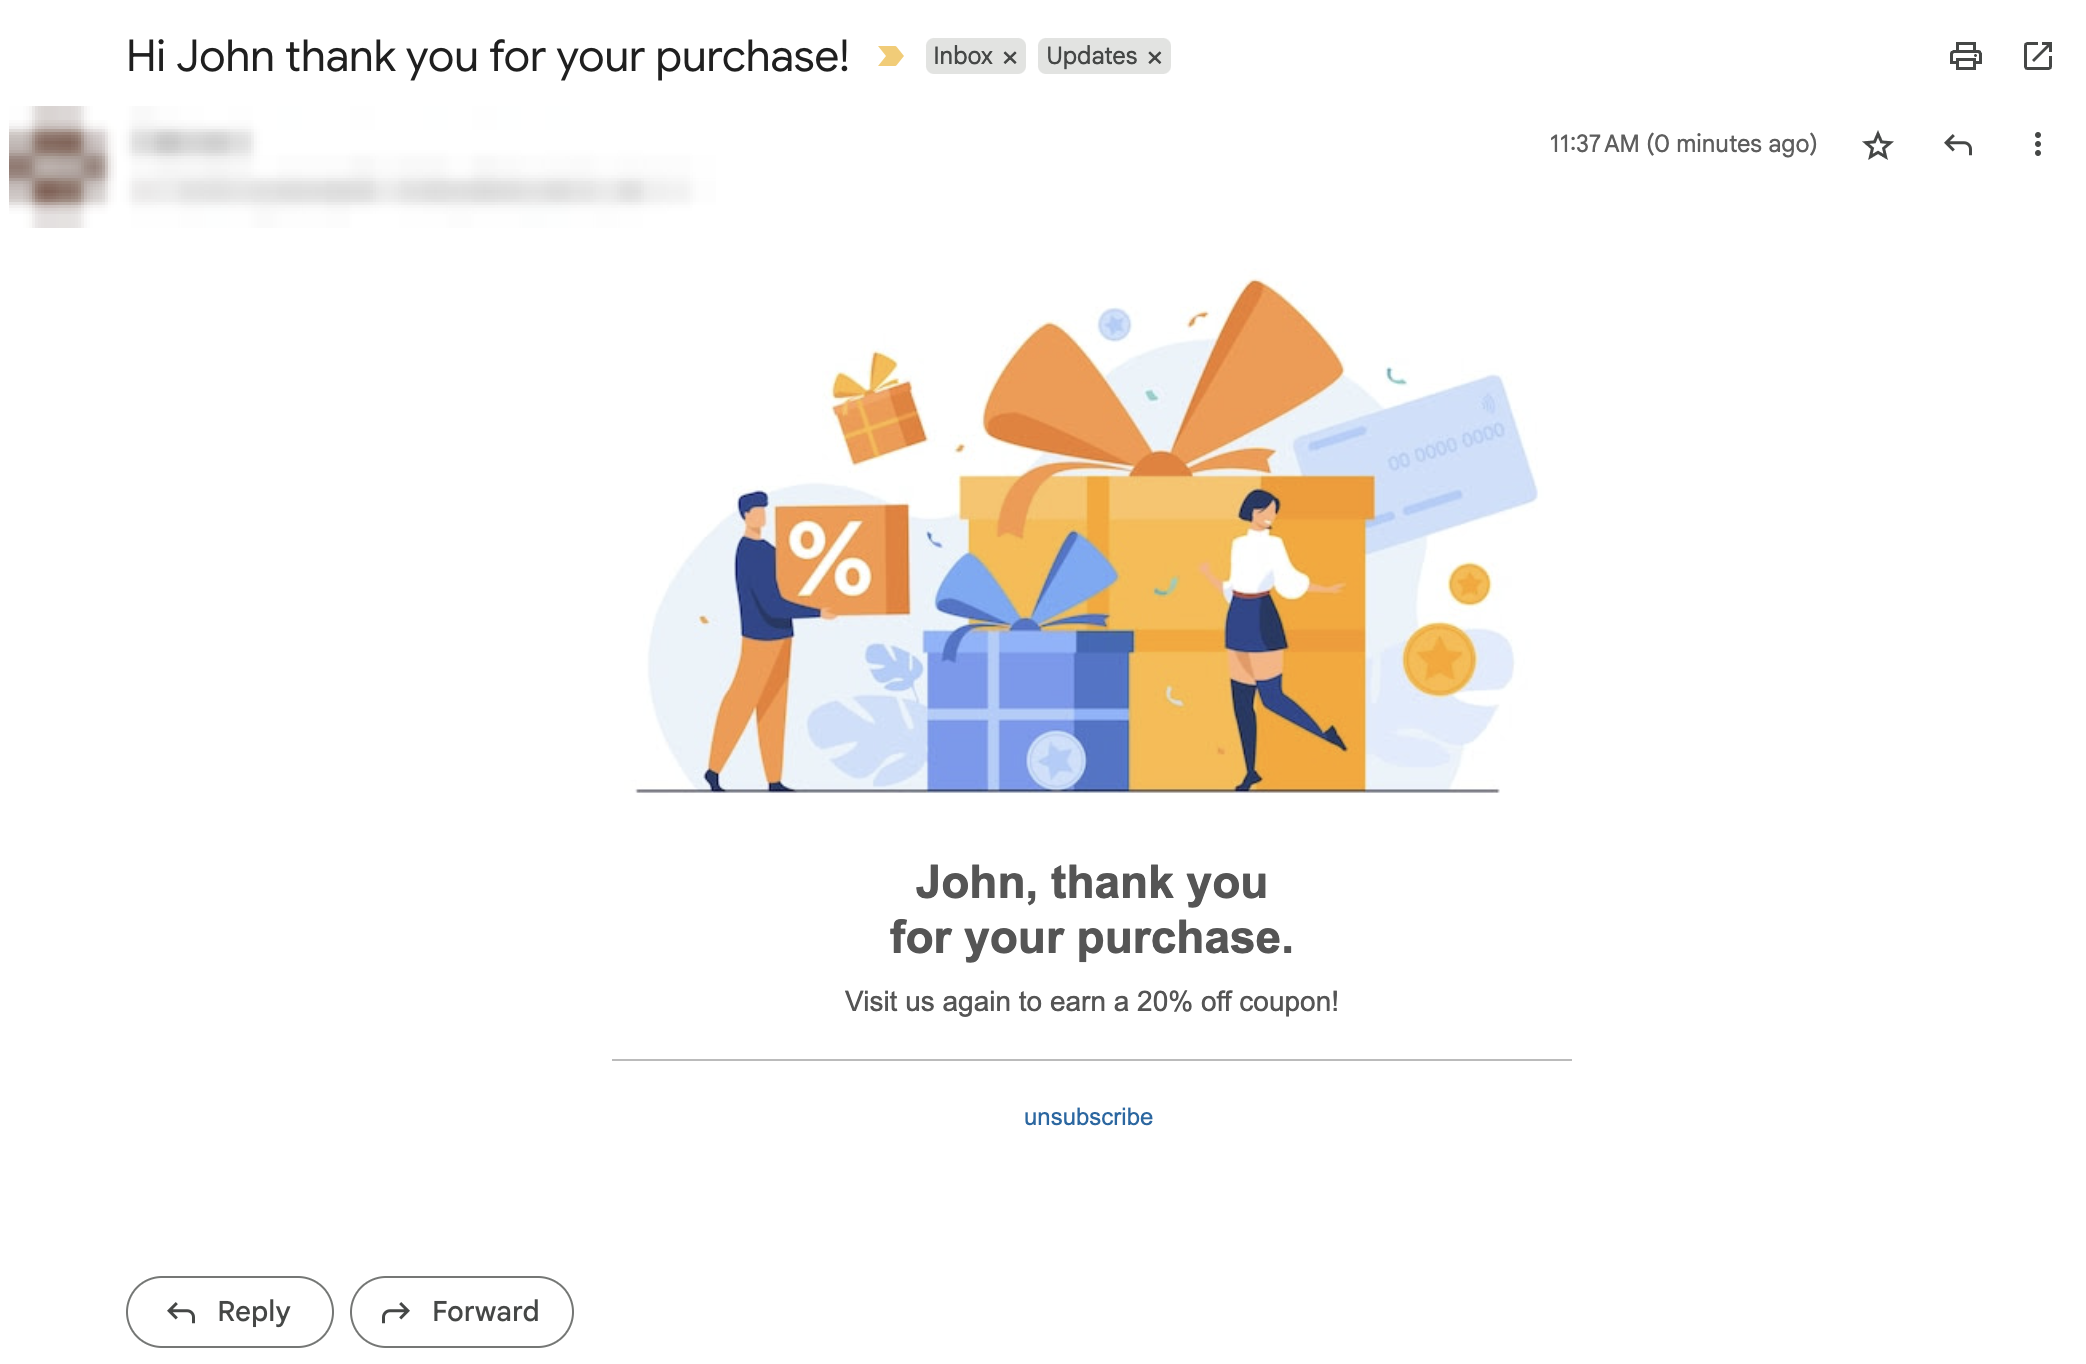
- Click Create. To see a preview, select Preview and Test.
Creating a new email template using existing template
To create a new email template using existing template follow the given steps:
- Navigate to Creatives, section > Email tab, and from the list of existing templates, choose the desired template and click on Edit.
- Update the subject and modify the email body as per needed.
- Click update. To see a preview, select Preview and Test.
The email template is edited successfully.
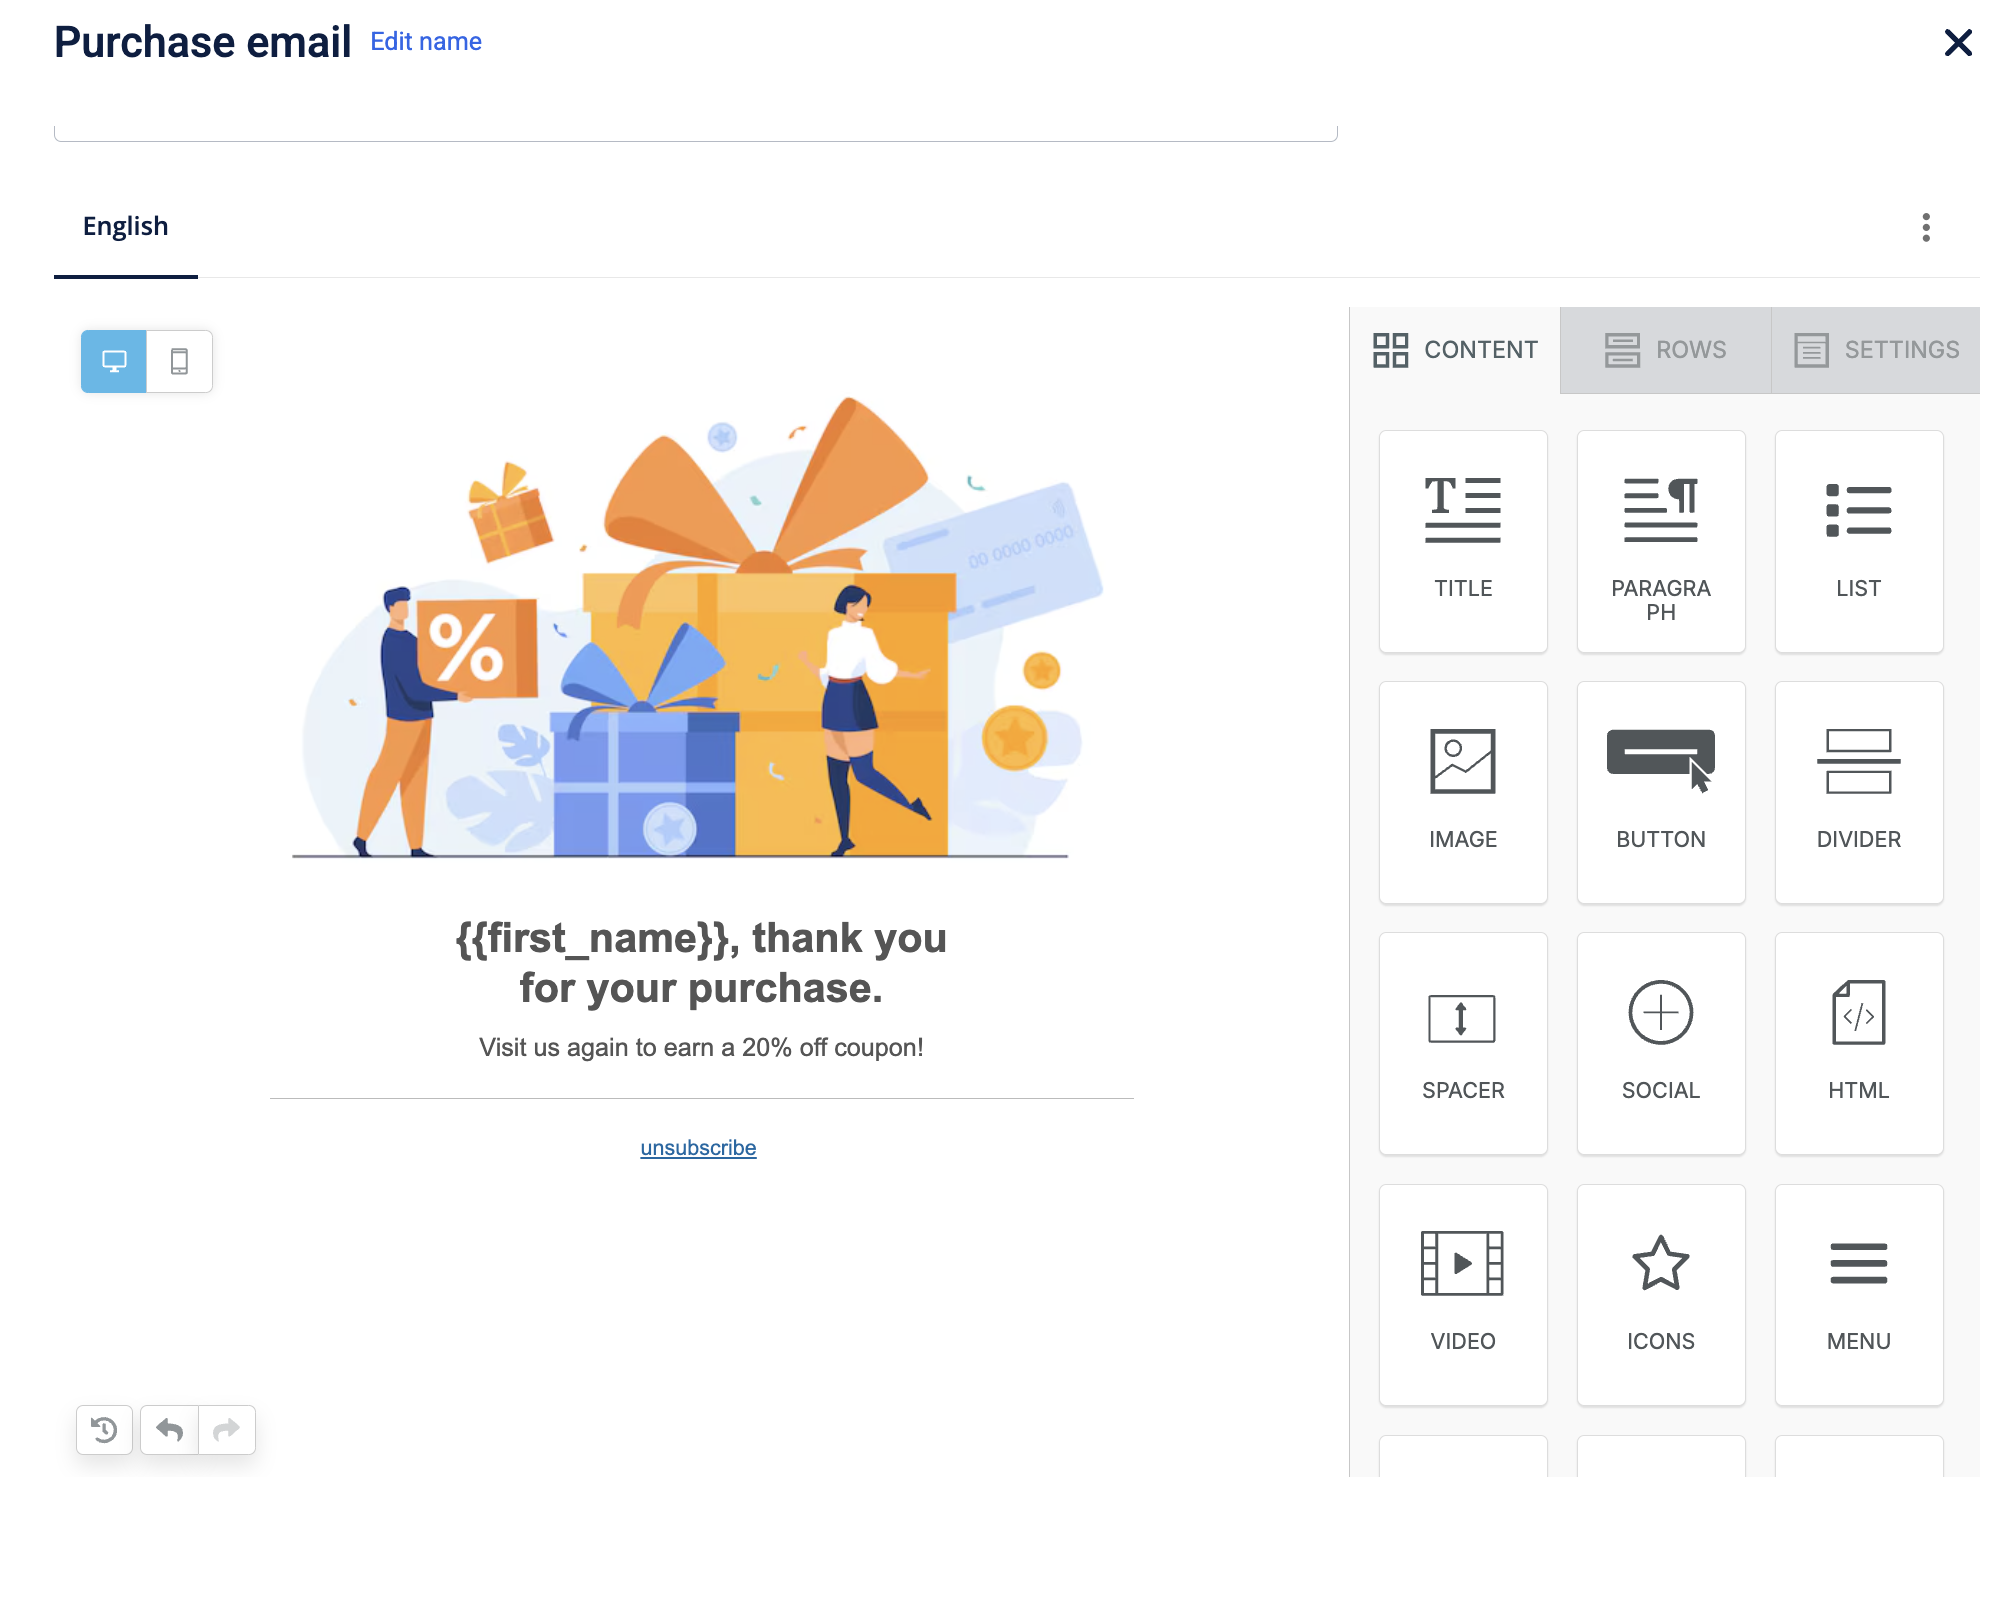
Configuring the Email body content
-
In the editor, move the required blocks from the Content and Row tabs, and then add your content. You can perform the following:
-
Add text with labels and tags, and then apply formatting. You must include an unsubscribe tag in all email content. You can also customise the unsubscribe message's landing page using Vulcan.
Note-
You can add labels in the email subject and the body.
-
Ensure all tags contain data. If tags are inconsistent, a validation error occurs.
-
When using dynamic labels in templates (for example,
{{gap_to_upgrade_tracker}},{{gap_to_renew_tracker}}), the system validates all labels before sending the message. If any one label fails to resolve and returns a null value, the message is not sent, and the customer can be skipped from the communication.
-
-
Add images
-
Personalise the message with the Liquid language. Applicable for the email subject and body. When writing Liquid code, use straight quotes (' or ") only. Curly quotes (“ ”) will break your template.
For example - Correct expression:
{% if slab_name == 'Platinum' %}Incorrect expression:{% if slab_name == “Platinum” %} -
Add dynamic headers and footers. Add dynamic headers and footers. You can also use an organisation's custom fields to apply dynamic elements, such as headers and footers, that are specific to that organisation. This is helpful in a connected organisation setup. For more information, refer to the documentation on Adding Dynamic Content Using Custom Fields.
-
Add a barcode that contains the customer's loyalty identification information. You can include this barcode in customer registration emails, updates, or campaign messages. For more information, refer to the section on Adding barcodes for emails.
-
-
Click the Settings tab to adjust the content area, colour, and alignment.
-
Click Create. To preview the content, click Preview and Test.
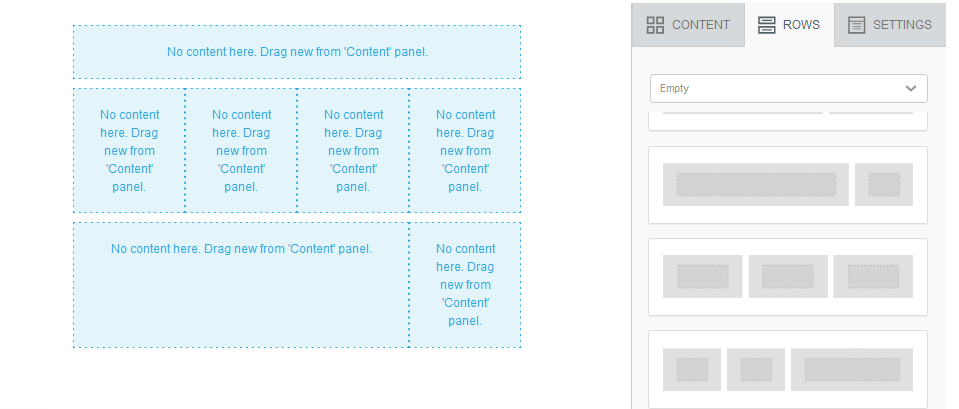
Rows tab
To design the layout, click the Rows tab on the right panel, drag, and drop it to your preferred position on the mail body. Similarly, you can add more rows as required. There are various rows available each with a different dimension.
Content tab
Use the Content tab to add text, images, buttons, divider, social network links, HTML code, videos, and more to the email body (each row).
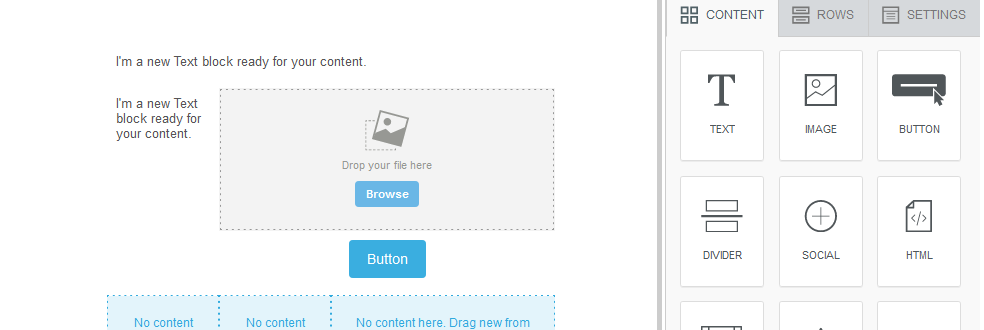
Content Blocks
Drag and drop blocks into rows to build your layout. The following table lists the detailed description of the available blocks:
| Block | Description |
|---|---|
| Title | To include a title. |
| Paragraph | To add text. This is similar to the text block. |
| List | To add a list. |
| Text | To include a text message. |
| Image | To add images from the library or your local system. Use the drag-and-drop feature to upload images. The supported formats are: JPEG, PNG and GIF. Base64 images are not supported. |
| Button | To add action buttons such as Click here, Submit. |
| Divider | To add columns to a row (divide a row into columns). |
| Social | Include Social Channel icons to navigate recipients to the organization's social platforms. You need to link the respective URLs for each social channel icon (Facebook, Twitter, Instagram, and LinkedIn). |
| HTML | To insert HTML code blocks in the template. For example, HTML tags, headers, hyperlinks, and more. |
| Video | To embed a video in the email. Add a video embed link in the input box. For example, you can embed a video representing specific information about the brand or product or brand ad. |
| Icon | To add an image icon in the email body. An icon, a small image, or a symbol is usually used for the brand or product logos. \<br>\ Add an icon from the library and modify it as required. |
| Menu | To insert a menu bar in the email body. A menu is a navigation bar with links to each menu option. You can configure multiple menu items if required. |
| Stickers | To include stickers from the library. |
| GIFS | To add animated images or GIFS from the library. |
Block Options
| Content Properties | Description |
|---|---|
| Padding | Use to add an additional margin to the content on all sides (Overall) or each side of a box - Right, Left, Top, and Bottom. |
| Hide on | Hide on feature enables you to show the content on your preferred form factor. You can choose to hide content either on desktop or mobile. |
- Toggle between code view and normal view To switch to the code or editor mode, hover the mouse and click Switch editor.
NoteIn code mode, you can only see editor design email using HTML code. Repeat the previous step to switch back to Drag-N-Drop editor mode.

NoteAfter selecting the content block, you can view all the content properties and block options to modify the content. For example, Font style, Font color, Bold, Italics, Alignment, Add bullets, etc.
Settings
| Block | Description |
|---|---|
| Content area width | Sets the width of the main content section in the email. |
| Content area alignment | Aligns the content area to the left and center. |
| Background color | Sets the overall background color of the email. |
| Content are background color | Sets the background color specifically for the content area. |
| Default font | Sets the font of the text. |
| Link color | Sets the color of all hyperlinks in the email. |
Barcode in Email
Note
- When sending email communication that includes a barcode, ensure that the barcode feature is enabled. This feature is disabled by default, so you must raise a JIRA ticket with the sustenance team to activate the
ENABLE_CUSTOMER_BARCODE_TAGflag before using barcodes in emails.- Barcode feature can be used both in Loyalty programs and on Engage+.
This feature enables you to create a barcode that contains customer identifier information and can be used by customers for identification purposes. Customers can use this barcode at the POS to identify themselves and earn/claim loyalty benefits.
Prerequisites to enable barcode
-
To enable barcode generation, the following configurations must be enabled:
- CONF_REGISTRATION_BARCODE_GEN_ENABLED: Set the value to 0 or 1. Default value: 0- False
- CONF_BARCODE_VALUE_IDENTIFIER: Set the value to 0,1 or 2 to set the barcode identifier. You can set the identifier according to the information to embed in the barcode.
| Value | Description |
|---|---|
| 0 | Mobile number of the customer. |
| 1 | Email ID of the customer. |
| 2 | The external ID of the customer. |
- Raise a Jira ticket assigned to the Foundation team and enable bucket, namespace, and CDN URL support for the barcode service on the respective cluster where the organization is located.
Configuring barcode
Capillary supports six types of barcodes, given below:
- ITF
- PDF417
- EAN 13
- UPC A
- QR code
- CODE 128
Default barcode configuration
Field | Value |
|---|---|
Default barcode type | CODE_128 |
Image type | PNG |
Default barcode styles | |
-ITF |
|
-QR_CODE |
|
-PDF_417 |
|
-EAN_13 |
|
-UPC_A |
|
-CODE_128 |
|
| Field | Data Type | Description |
|---|---|---|
| default_barcode | String | Default barcode type that will be used if no barcode type is mentioned in the barcode service API. |
| showBarcodeText | Boolean | If set to true, the text will be displayed with config. |
| imageHeight | Integer | Height of the image in pixels. |
| imageWidth | Integer | Width of the image in pixels. |
| imageWidthPadding | Integer | Padding around the width of the barcode image. This property is applicable when showBarcodeText is set to true. Not applicable for ITF barcode. |
| imageHeightPadding | Integer | Padding around the length of the barcode image. This property is applicable when showBarcodeText is set to true. Not applicable for ITF barcode. |
| fontName | String | Name of the font. Not applicable for EAN 13, PDF417, QR Code, ITF barcode. |
| fontSize | String | Size of the font. Not applicable for ITF and QR code. |
To edit the default barcode configuration, create a JIRA ticket to the Capillary sustenance team.
Generating barcode
According to the configuration, during customer registration, the Customer Add API calls the barcode service and the barcode image is stored in the images table in the backend. If the identifier provided in the configuration is changed using customer identifier change API, a new barcode image is created and saved. You can retrieve the barcode image details using the GET customer details API.
NoteIf you want to create a barcode for an existing user or regenerate a barcode, create a ticket to the Sustenance team.
To embed the barcode in the email creative, perform the following:
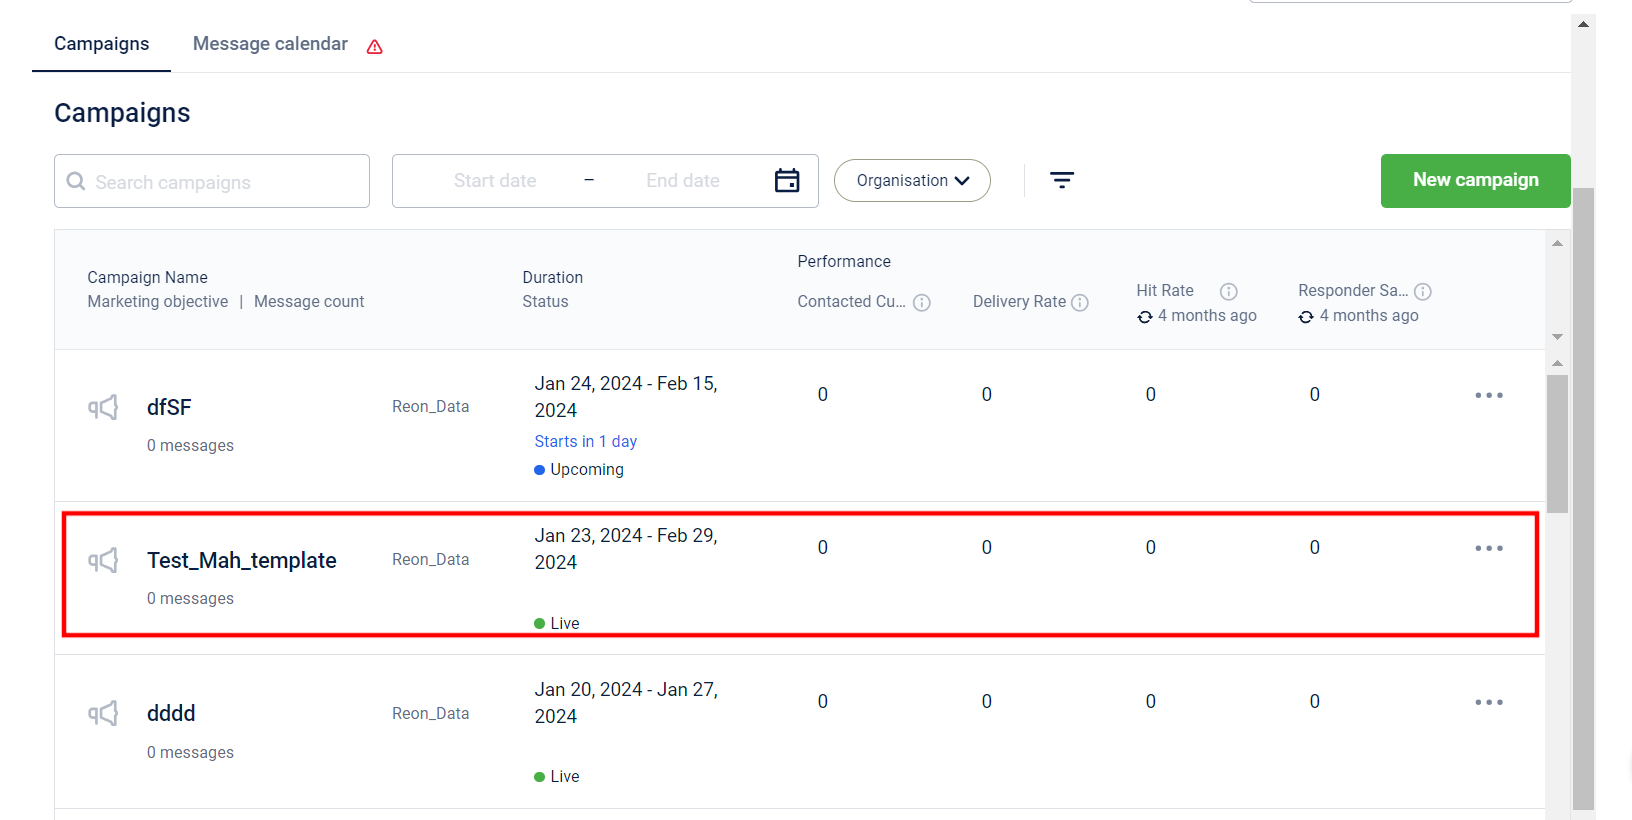
- Navigate to the Engage+ homepage, and select the campaign to send the email creative.
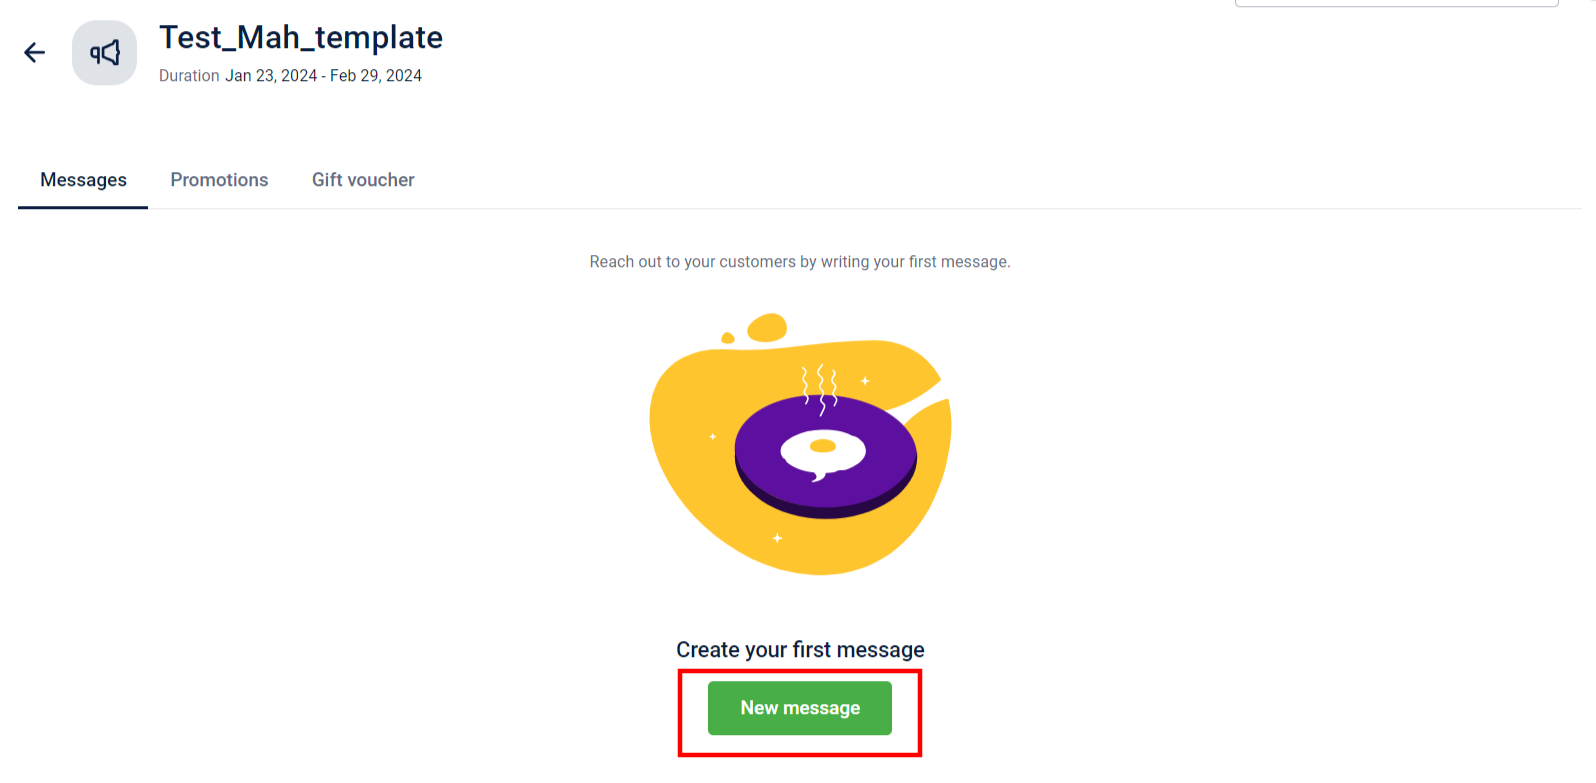
- Click New message to create a new email creative.
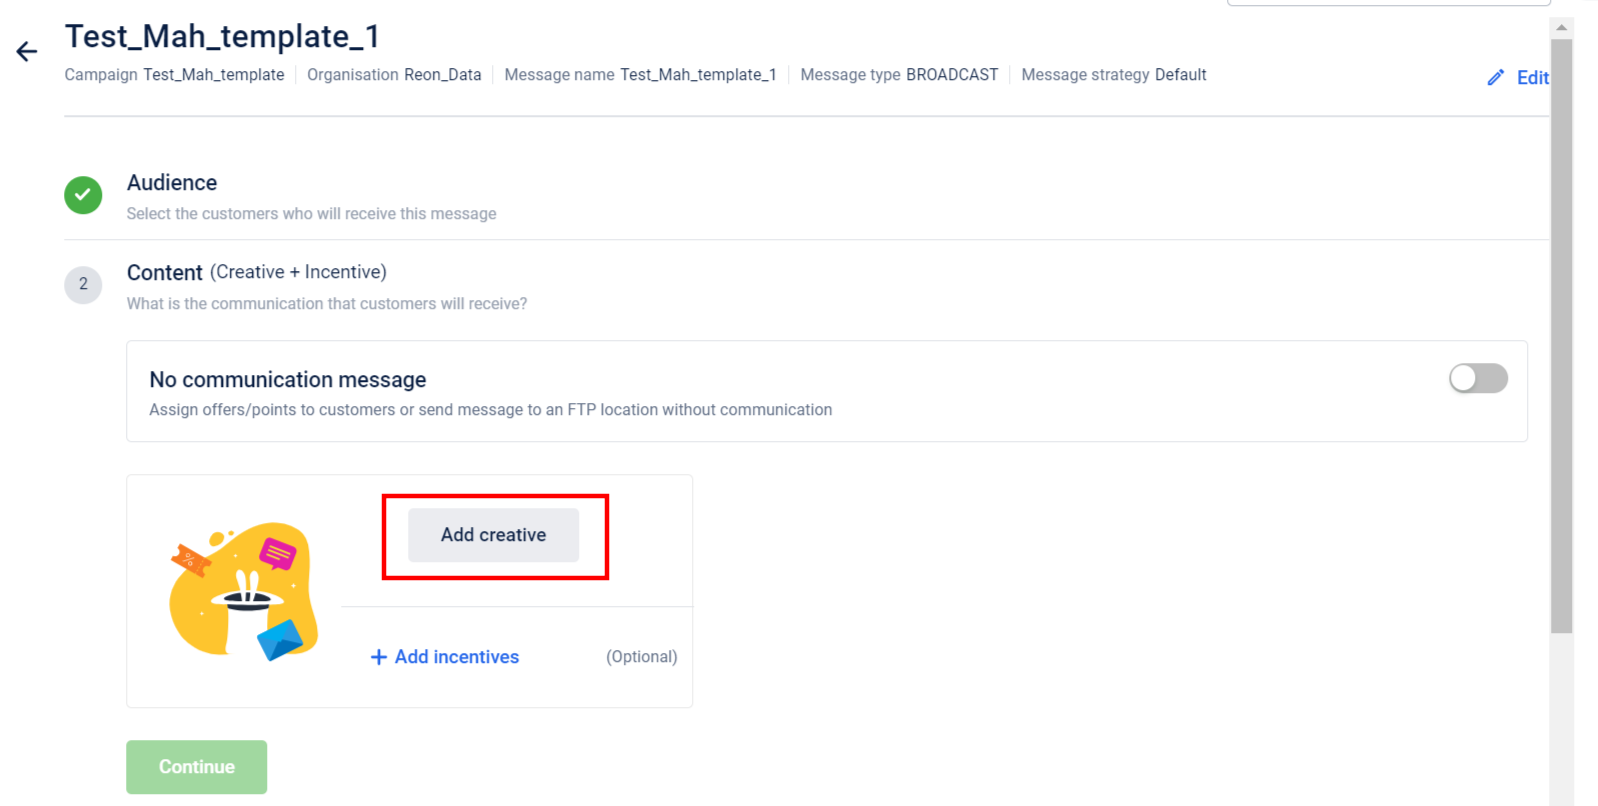
- In the Content block, click Add creative.
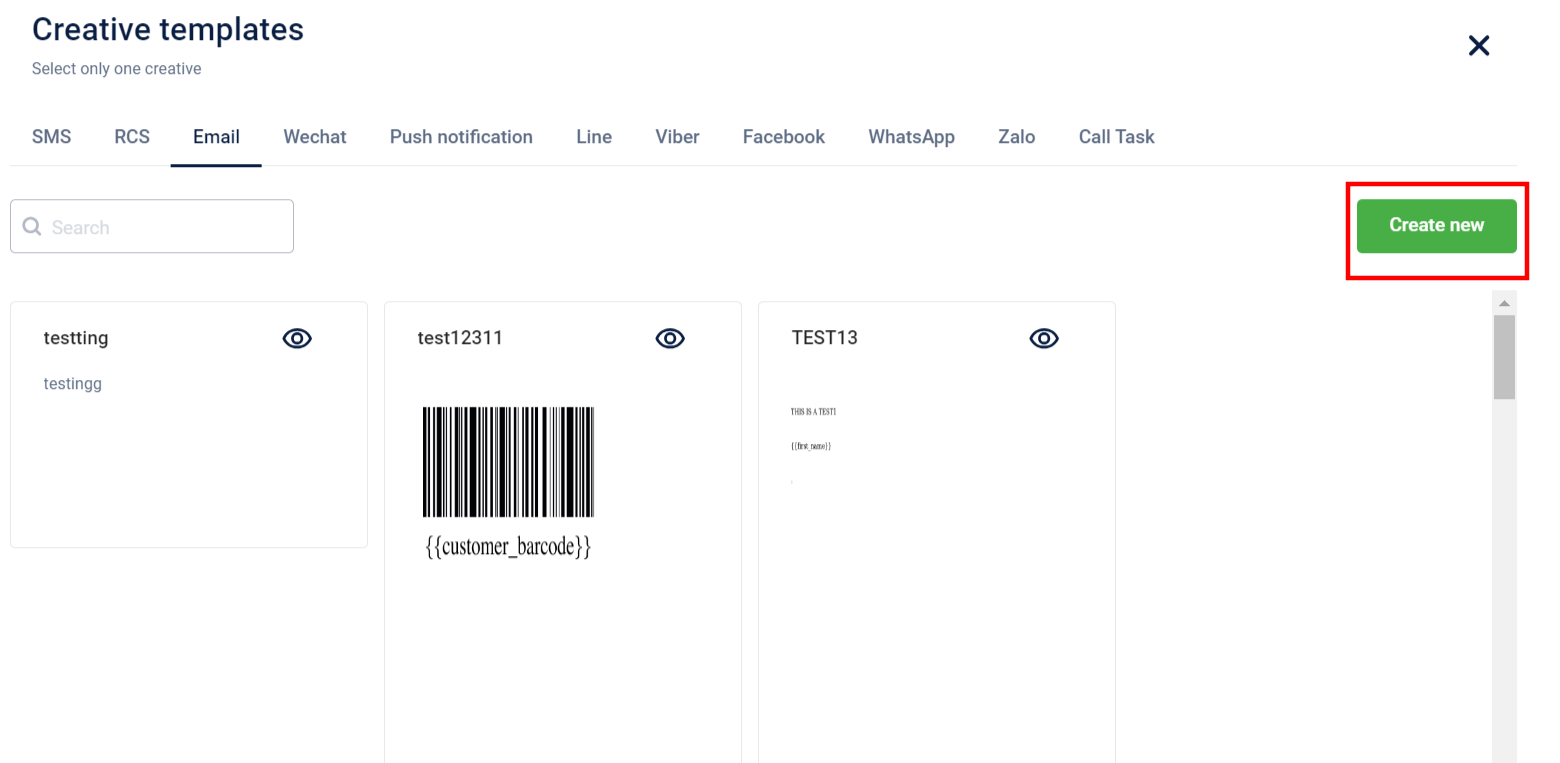
- Navigate to the Email tab and click Create new.
- Click Create using editor and click Continue.
- Select a template of your choice.
- In the email body, click Add label and select Customer barcode label.
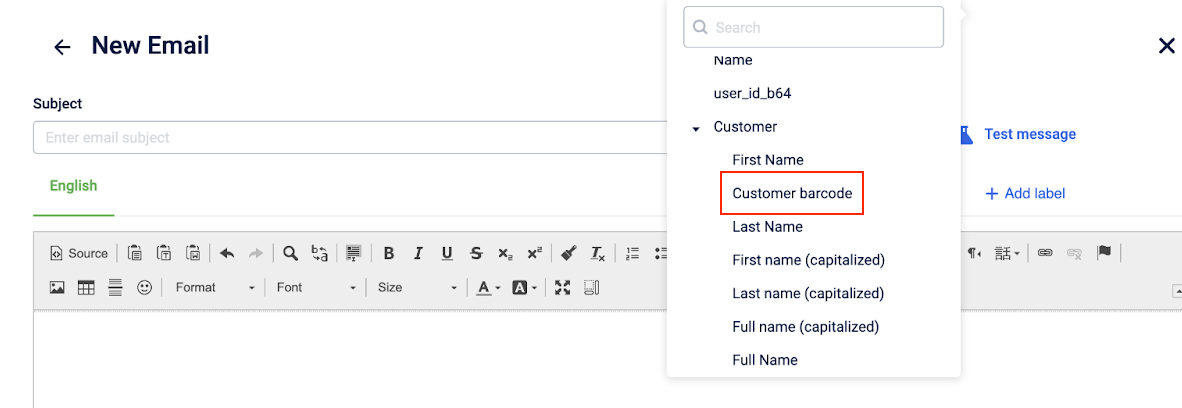
- Embed the
{{customer_barcode}}tag in your email template.
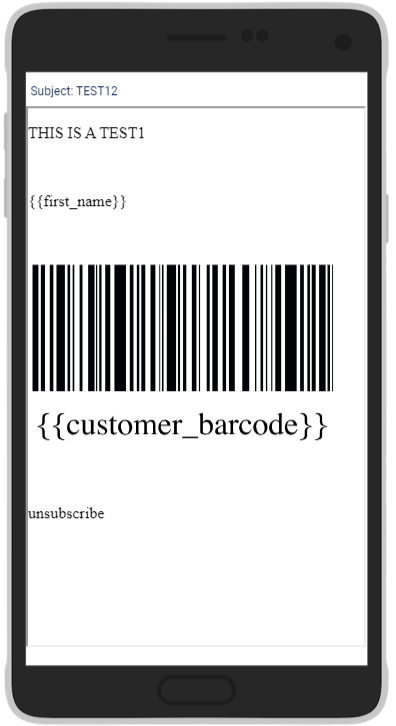
A barcode has been generated for the customer. A broken image is sent to the customer if a barcode fails to generate.
Customize Unsubscribe landing page
You can customize the default unsubscribe landing page using Vulcan. To request customization, connect with your Customer success executive.
You can customize the following elements:
- Brand logos
- Custom text or messaging
- Language-specific versions
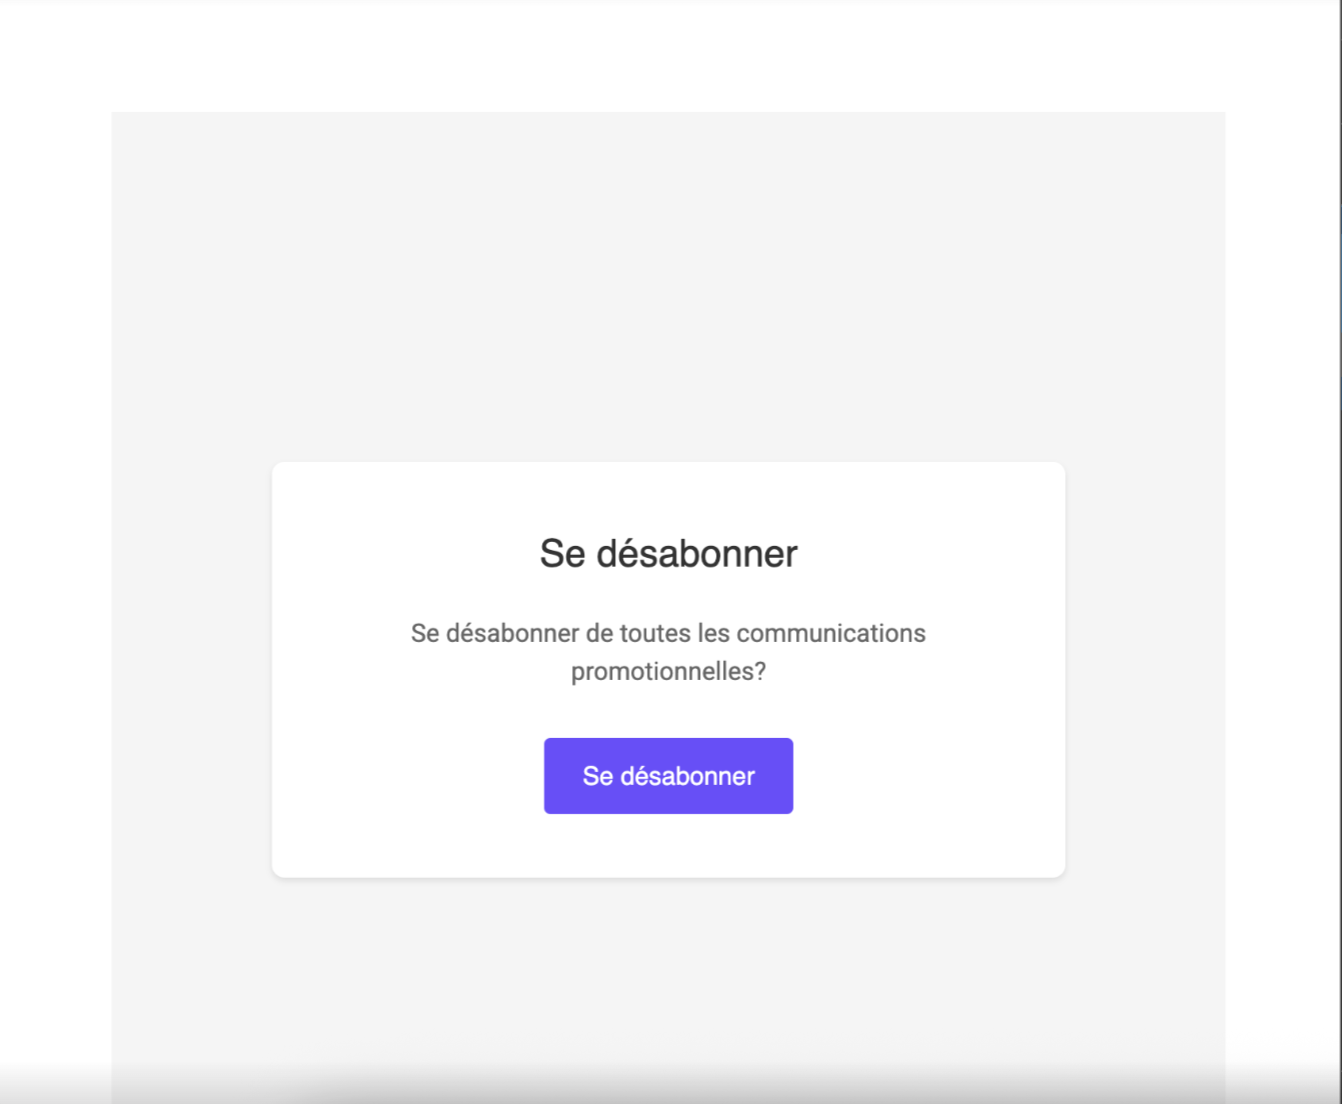
An example of how the unsubscribe landing page will look when customized for French language.
Troubleshooting email image quality issues
Notes
- Do not forcefully enlarge images.
- Use actual images or image URLs in zip files without enlarging them.
| Issue | Resolution |
|---|---|
| File size is getting reduced | Expected behavior. File size reduction due to image transformations does not affect user experience. Specify image dimensions to maintain quality. <br>For example, if the email specifies a height and width of 200 x 300, images are transformed to match these dimensions instead of saving the original image, which might have very high dimensions. Consequently, the file size is reduced. This reduction could also occur due to dynamic image quality adjustments based on file sizes. |
| Image getting compressed excessively | Compression varies with file size. Smaller images have less compression; larger images undergo higher compression. This makes sure that irrespective of the file size, similar quality of images is achieved after compression. Do not artificially enlarge images to increase the file size. |
| Images saved in avif format instead of jpeg | Images are saved in their actual format except when the device supports avif format. avif format enables saving the images in smaller file sizes without impacting image quality. |
For information on Generate OTP APIs, refer to the API documentation.
Updated 5 days ago