
Target Setting & Tracking at KPI level
You can set a target for a KPI and dimension and track it through the reports associated with the same KPI and dimension. For example, you can set a target sale amount at the store level and then track the status of the sale through the reports that have the same KPI and dimension.
Setting Target
To set a target value for a KPI, perform the following:
- From the home page, click the settings icon.
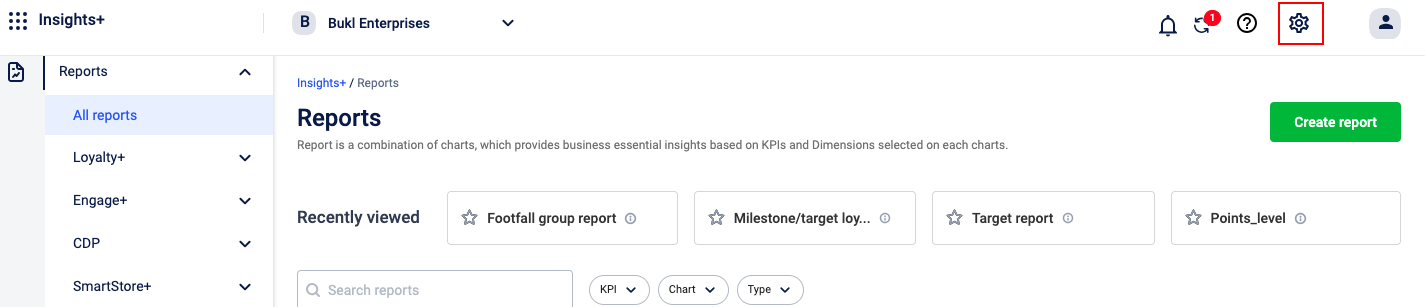
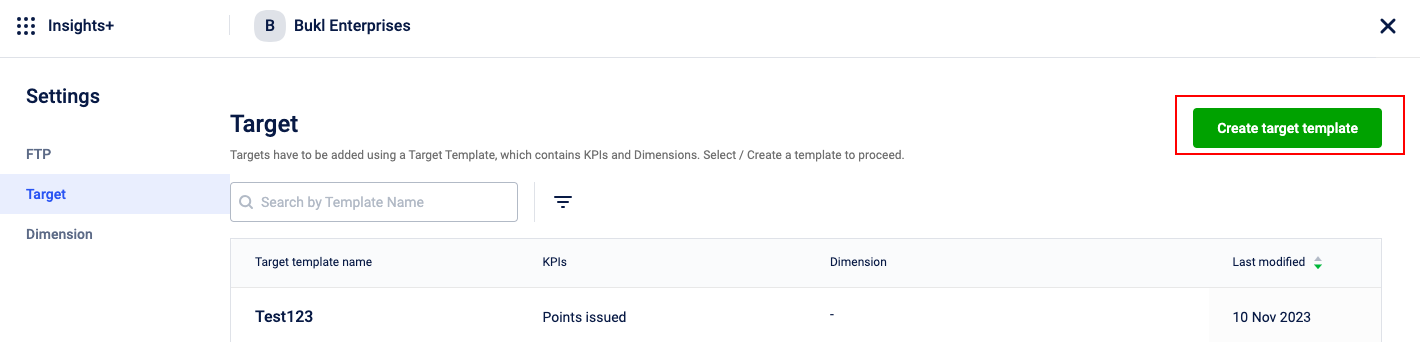
- On the Settings page, select Target and click Create target template.
- In the Template name field, enter a name for the target template.
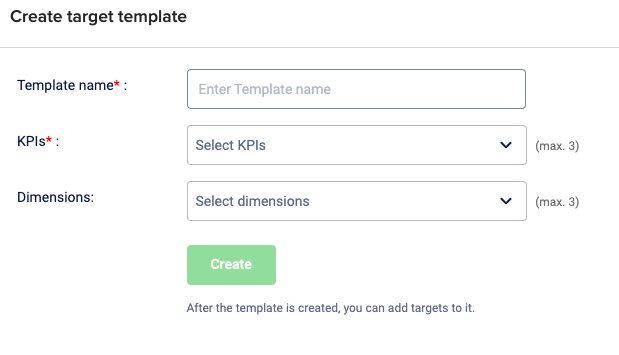
- Expand the KPI drop-down list and select the KPI for which you want to set a target. Selecting the KPI will populate the relevant dimensions. You can select up to a maximum of three KPIs.
- Expand the Dimensions drop-down list and select the dimensions. You can select up to a maximum of three dimensions. Selection of Dimensions is optional.
- Click Create. The target template is created and appears in the target templates list.
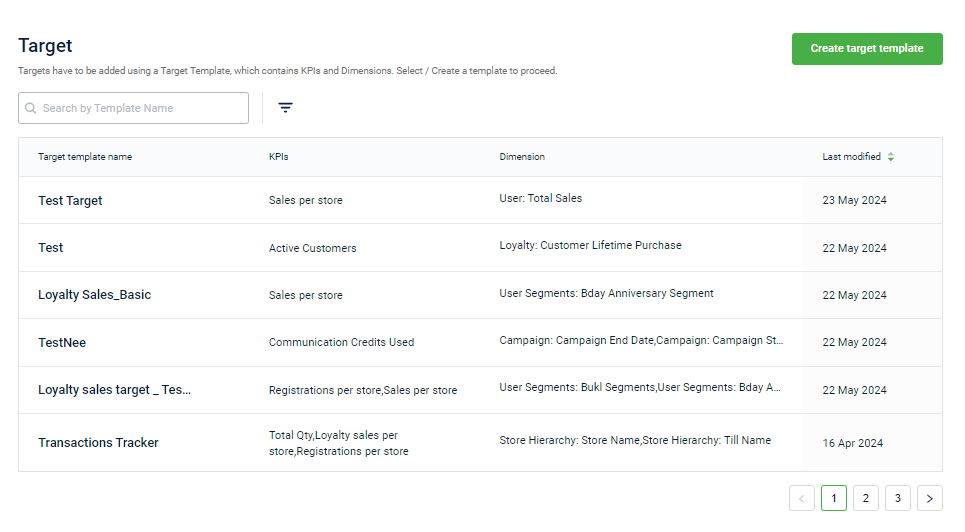
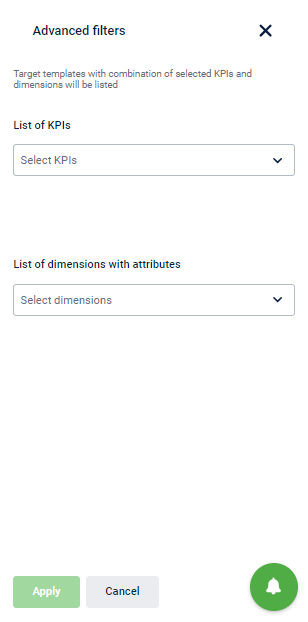
If the desired template is not visible in the list, you have the option to either search for it by name using the search box or apply an advanced filter to locate it.
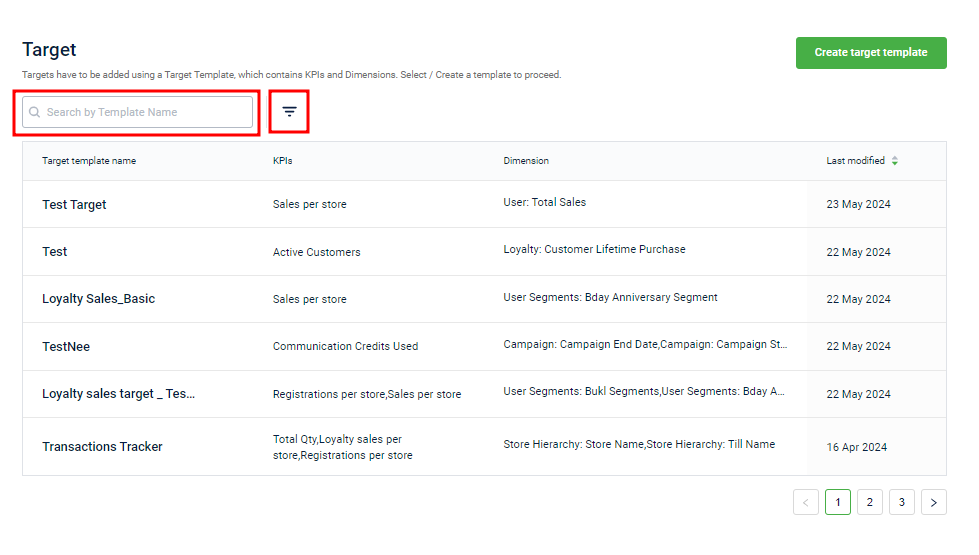
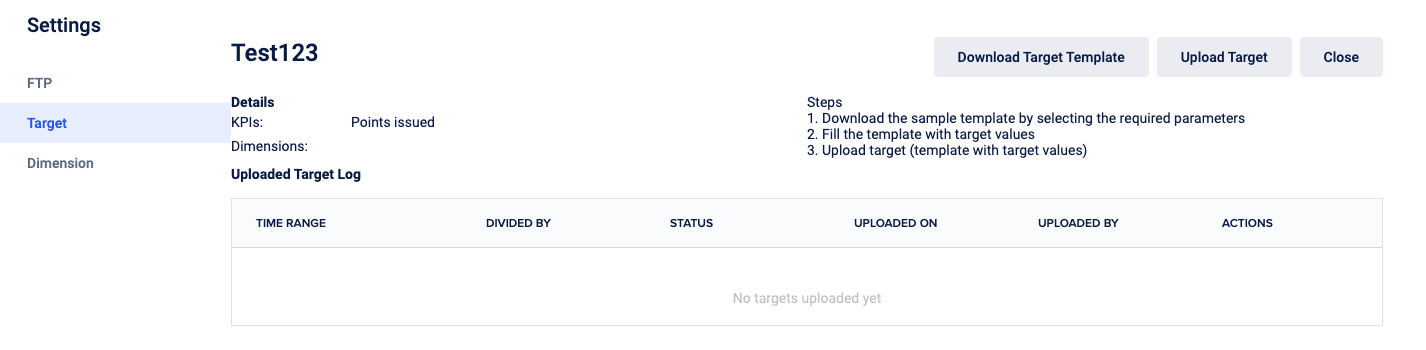
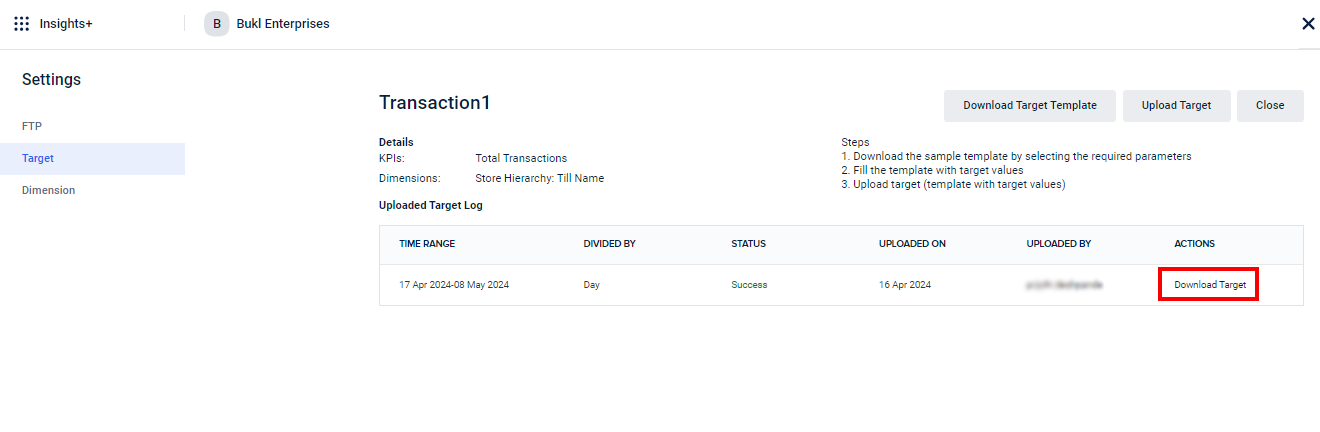
- Click on the target template to open it.

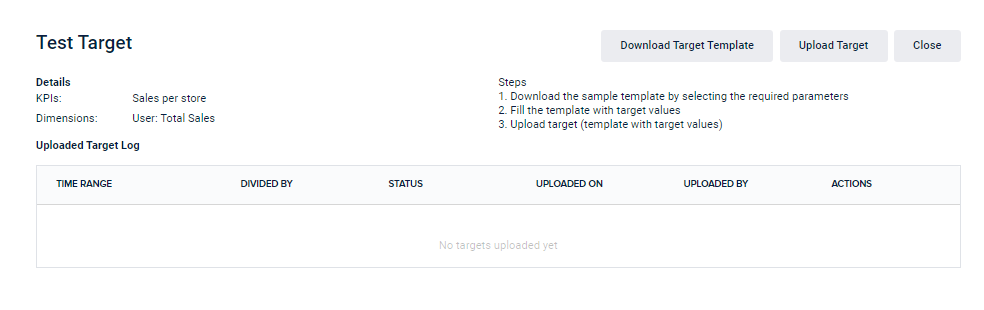
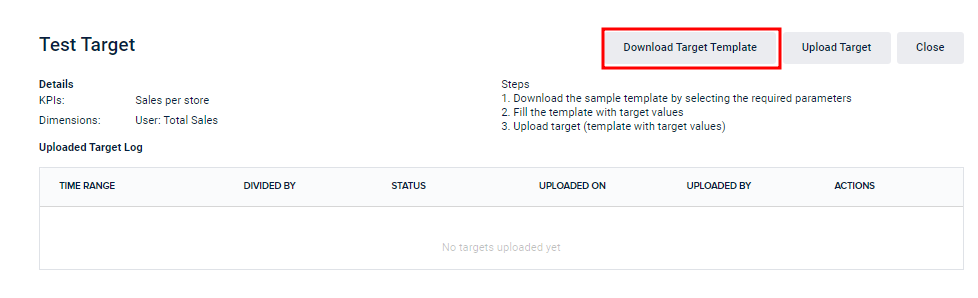
- Click Download target template. This template is used for adding the target values.
- Choose the date range for which you want to set the target.
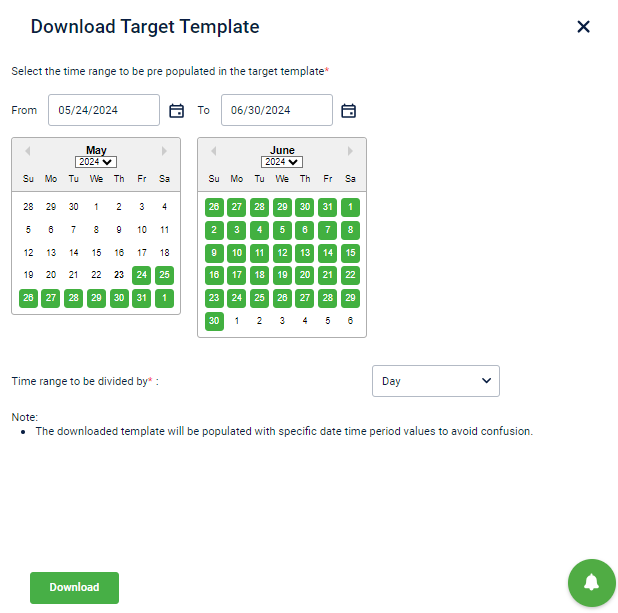
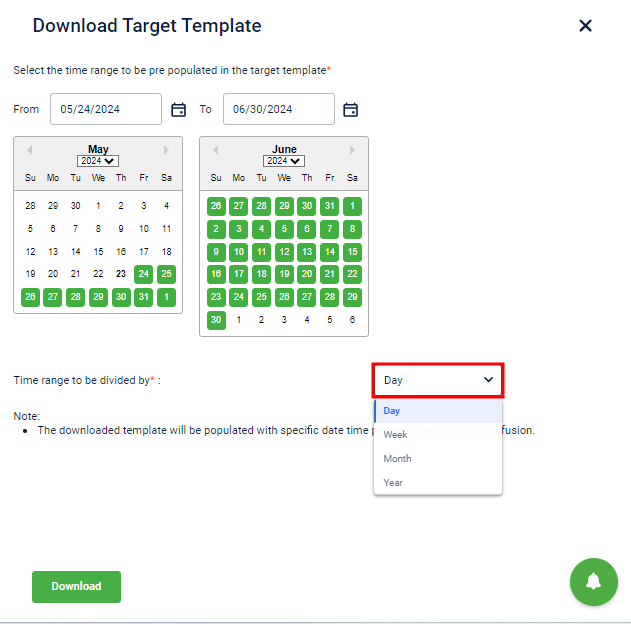
- Expand the time range divider by clicking the drop-down box and selecting from Day, Week, Month and Year.
- Click Download. The Target Template file (in CSV format) will be downloaded.
- Navigate to your device's downloads folder (or wherever downloaded files are stored) and open the CSV target template.
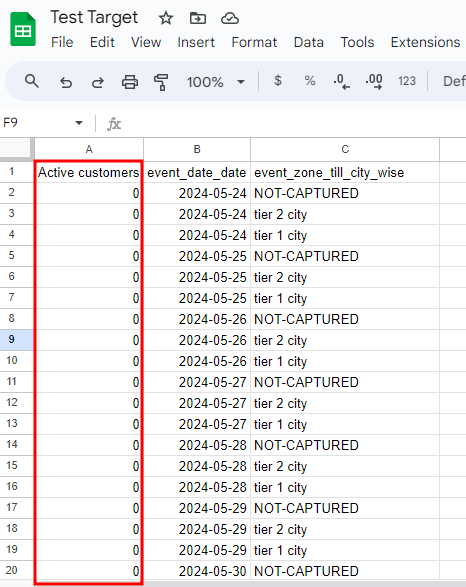
- In the sheet, enter the target values in the column with zeros.
- Save the CSV file.
- Navigate to Insights+> Settings >Targets > Click the target template you created to open it.
- Click Upload Target and choose the CSV file containing the target values that you've added. Make sure that the date is in YYYY-MM-DD format.
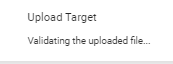
The target upload gets validated.
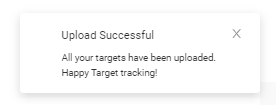
Once the upload and validation is completed, the target for the selected KPI and dimension is set and ready to track.
The configured targets are available at Insights Settings > Target > Uploaded Target Log. You can click Download Target and download the configured target.
NoteCombination of additive and non-additive KPIs is not supported in target tracking.
Tracking Target
To track the targets that you have created, perform the following:
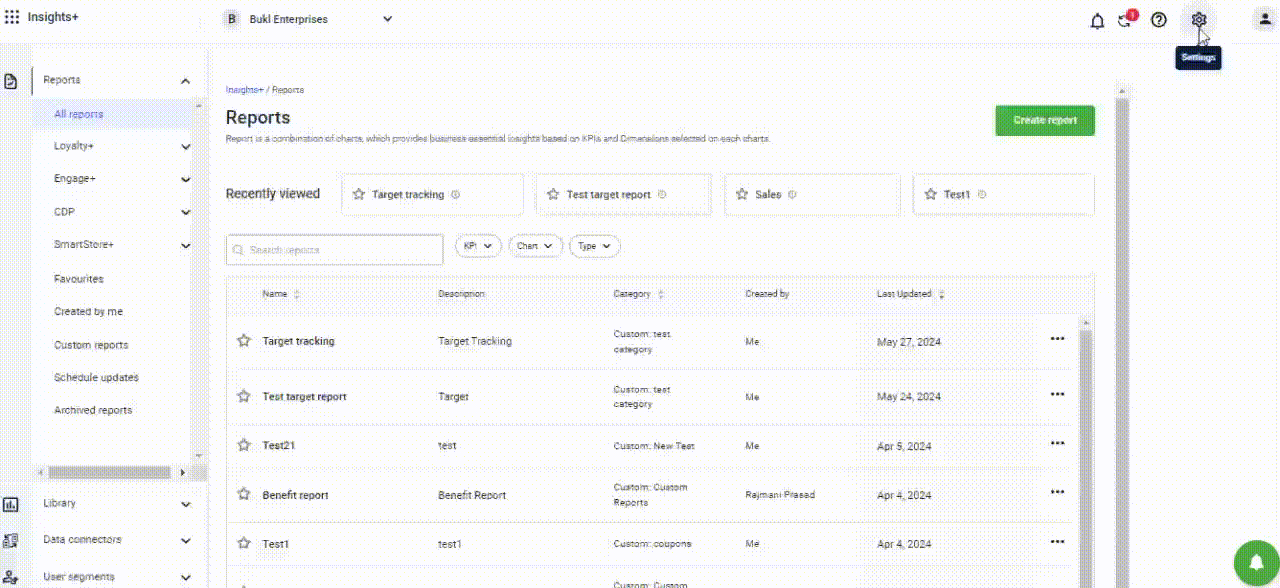
- Form the Insights+ page, navigate to Library > Charts from the left panel.
- Click Create chart and create a chart using the same KPI and dimension that you used to set the target. For information on creating a chart, click here.
- Add the chart to a report. For information on adding a chart to a report, click here.
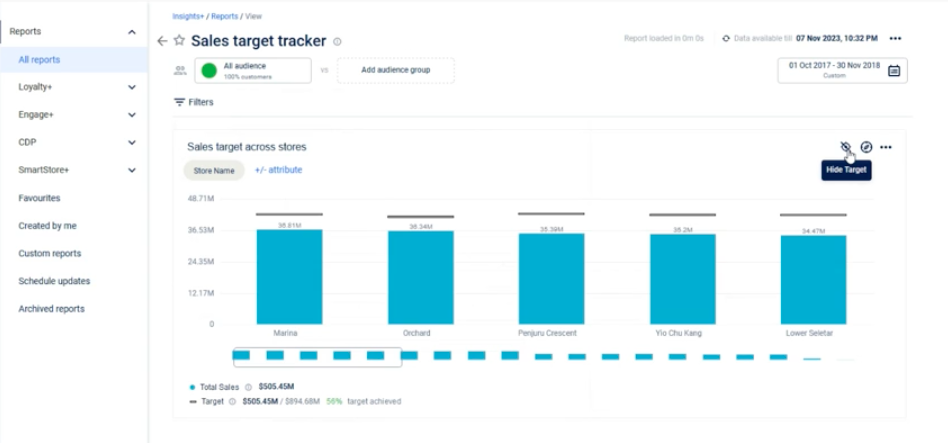
- From the Reports, open the report with the KPI and dimension that you used to configure and create the target and filter the dates accordingly.
The chart displays the target values. You can use the hide/view icon to view or hide the target from the chart.
Use case for creating target template
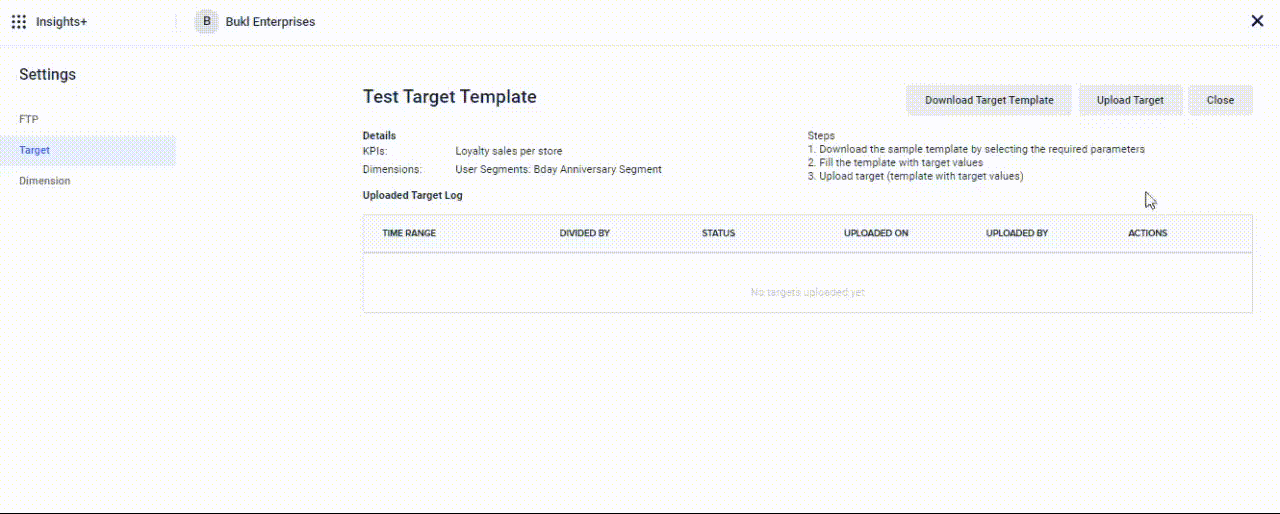
Creating target template to track Loyalty Sales Per Store for Birthday - Anniversary User Segment from 1 June 2024 to 1 July 2024.
By breaking down sales data by user segments like birthdays and anniversaries, you can understand how different segments contribute to overall sales. For example, you can see if there is a spike in sales around birthdays or anniversaries compared to regular days.
To create and upload the target template, perform the following steps:
- Navigate to Insights+>Settings>Target.
- Click Create target template.
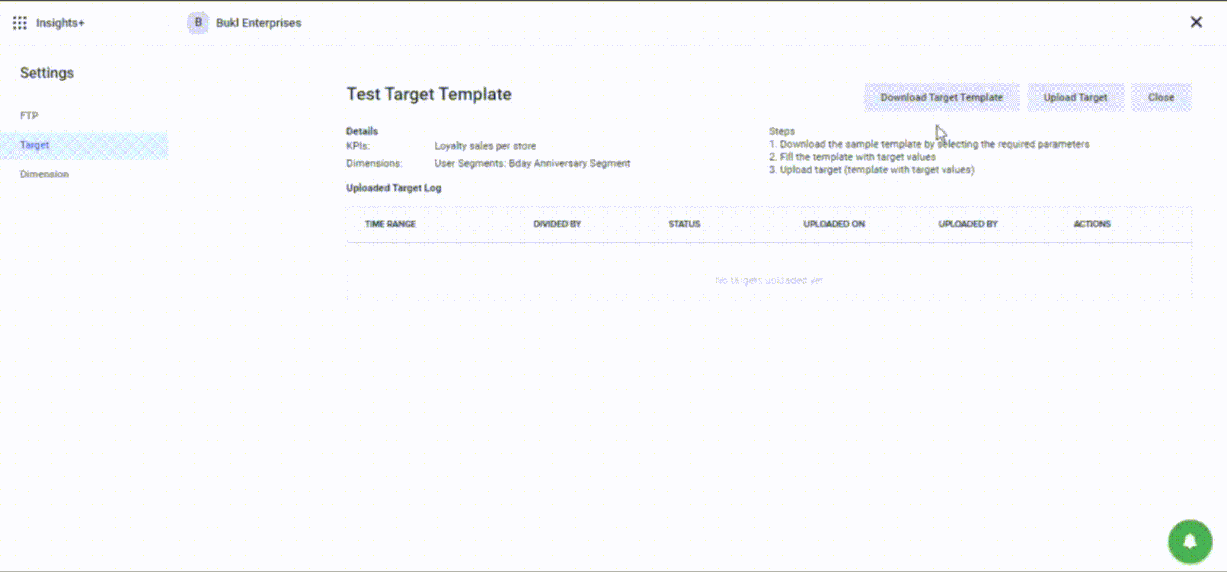
- Type the target name. Select the KPI as Loyalty Sales Per Store under Transactions, and Dimension as Birthday - Anniversary segment under User Segment.
- Click Create. The target is created and is displayed in the list.
- Click on the target file to open it and click Download target template.
- Select the date range from 1 June 2024 to 1 July 2024, and the time range divider from day, week, month or year. In this use case we have selected week wise division.
- Click Download. This will download the target template (CSV file) in your devices downloads folder.
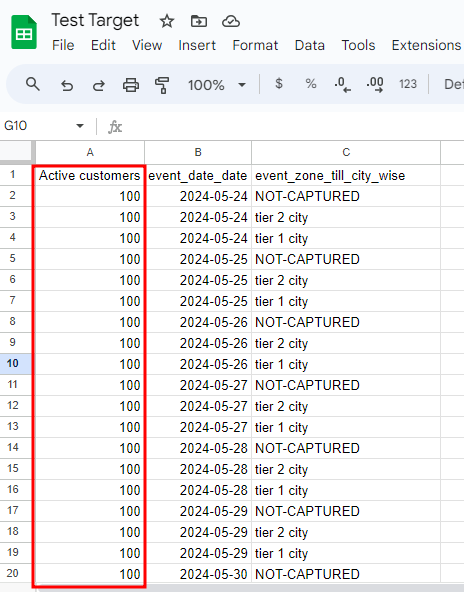
- Open the CSV file and fill in the target values. In this case study we are adding Loyalty Sales per Store target sales values as 100. The targets are divided per week, where the start and the end date of the week is displayed.
- Save the CSV file.
Note: The customers who have not provided their birthday/ anniversary details are referred as NOT_CLASSIFIED.

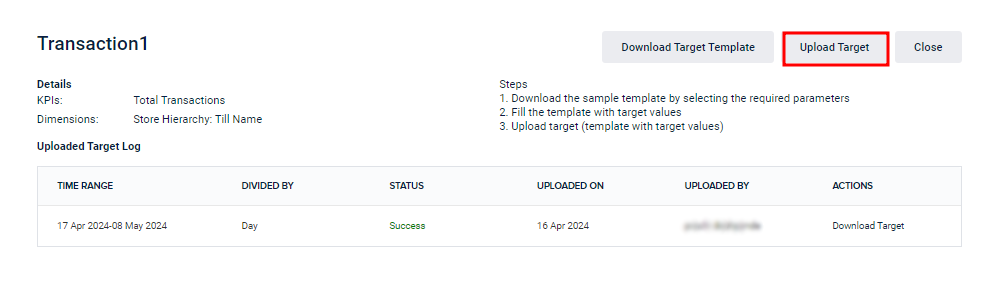
- Navigate to the target template that you have created in Insights+. Click Upload Target. Select the CSV target file (having the target values) and click Open. The target file is uploaded and you are ready to track the target.
Updated 4 months ago