
Create RCS Template
RCS templates help you design visually engaging and interactive messages that enhance customer communication. Once your RCS account is configured for your brand, you can start creating RCS message templates directly in Engage+.
Create RCS template
To create an RCS template follow the given steps:
- On the Engage+ homepage select Creatives tab.
- Navigate to the RCS engagement channel. You can view the list of existing templates. You can either use one of the available templates or select Create new to create a template from scratch.
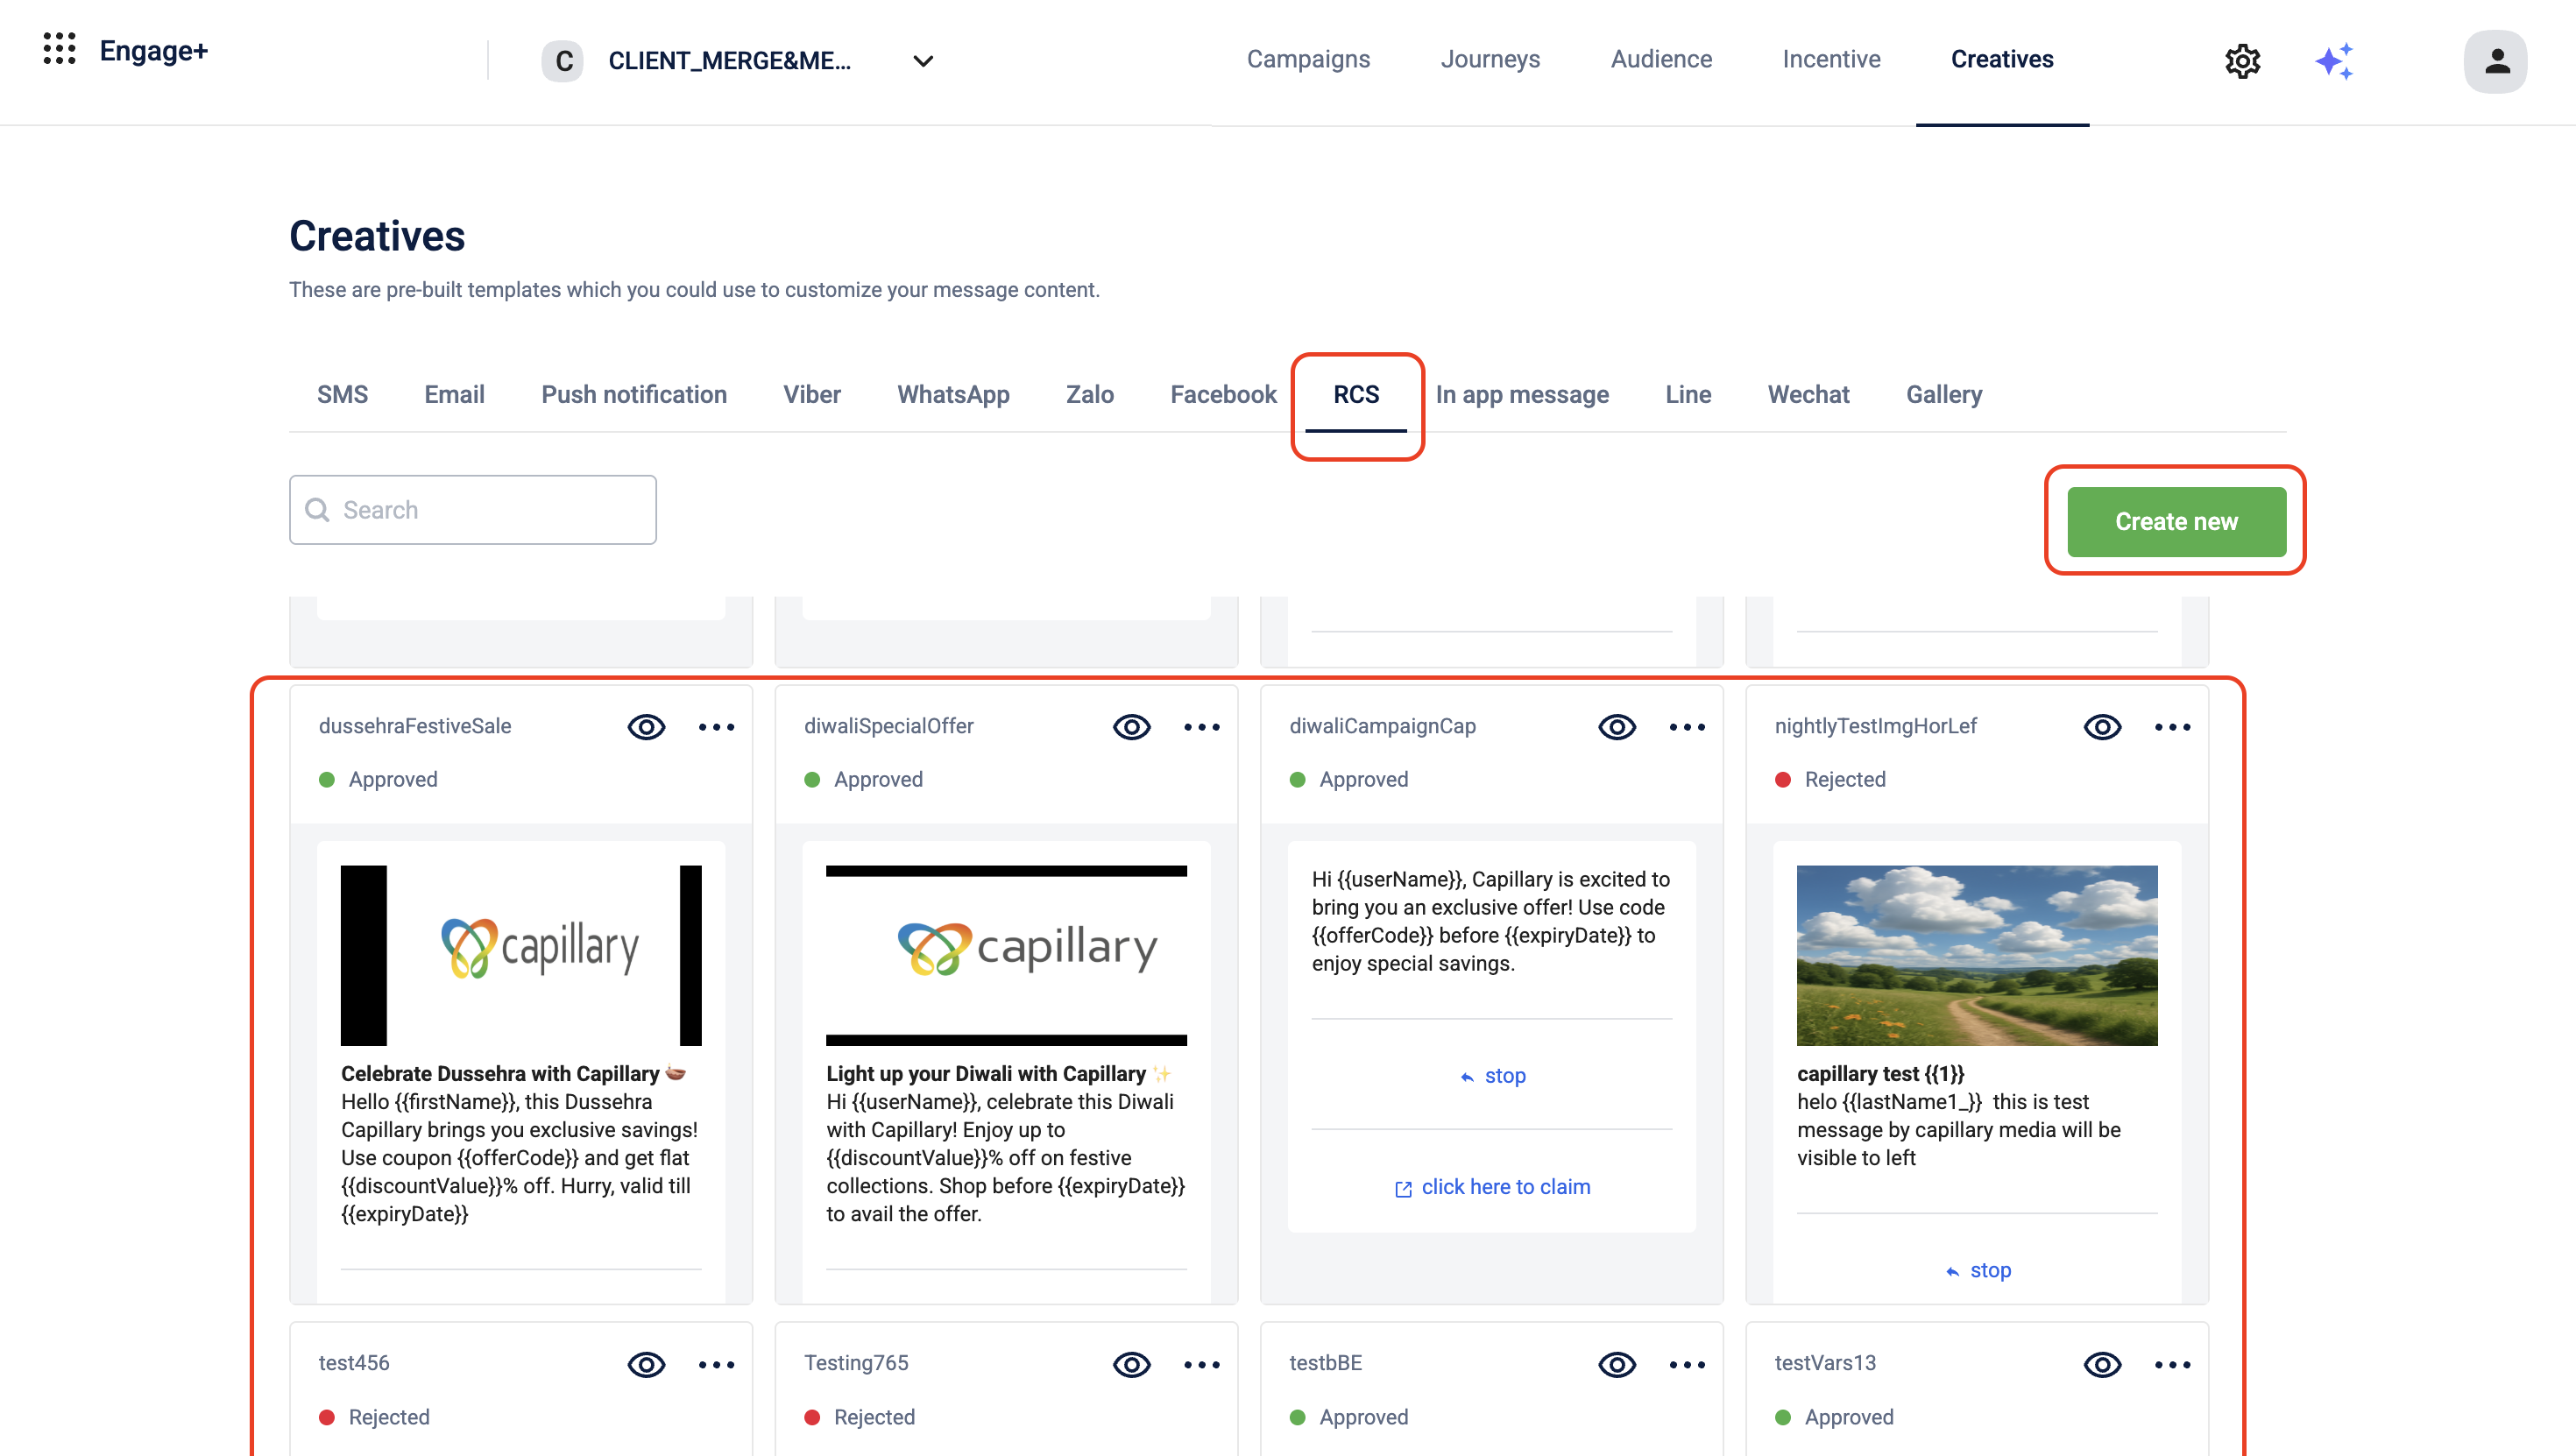
NoteTo duplicate an existing template instead of creating one from scratch, navigate to Creatives > RCS tab, select the desired template, click the more options icon (...), and then select Duplicate.
- A modal appears to create the RCS template. In the Creative name section enter a name for the template.
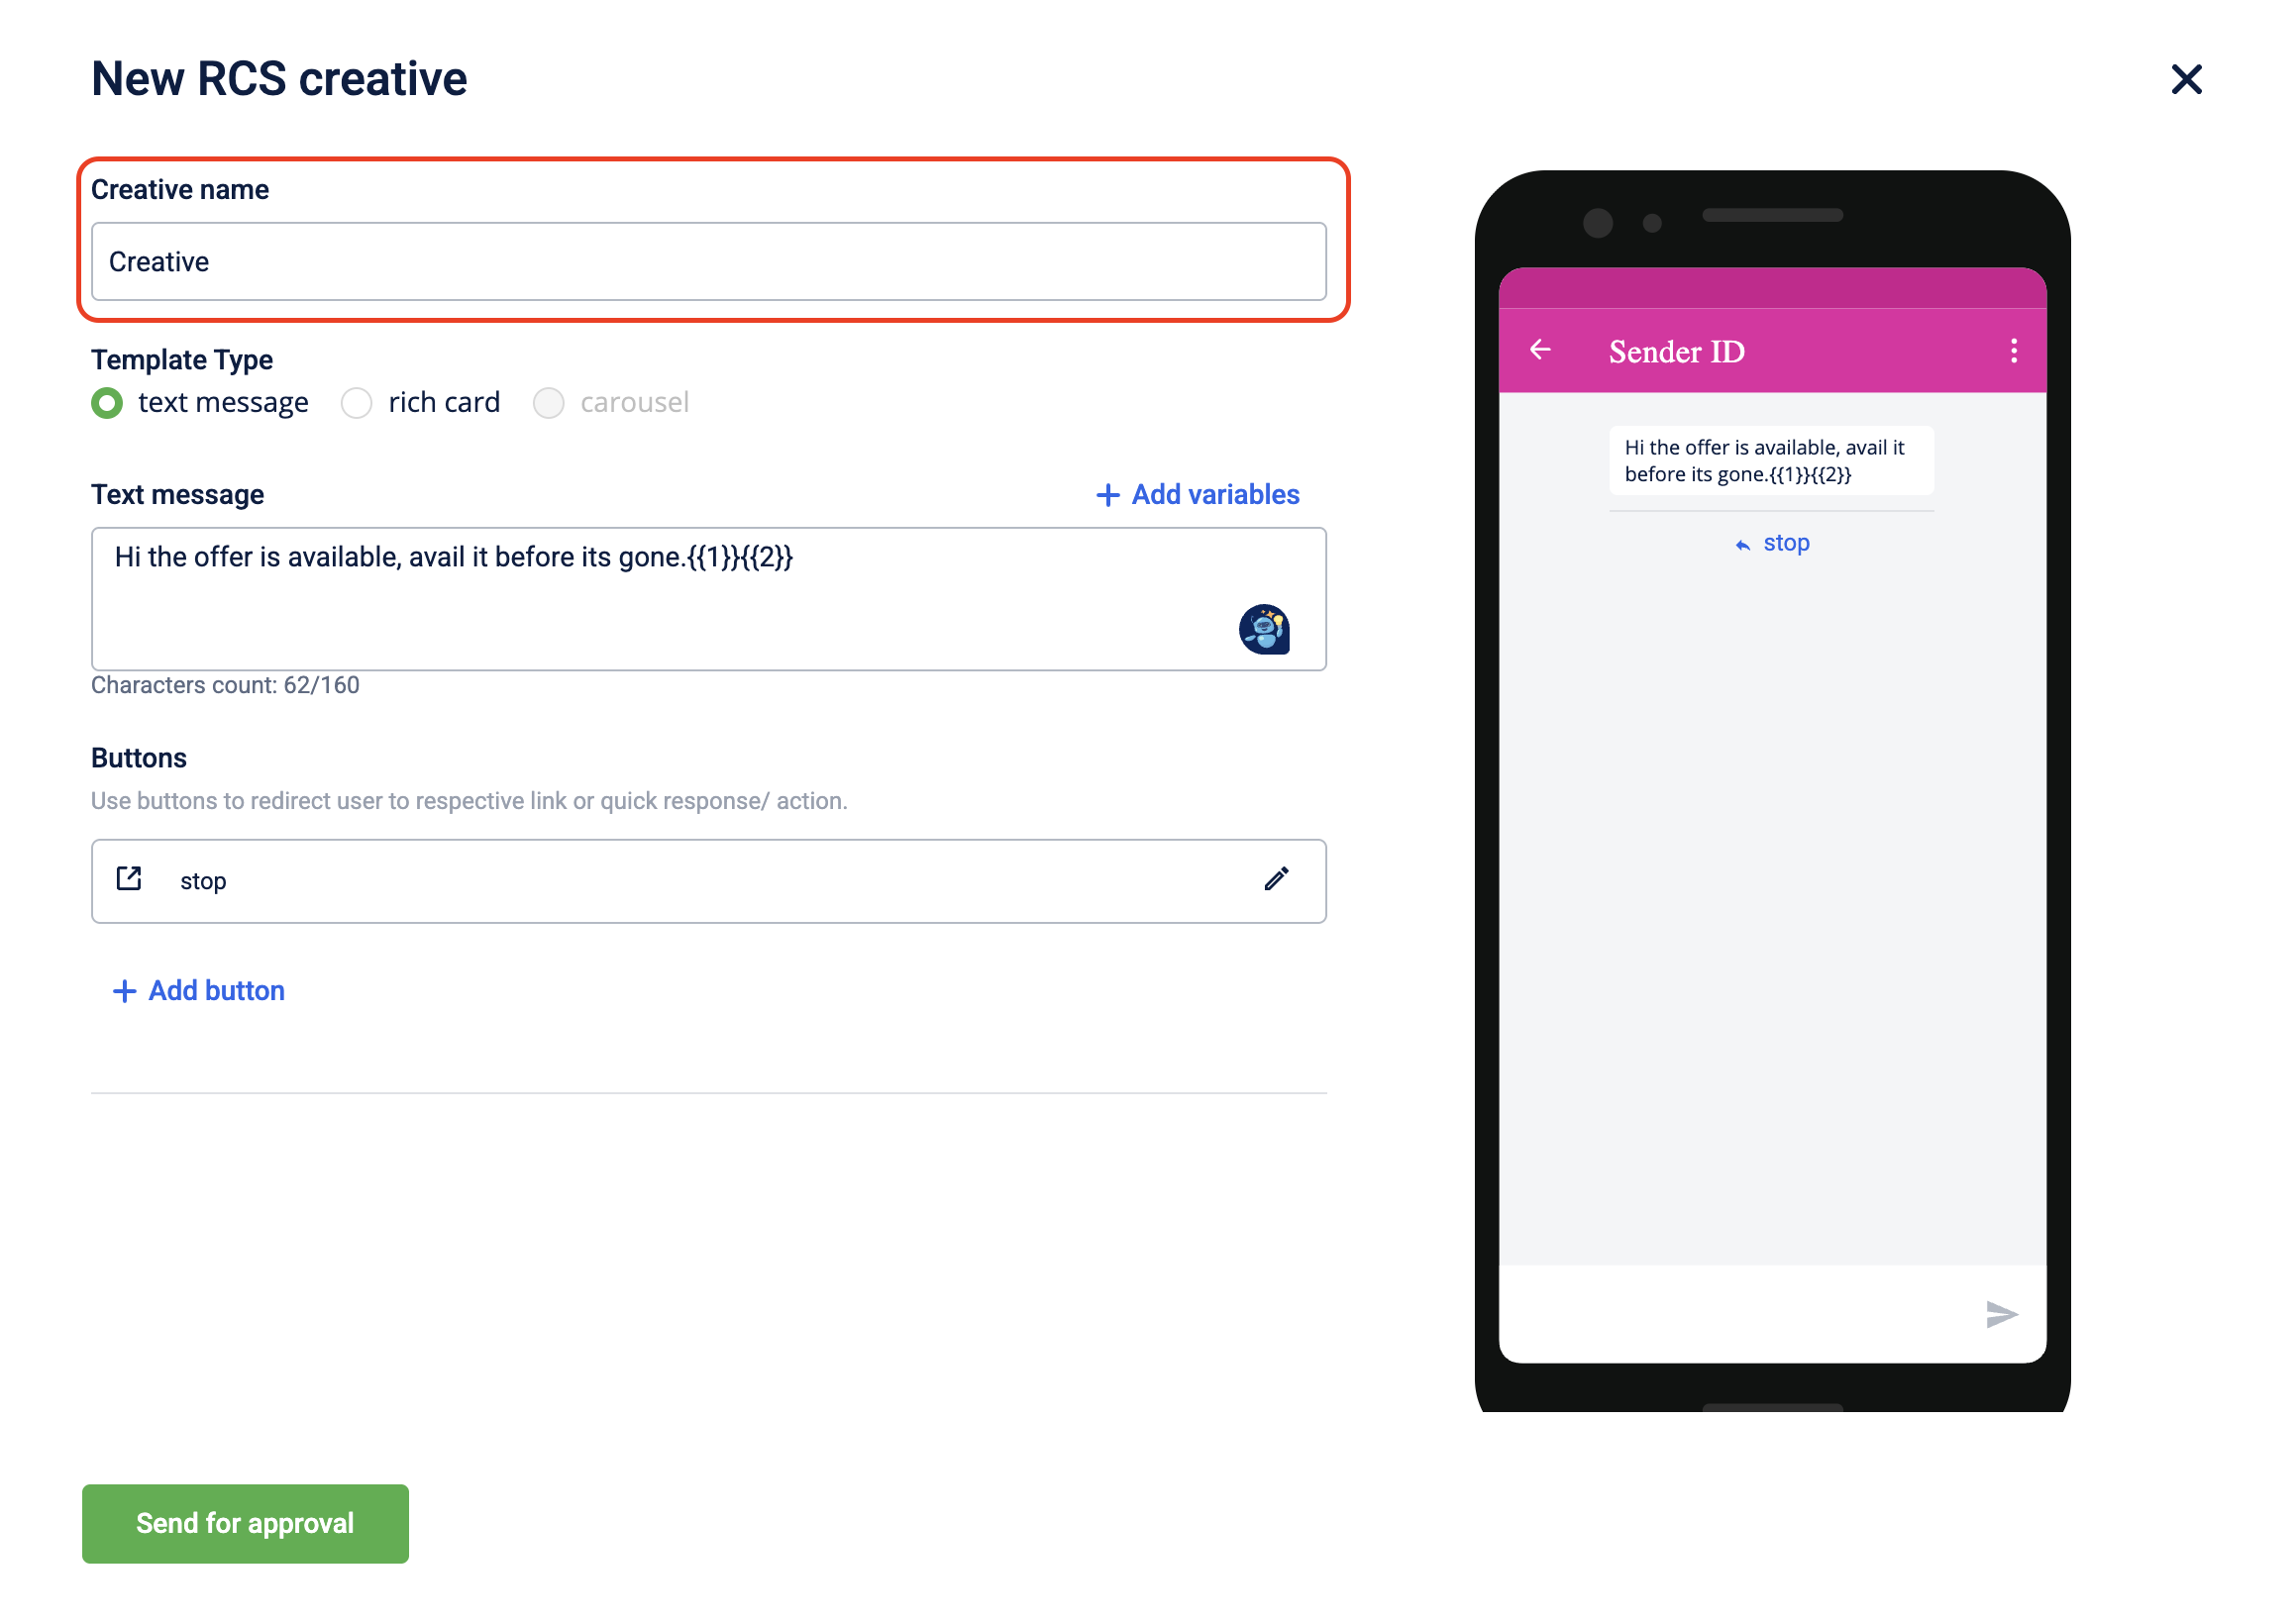
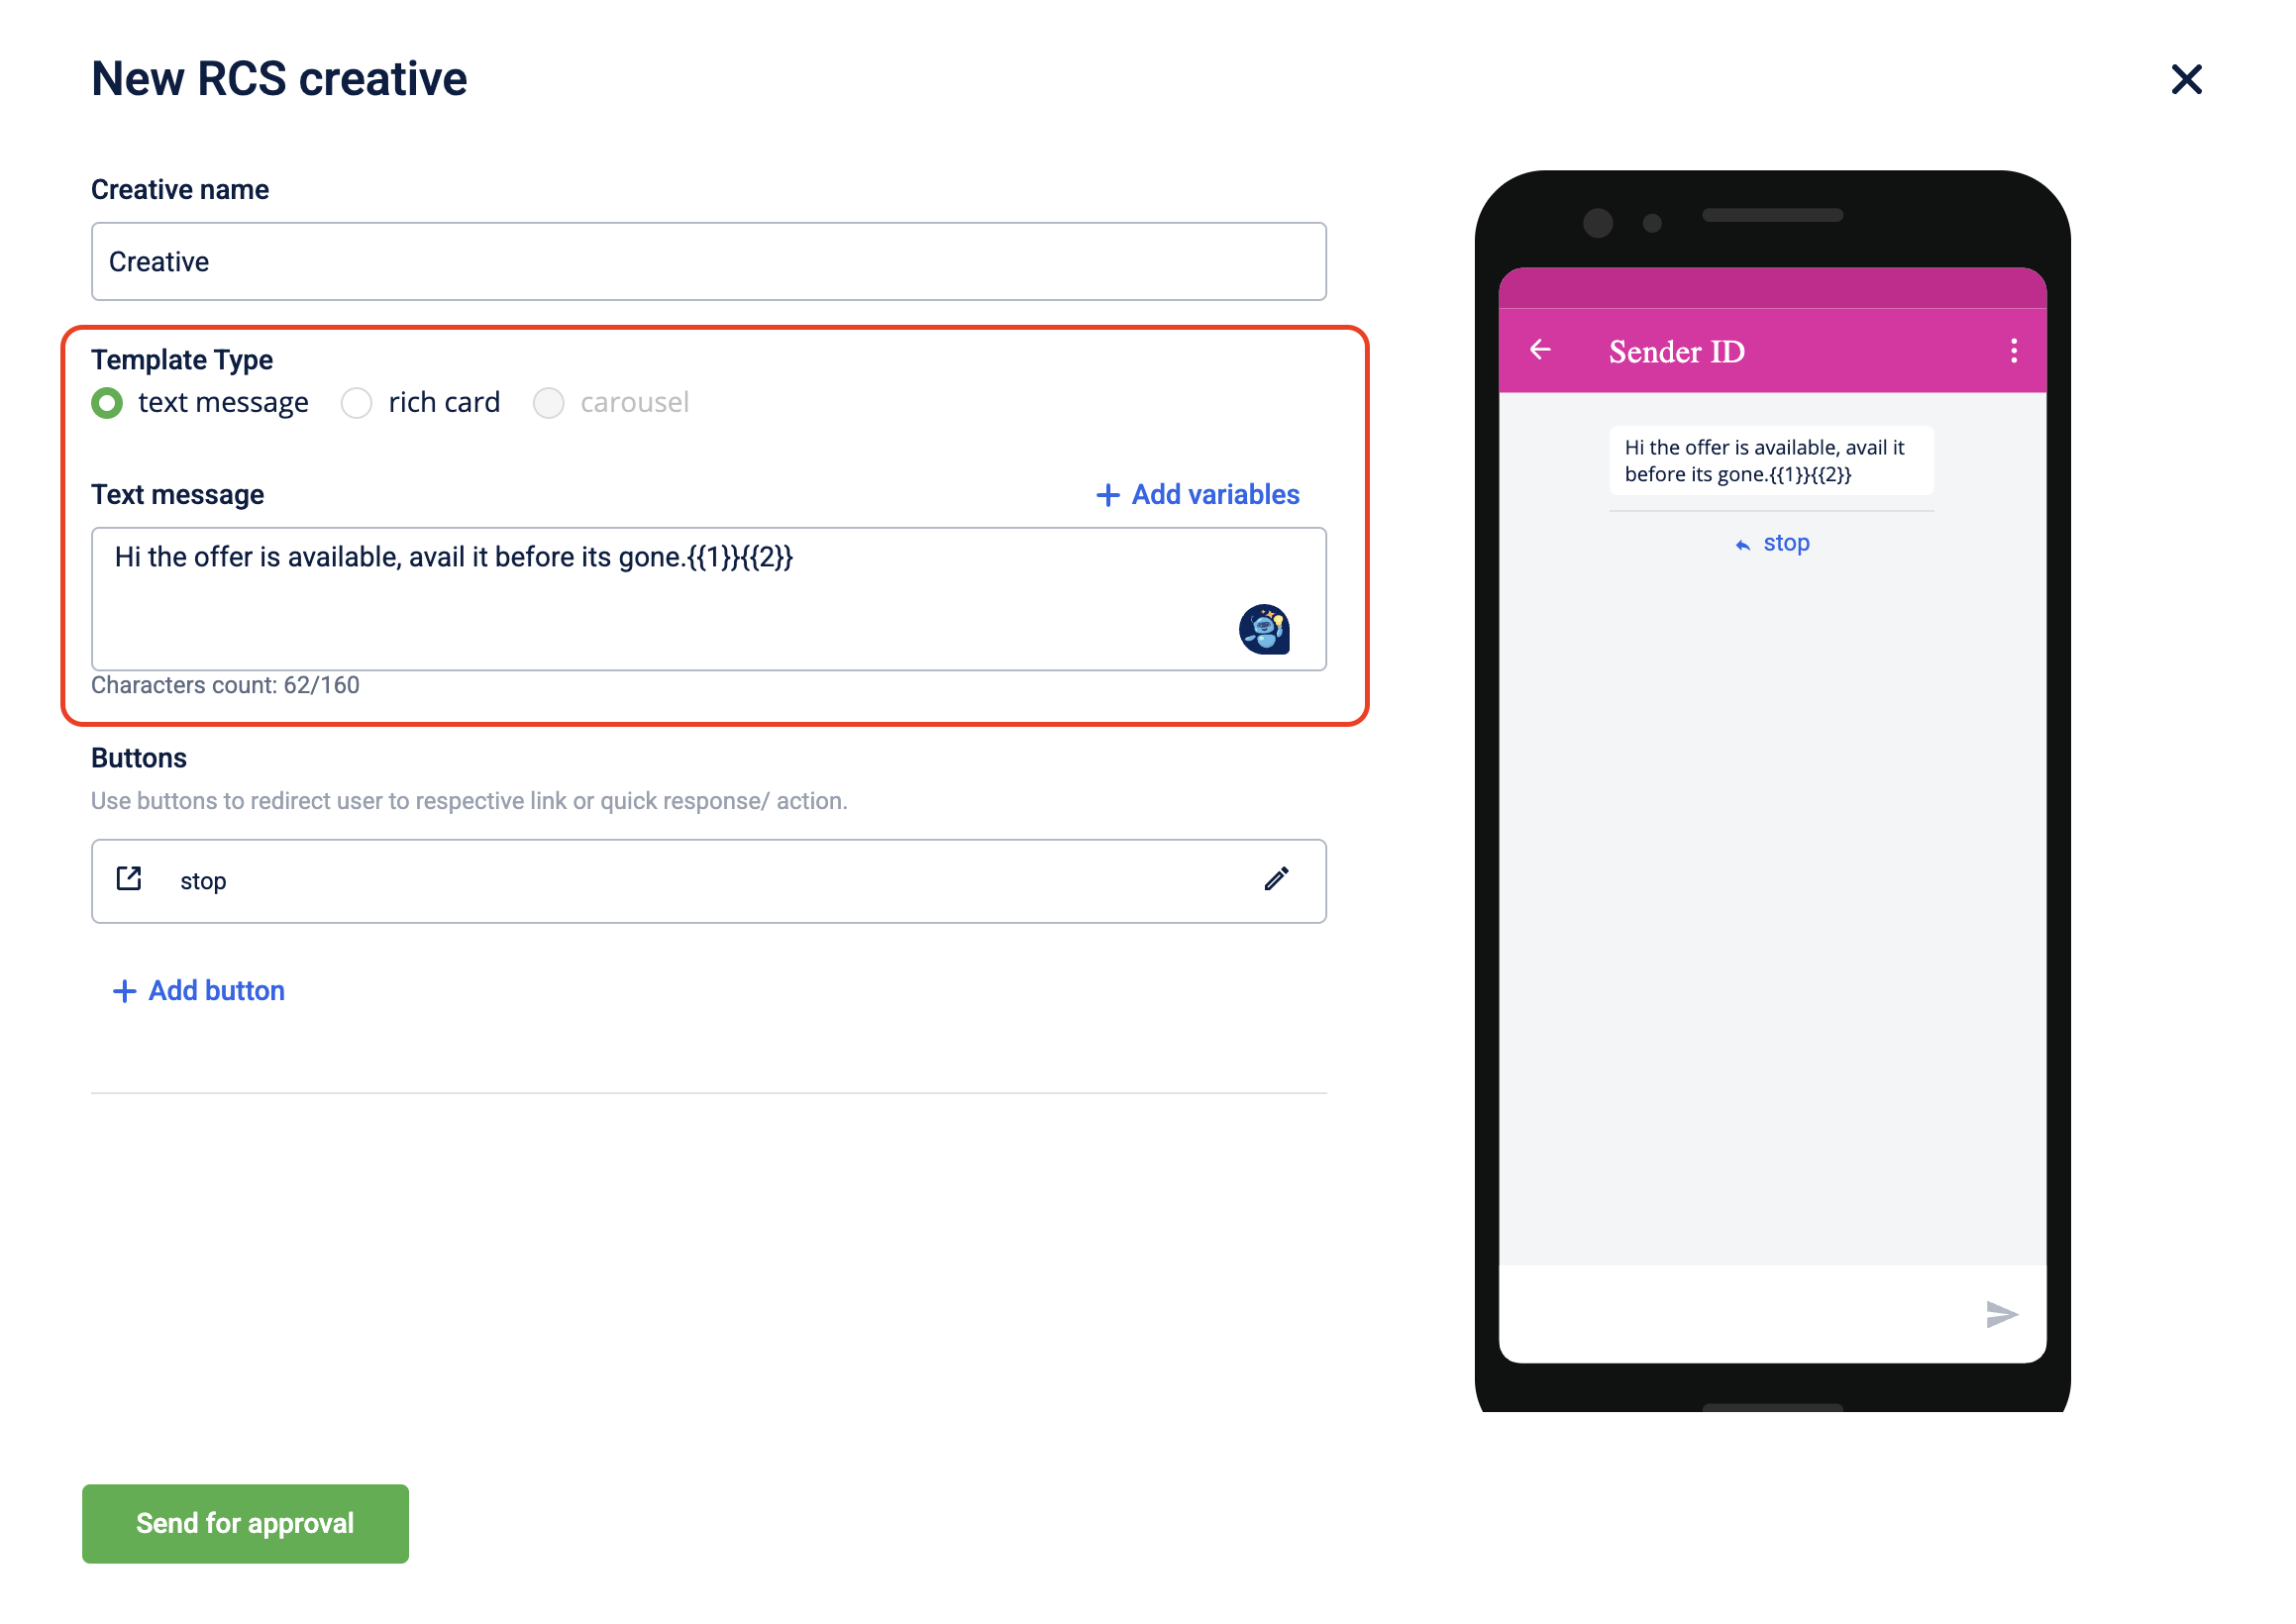
- In Template Type, choose the desired media type. You can create either a Text Message or a Rich Card template.
a. Text Message
-
Select Text message to create a plain text message.
-
In the Text message field, enter the message content. To personalize the message, click +Add variables and select the desired variables. The message length is limited to 160 characters.
b. Rich Card
-
Select Rich card to create an image or video/ slideshow based message. You can upload media files from your local system or Gallery.
-
Image
-
Select the image and card orientation from the Image and Card Orientation dropdown.
Orientation Name Description Vertical Short Displays the media in a compact vertical layout. Vertical Medium Displays the media in a taller vertical layout, providing more space for content. Horizontal – Media to the left Displays the media on the left side in a horizontal layout. Horizontal – Media to the right Displays the media on the right side in a horizontal layout. -
Upload the image from your local system or gallery.
-
In Title, enter a title for the template. You can add variables by selecting +Add variables. The maximum character limit is 200, and a live preview of the title appears on the right side.
-
In Text message, enter the message content. You can add variables by selecting +Add variables. The maximum character limit is 2000, and a live preview of the text message appears on the right side.
-
-
Video
-
Select the card orientation from the Card Orientation dropdown.
Orientation Name Description Vertical Short Displays the media in a compact vertical layout. Vertical Medium Displays the media in a taller vertical layout, providing more space for content. Horizontal – Media to the left Displays the media on the left side in a horizontal layout. Horizontal – Media to the right Displays the media on the right side in a horizontal layout. -
Upload the video file (MP4 format) with a maximum size of 10 MB.
-
Upload a thumbnail for the video in JPEG, JPG, or PNG format, with recommended dimensions up to 770 × 335 px and size between 40 KB and 100 KB.
-
In Title, enter a title for the template. You can add variables by selecting +Add variables. The maximum character limit is 200, and a live preview of the title appears on the right side.
-
In Text message, enter the message content. You can add variables by selecting +Add variables. The maximum character limit is 2000, and a live preview of the text message appears on the right side.

-
-
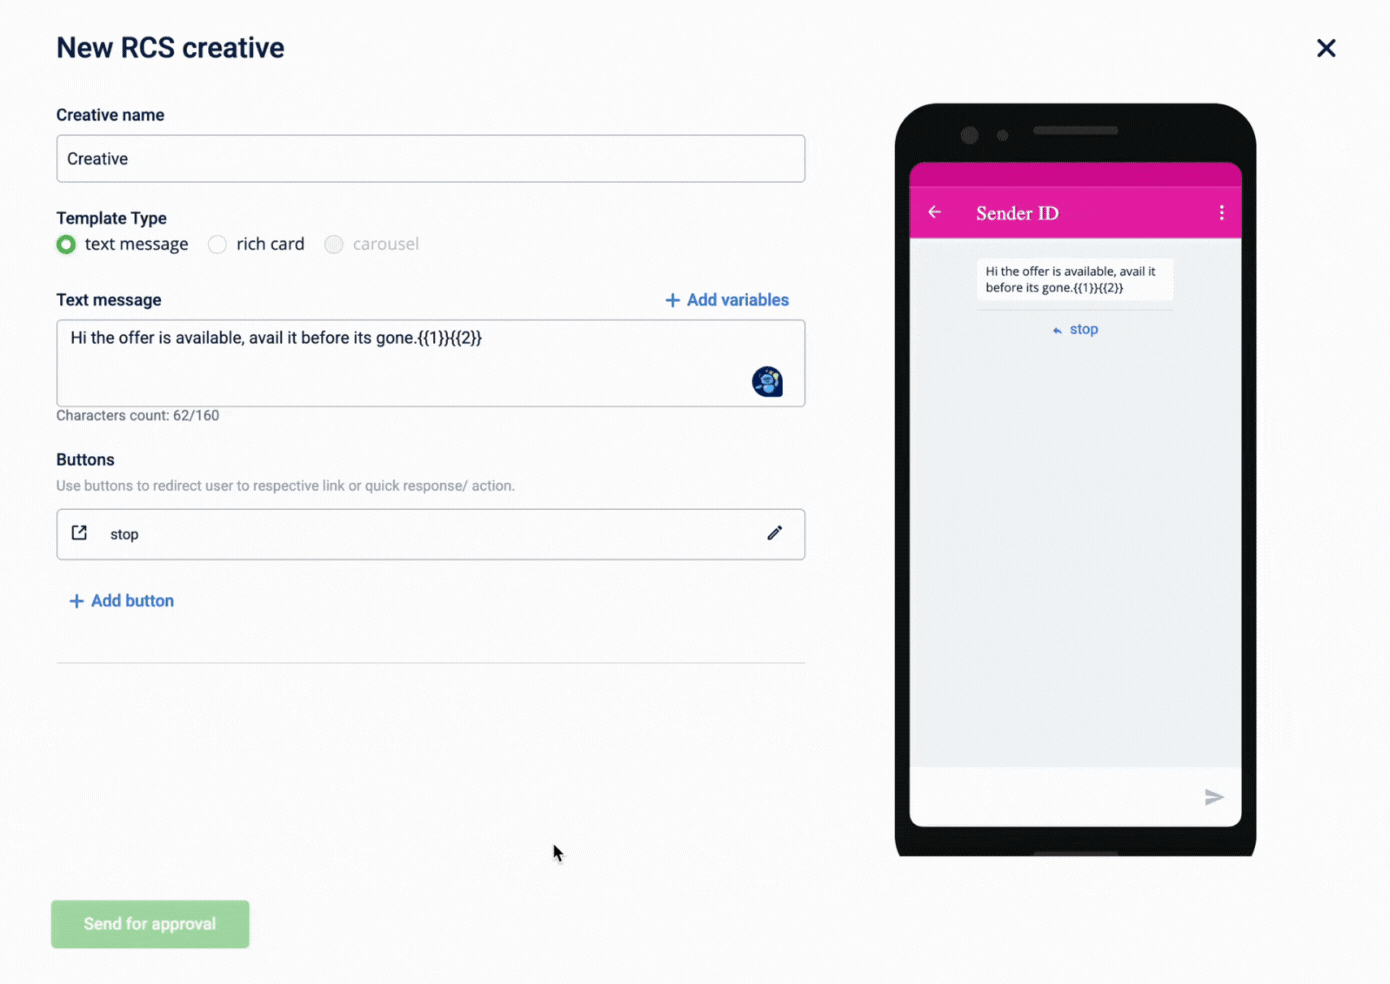
- In Buttons section, select the edit or +Add button icon to add a CTA to the message. Enter the Button text according to the selected action type. The available action types are Phone number, Website, and Quick Reply. This is a mandatory step.
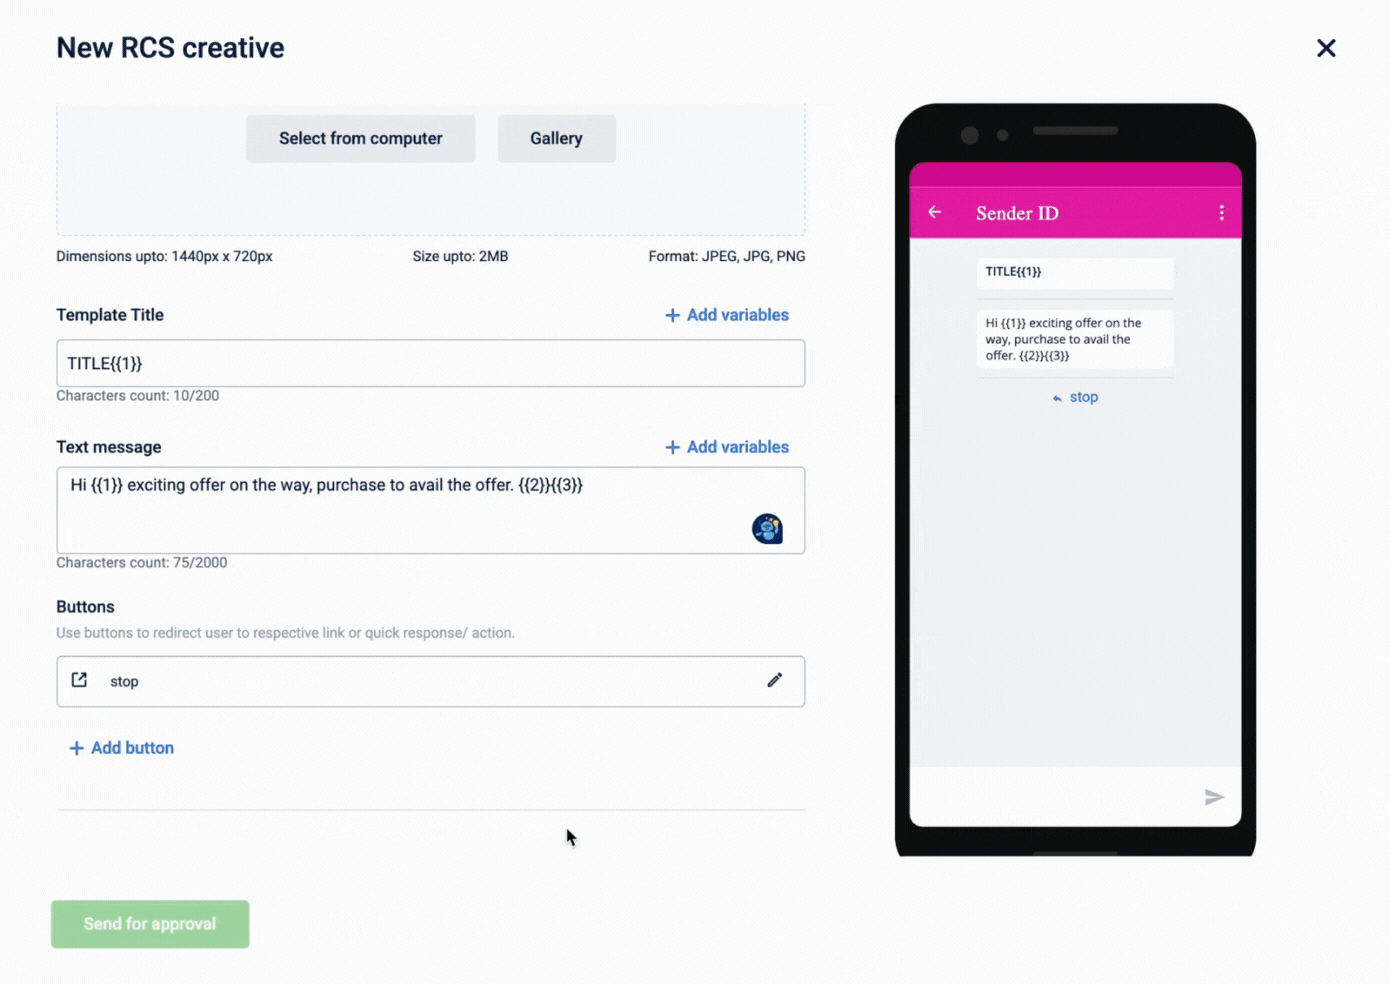
- Select Send for approval. The vendor reviews and approves the template within 24 hours. Once approved, the template appears on the RCS Templates page with the status Approved. If the template is rejected, its status will be shown as Rejected.
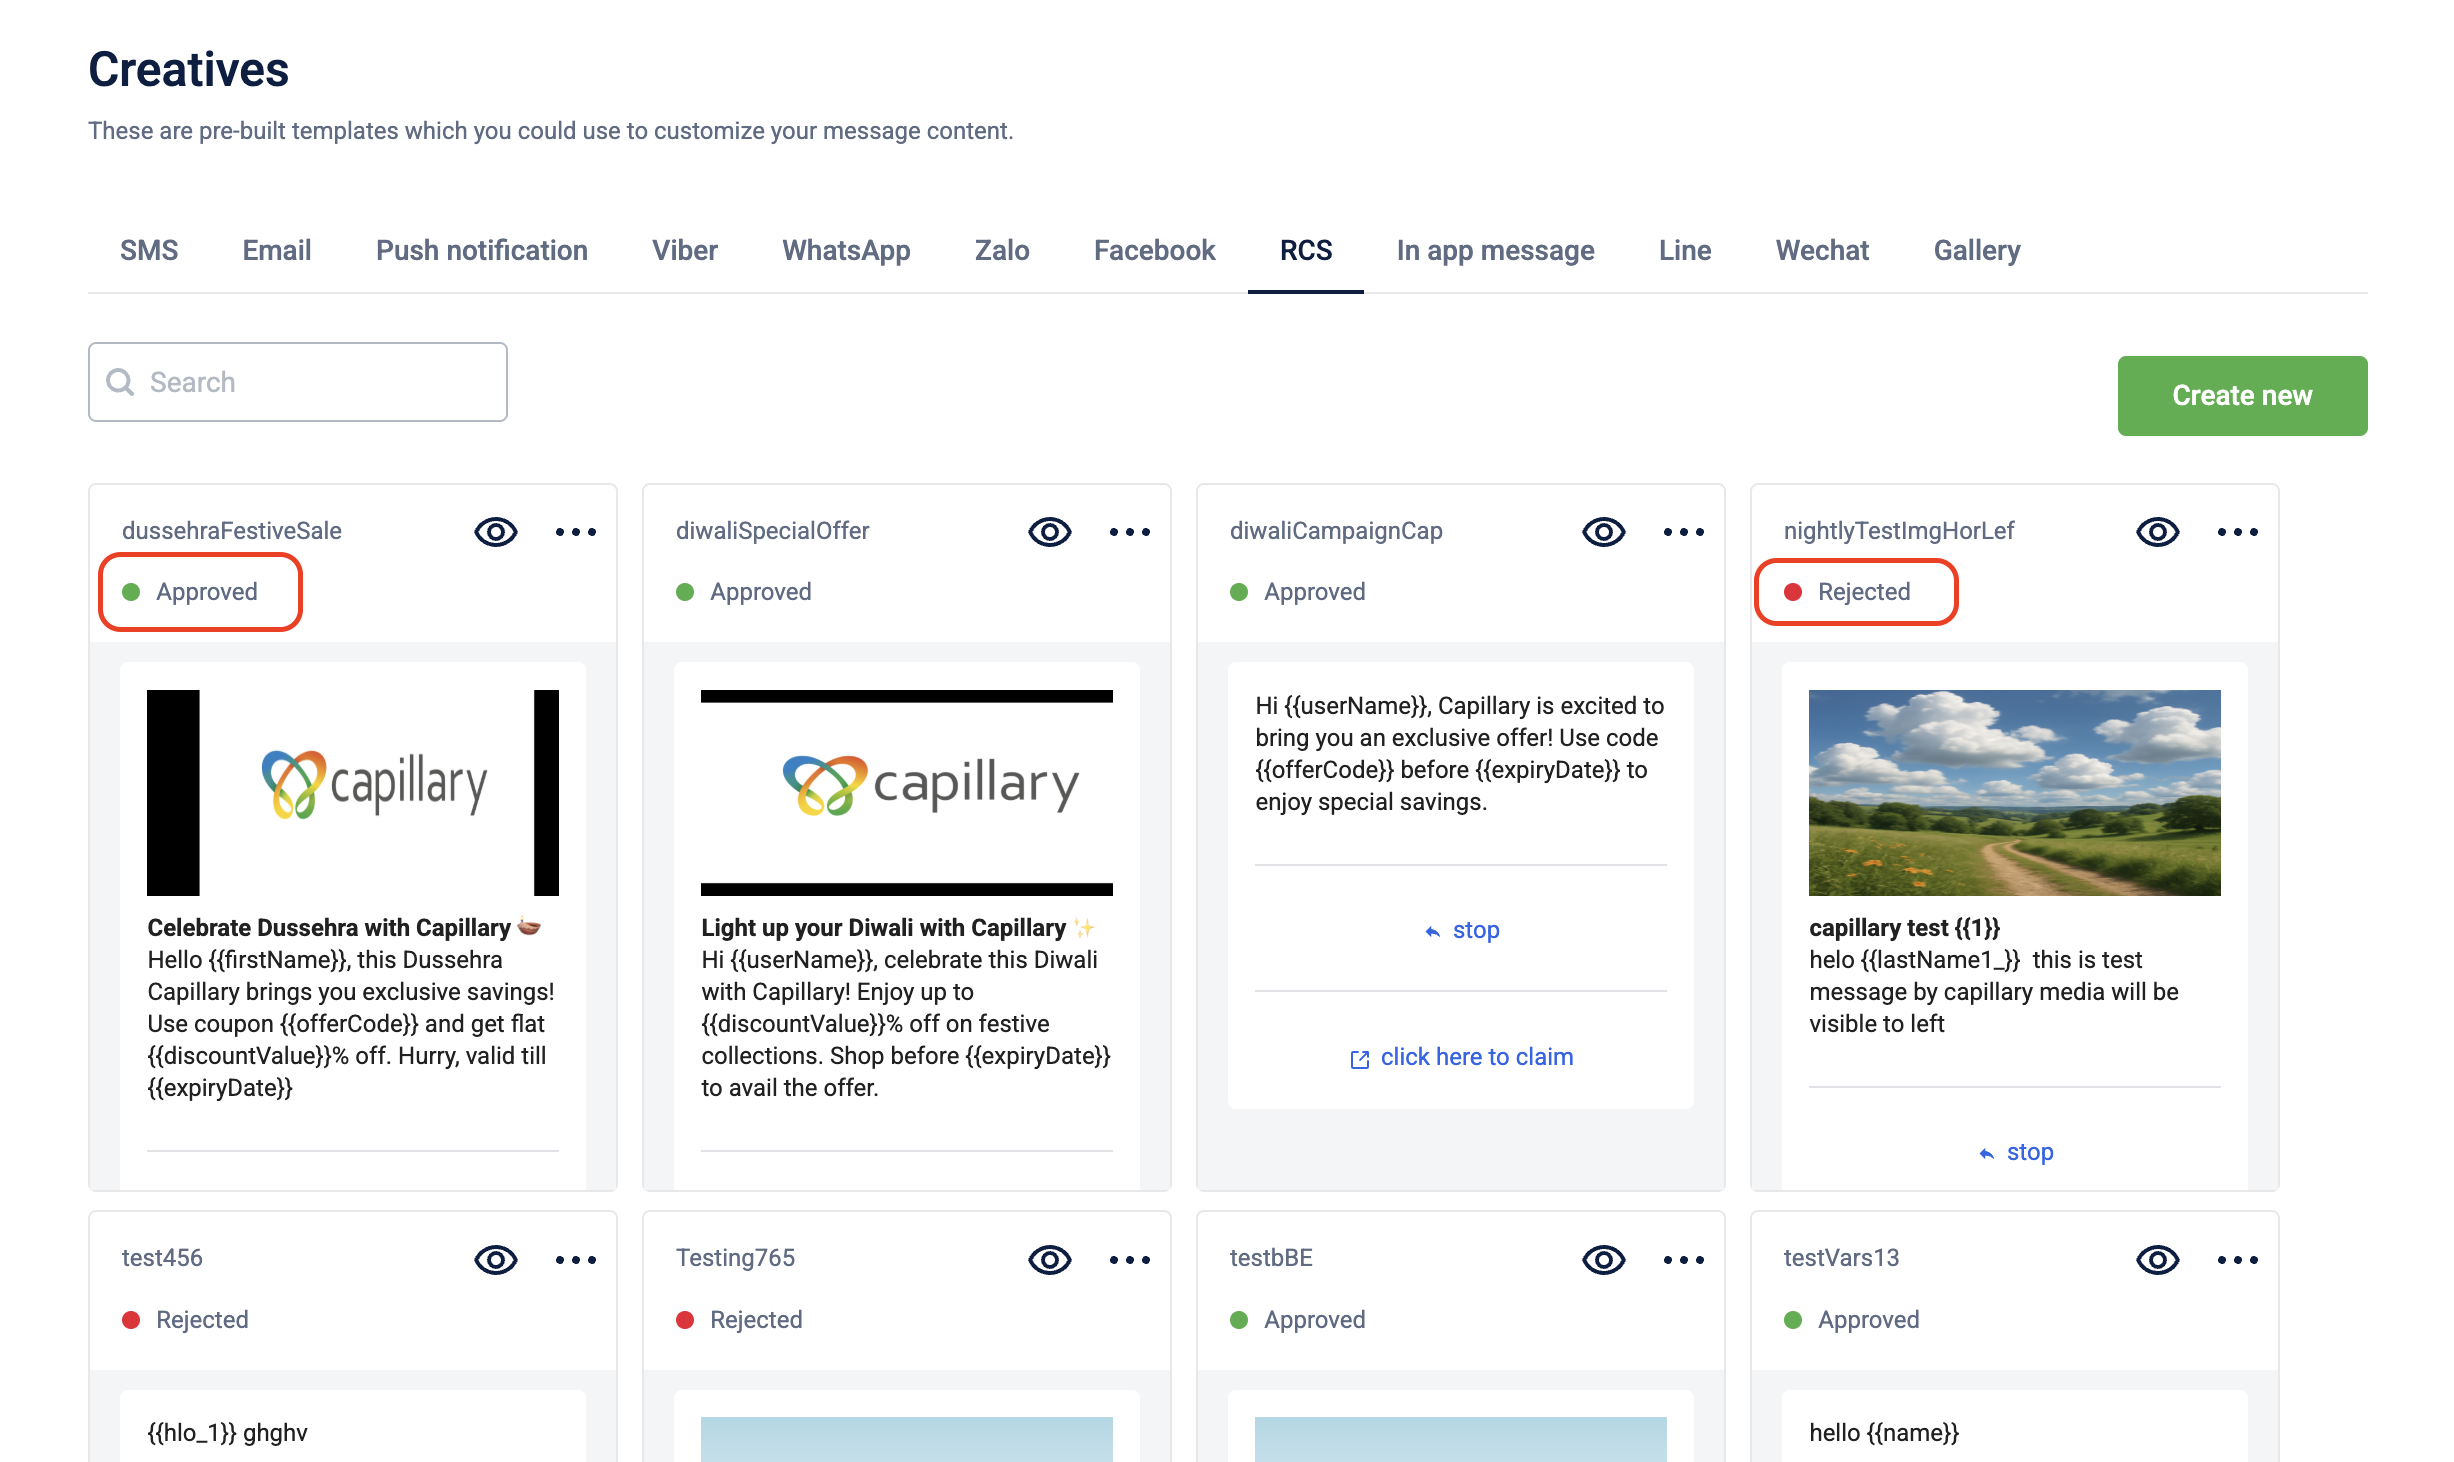
NoteTo delete an existing template, on the Creatives> RCS tab > Navigate to the respective template > Click more options (...) > Click Delete.
Updated 4 months ago