
Custom Tags
Custom tags are dynamic placeholders used to personalize message content with data uploaded in the audience list. These are available by default, and you can map them to the desired dynamic values. The custom tags are named in the format custom_tag_1, custom_tag_2, and so on. A total of 15 custom tags are available, which you can use to define your dynamic values.
Use cases
Recently Viewed Product
Brands can use the 'Recently Viewed Product' custom tag to send personalized messages reminding customers about items they recently explored. This helps in nudging users to complete a purchase and increases the chances of conversion.
Example:
Consider two users: Ananya and Rohan. Ananya recently viewed a Silk Scarf, while Rohan recently viewed Running Sneakers. To encourage them to revisit these products, you can use {{custom_tag_1}} for the recently viewed item in the message content.
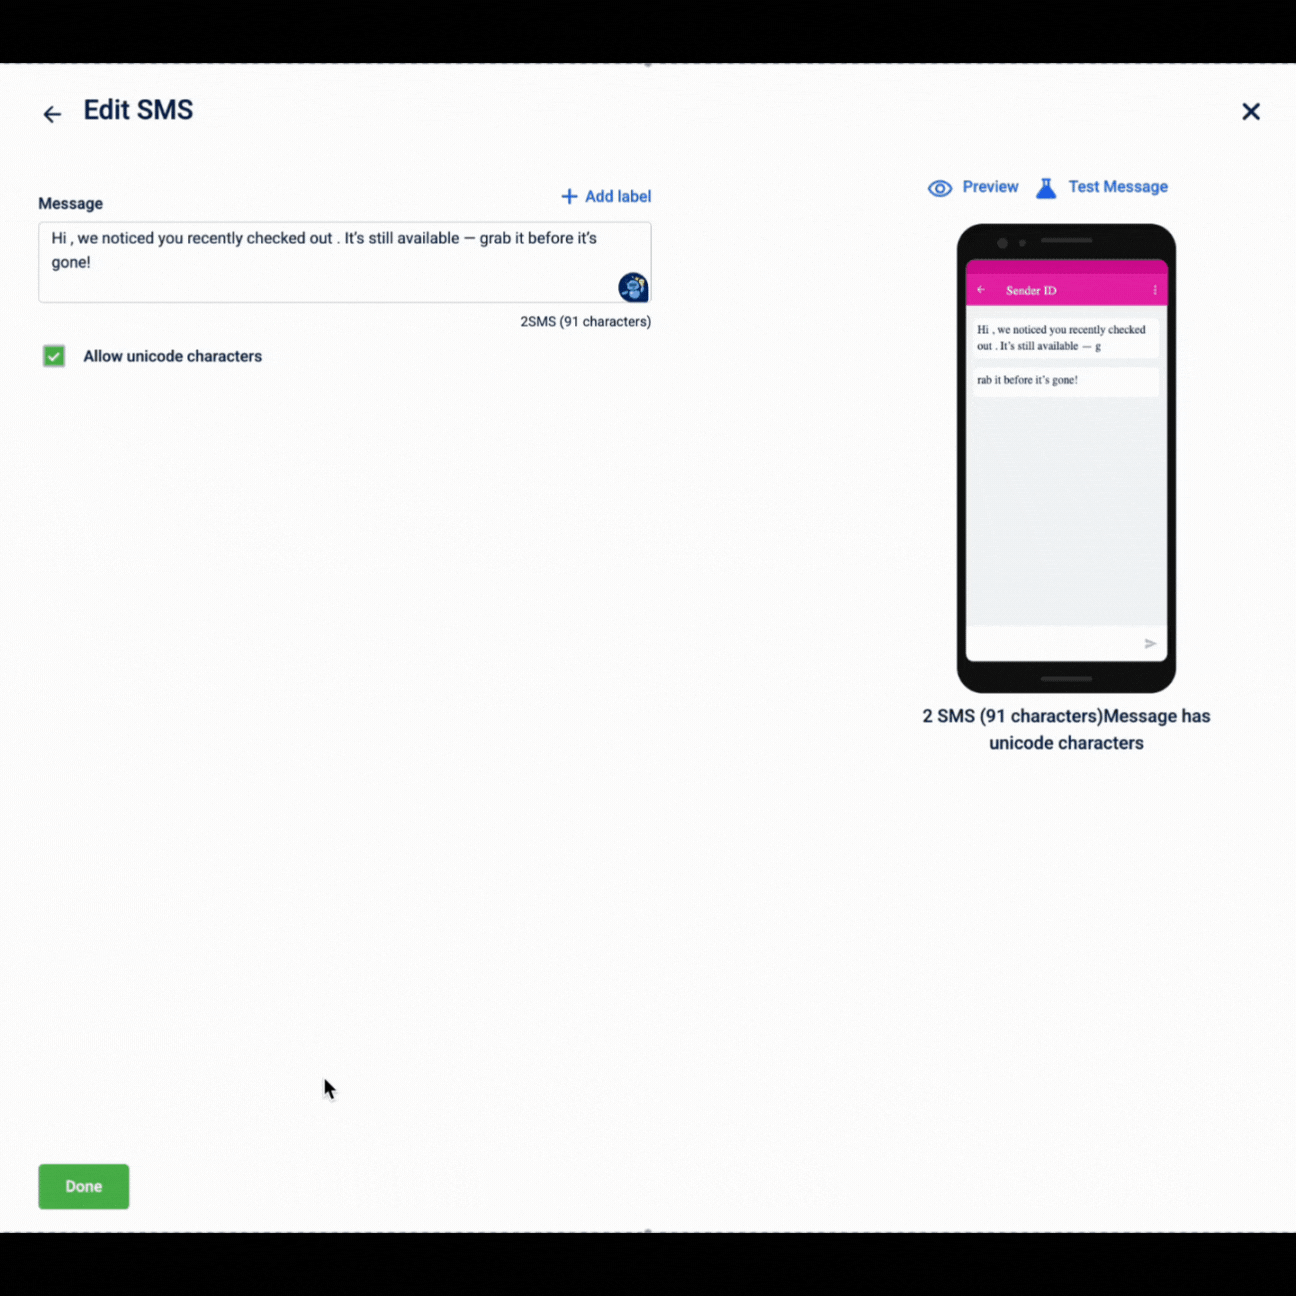
Message content example:
Hi {{first_name}}, we noticed you recently checked out {{custom_tag_1}}. It’s still available — grab it before it’s gone!
Size
Brands can use the 'Size' custom tag to send personalized messages based on a customer’s preferred clothing or footwear size. This ensures that product recommendations, restock alerts, or offers are highly relevant and tailored to each user.
Example: Consider two users: Maya and Arjun. Maya’s preferred dress size is M, while Arjun’s preferred shoe size is 9. To send messages about new arrivals or restocked items in their size, you can use {{custom_tag_1}} for the size in the message content.
Message content example:
Hi {{first_name}}, the Silk Dress you loved is now available in your size {{custom_tag_1}}! Don’t miss out — shop now!
Configure Custom Tags
You can use custom tags to personalize your message content based on customer data uploaded in a CSV file.
To configure custom tags, follow these steps:
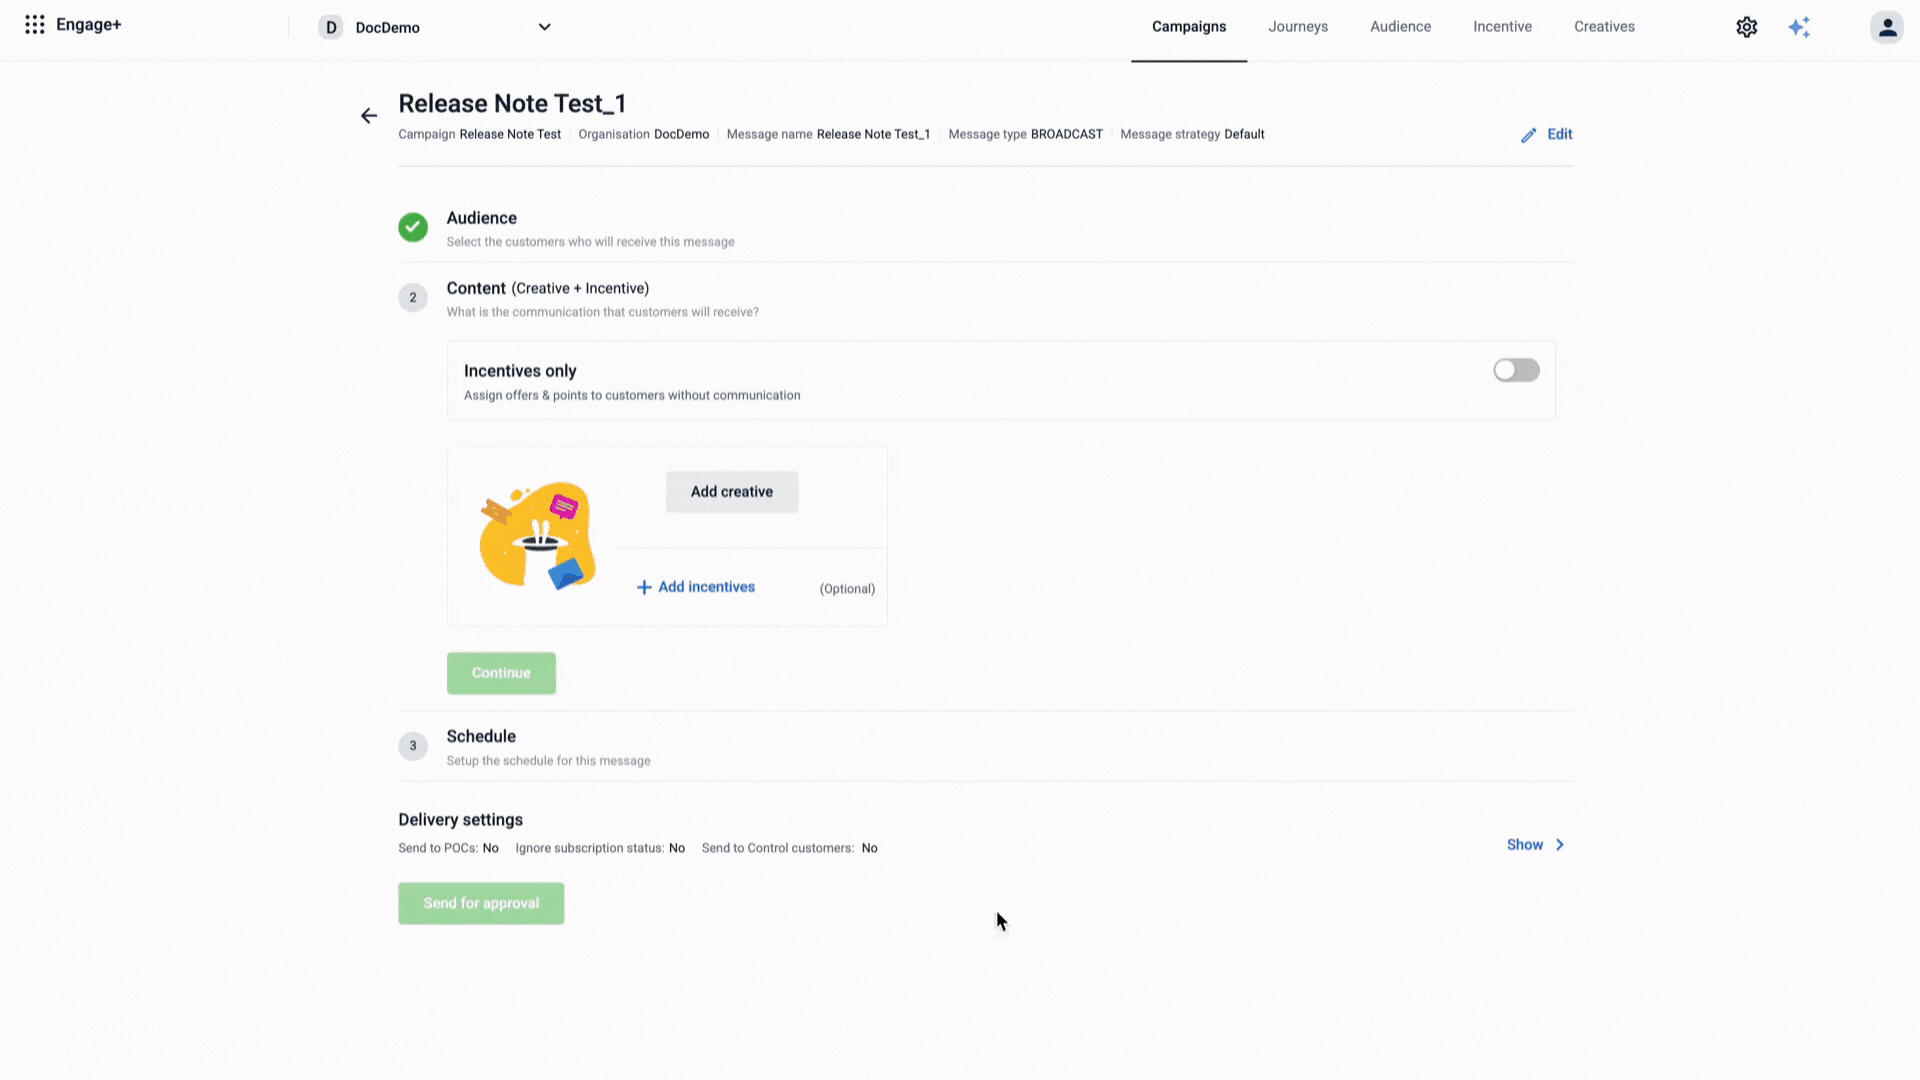
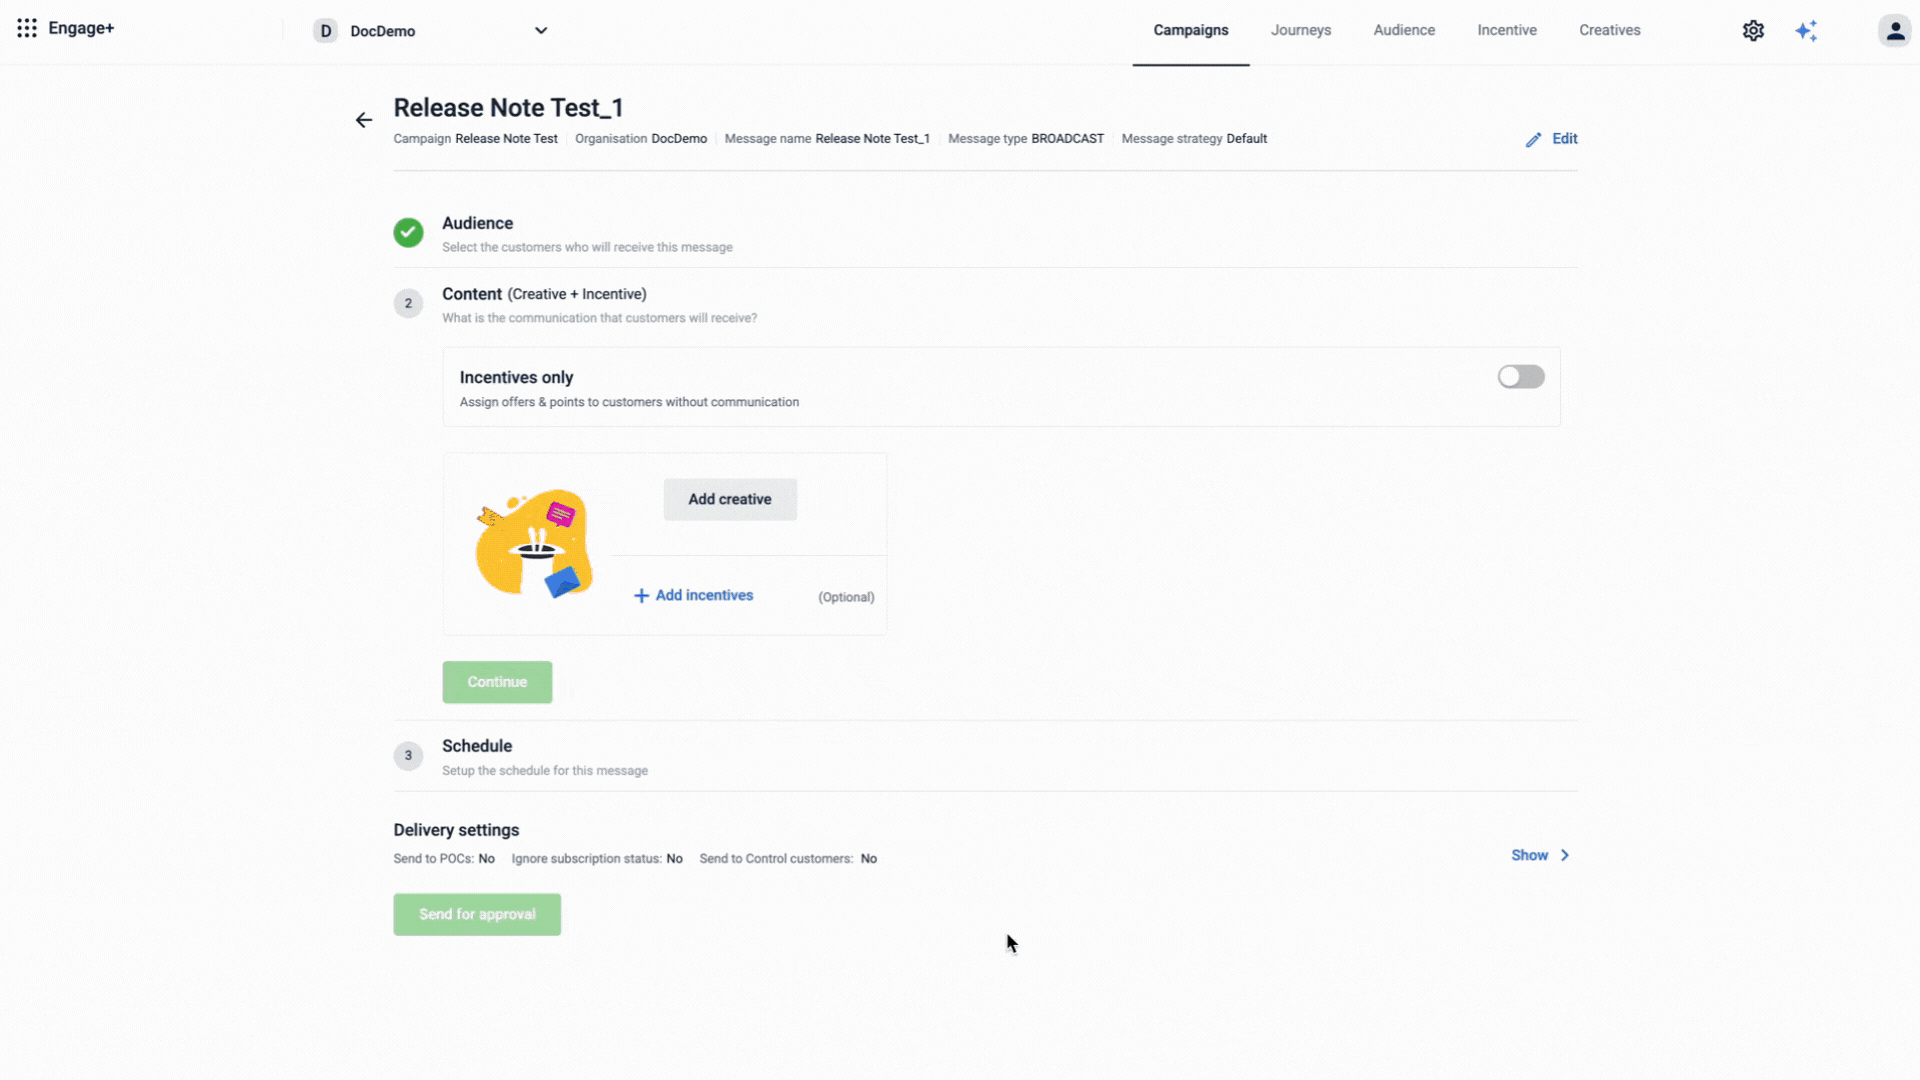
- Create a campaign or select an existing one.
- Create a message within the campaign.
- In the Audience section, select Add Audience Group and create an audience group by uploading a CSV file.
- In the Content section, select Add Creative and choose your desired engagement channel.
- Create a new template or select an existing one.
- In the message content, click + Add Label to open the list of available labels.
- Navigate to or search for Custom Labels on the search bar, and select the required custom tags based on the fields in your uploaded CSV file. The tags appear in the message as placeholders such as -
{{custom_tag_1}}or{{custom_tag_2}}. - Click Done to save your changes.
When the communication is sent, these custom tags are automatically replaced with the actual values from your uploaded CSV file, ensuring each recipient receives a personalized message.
Updated 4 months ago