
Review and Approval of a Dataflow
After saving a dataflow, it must be approved before it can be used. Before sending it for review, you can view the code differences between the current and previous versions. Once you verify the changes, send the dataflow for approval. After approval, the dataflow moves to the Approved state and can be made live.
Sending a dataflow for approval
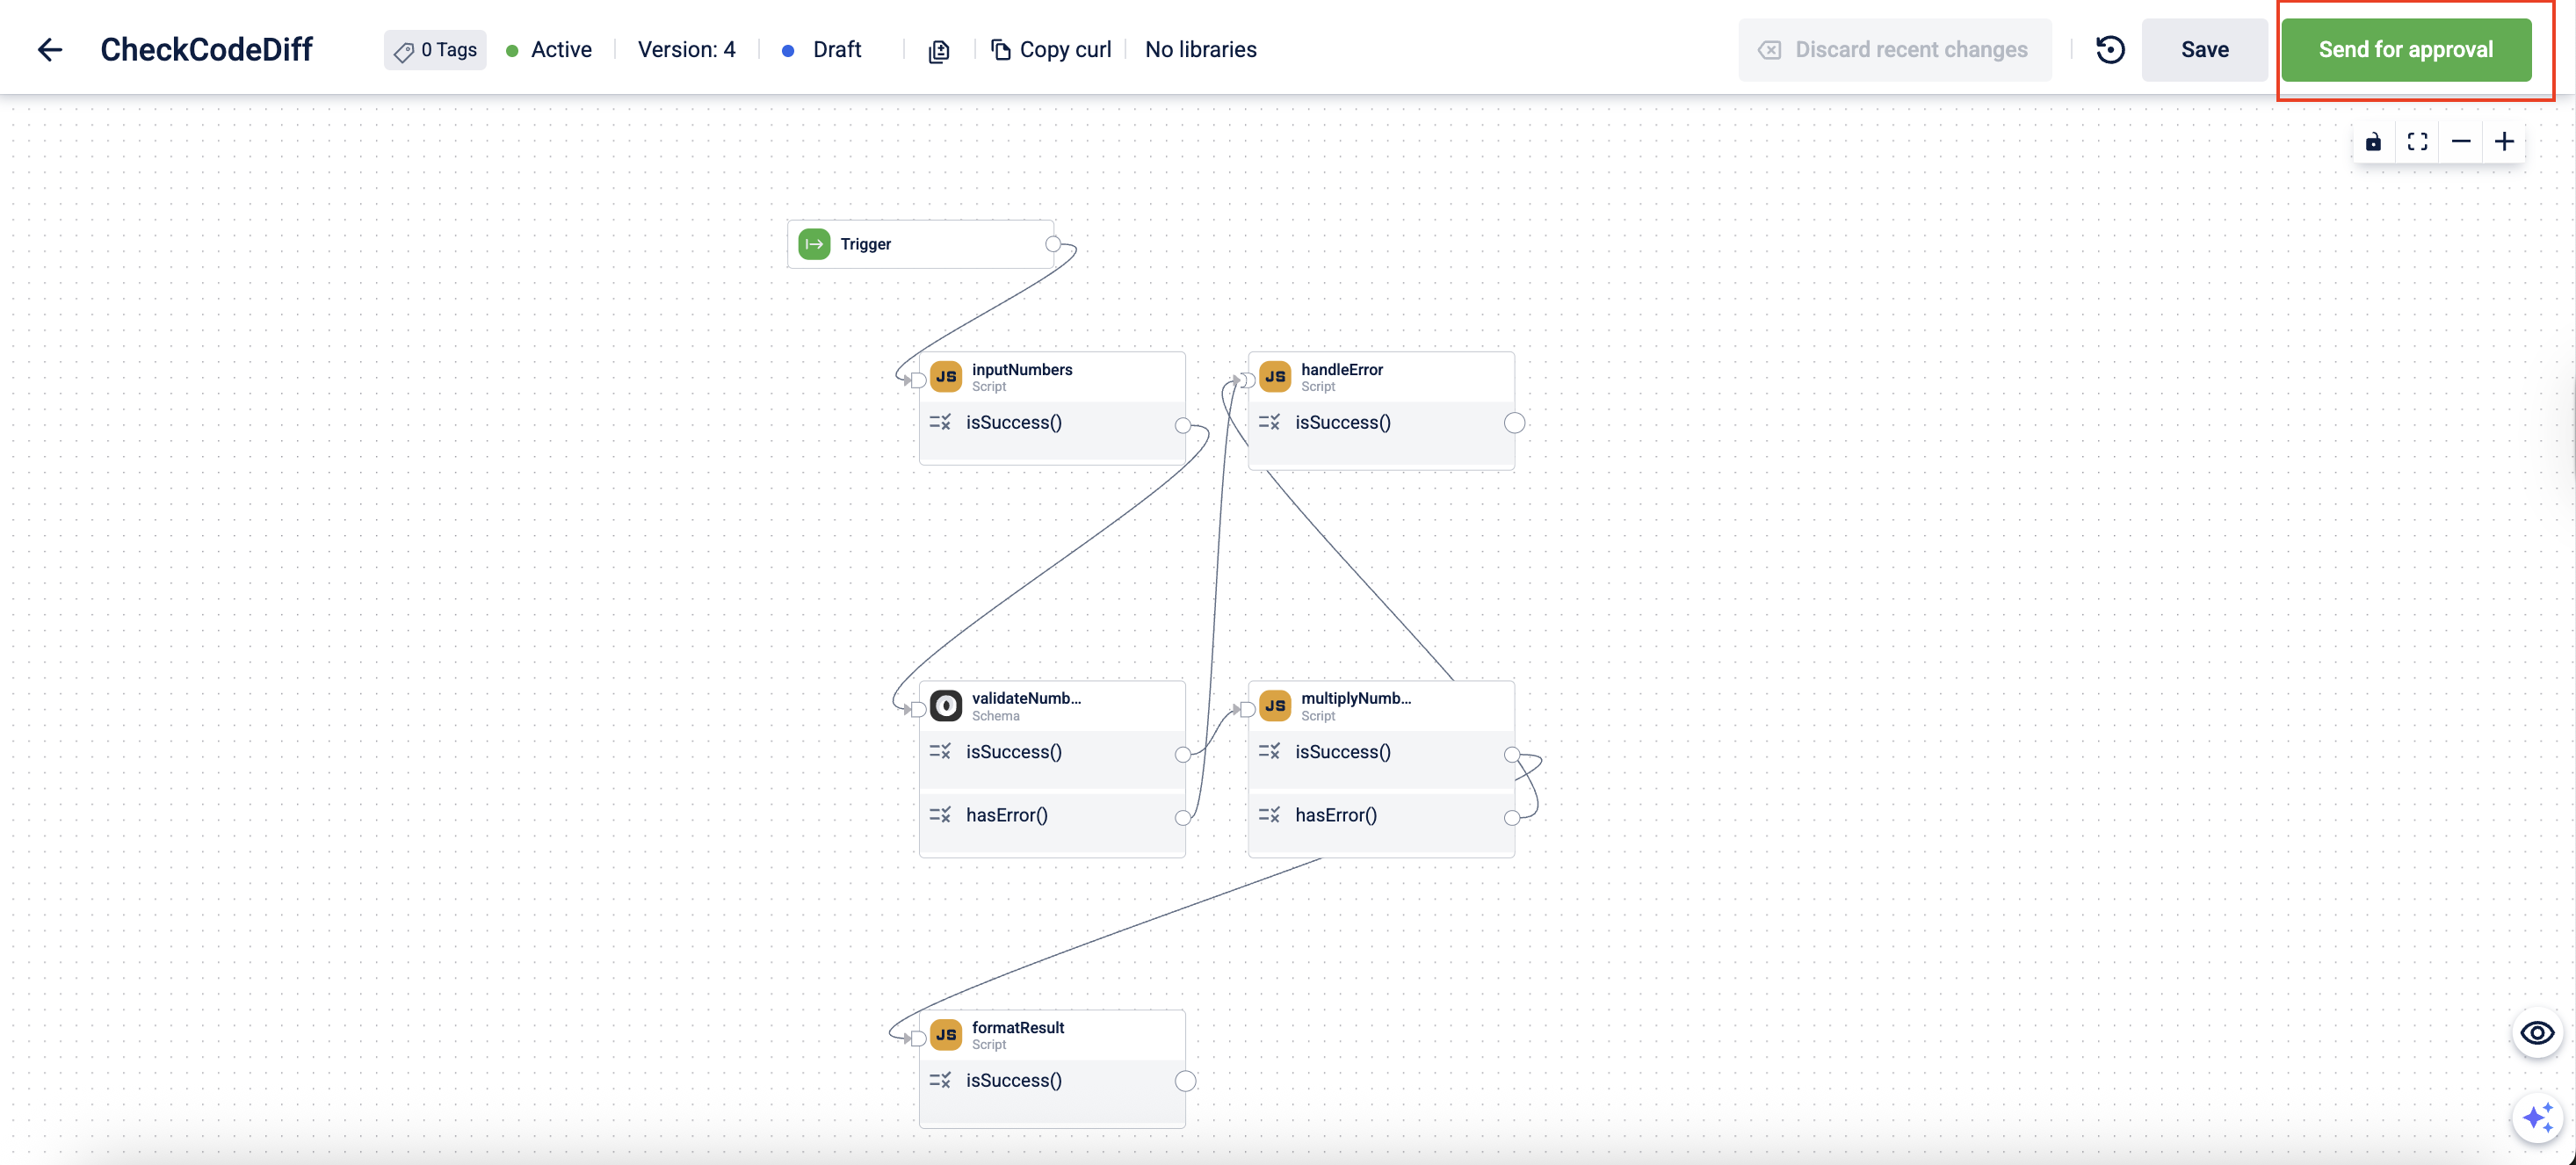
To send a dataflow version for approval, on your dataflow canvas, click Send for approval. The dataflow moves to the Waiting Approval state.
Reviewing a dataflow
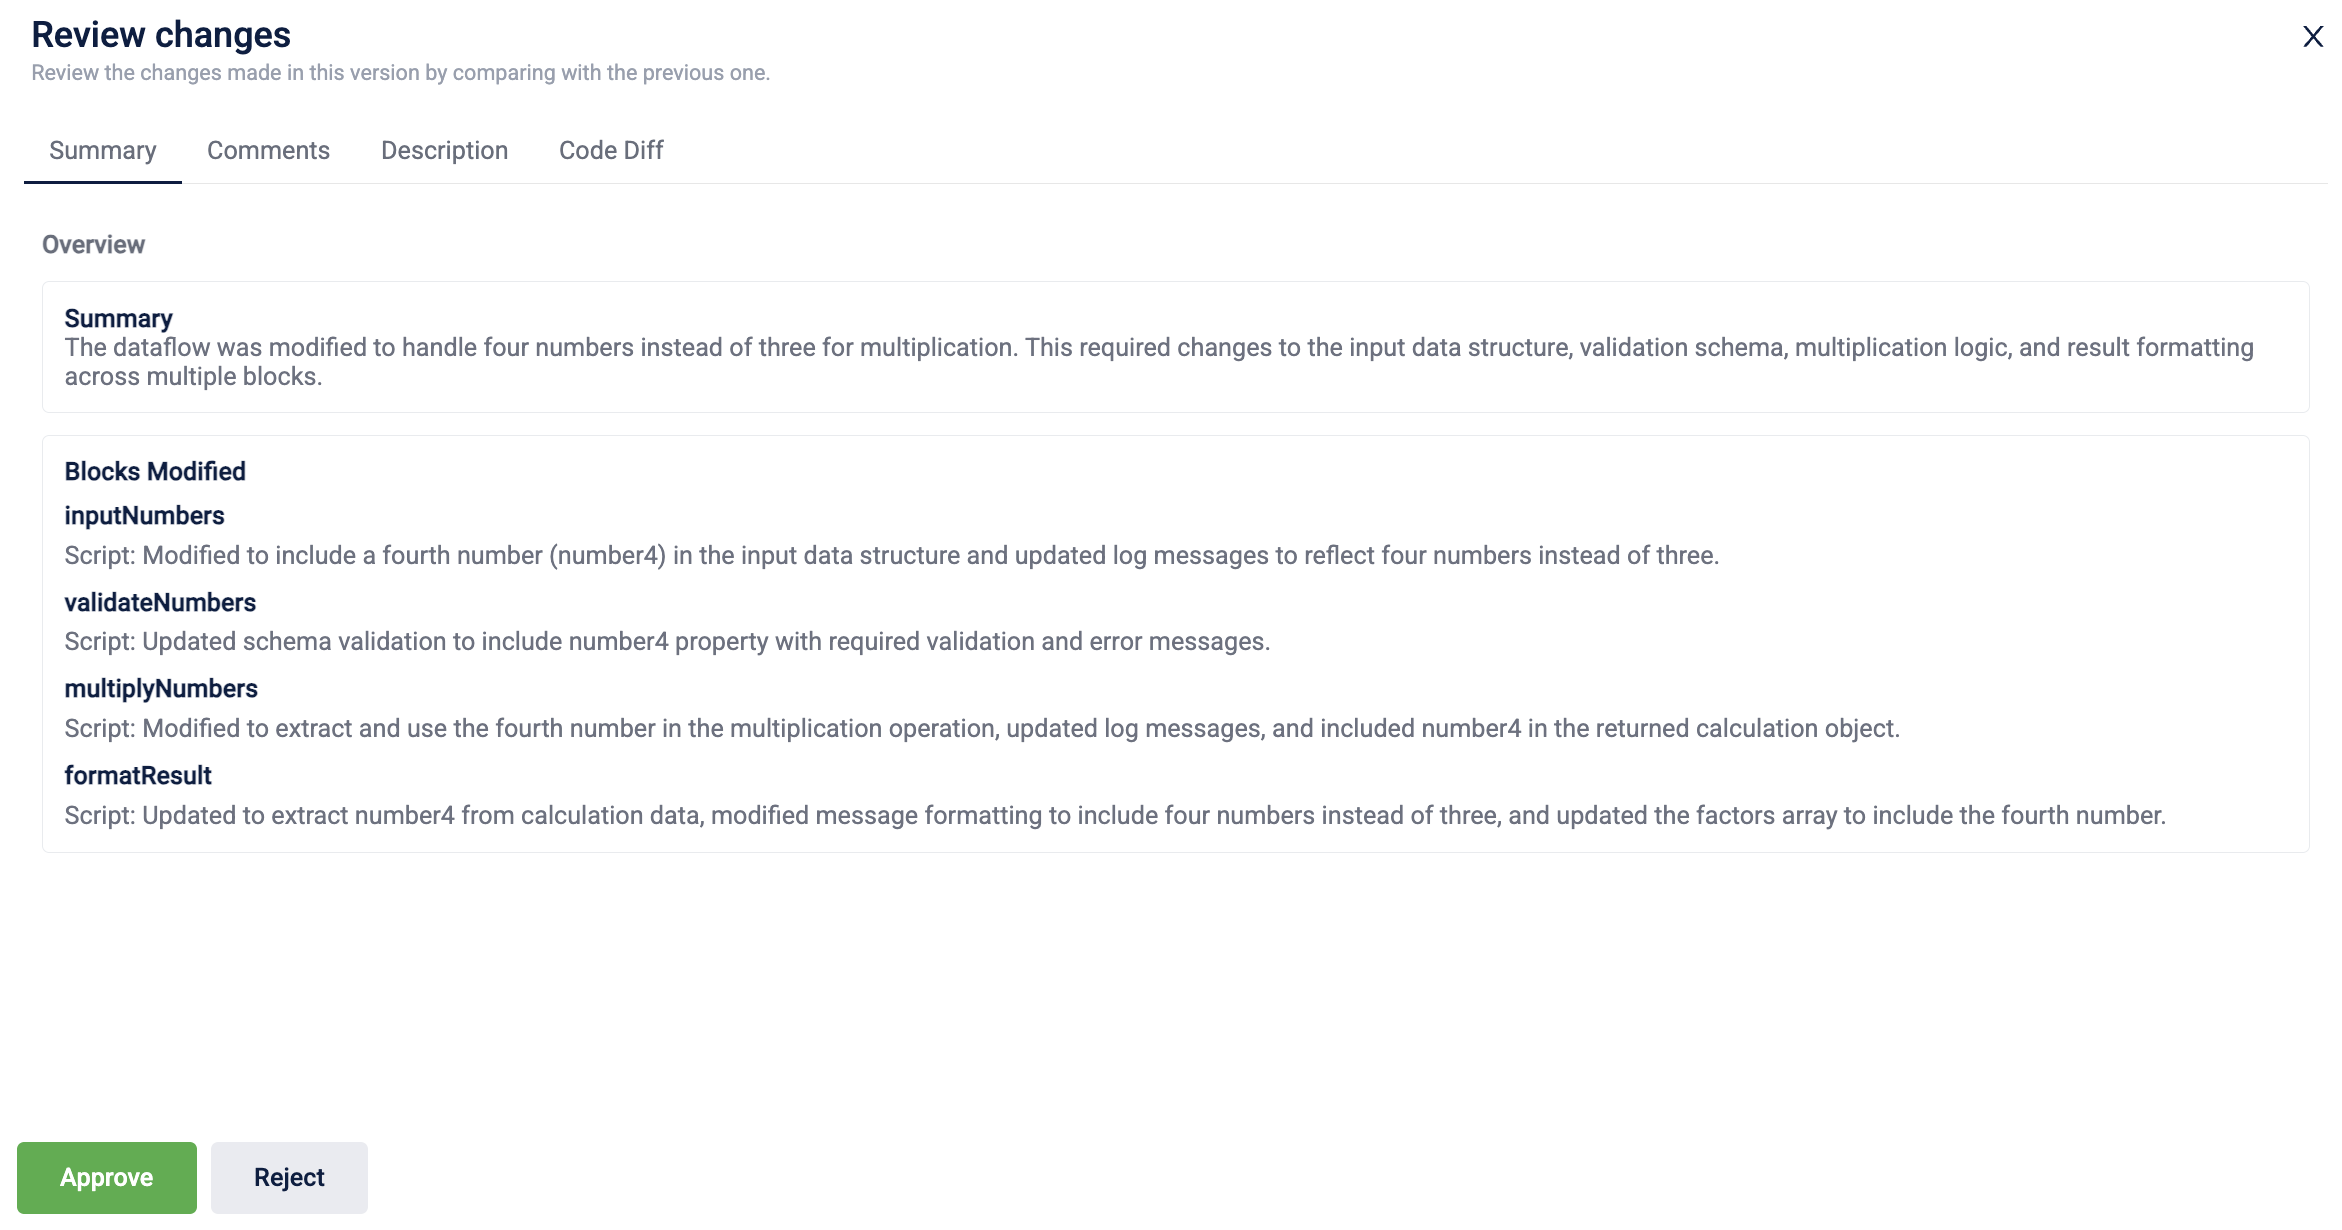
The review of a dataflow can be performed by an Admin user. These changes, including a summary, comments, description, and code differences, can be viewed in the Review Changes modal, which provides a detailed view of the dataflow through four tabs:
-
Summary – Displays the changes between the version under review and the previous version, including modified blocks.
Note: The Summary tab is not available for version 1. -
Comments – Shows both AI-generated and admin review comments. You can view AI-generated comments or add your own before approving or rejecting the version.
-
Description – Provides detailed information about the dataflow, including blocks, workflow, and overall functionality.
-
Code Diff – Displays code-level differences between the version under review and the previous version.
Using the information in these tabs, the admin can decide whether to approve or reject the dataflow.
To review and approve or reject a dataflow, perform the following:
-
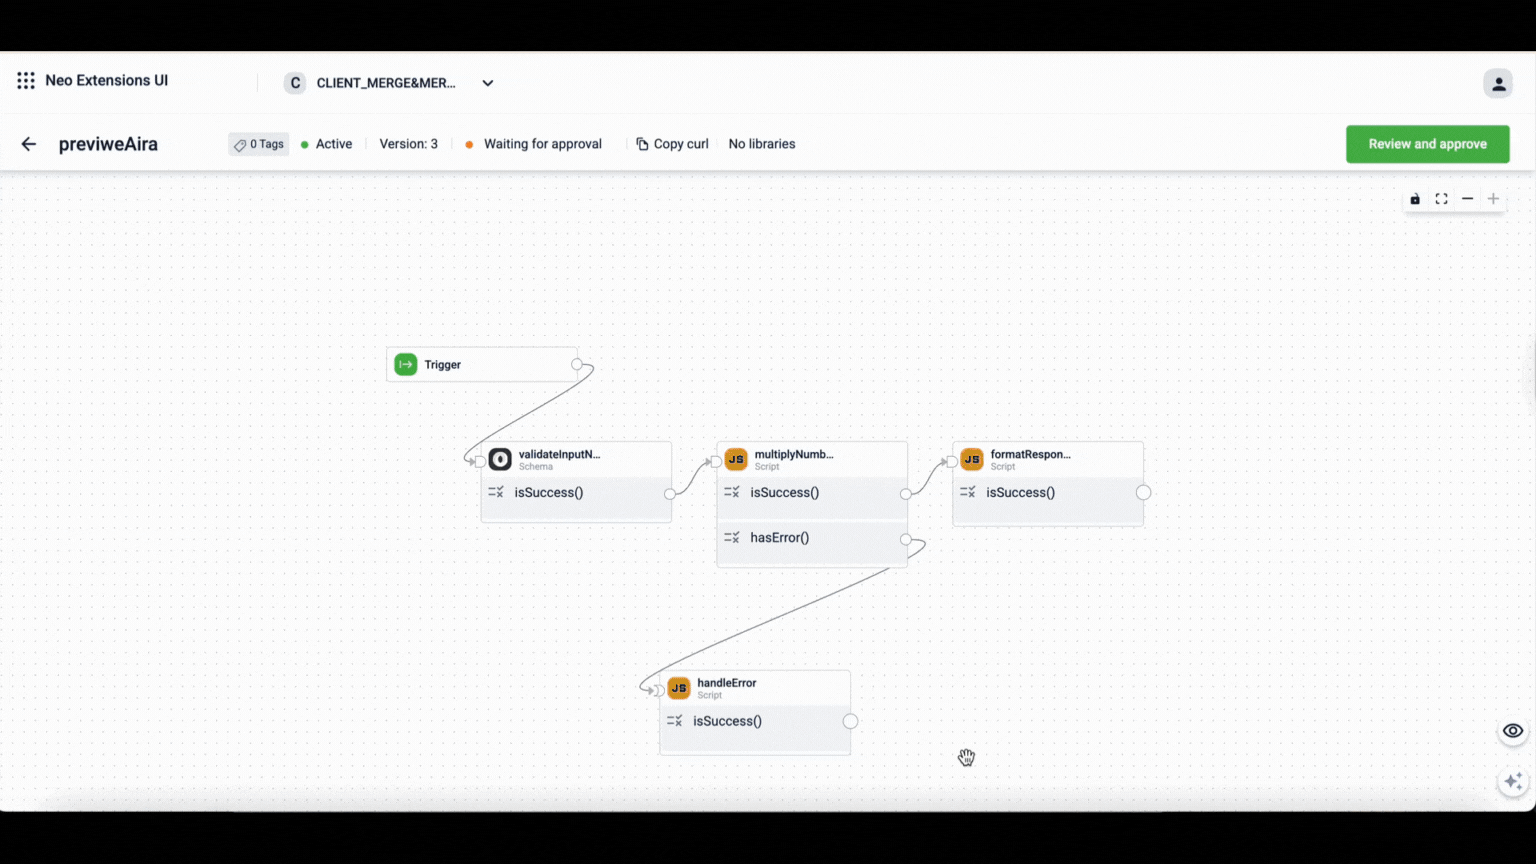
On the Dataflow > Version Listing page, open the dataflow that you want to review. The data flow due for review will be in an Awaiting approval state.
-
On the Dataflow Composer page, click Review and approve.
The Review Changes modal opens.
-
(Optional) Add the review comments. To add review comments, perform the following:
-
Navigate to the Comments tab > Add Your Review section and select the block name from the Block Name drop-down list.
Note: Select GLOBAL if the comment applies to all blocks in the dataflow.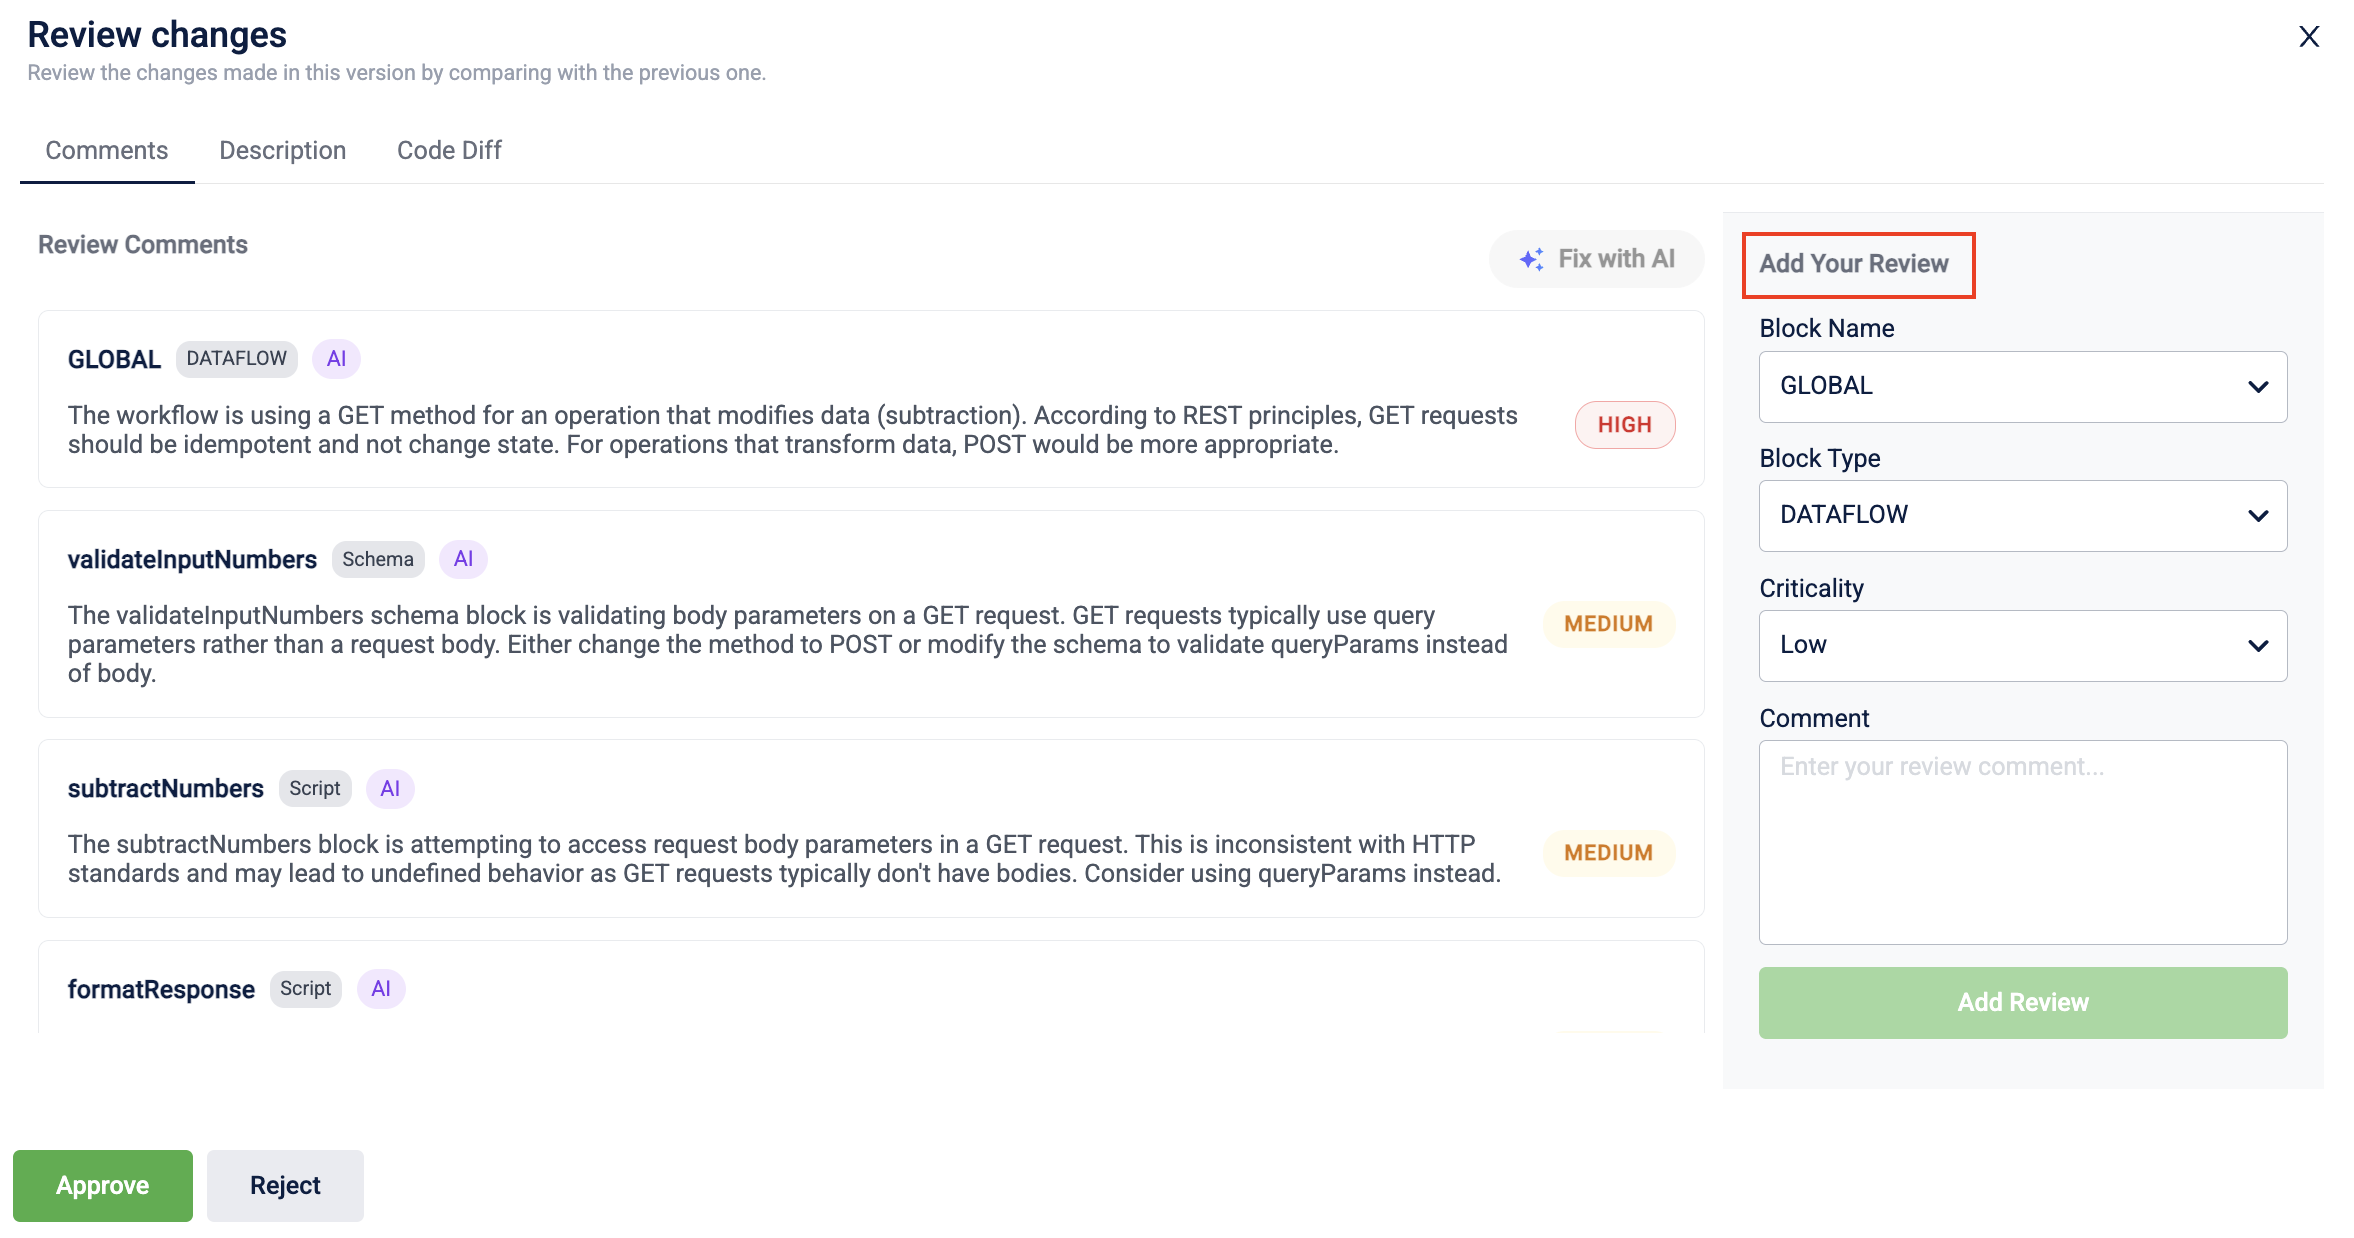
-
In Block Type, select the type of block from the drop-down list.
Note: Select DATAFLOW if the comment applies to the entire dataflow. -
In Criticality, choose the criticality level — Low, Medium, High, or Critical.
-
In the Comment field, enter your review comment.
-
Click Add Review to save the comment.
-
-
To approve, click Approve and when the confirmation message appears, click Yes to confirm.
The dataflow version is approved. -
To reject, click Reject and when the confirmation message appears, click Yes to confirm.
The dataflow version is rejected.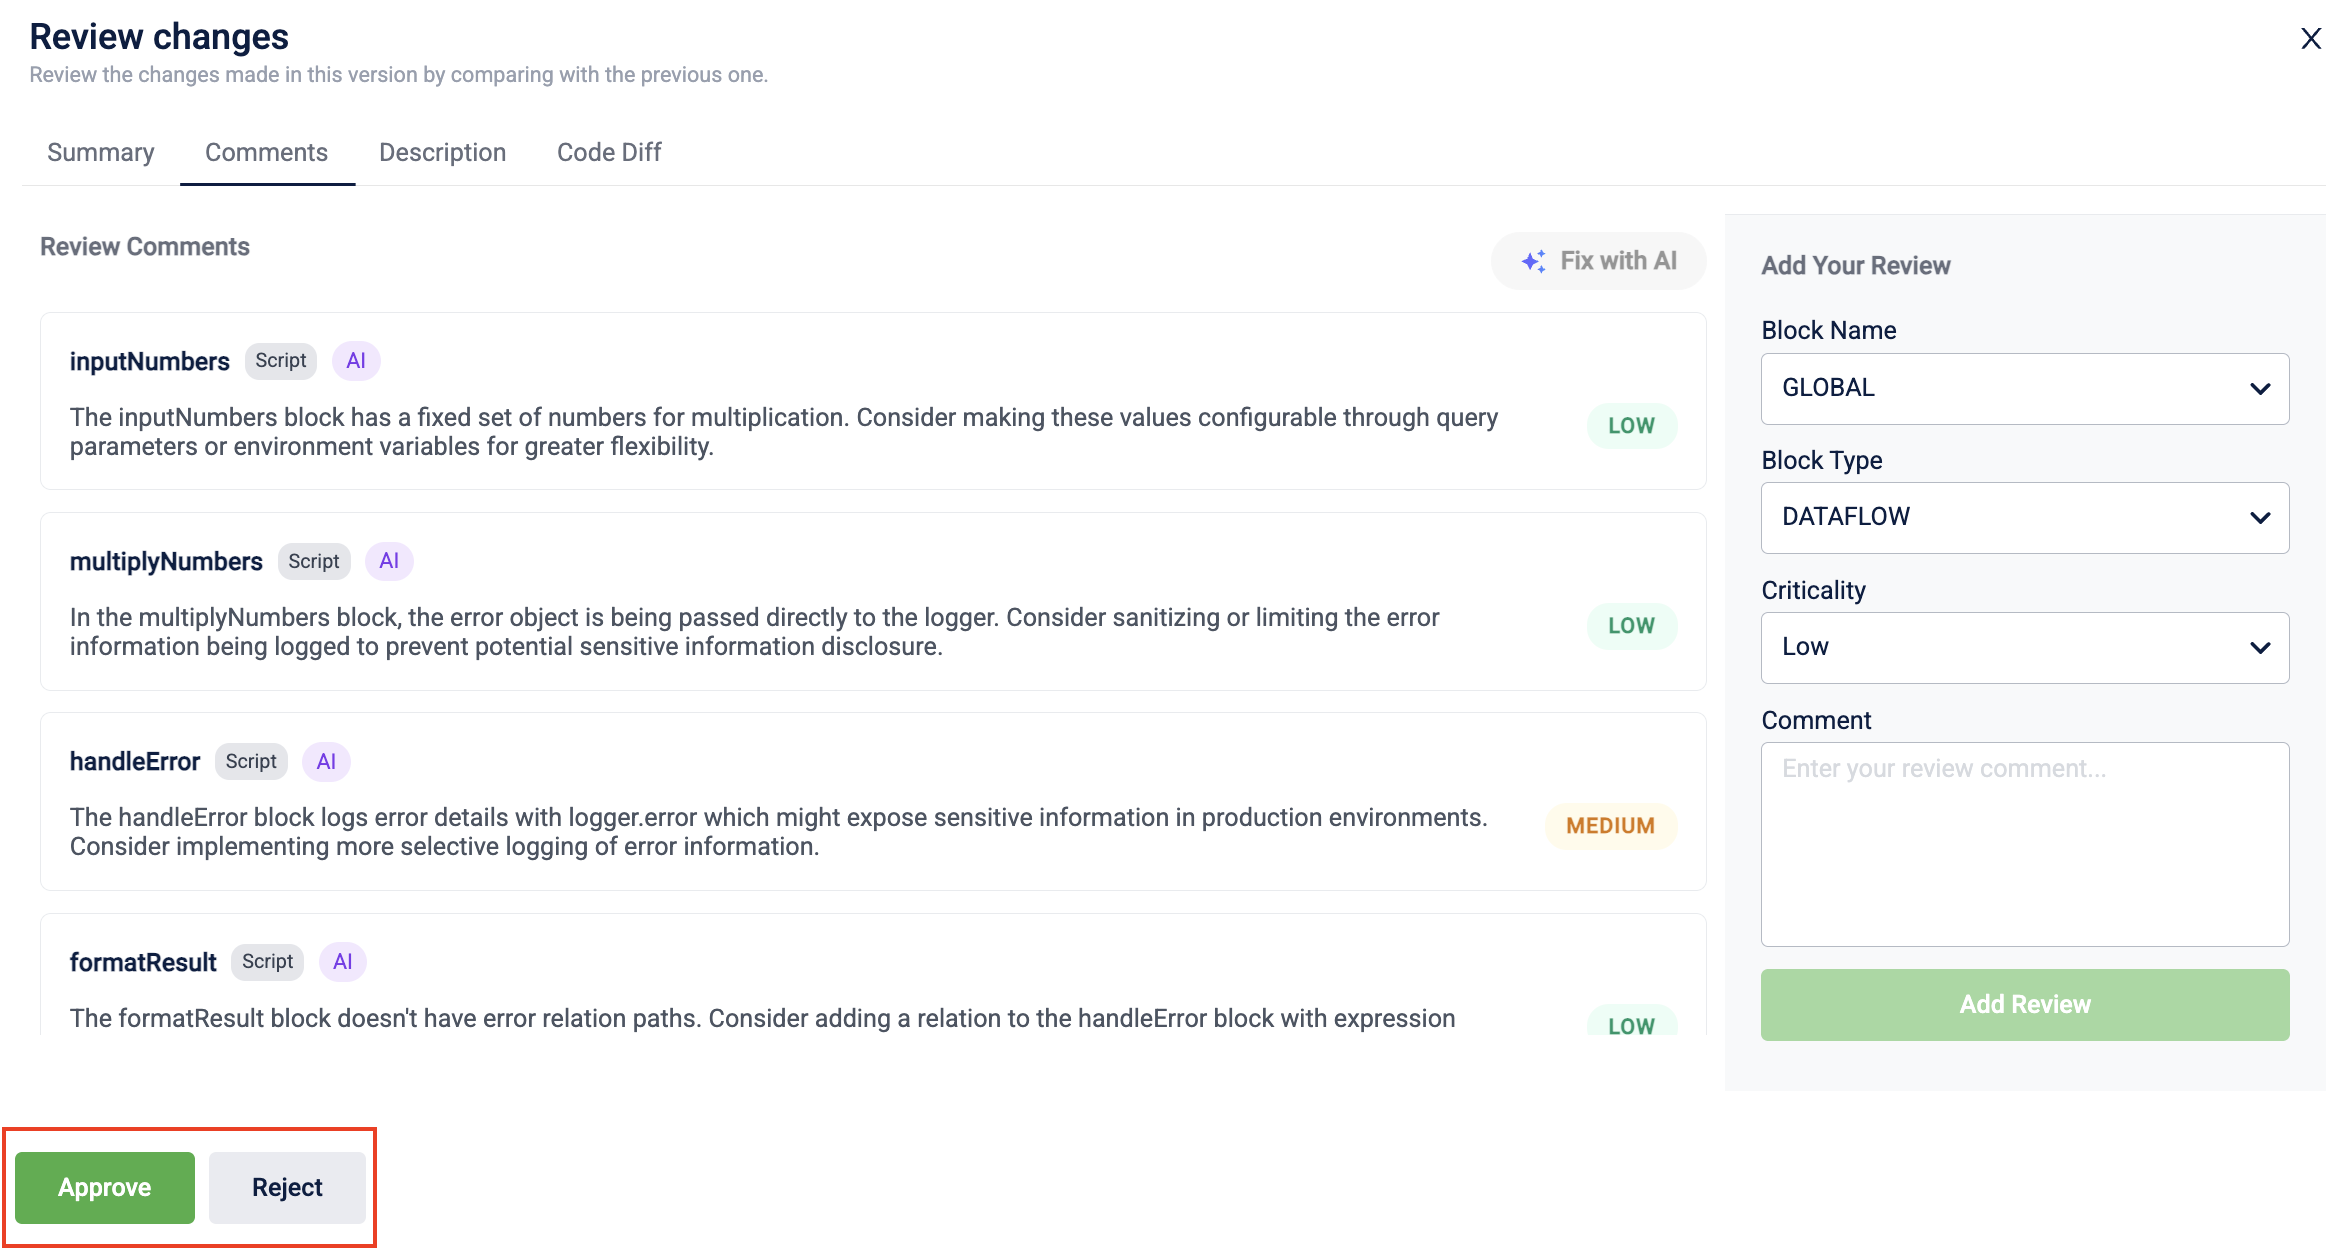
Fixing the review comments
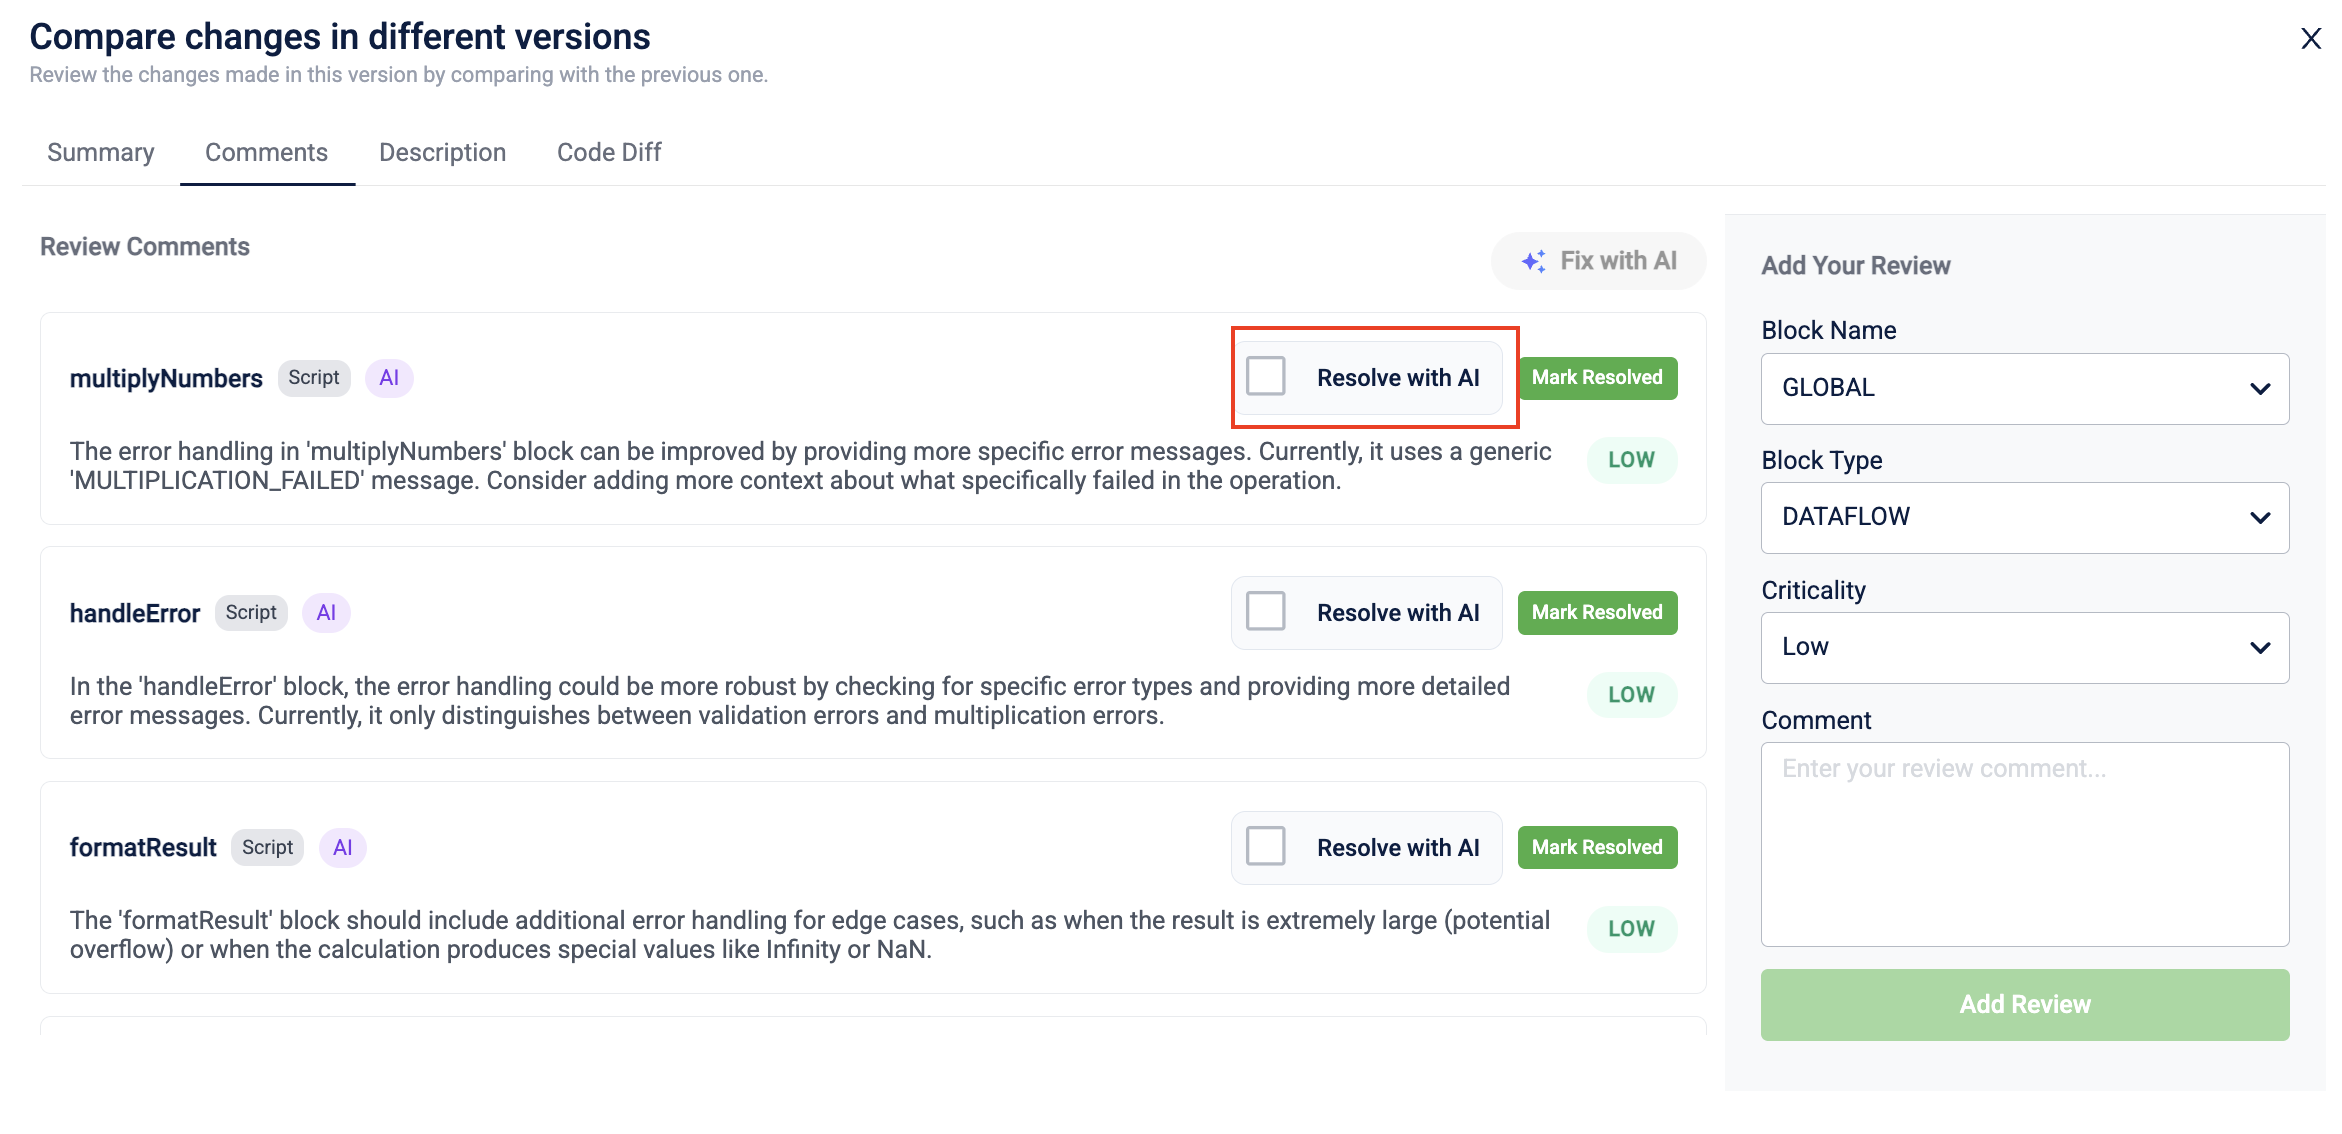
If the dataflow is rejected after review by the Neo Admin, the user must address the review comments. There are two types of review comments:
Both types of comments appear under the Comments tab in the Compare Changes in Different Versions modal. Admin review comments must be resolved manually. AI-generated comments can be resolved either manually, similar to admin comments, or automatically using the Fix with AI option. The dataflow must be in the Draft state to make any changes.
Fixing AI comments automatically
To fix review comments using AI, perform the following:
-
On the data flow page, open the rejected data flow.
The Version Listing page opens. -
On the Version Listing page, click the version in the Rejected state.
The Dataflow Composer page opens. -
Click Edit, and on the confirmation message, click Yes.
The dataflow moves to the Draft state. -
Click the Compare Version Configuration icon.
The Compare Changes in Different Versions modal opens. -
Navigate to the Comments tab to view the list of AI-generated and admin review comments and select the Resolve with AI checkbox next to the comments you want to resolve.
-
Click Fix with AI.
The AIRA Coder panel opens with the suggested changes.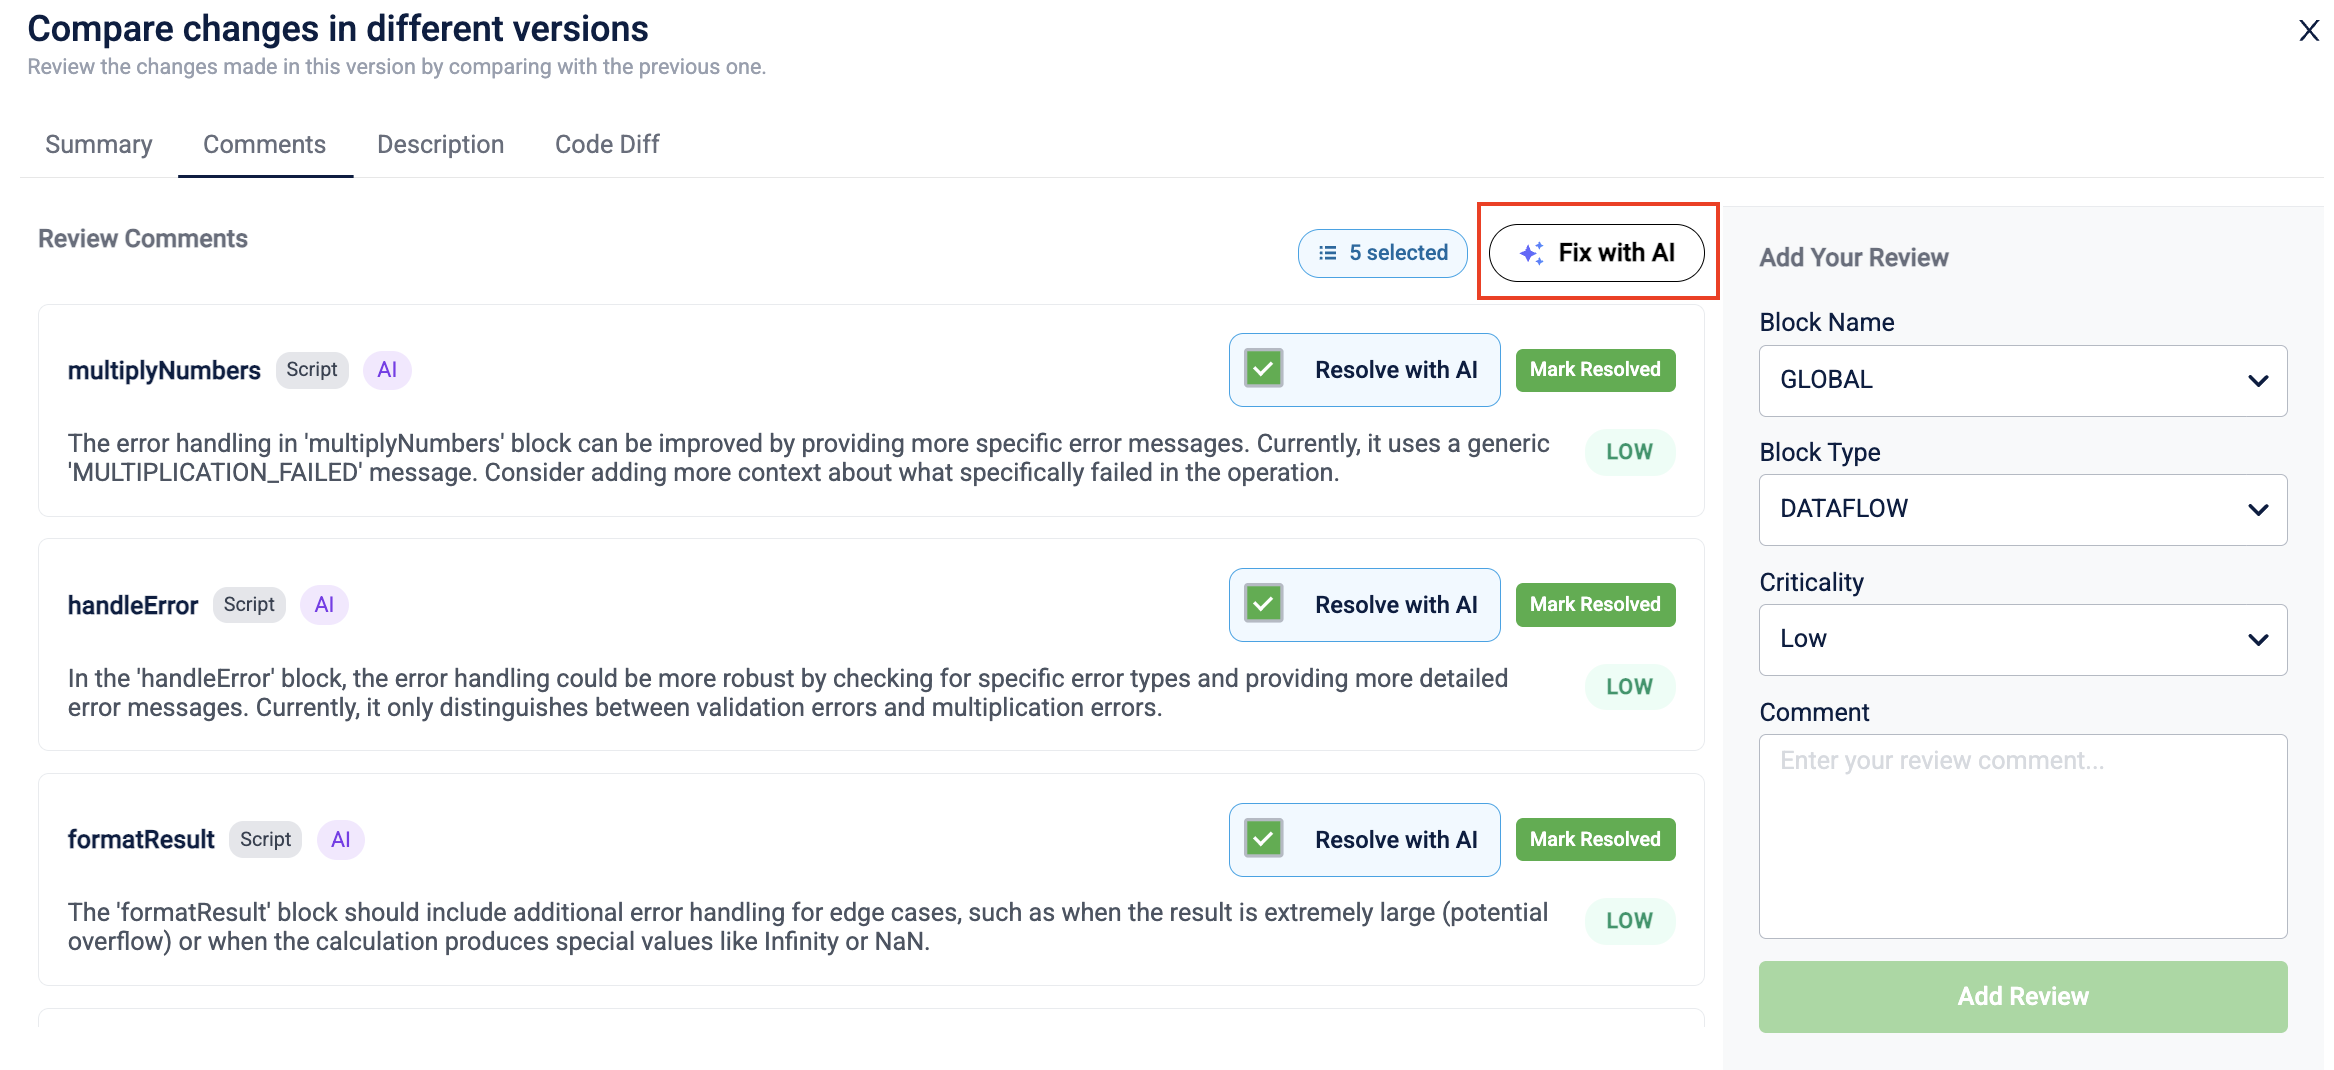
-
Click the Send icon to apply the fixes.
The data flow is automatically updated based on the resolved comments.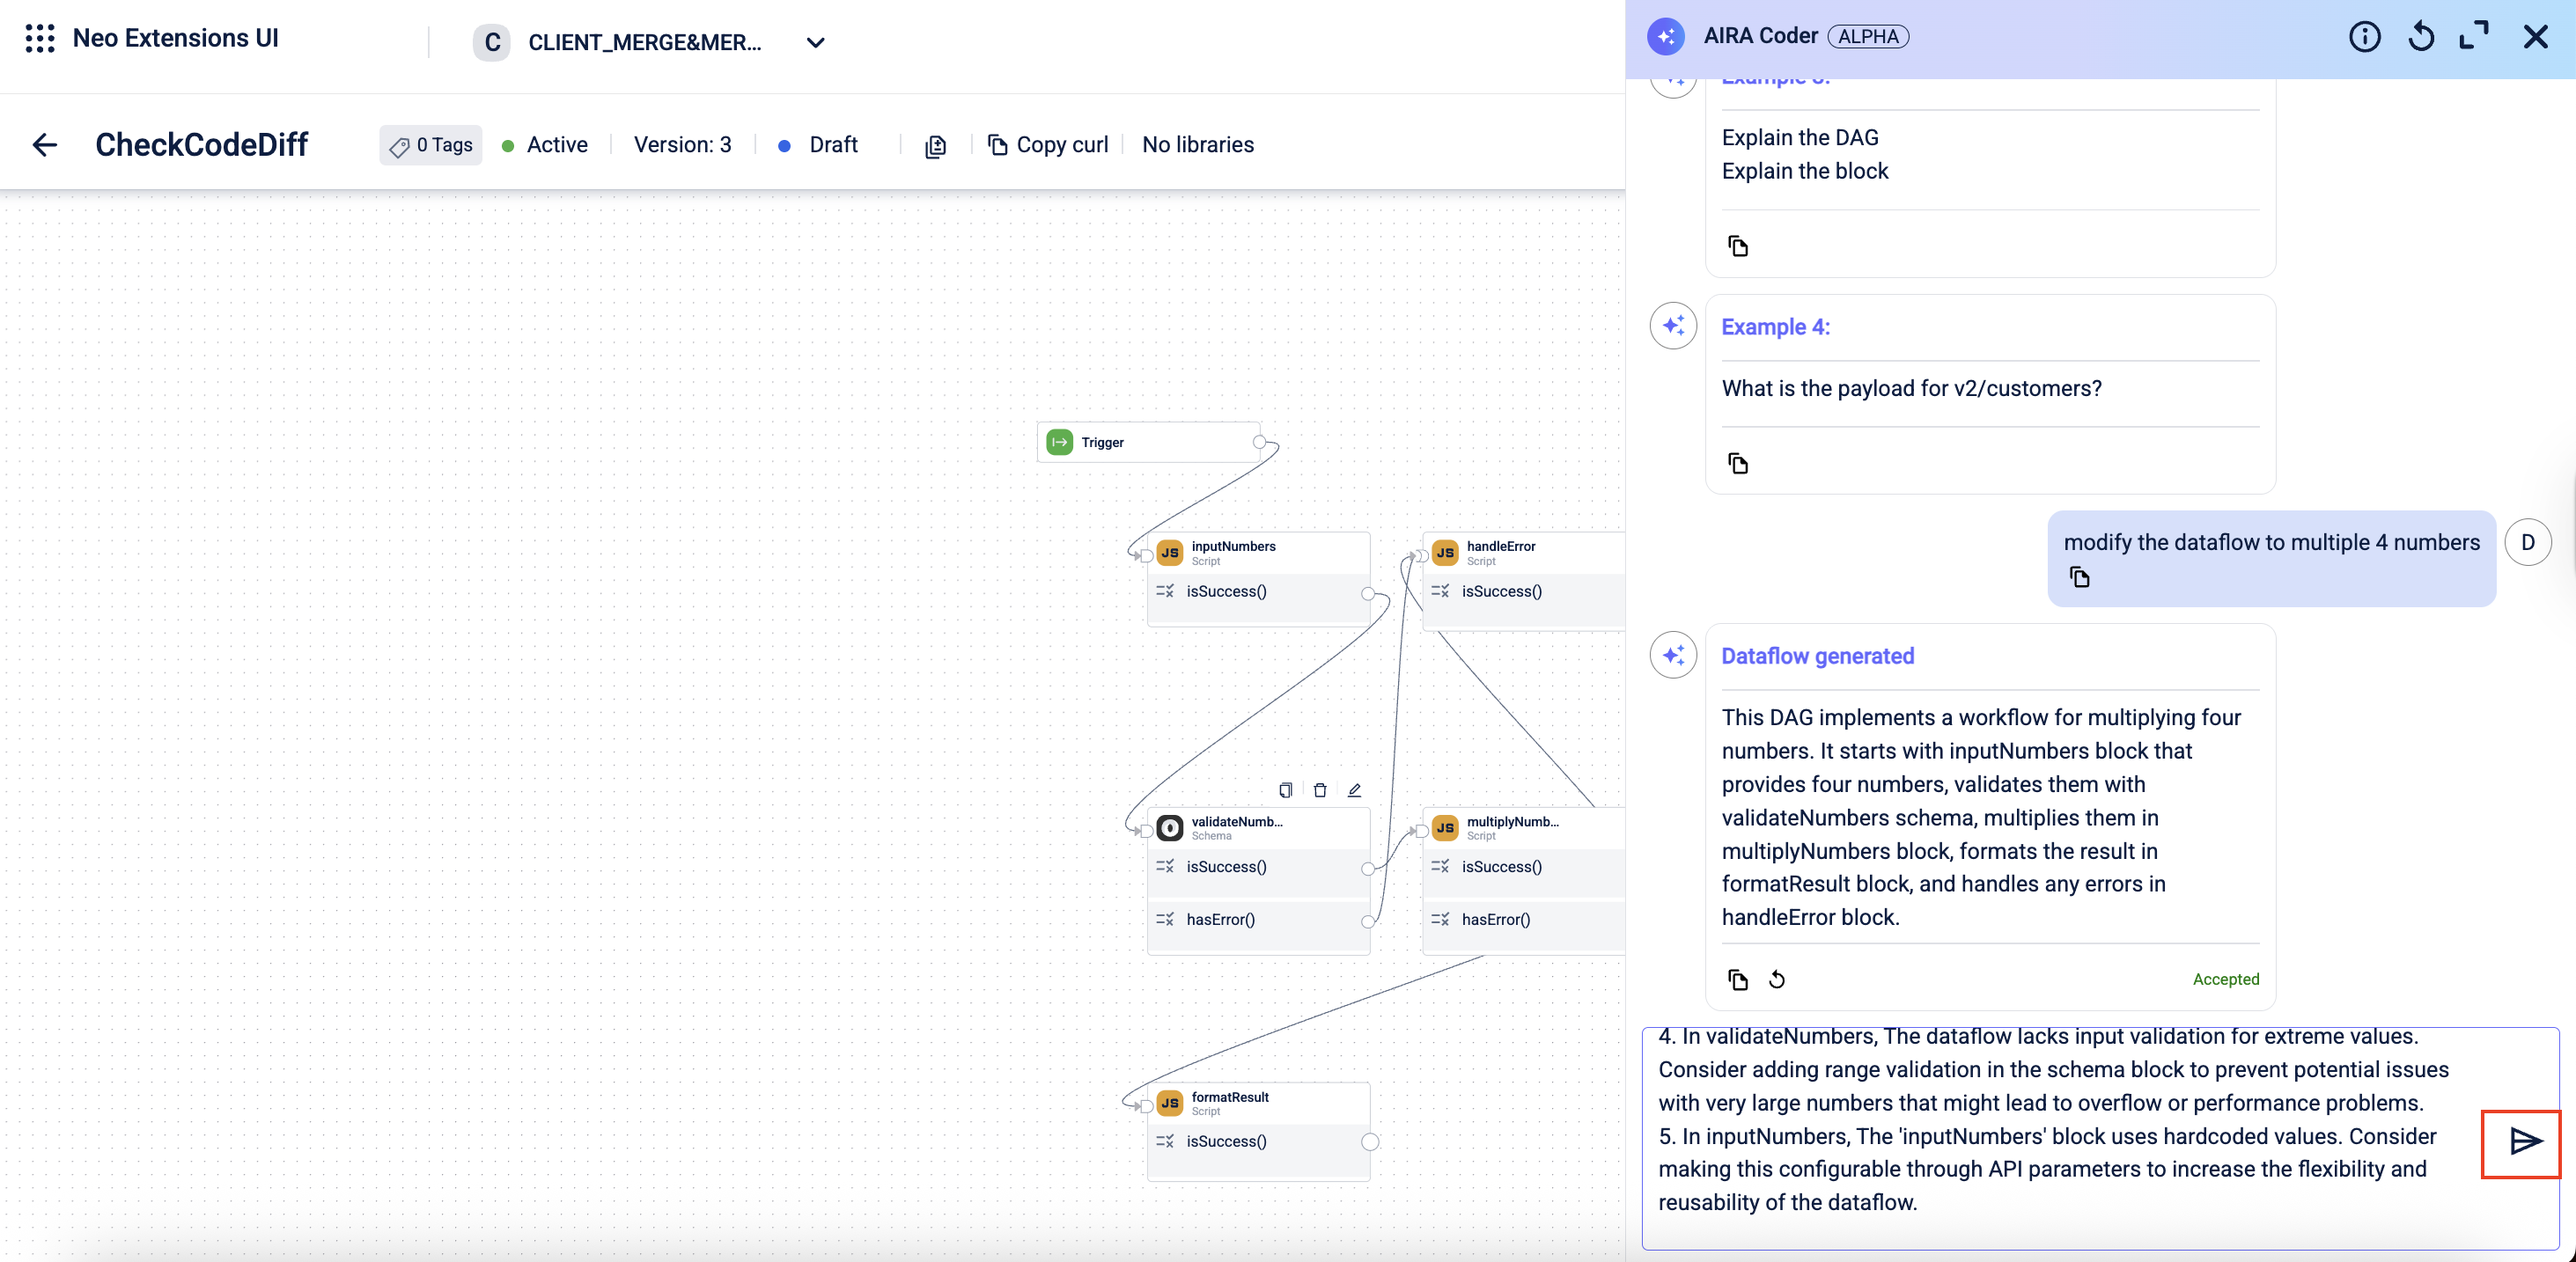
Note: It is not mandatory to resolve all comments before sending the dataflow again for approval. A dataflow can be approved even if some comments remain unresolved, depending on their criticality.
- Click Mark Resolved in the Compare Changes in Different Versions modal after resolving a comment.
Note: You can also reopen a comment that has been marked as resolved.
After resolving the comments, the data flow is updated and ready to be sent again for approval.
Fixing manual review comments
The review comments by the admin user must be solved manually by editing the relevant blocks of the dataflow. They can have different severity levels and apply to individual blocks, multiple blocks, or the entire dataflow.
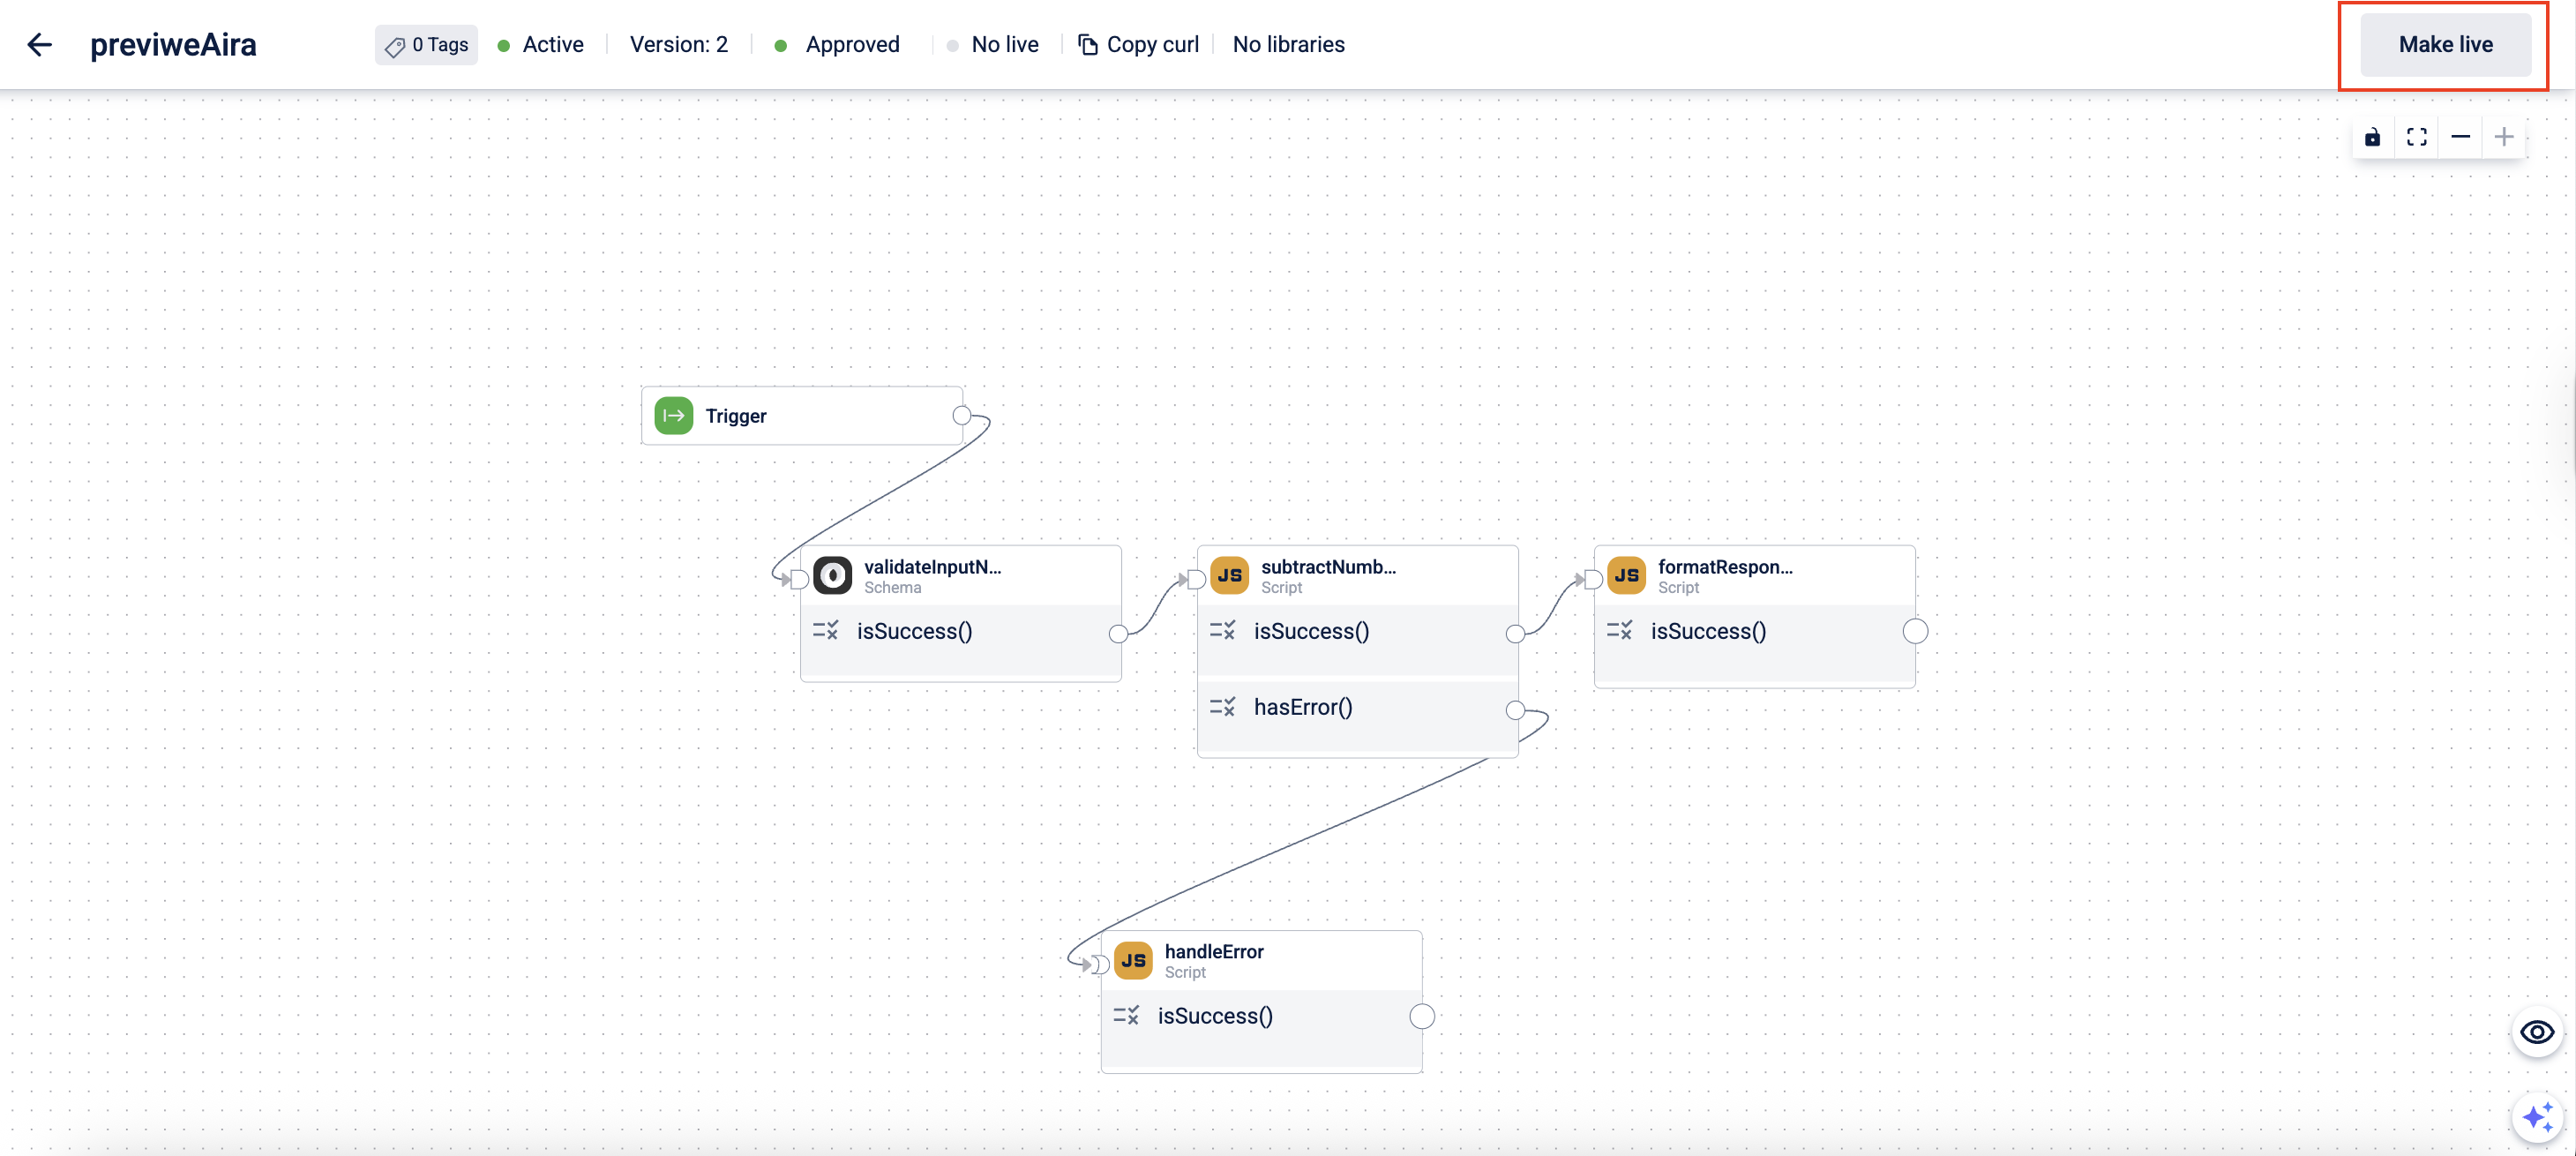
Making a version live
An approved version of a dataflow can be made Live.
To make a dataflow version Live,
-
Open the Dataflow page and select the dataflow you want to make
Live. -
On the Version Listing page, click the approved version you want to make Live.
The dataflow composing page opens. -
Click Make Live.
A confirmation message appears. -
Click Yes on the confirmation message.
Note:
- It takes around 10 minutes for a version to become
Live. - only one approved version of a dataflow can be Live at any time.
- You can roll back one version and make another version Live.
Updated 4 months ago