
Action Building Block
Jump
The jump functionality allows brands to connect multiple journeys. Some of the salient features of JUmp block are:
- Allows marketing team to simplify their journey-designing process
- Eliminates the redundancy of creating the same flows within multiple journeys by allowing users to jump from one journey to another if they meet certain conditions.
- Through personalized journeys, you can ensure customer retention and satisfaction.
- Avoids the complications of creating a complex journey in a single flow and thus simplifies creating hyper-personalized journeys.
- Avoids monotony creating similar flows within each journey separately and saves time.
Use Cases
Assume that a brand wants to give customers who spend more than $100 in their store 500 bonus points and certain other incentives. If a customer spends more than $500 in Journey A, they will jump to Journey B (elite customers) which includes customers that have a free membership + incentives. The brand can include a Jump activity within their journey A that caters to the value of a transaction.
Configuring a jump block
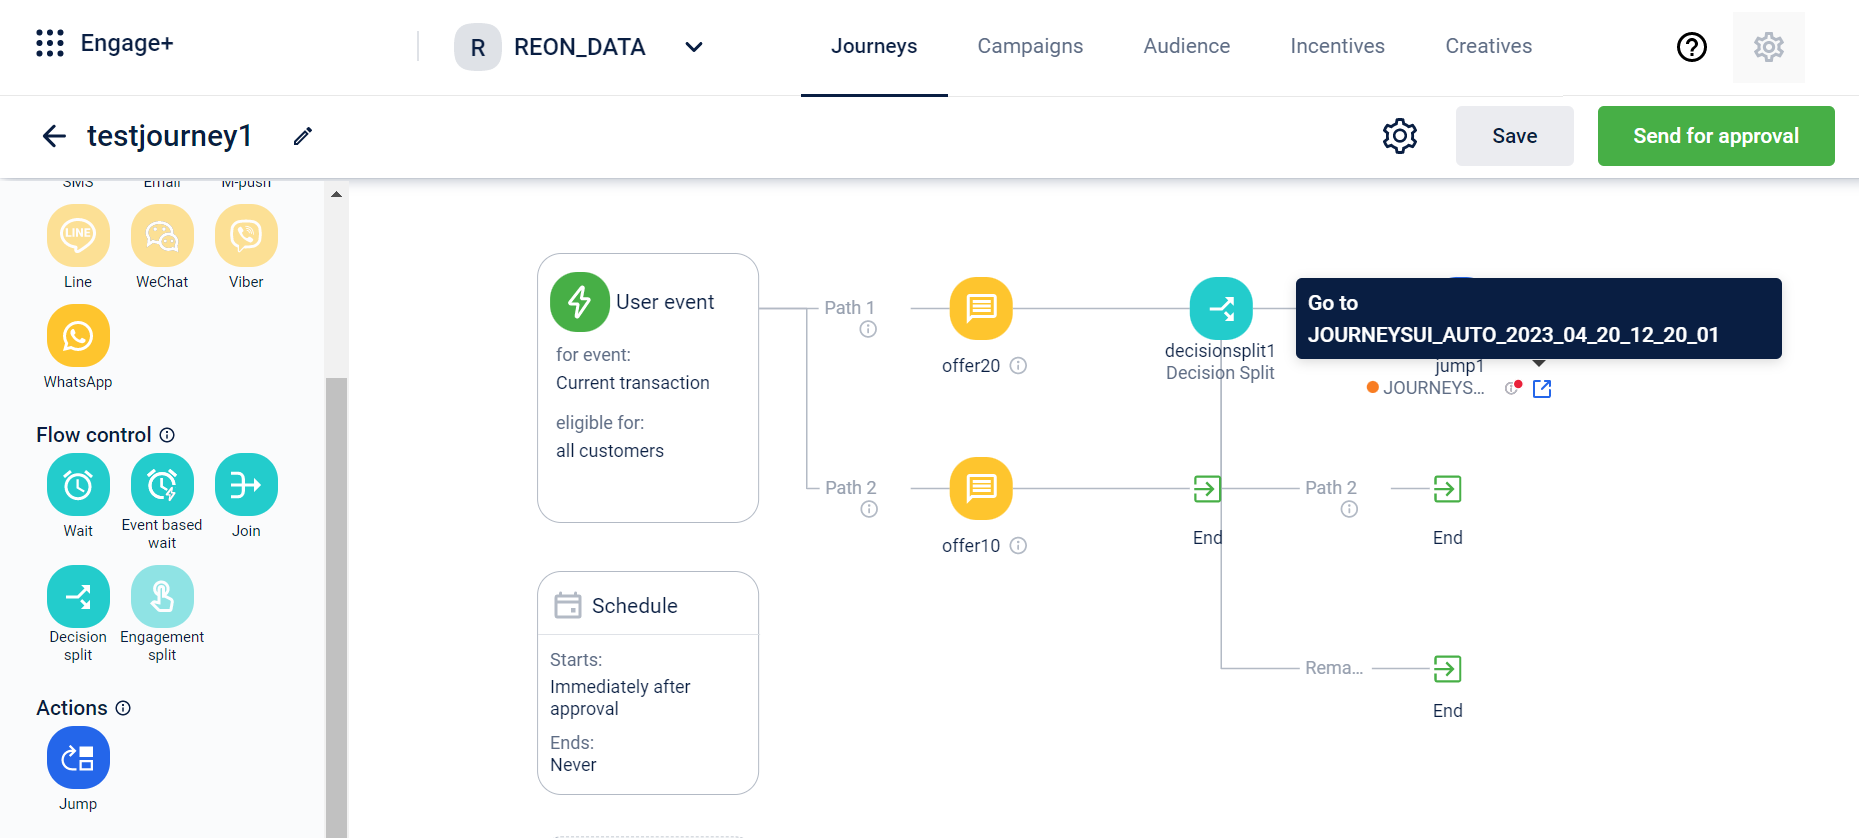
- Drag and drop the Jump block to the end of the path on the journey canvas. Whenever a user reaches this block, they will be directed to a different journey as per the configuration in the Jump block.
- Click on the Jump block in the canvas.
- In the Block name text box, enter a name for the block.
- From the drop-down, select the desired existing journey. You can also use the search box and search for a particular journey. You can click on the info icon and view the summary of the selected journey
- Click Done
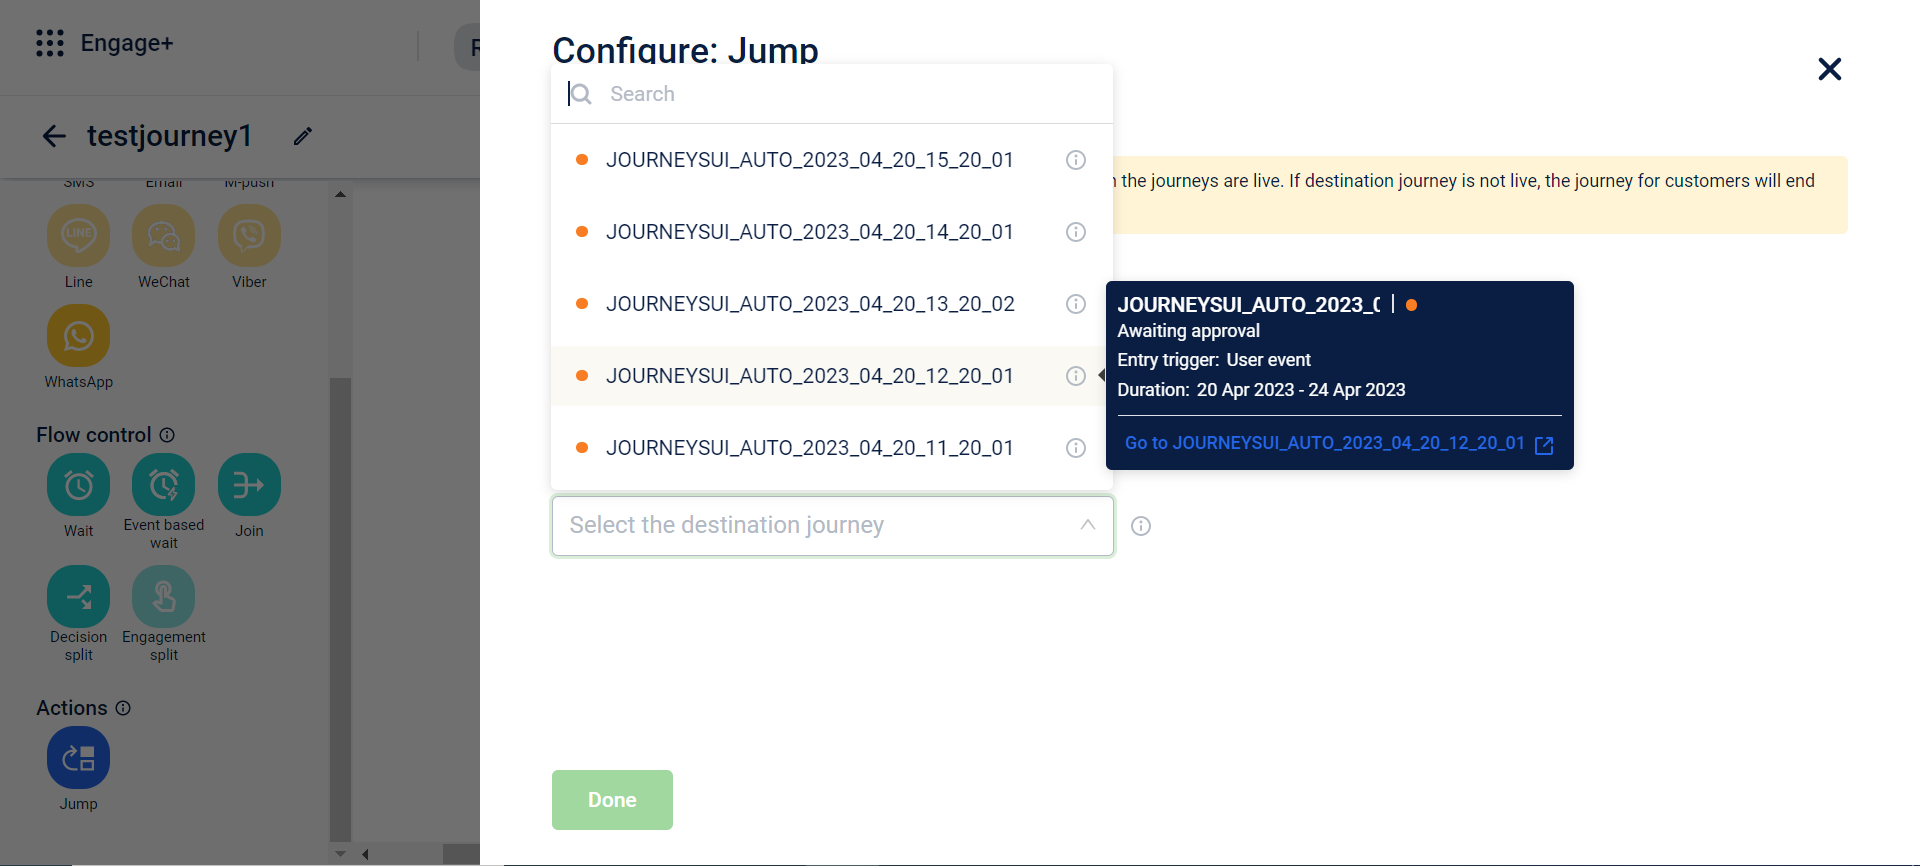
- To view a summary of the added journey, click on the info icon below the Jump block. The summary block displays the entry trigger and duration of the journey.
- Once the wait block is added to the canvas, click on the delete icon to remove the block or click on the settings icon to edit the block.
Issue incentive
AttentionBy default, this block is not available for all organizations. Contact your Product Support Team to enable this block.
Note
Control users are excluded from incentive allocation in Journeys by default. To include control users in incentive allocation, raise a Jira ticket with the Product Support team.
The Issue Incentive block allows you to reward customers during their journey without sending a communication. This helps brands that run multiple offers or incentives avoid spamming customers with excessive notifications.
You can issue offers, points, cart promotions, gift vouchers, badges, and loyalty promotions using this block.
-
Points, cart promotions, gift vouchers, and loyalty promotions must be created before you can add them as incentives.
-
Offers and badges can be created while issuing the incentive.
-
Loyalty promotions can only be issued through the Issue Incentive block in Journeys and cannot be added while sending out a communication using any of the engagement channels. When issuing a loyalty promotion, only Direct promotions ( live and upcoming) are available for selection.
Note: Loyalty promotions are not enabled by default. Raise a Jira ticket to the PST team to get it enabled for your organization.
To issue incentives without sending a communication, perform the following steps below:
- Drag and drop the Issue Incentive block onto the journey canvas.
- Select the Issue Incentive block.
- On the Incentive Configuration page, enter a Block Name for the incentive.
- Navigate to the +Add Incentives, add the desired incentive and select Done. You can add only one incentive per Issue Incentive block. Incentives are claimed after the journey is approved, not during the approval process. If the attached incentive is already claimed, an error message appears.
You can edit or remove a configured incentive while editing the journey. The configured incentive details will appear when you preview the journey.
Webhook
The webhook block enables your Journeys to send and receive information in real-time through a webhook. You can use this block to capture specific details during a customer journey and send them to external third-party systems for further processing.
For example, if you use an external service to issue coupons, you can configure the journey to trigger their webhook when a specific event occurs, such as a customer completing a purchase. The event data is sent to the external service through their webhook, and the service then processes the information independently to issue a coupon to the customer.
The webhook block supports POST and PUT HTTP methods. You can configure it with query parameters, headers, and a JSON payload to send data to external systems.
AttentionBy default, this block is not available for all orgs. Contact your CSR for enabling this block.
Use cases
1. Issue a post-purchase coupon through an external coupon vendor
Scenario: You want to reward customers with a unique 15% off coupon after they complete a purchase. Your coupon codes are generated and managed by an external service. The journey will trigger a webhook to this service, which then issues the coupon.
Configuration:
-
Method:
POST -
URL:
https://api.coupon-service.com/v1/campaigns/post-purchase-reward/issue -
Query parameters:
idempotency_key:{{key}}
Note: You can create a custom tag called{{key}}and map this to the query parameterThis is a crucial step to prevent issuing duplicate coupons for the same purchase. The coupon service will process the request only if it hasn't seen this unique purchase_id before
-
JSON body:
{
  "customer": {
    "identifier": "{{customer_email}}",
    "name": "{{first_name}} {{last_name}}"
  },
  "metadata": {
    "source_journey": "Post-Purchase Flow",
    "triggering_purchase_id": "{{entryTrigger.transaction_id}}"
  }
}
Outcome: The external service receives the customer and purchase data, generates a unique coupon code, and associates it with the customer's profile. You could then add another step in the journey to retrieve that coupon code and send it to the customer via email.
2. Send a real-time alert to an internal Slack channel
Scenario: A customer makes a purchase of $500. To celebrate the win and ensure premium order fulfillment, you want to post an alert to your internal #sales-wins Slack channel.
Configuration:
- Method:
POST - URL:
https://hooks.slack.com/services/T00000000/B00000000/XXXXXXXXXXXXXXXXXXXXXXXX(Your Slack Incoming Webhook URL) - JSON body:
{
Outcome: Your team sees a real-time notification in Slack the moment the high-value purchase is made.
3. Update customer preferences in your CRM
Scenario: A customer is in a re-engagement journey and clicks a button to update their email frequency preference to "weekly." You need to update their profile in your CRM to reflect this change.
Configuration:
- Method:
PUT - URL:
https://your-company.crm.com/members/{memberId}updateEmail - Query parameters:
reason:journey-preference-update
This adds a tracking parameter, useful for creating an audit log in your CRM to know why this record was updated. - JSON body:
{
  "tags": {
    "frequency": "weekly"
  },
  "status_if_new": "subscribed"
}
Outcome: The customer's profile in the CRM is updated, ensuring they receive emails at their preferred frequency.
4. Sync a customer's tier status to your support desk
Scenario: Based on loyalty points accumulated, a customer is promoted to "Gold Tier" within a journey. To ensure they receive priority support, you need to update their existing user profile in your Zendesk support desk.
Configuration:
- Method:
PUT - URL:
https://your-domain.zendesk.com/api/v2/users/{zendesk_user_id} - JSON body:
{
  "user": {
    "user_fields": {
      "loyalty_tier": "Gold"
    }
  }
}
Outcome: The customer's user record in Zendesk is updated with their new tier, and any support agent who views their profile will see they are a Gold Tier member.
Webhook request structure
The webhook supports POST and PUT HTTP methods and also supports query parameters, headers and the JSON payload.
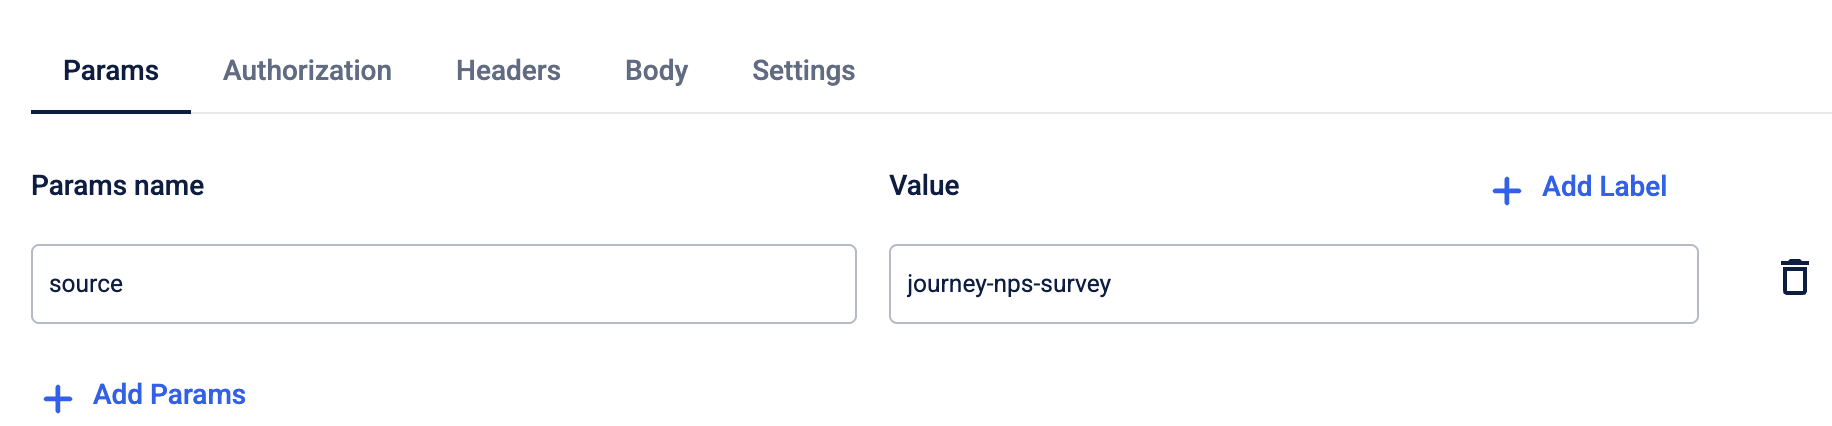
Query parameters
Query parameters are simple key-value pairs appended to the end of a URL. They provide visible, top-level context about the request and are ideal for passing simple metadata that helps the external system identify or filter the request.
You can map journey data to query parameters using labels or static text. For example, if the query parameter is customerName, you can map it to the label Customer First Name to dynamically pass the customer’s name.
The external system can then use this information as needed. For instance, if the webhook triggers an external email service, it can use the customer name to personalise the message, for example, addressing the customer as Hi {{first_name}}.
Headers
Headers provide technical instructions and metadata for the receiving server on how to process an incoming request.
Use headers for authentication and for specifying the data format. For example, use the Authorization header to securely pass an API key or bearer token. Use the Content-Type header with a value like application/json to inform the server that the payload is structured as JSON.
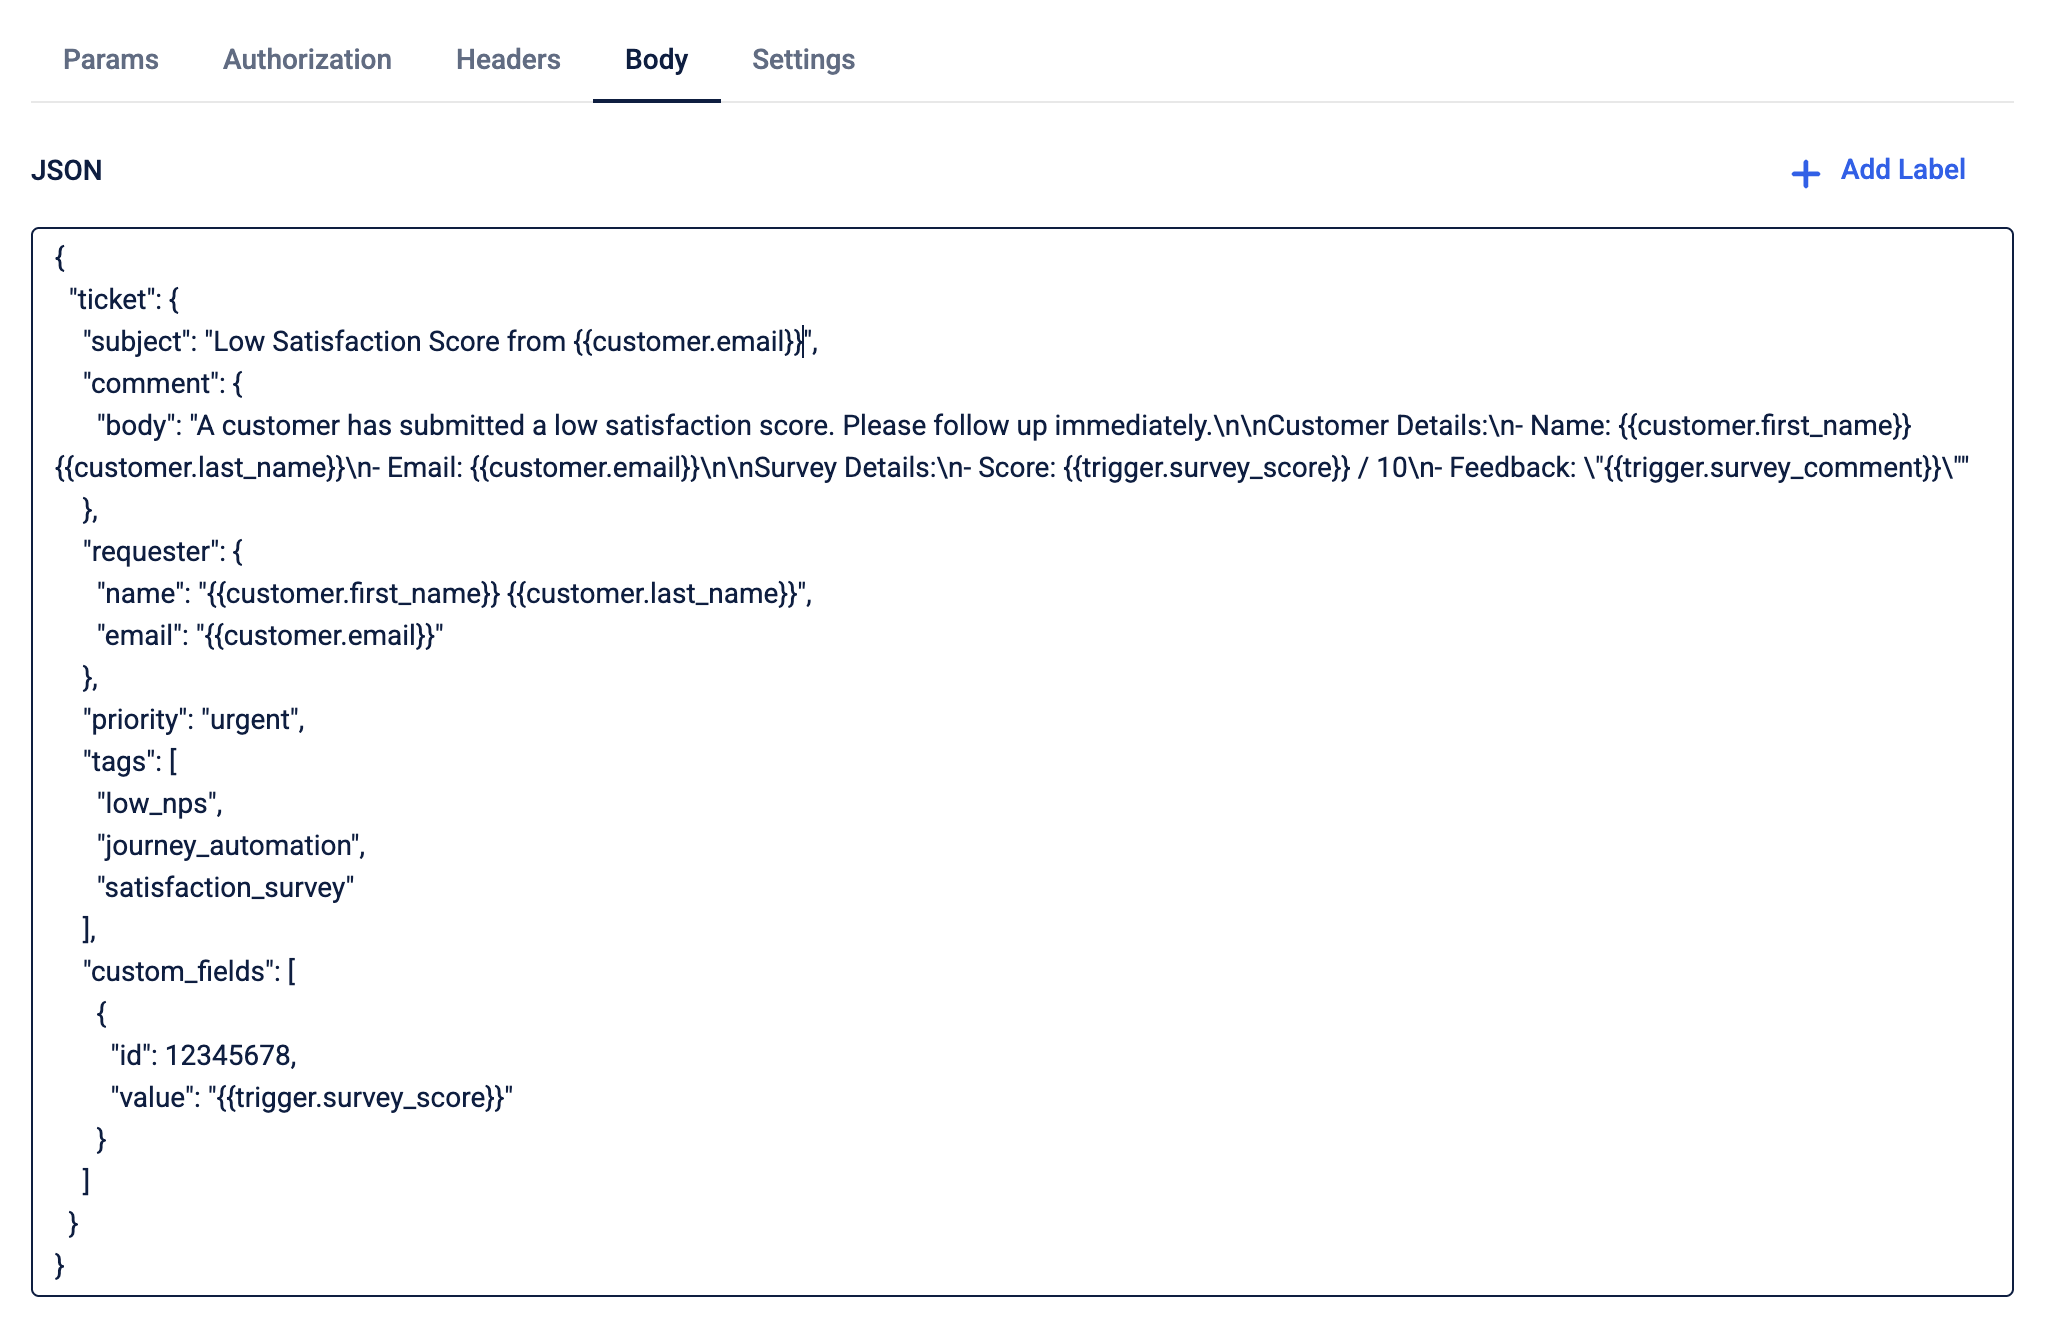
Payload (request body)
The payload, also referred to as the request body, is the main content of the message. It contains detailed, structured information for the external system to process, especially when using POST or PUT methods.
You can map values to the payload parameters using labels or static text, similar to how you configure query parameters. The payload is generally used to send complex, multi-field, or sensitive data.
For example, when creating a support ticket, the payload can include the customer’s email address, ticket subject, and comments, all structured within a JSON body. The external system then processes this information to create the support ticket.
Example:
{
  "customer": {
    "identifier": "{{customer_email}}",
    "name": "{{first_name}}"
  },
  "metadata": {
    "source_journey": "Post-Purchase Flow",
     }
}
Configure the webhook block
Prerequisites
Before configuring the webhook block, obtain the following from the external system you want to connect to.
- Endpoint URL: The specific URL that will receive the data.
- HTTP Method: The required method for the webhook.
- Authentication Details: The credentials needed to access the webhook securely.
- Expected JSON payload format: The JSON payload for the webhook.
To configure the webhook block, follow these steps:
-
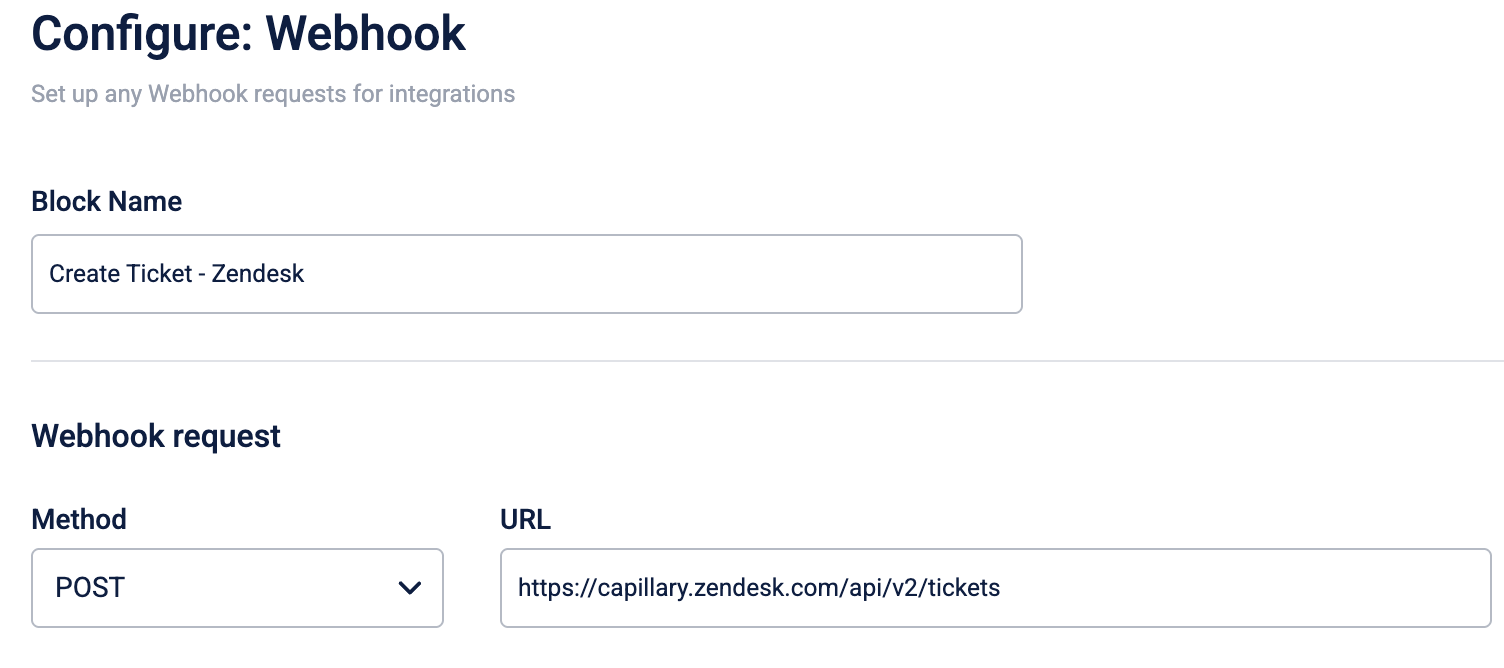
In the Block Name box, enter a descriptive name for the webhook block. For example:
Create Ticket - ZendeskorUpdate Lead - Salesforce. -
From the Method list, choose the request type. The available types are
POSTandPUT. -
In the URL box, enter the endpoint URL.
-
On the Params tab, enter the query parameters. You can add up to 10 parameters. You can add a label, such as "Customer Email", as a variable value.
-
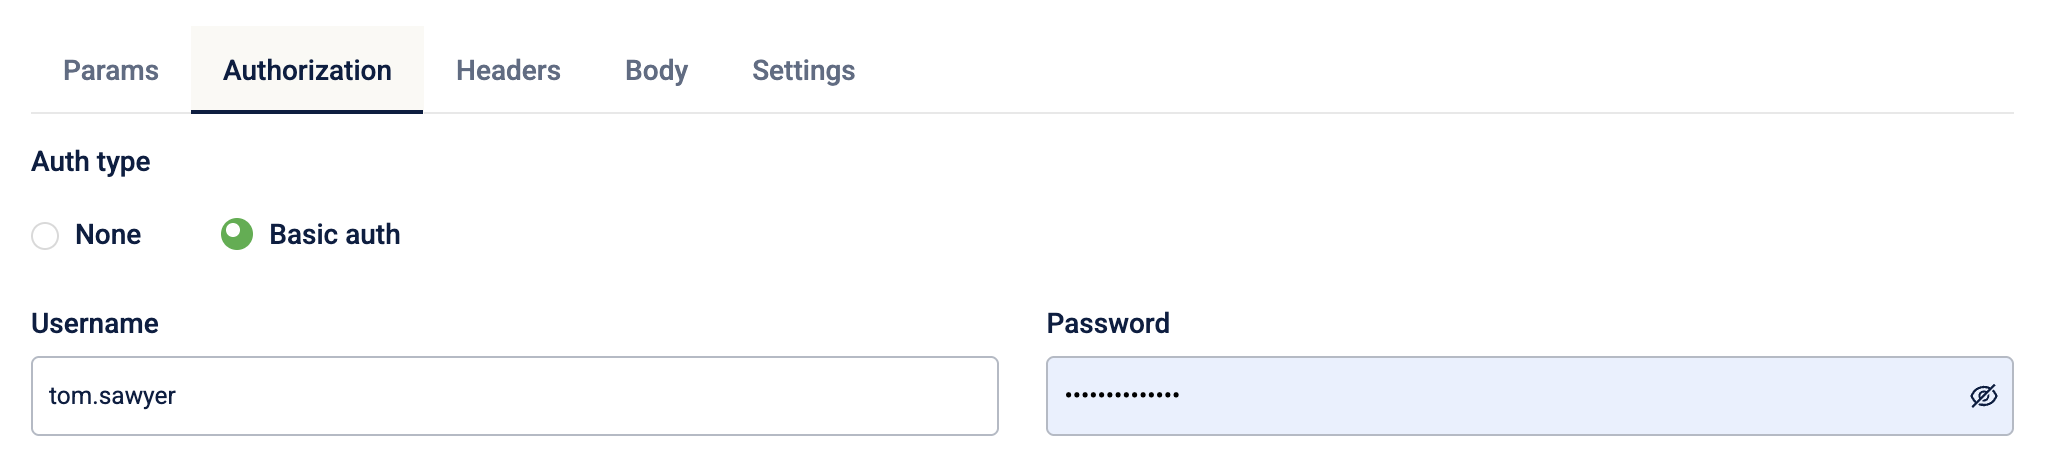
On the Authorization tab, select the authentication type.
-
On the Headers tab, in the Header name and Value boxes, enter the headers and values. You can add up to 10 headers. You can add a label, such as "Organisation ID", as a variable value.

-
In the JSON box, enter the JSON request body. You can add a label, such as "First Name", as a variable value.
-
On the Settings tab, enter the rate limit (requests per minute). The default rate limit value is 1000 RPM.
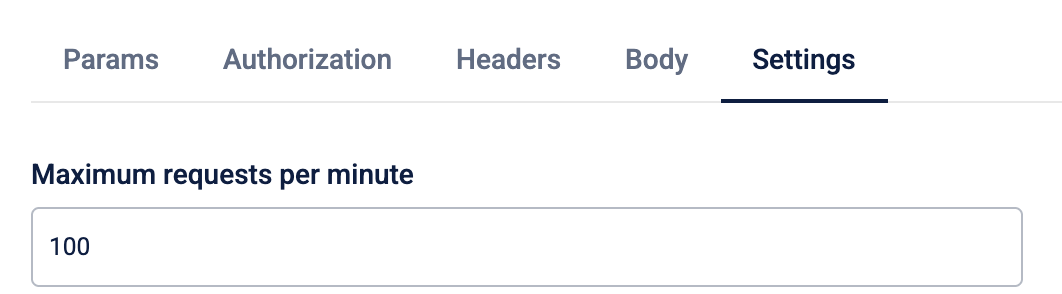
NoteThis prevents your Journey from overwhelming the receiving system with too many requests at once, which could cause your webhook to be blocked. Check the third-party service's API documentation for their recommended rate limits.
- Select Done to save your changes.
NoteThe webhook block cannot be edited once the journey has been sent for approval. Test webhooks thoroughly before going live as edits require re-approval.
Configuring authorization
The Authorization tab allows you to specify the credentials the webhook will use. The correct method depends on the requirements of the third-party service. The following types are supported:
- None: No authorisation.
- Basic Auth: A simple username and password combination.
- API Key: A unique key that you pass in either the headers or parameters. For example, a header named
X-API-Keywith your key as the value.
FAQs
- Which HTTP methods are supported?
The webhook block supports POST and PUT methods. - What authentication methods are supported?
The webhook block supports basic authorization. - How many headers or params can I add?
You can add up to 10 headers and 10 params per request. - What happens if I add unsupported tags in the request?
The request returns a 400 error, and the UI displays an error message stating that the tags are not supported. - Does editing a webhook block in a live journey create a new version of the journey?
Yes. Editing a block in a live journey creates a new version, which then enters the approval flow. - Can I edit the configuration once the journey has been sent for approval?
The webhook block cannot be edited once the journey has been sent for approval. To make changes, reject the approval request and make the changes.
Updated 26 days ago