
Retro transaction request
Introduction
Retroactive transactions or Retro transactions are those transactions that are applied to a loyalty program account after the transaction has taken place. This can occur due to a number of factors such as an error in the transaction process, a delay in the transaction being recorded, or a promotion being applied retroactively to a past purchase. Retro transaction allows brands to choose the date to be followed for retro transactions as per their policies.
To enable retro transactions for your org, contact the Capillary sustenance team.
Handling retro transactions
Capillary handles retro transactions based on the date of the transaction as well as the date of processing. A not-interested transaction can be tagged to the respective customer when the customer registers into the loyalty program within the window period.
For instance, if a customer took a flight on March 20th but did not provide loyalty details on that date and later reached out to the airline’s customer care to obtain loyalty points, the transaction date is March 20th, and the date on which the loyalty points are processed becomes the date of processing.
To avail of the airline rewards, the customer can provide flight and loyalty program account information to the airline. The airline then tags the transaction and awards the reward to the customer based on the date of transaction or date of processing.
Configuring the window period for retro transaction
To customize the retro transaction window, perform the following:
- Navigate to Organisation settings.
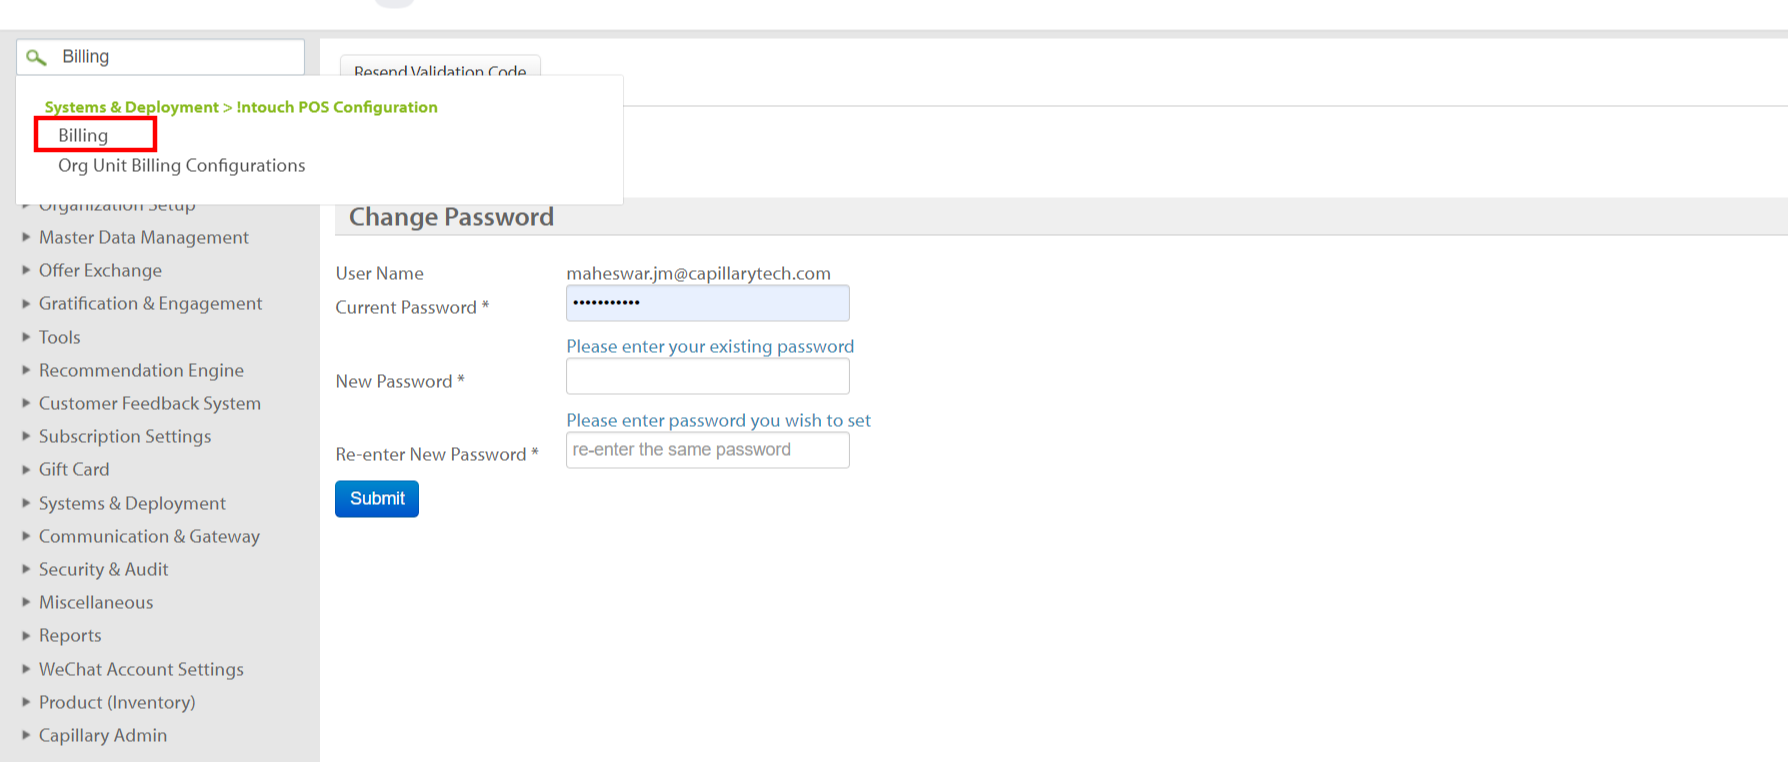
- Navigate to Systems & Deployment > Intouch POS Configuration > Billing .
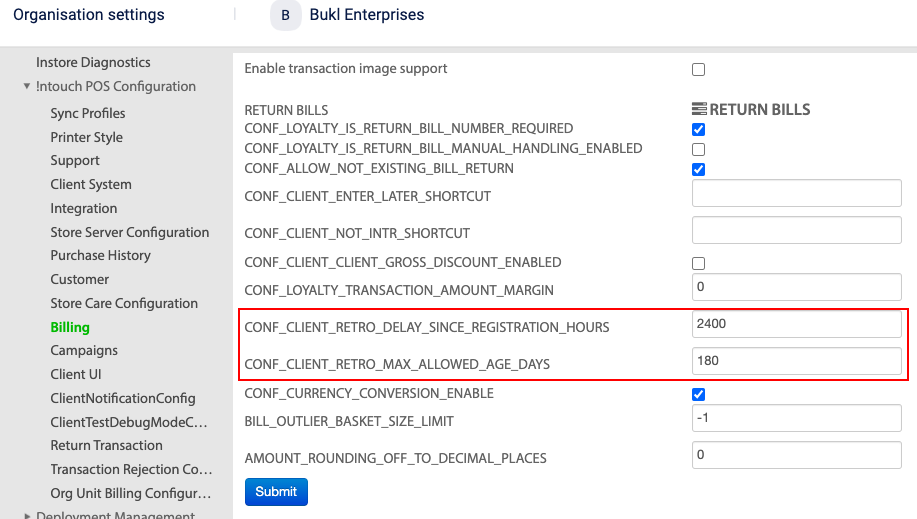
- On the Billing configuration page, enter the value in the
CONF_CLIENT_RETRO_MAX_ALLOWED_AGE_DAYStextbox to configure the maximum allowed window for a retro transaction.
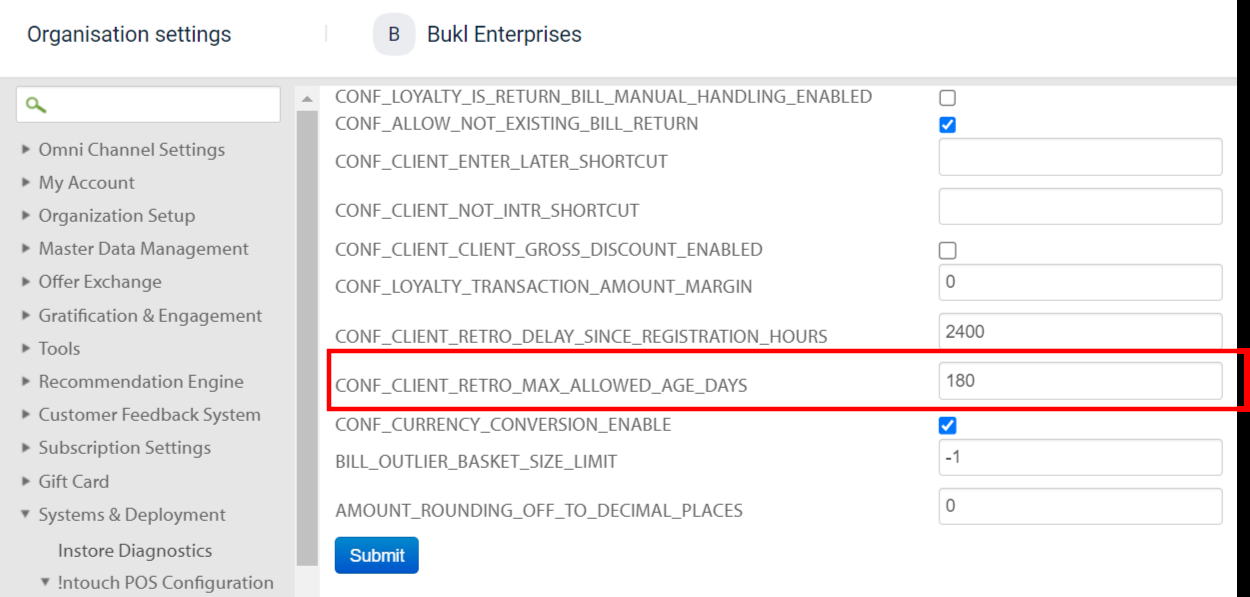
- To configure buffer time, in the
CONF_CLIENT_RETRO_DELAY_SINCE_REGISTRATION_HOURSset the value of your choice.
For instance, if the value is set to 3, the customer registering at 9:00 AM will be able to claim loyalty points for a non-interested transaction with billing times later than 6:00 AM but not before 5:59 AM.
Submiting transaction tagging request
Transaction tagging request allows you to tag a not-interested transaction into a regular transaction.
Perform the steps below to submit a transaction tagging request:
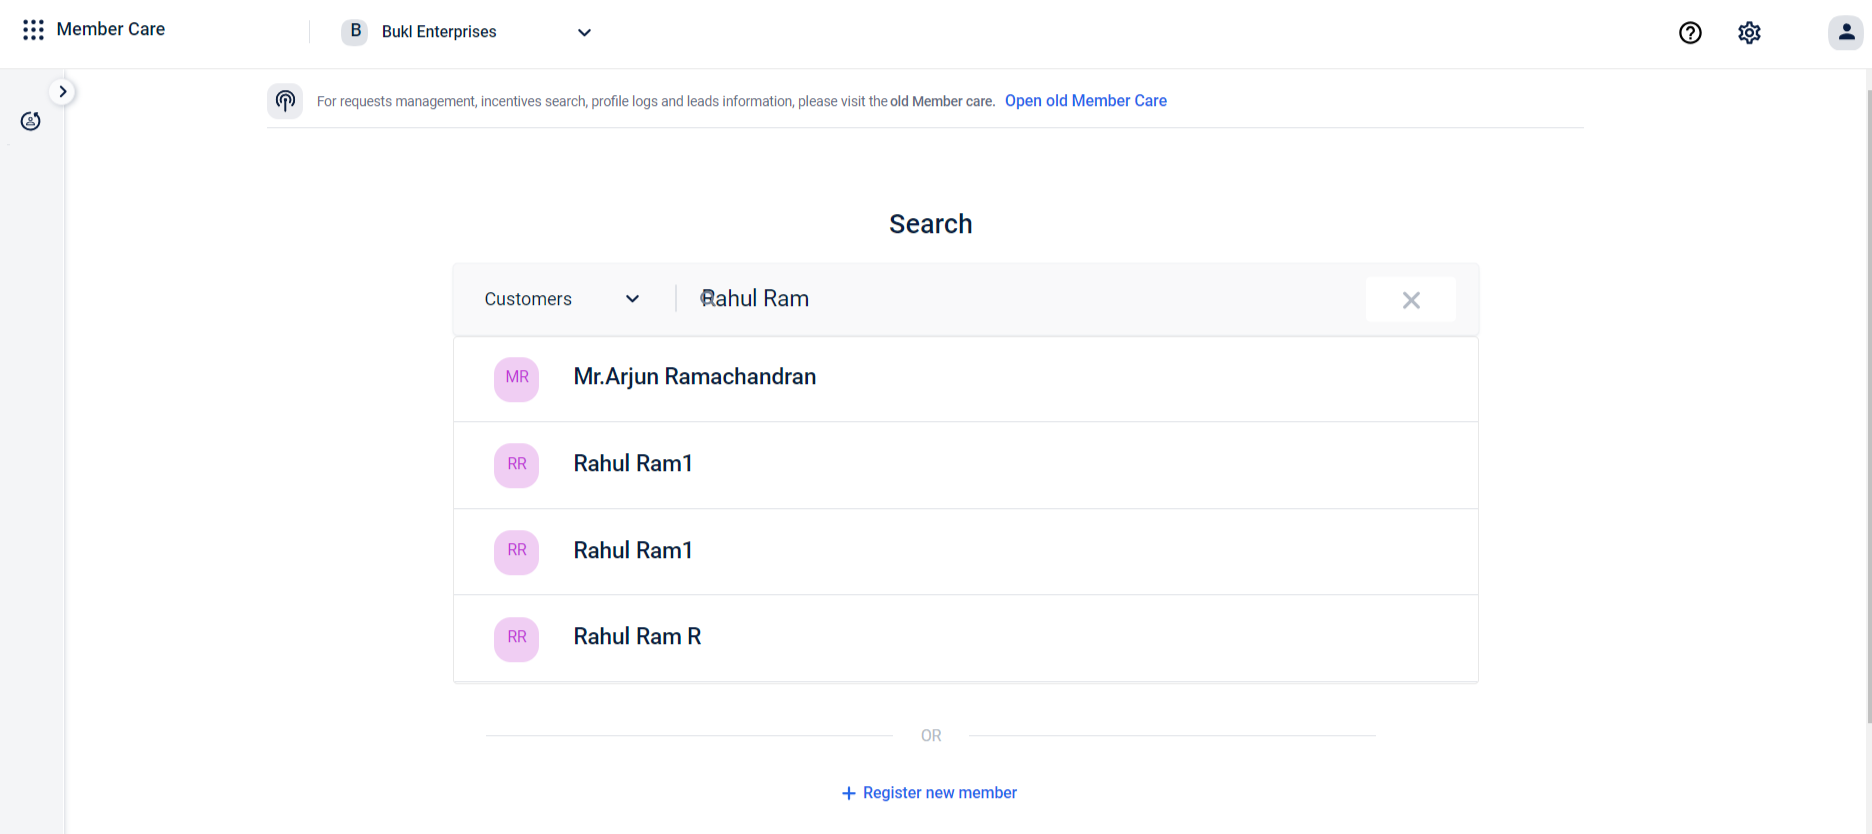
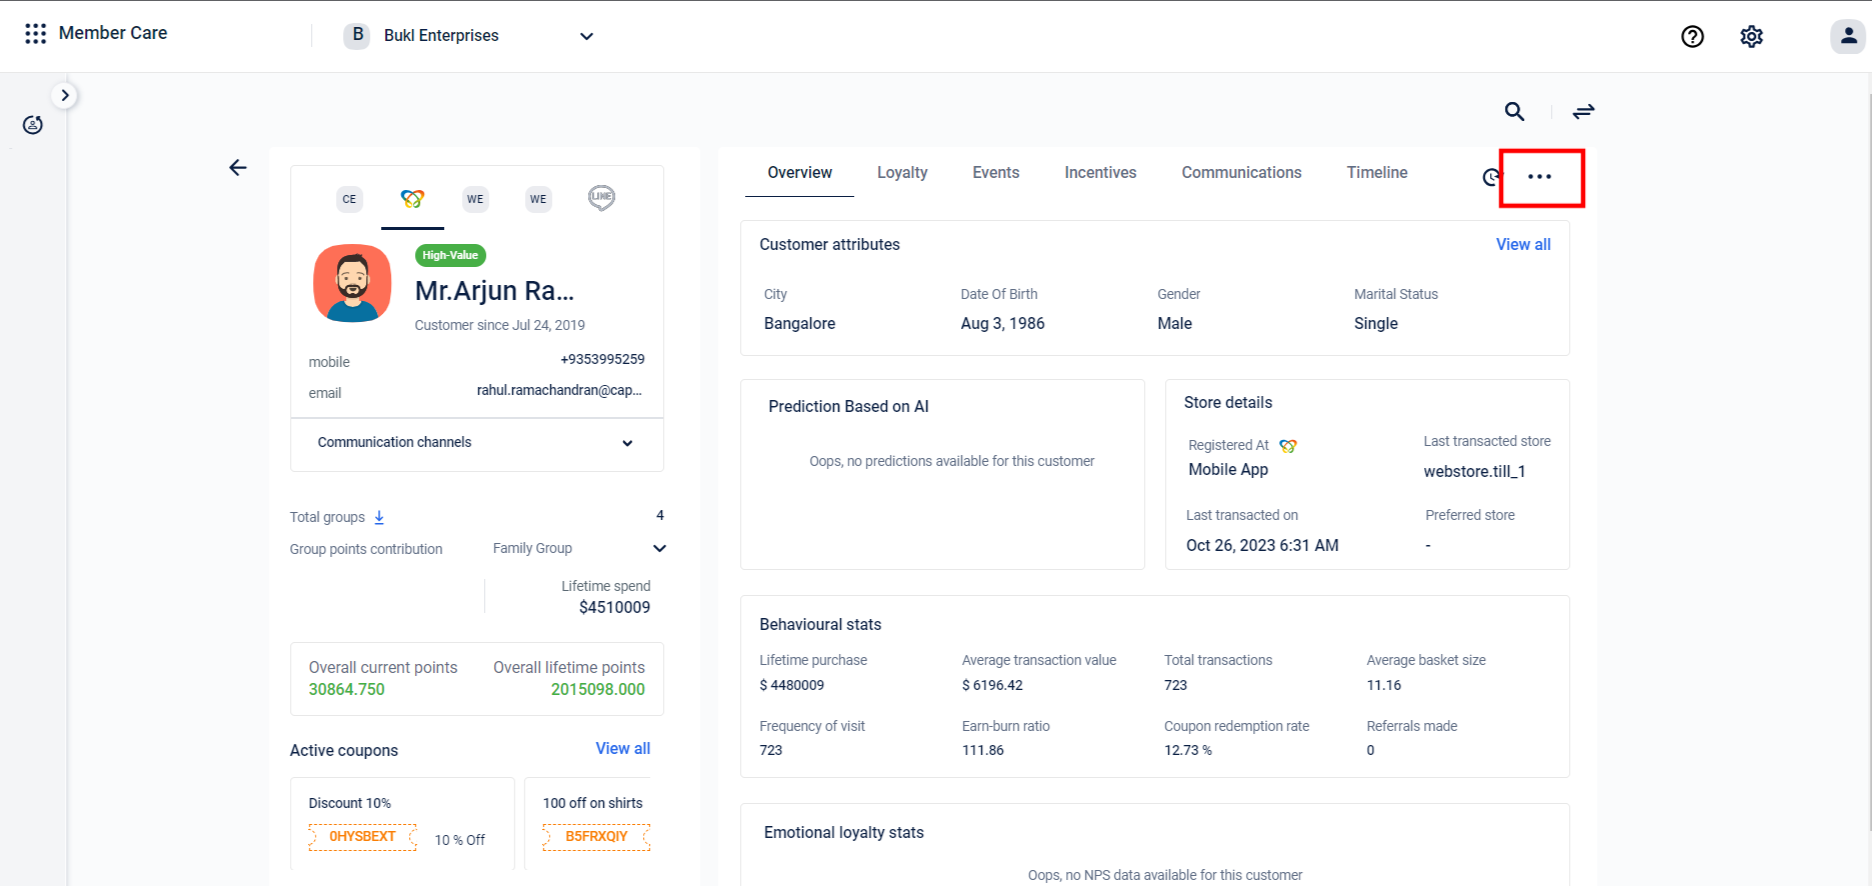
- On the Member Care homepage, search for the user you want to submit a transaction tagging request.
- Click the three-dot menu.
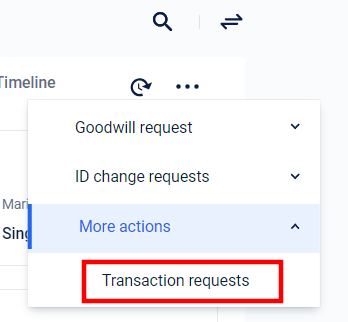
- Expand the More actions dropdown, and click Transaction requests.
- Enter the non-tagged transaction number and click Search transaction.
You can filter the transactions based on date and store.
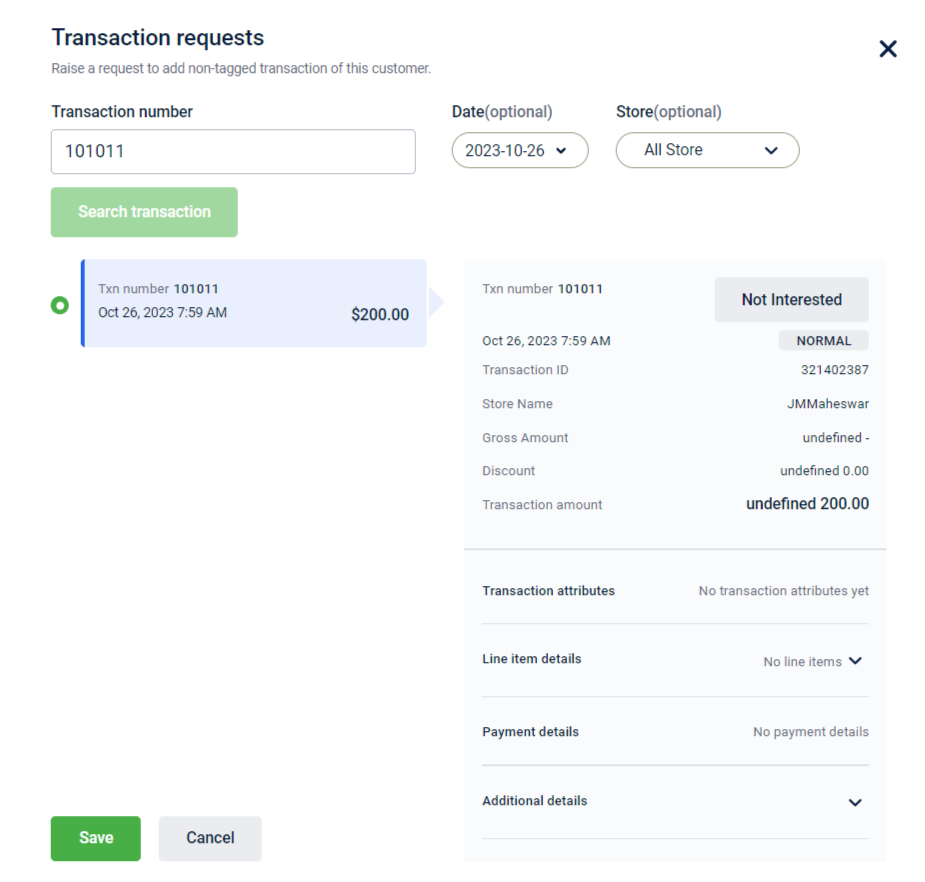
- Click Save.
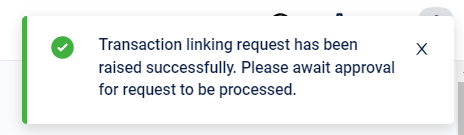
Transaction linking request is raised successfully.
Viewing transaction tagging request
To view the transaction tagging request, perform the following steps:
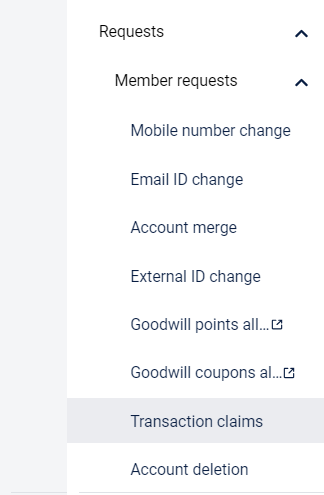
- On the Member Care home page sidebar, navigate to Member Care > Requests > Member requests.
- Click Transaction claims.
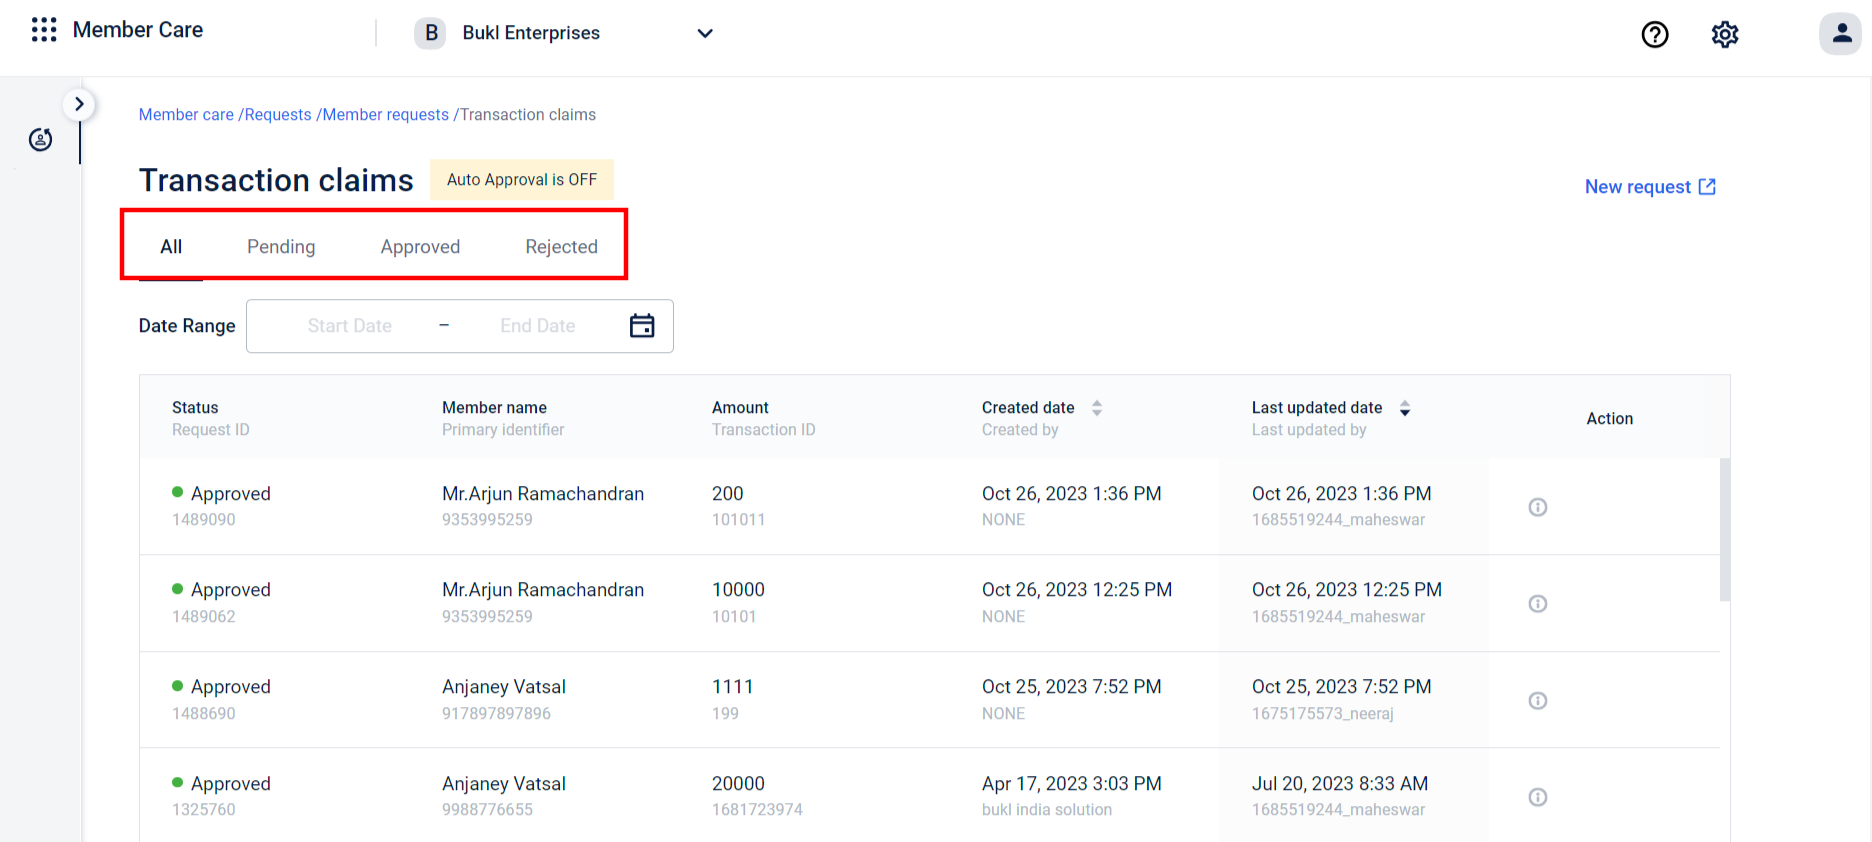
- Click the All tab to view all requests. You can click the Pending tab to review a request, the Approved tab to view approved requests, and the Rejected tab to view requests that were rejected.
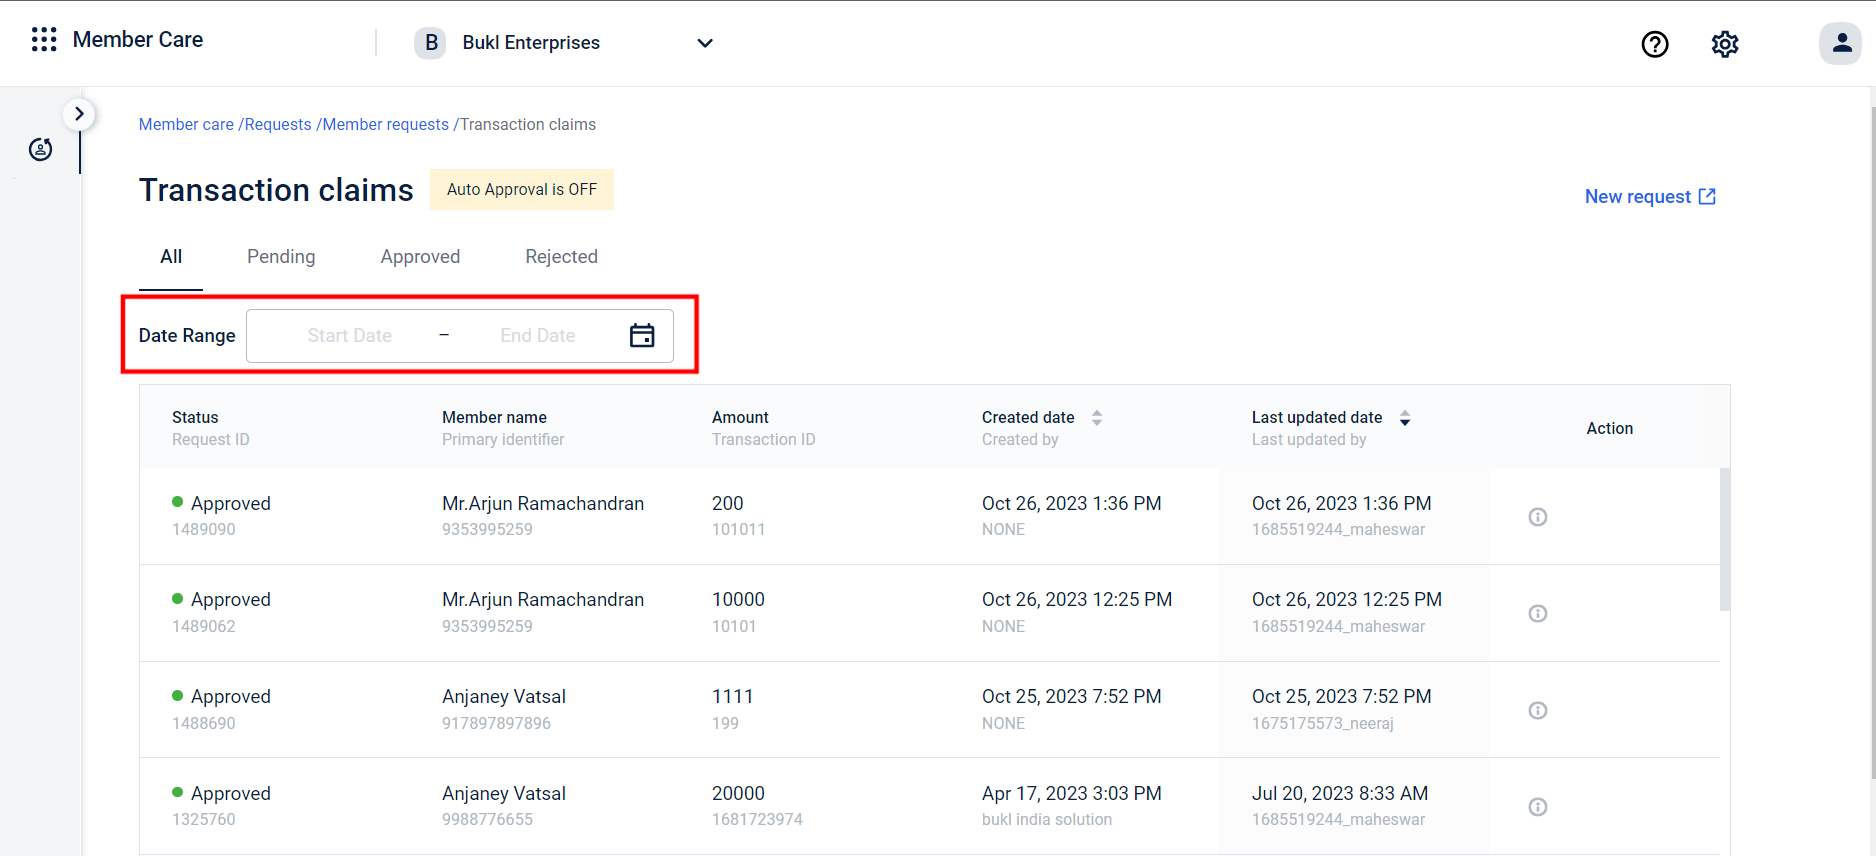
- You can select the desired date range and view the transaction tag request that was created within that specific duration.
You can view retro transaction information within the transaction details on Member Care. For more information, refer to the Event details documentation.
Updated 5 months ago