
Configure Push Notification Content
NoteTo access the push notification editor with video and image carousel support, raise a JIRA ticket to the Capillary support team.
A push notification template allows you to design and organize reusable notifications.
With pre-made templates, you can quickly deploy consistent and effective push notifications across various campaigns and journeys.
To configure push notification content, follow these steps:
-
In the Content section of the campaign creation workflow, select Add creative
-
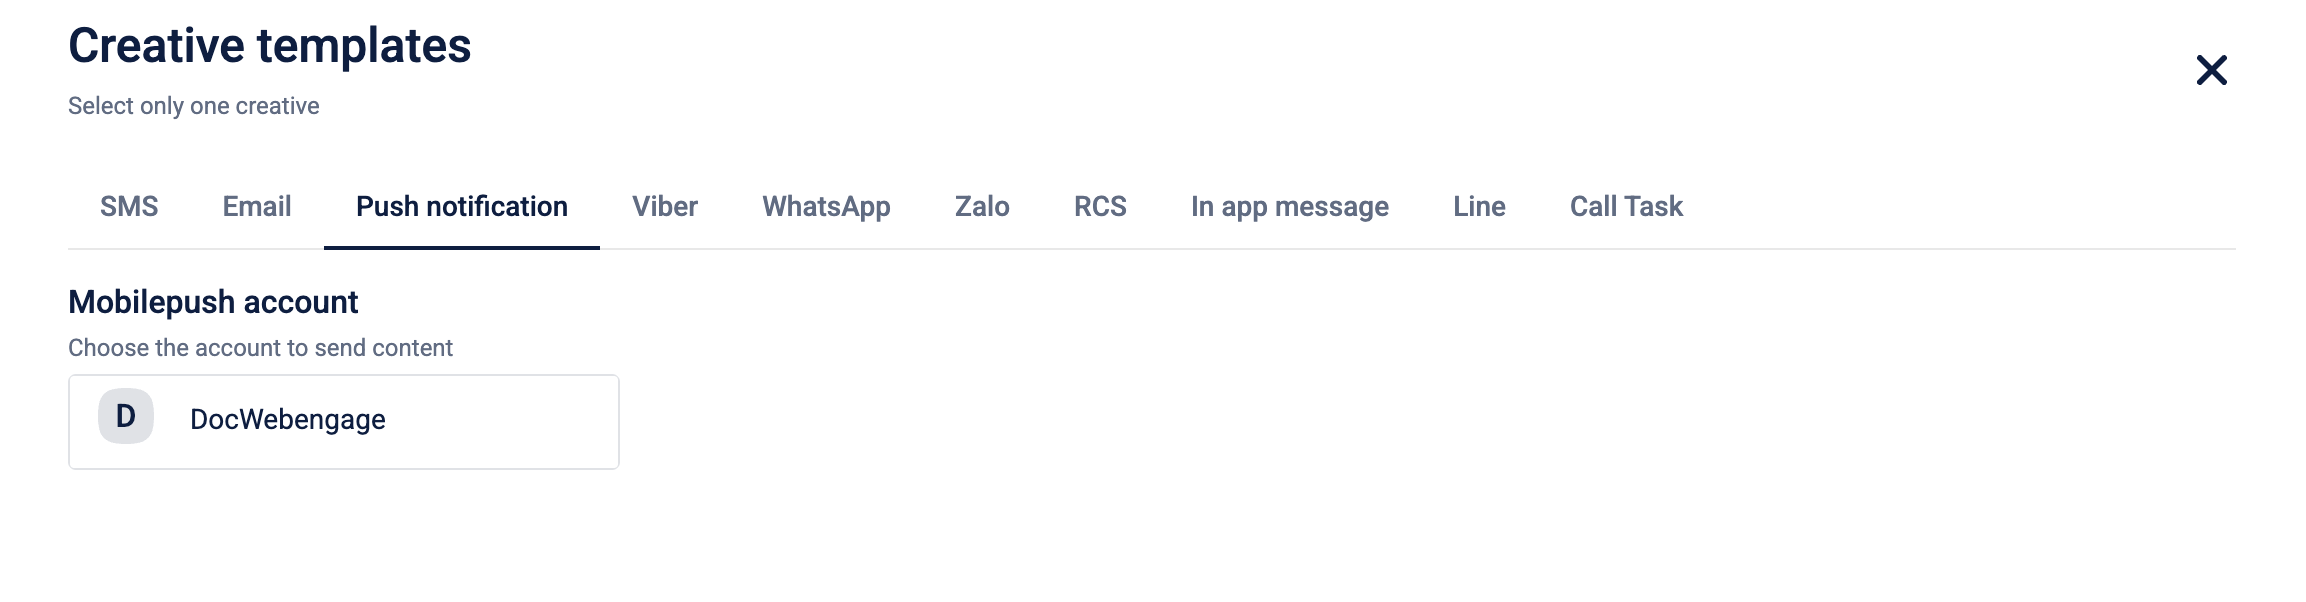
In the Creative templates section, select Push notification.
-
Choose the Mobilepush Account to send the content.
-
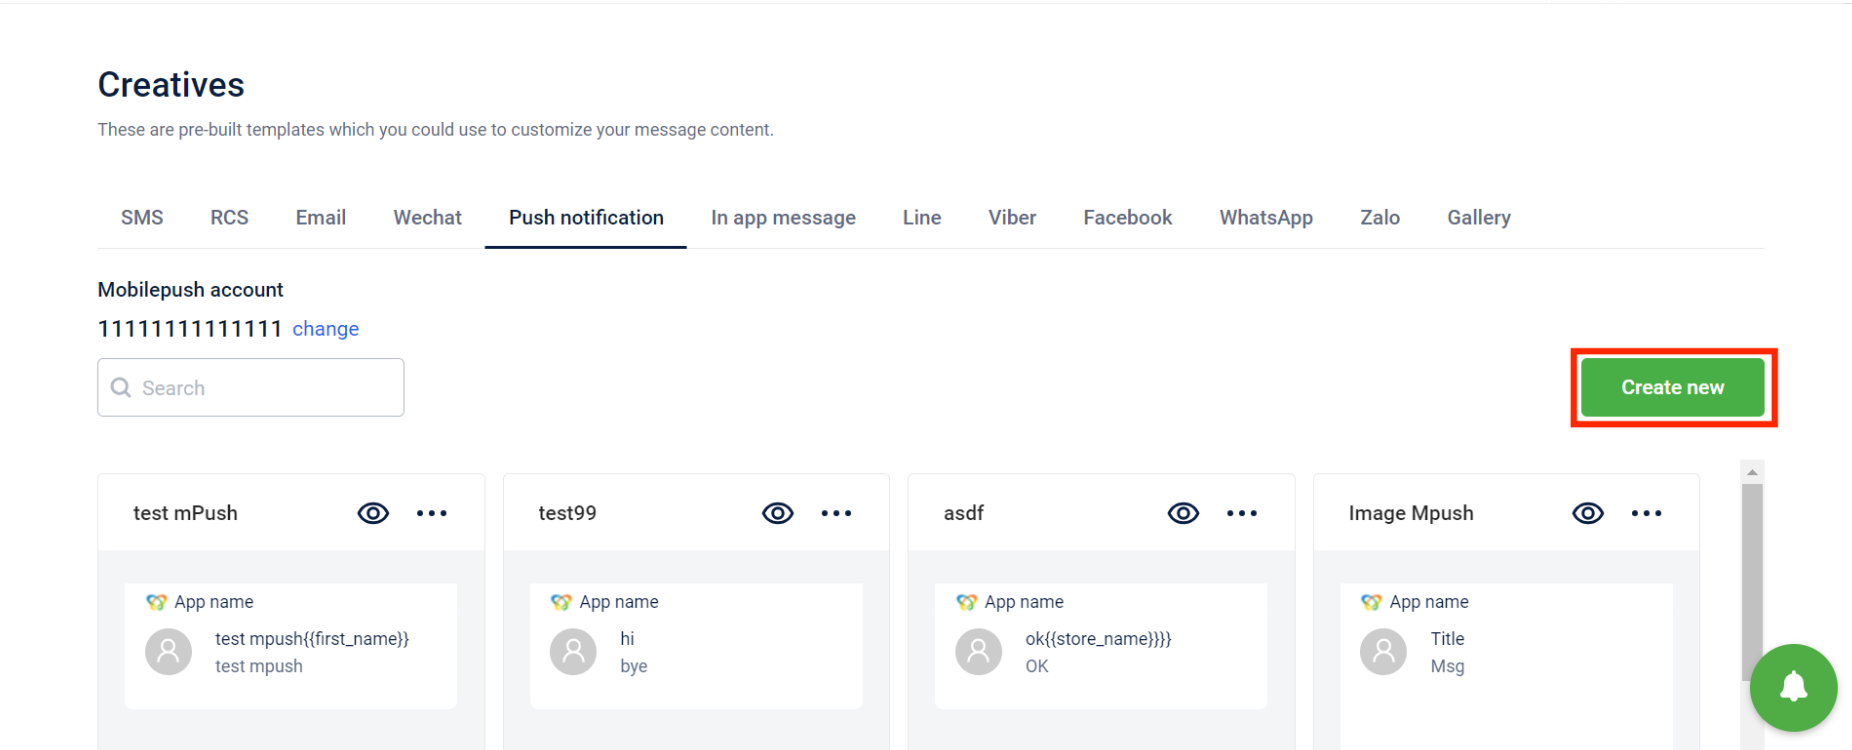
Select Create new to begin creating a new push notification creative or select an existing template.
-
Enter the following information for the push notification. The fields are as follows:
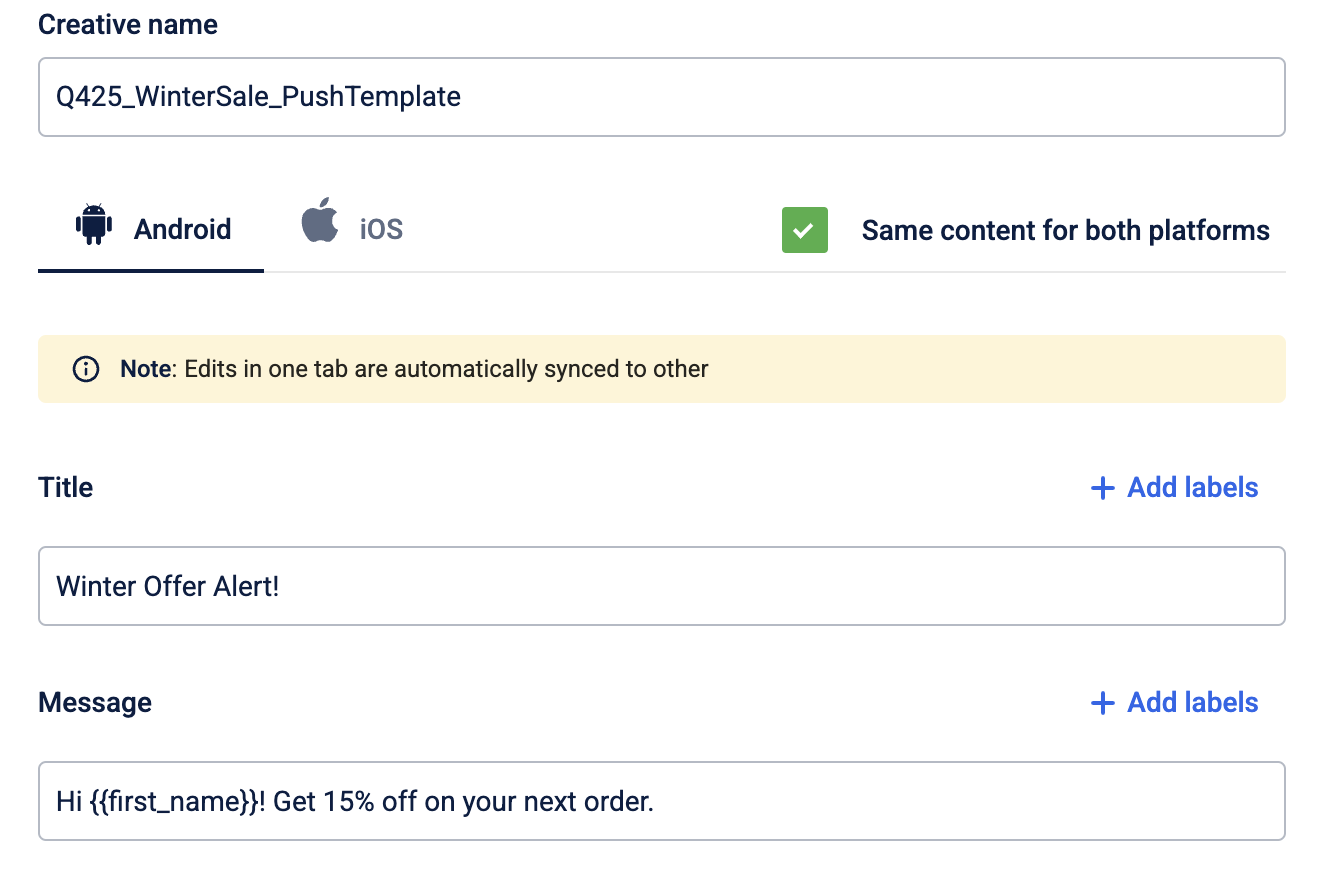
Field Description Creative name Relevant name for the push notification creative template. Provide an identifiable name such as Q425_WinterSale_PushTemplate.Title Title (heading) for the push notification. To add a label, select + Add labels and choose a label from the drop-down list. Message Content for the push notification. To add a label, select + Add labels and choose a label from the drop-down list.
-
Select the iOS tab to create a push notification for iOS. You can select Same content for both platforms to sync content across Android and iOS.
-
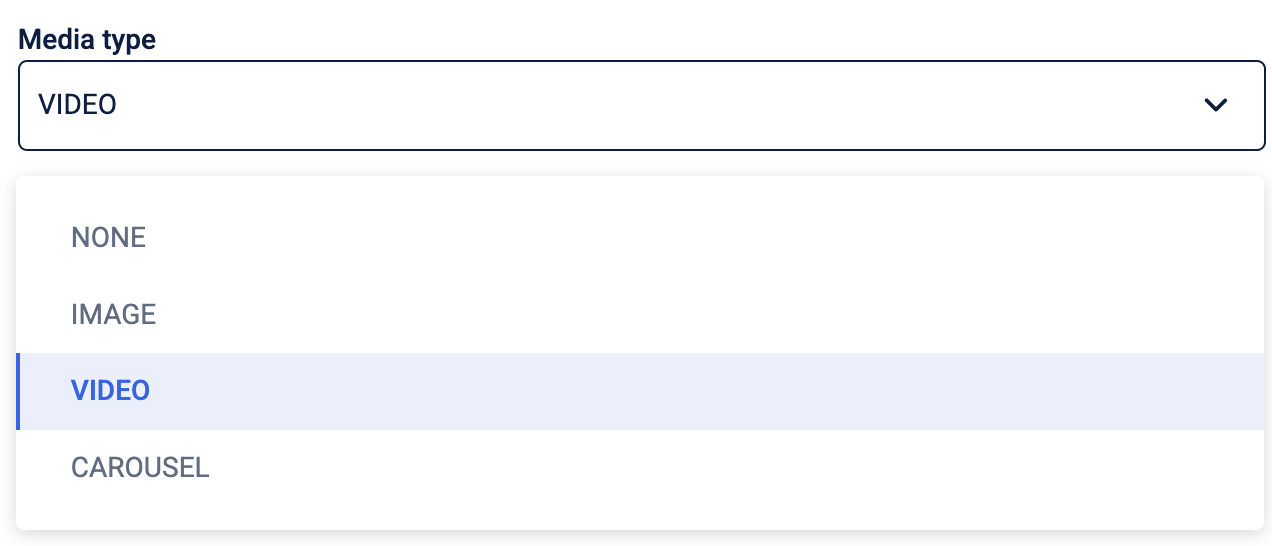
From the Media type dropdown list, select the type of media to include in the push notification. The following options are available:
Media type Description Image Include a static image in the push notification message. Video Include a video in the push notification message. Carousel Include multiple static images in the push notification message. Carousel videos and actions for each carousel are unsupported.
-
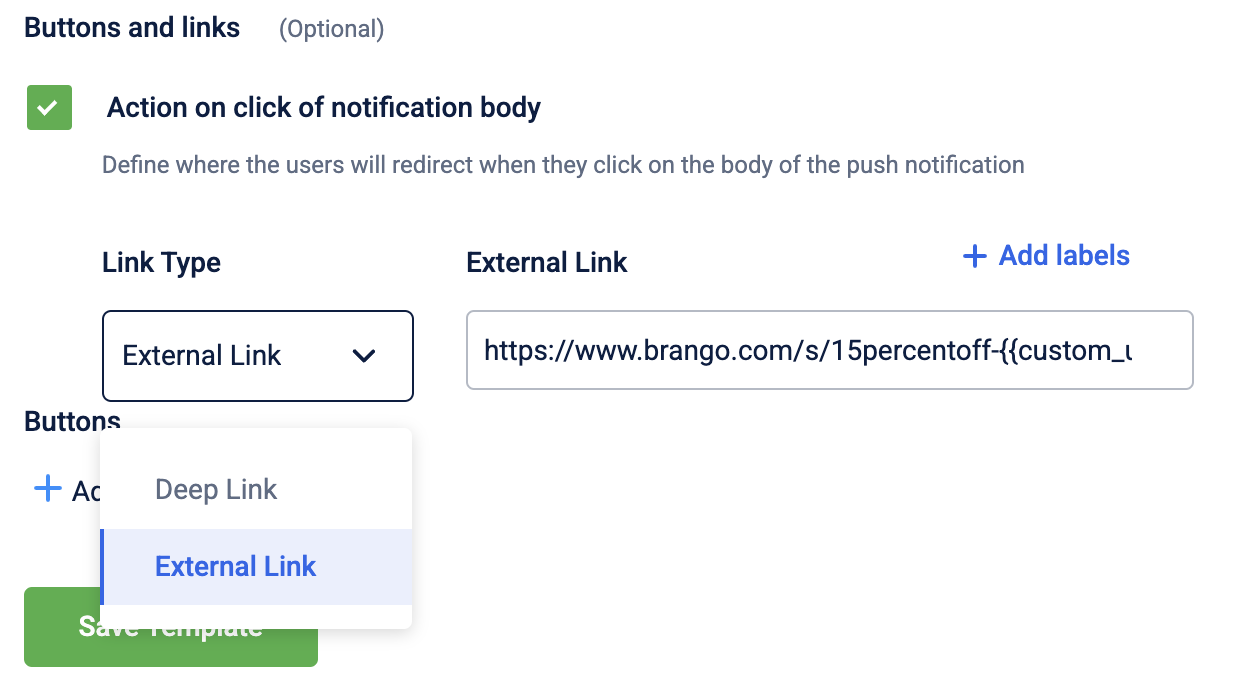
To add a link that opens when a user selects the notification body, select Action on click of notification body. It is recommended to either add an action on click or a call to action button.
-
Select the link type.
-
For a deep link, select it from the dropdown list and provide the URL keys if required.
-
For an External Link, enter the URL. To add a label, select + Add labels and choose a label from the drop-down list. Refer to the documentation for more information on labels.
-
-
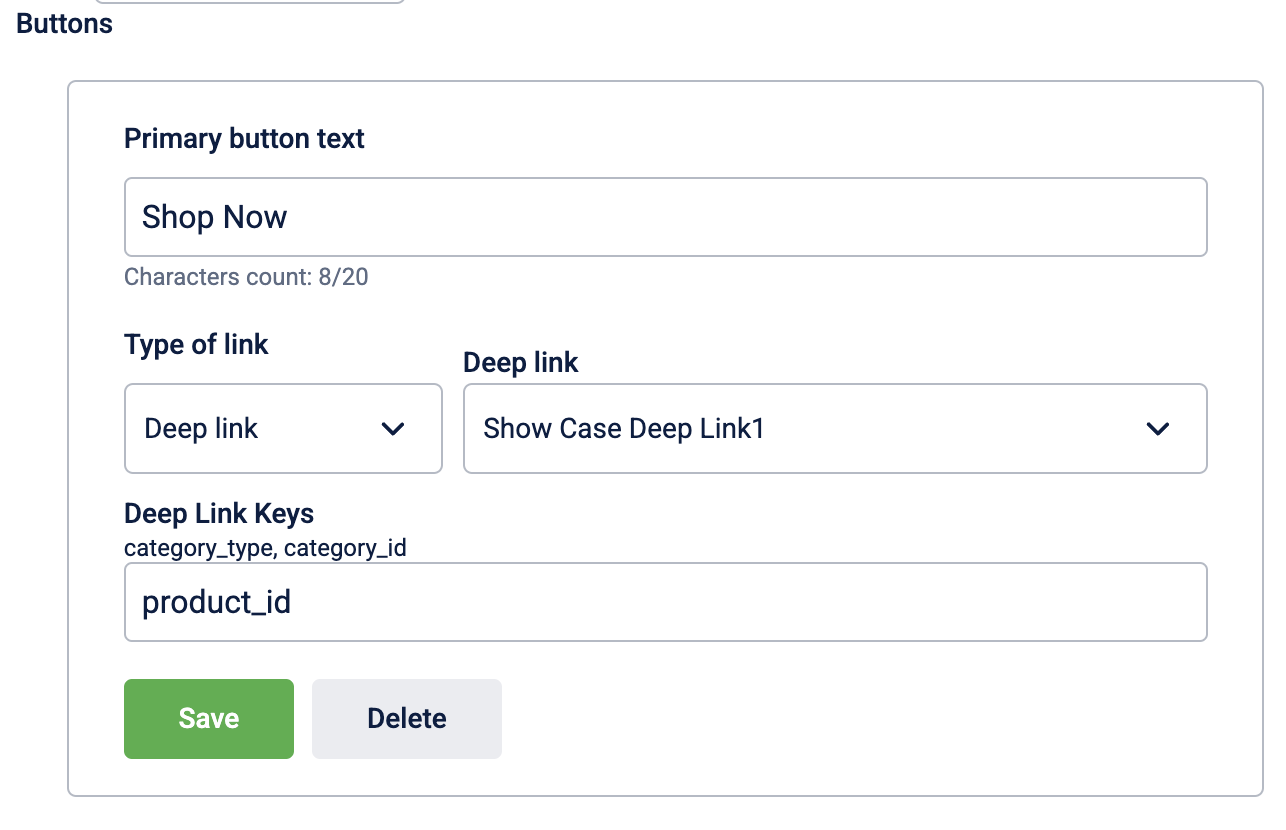
Select + Add primary button to add a call-to-action (CTA) button to the push notification message. You can add one primary CTA button per template.
-
In the Primary button text box, enter a title for the button.
-
Select the link type.
-
For a deep Link, select it from the dropdown list and provide the URL key if required.
-
For an External Link, enter the entire URL. To add a label, select + Add labels and choose a label from the drop-down list. Note: When using dynamic labels in templates (for example,
{{gap_to_upgrade_tracker}},{{gap_to_renew_tracker}}), the system validates all labels before sending the message. If any one labels fails to resolve and returns a null value, the message is not sent, and the customer can be skipped from the communication. -
Select Save to add the button or Delete to discard your changes.
-
-
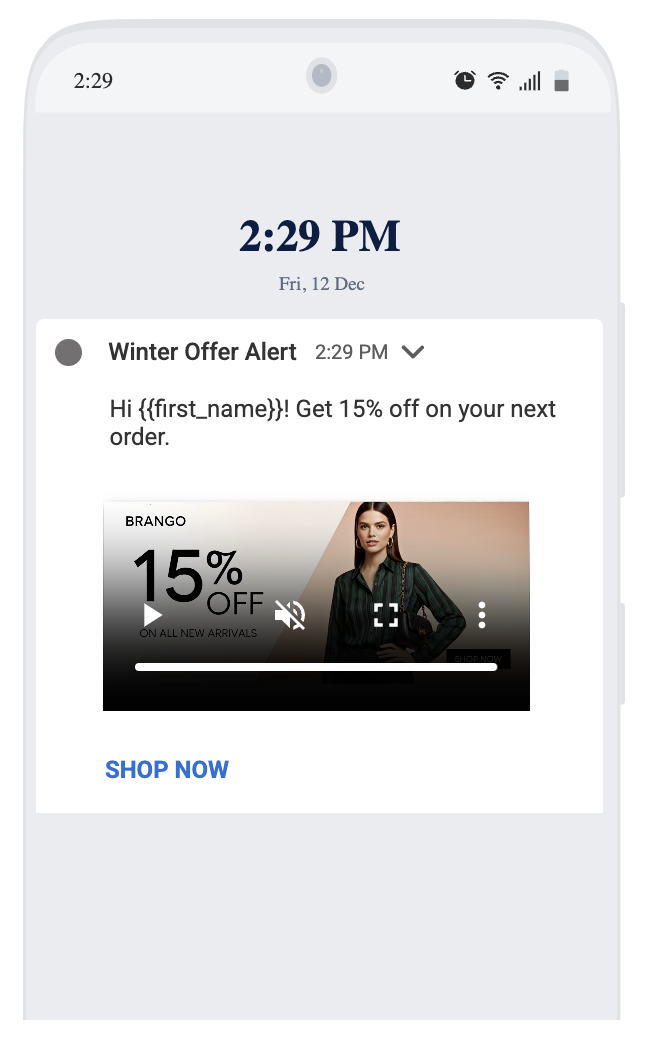
Preview the push notification on the right-hand side.
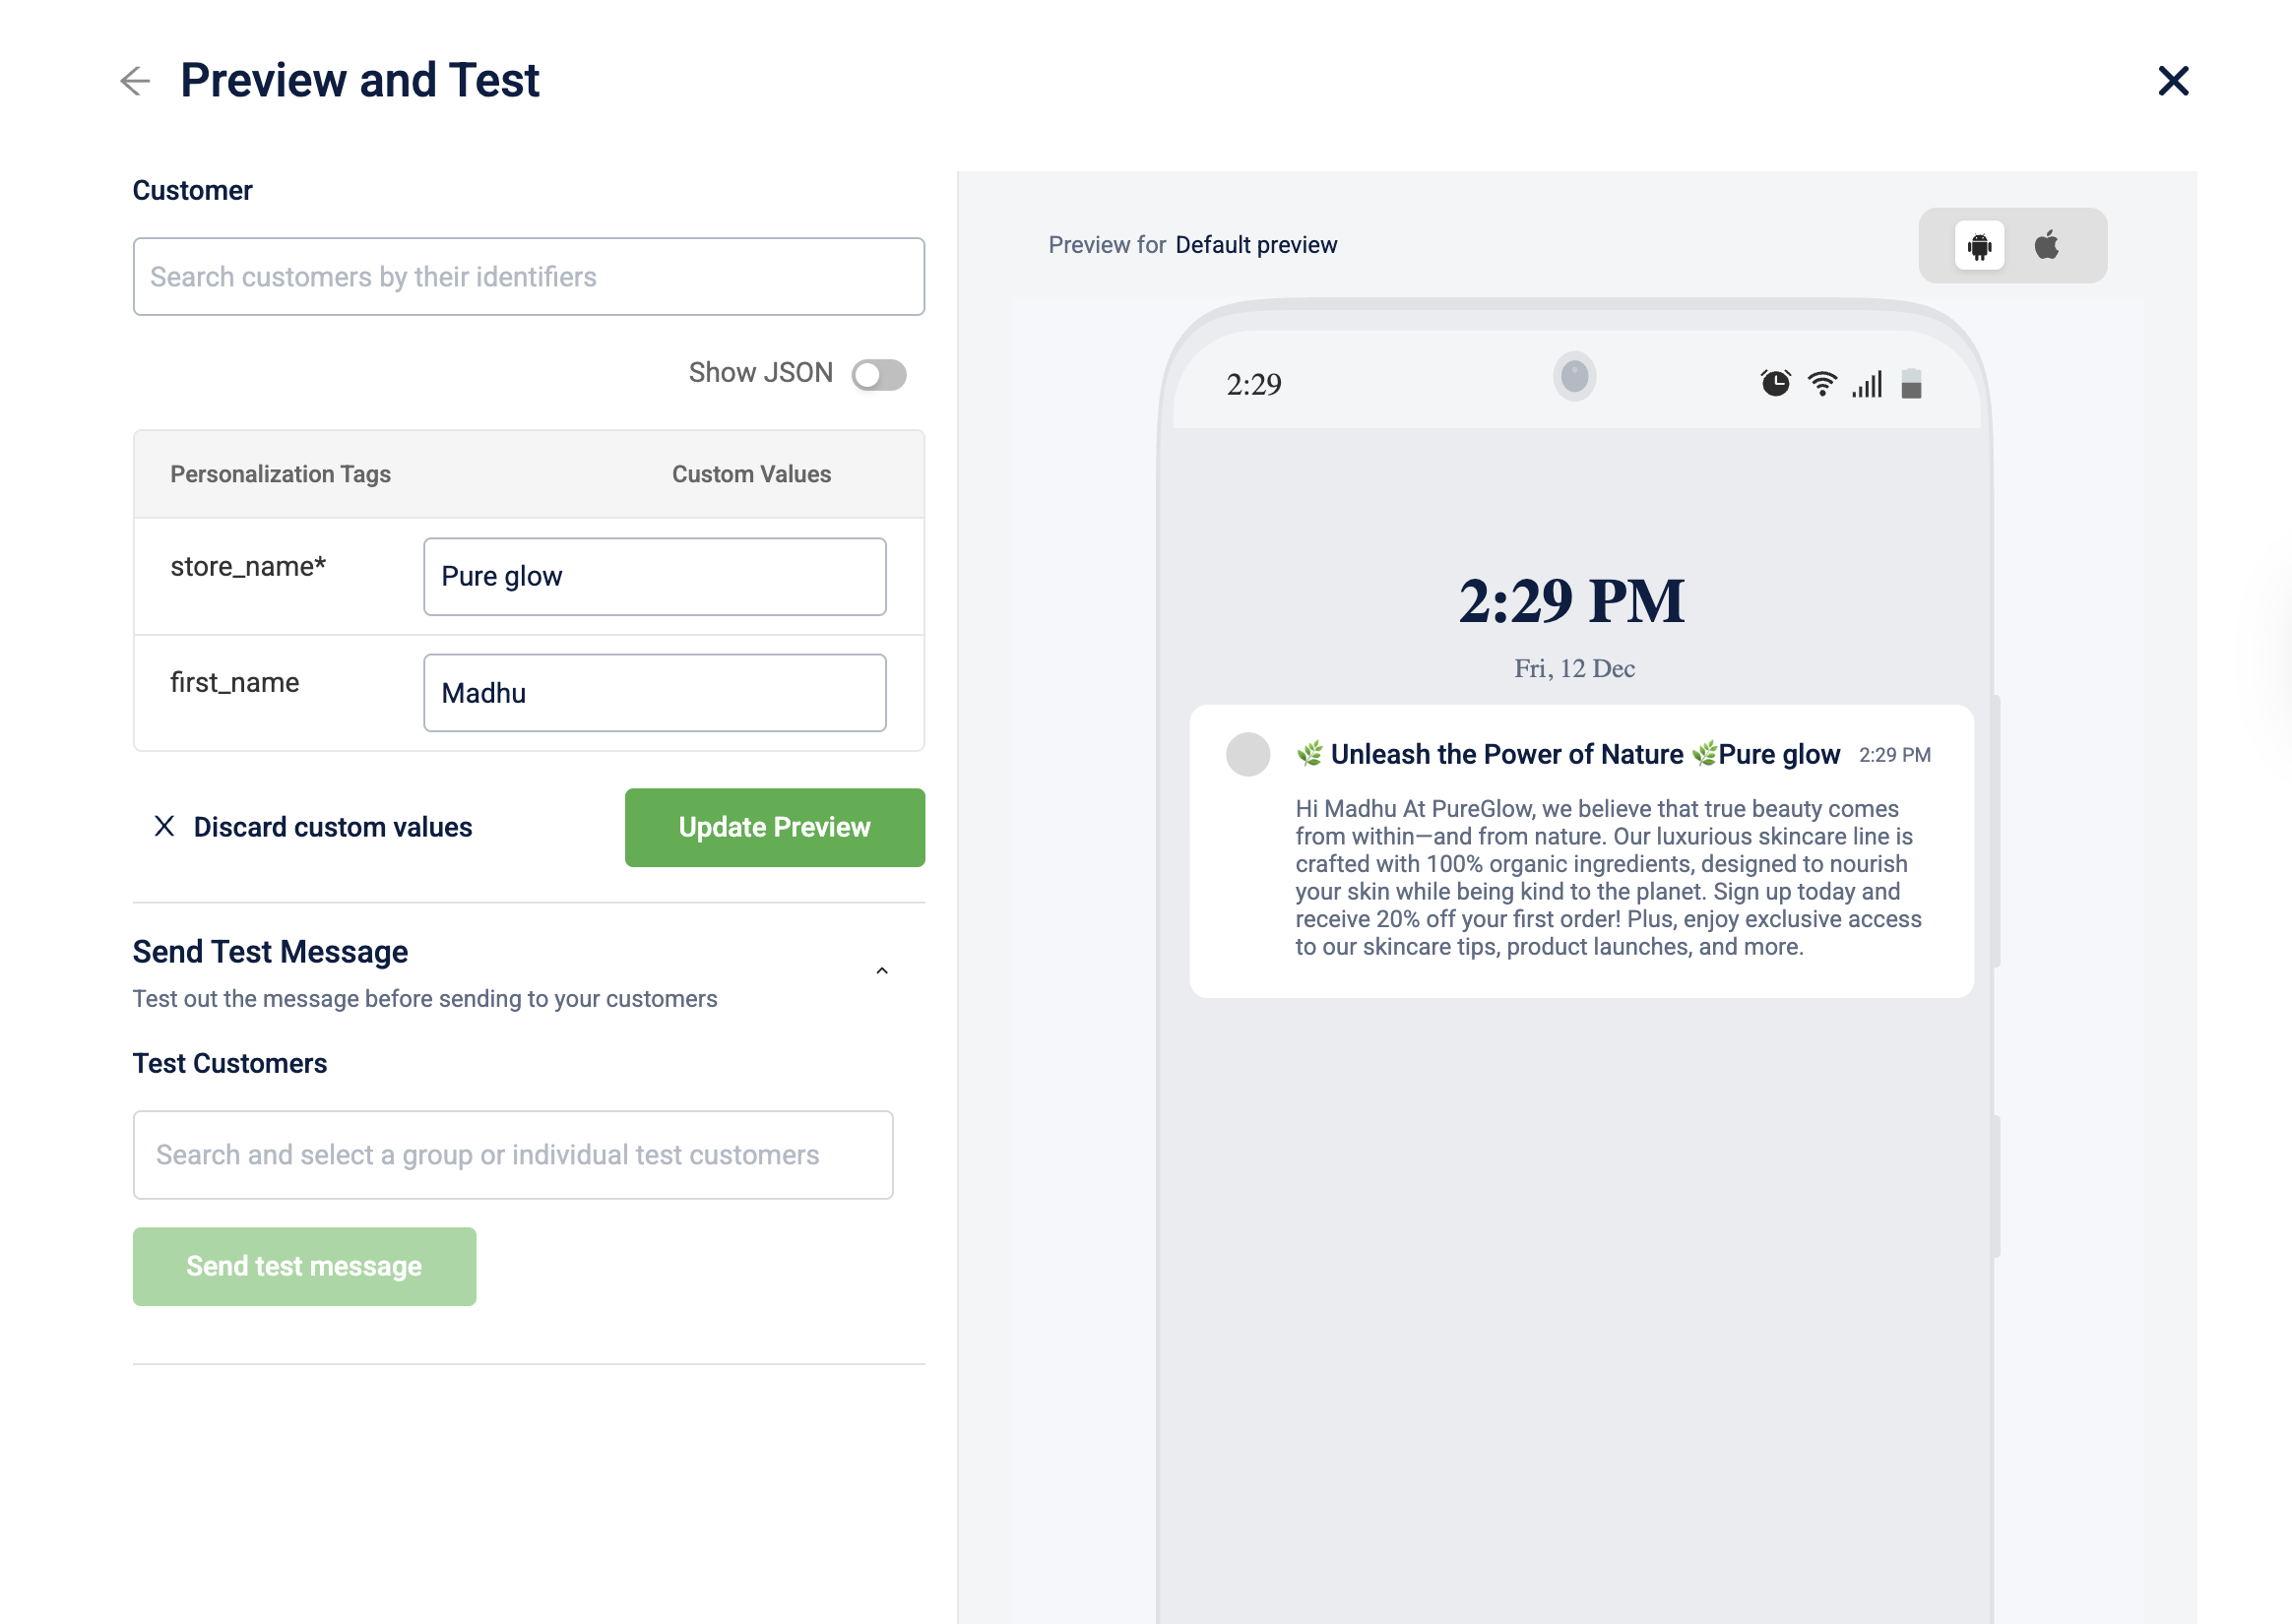
- (Optional) Select Preview and Test to preview the message content and test it with a set of test customers before sending it.
- Select Save Template to save the changes.
Tips
Select Same content for both platforms to synchronise changes between iOS and Android templates.
There is no character limit for push notifications. However, ensure the content is added appropriately and displays correctly. For more information on title guidelines for push notifications, refer to the material design documentation for Android and the Apple developer documentation for iOS.
Make sure that all tags contain data. Inconsistency in the tags will result in a validation error.

Supported formats and restrictions for push notification media content
The table below describes the supported formats, dimensions, duration and file size for various types of push notification media content
| Media Type | Formats Supported | Dimensions | Duration | File Size |
|---|---|---|---|---|
| Image | JPEG, JPG, PNG | Up to 2048 x 2048 pixels | - | - |
| Video | 3GP, MP4, MOV, M4V | - | Up to 600 seconds | Up to 200 MB |
| Carousel | JPEG, JPG, PNG | Up to 2048 x 2048 pixels | - | - |
Updated 5 months ago