
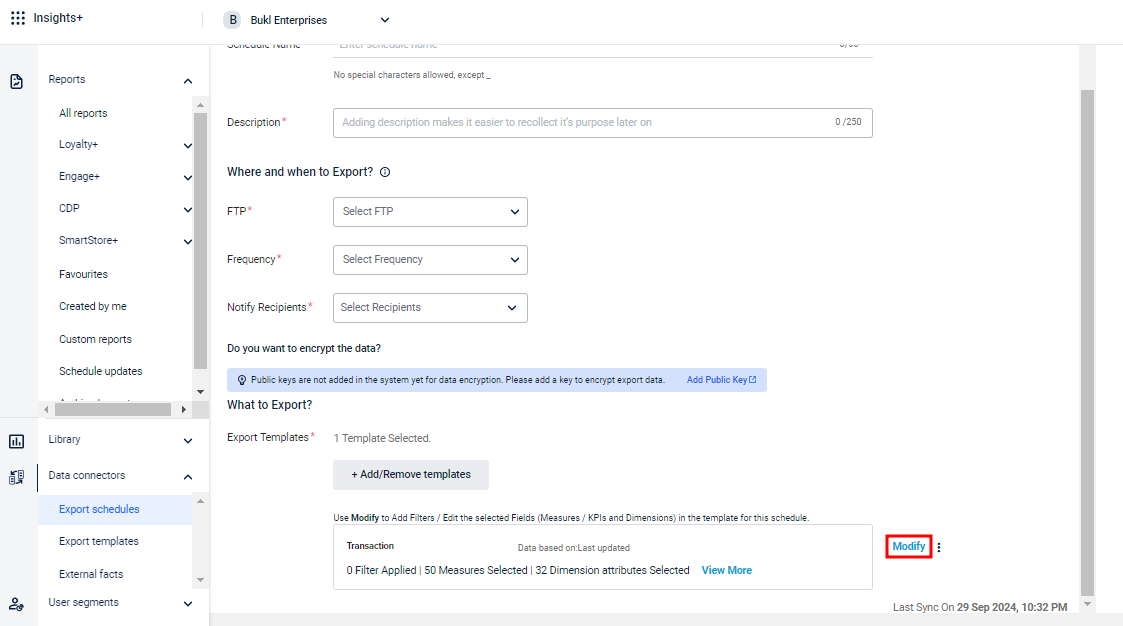
Modify Template & Creating Schedule (Step 3 of 3)
After selecting the required templates, modify them to add or remove default dimensions, update the FTP location for each template, and customize the columns for export. Ensure that the required custom fields are selected.
Note
- Customer-level custom fields cannot be exported through transaction templates. However, customer-level extended fields can be exported through transaction templates.
- Custom fields are not selected by default in a template.
To modify a template:
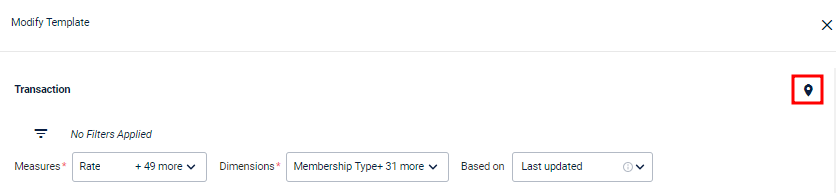
- After selecting a template, click Modify to make changes.
- To save the file to a specific location, click the location icon, enter the folder name or path, and then click Save. For more details, refer to the "Change the default location of the file in FTP location" section.
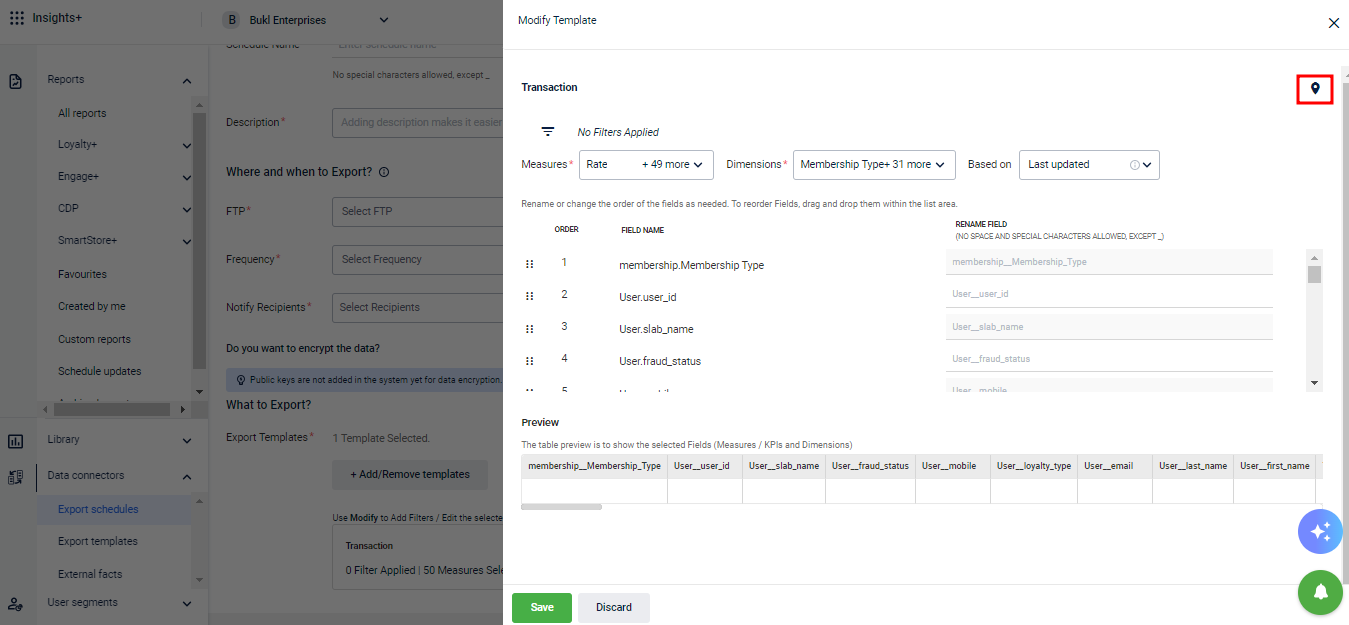
- In Based on, select whether to export data based on Last Updated Date or Event Date (not applicable for audience list export).
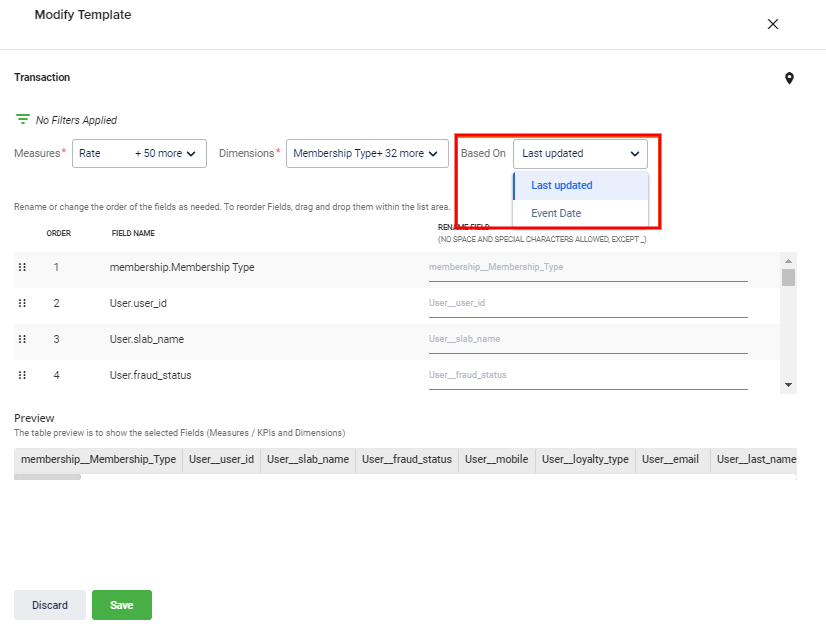
Last Updated: Retrieves records that are updated within a specified period.
Event Date: Retrieves records based on the actual event date, such as registration, transaction, or points redemption.
For example, if a customer registered on April 1, 2023, but the data was synced to the system on April 15, 2023, the event date is April 1, 2023, and the last updated date is April 15, 2023.
Important Note:It is important to understand the applicable date types based on the type of template:
- Fact Template: Both Event Date and Last Updated Date are applicable.
- Dimension Template: Neither Event Date nor Last Updated date are applicable.
- Custom Template: Event Date is applied by default. You can modify the template to select the preferred date type.
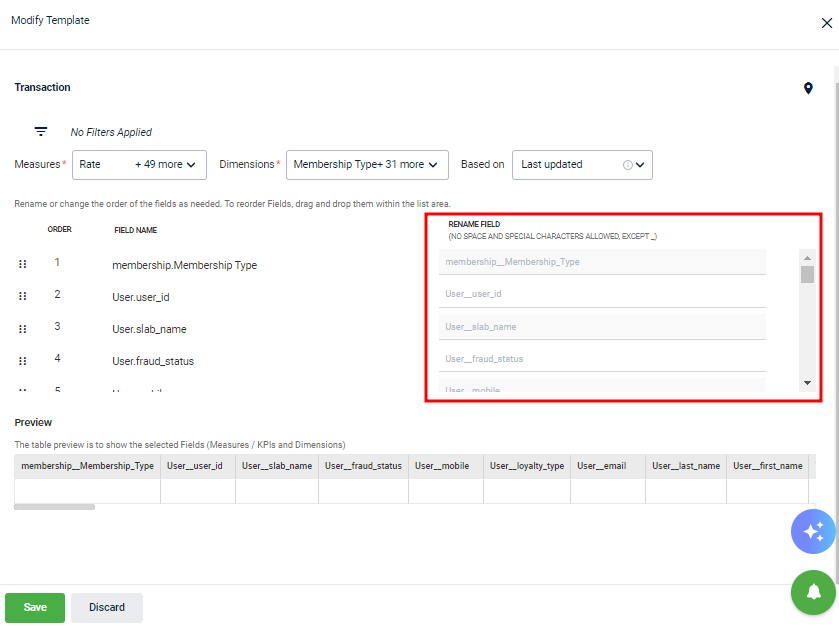
The Preview table, shows the fields to be downloaded for the template. Refer to the preceding note for more details.
- For each available KPI, the KPI name appears as it exists in the system. In Rename field, you can set a preferred name to be displayed in the exported file.
For example, for bill_conversion_date.day_of_month, you can use Daily Bill Conversion.
NoteNo spaces or special characters are allowed, except for underscores (_) in field names.
- Click Save to save the template. You can similarly configure all selected templates.
- Click Create to complete the export job creation.
NoteThe filename of an exported file has the following naming convention.
schedulenametemplateName_timestamp. For example, DailySlabChangeSlabChangeLog2019-10-29-12-30-021572356331802.
Change the default location of the file in FTP location
By default, the data for each template is saved in the location specified in the FTP configurations. However, you can export the file to a specific folder within the default path, as outlined in the following procedure.
- On the Modify Template page, click the location icon.
The default path is displayed, along with an option to specify the file location. You can add up to two folders.
- Enter the path and click Save.
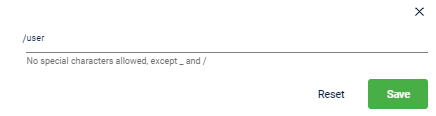
NoteWhen defining the path, no special characters are allowed except for underscore (_) and forward slash (/).
Updated 4 months ago