
Configure Gift Voucher
To create a gift voucher refer the following steps:
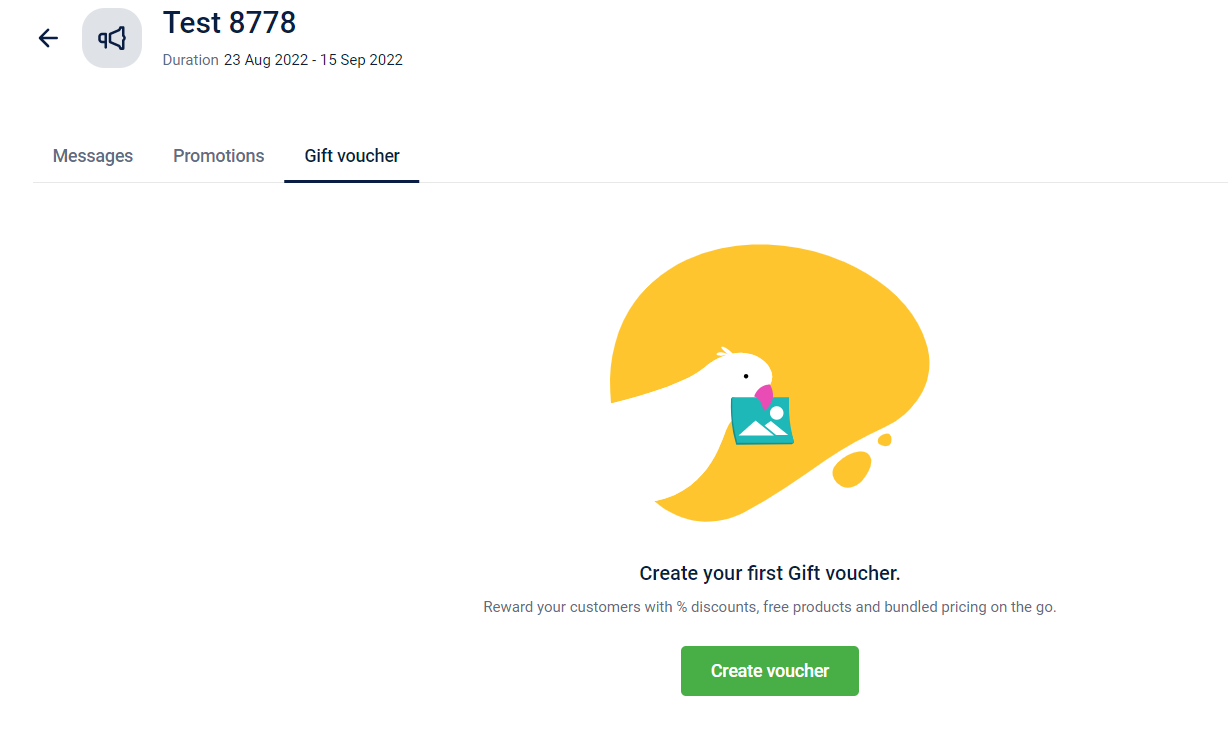
- Select the campaign to which you want to add a gift voucher and navigate to the Gift Voucher tab.
- Select create voucher.
- Enter Voucher Details
- Voucher Name: Provide a name for the voucher.
- Description: Enter a brief description of the voucher.
- Duration: Set the start and end dates for the voucher using the calendar boxes.
- Select Voucher Type. Choose the appropriate voucher type based on your campaign goal:
- Loyalty - This gift voucher is issued directly to customers who are part of a loyalty program, without requiring them to perform any specific activity.
- Loyalty Earning - This gift voucher is issued to a selected audience based on specific actions or milestones they complete, such as a transaction, registration, or reaching a defined target.
- Rewards Linked- This gift voucher is issued to customers when an external trigger occurs, such as purchasing a reward or redeeming points through a loyalty program.
- Code Linked - This gift voucher is issued as a code that can be used by any customer, without restricting it to a specific audience or eligibility criteria.
- Click Save to apply all the settings. The voucher will appear on the voucher listing page.
Configuring loyalty gift vouchers
After selecting the voucher type, there are configurations that allows you to have a better control over the loyalty gift vouchers.
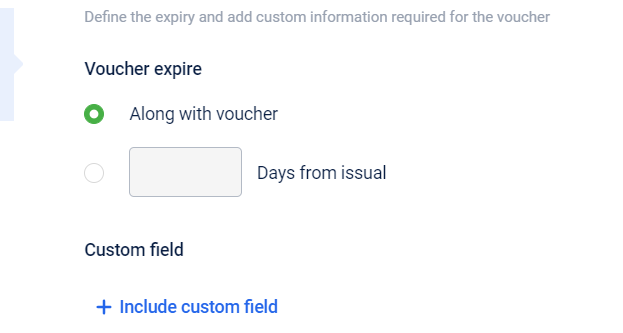
Step 1: Voucher expiry & additional information
Define the expiry and add custom information required for the voucher
- The first option allows you to set an expiry duration for the voucher. You can either select Along with voucher or set a number of days from issual of the voucher.
- You can also add custom fields that are required for the voucher.
Step 2: Cart conditions and benefits
Define cart, store conditions and the maximum benefit on the cart. You can define the cart evaluation condition for customers to qualify for the voucher.
- Enter the voucher value, and add condition for the voucher to be issued, if required.
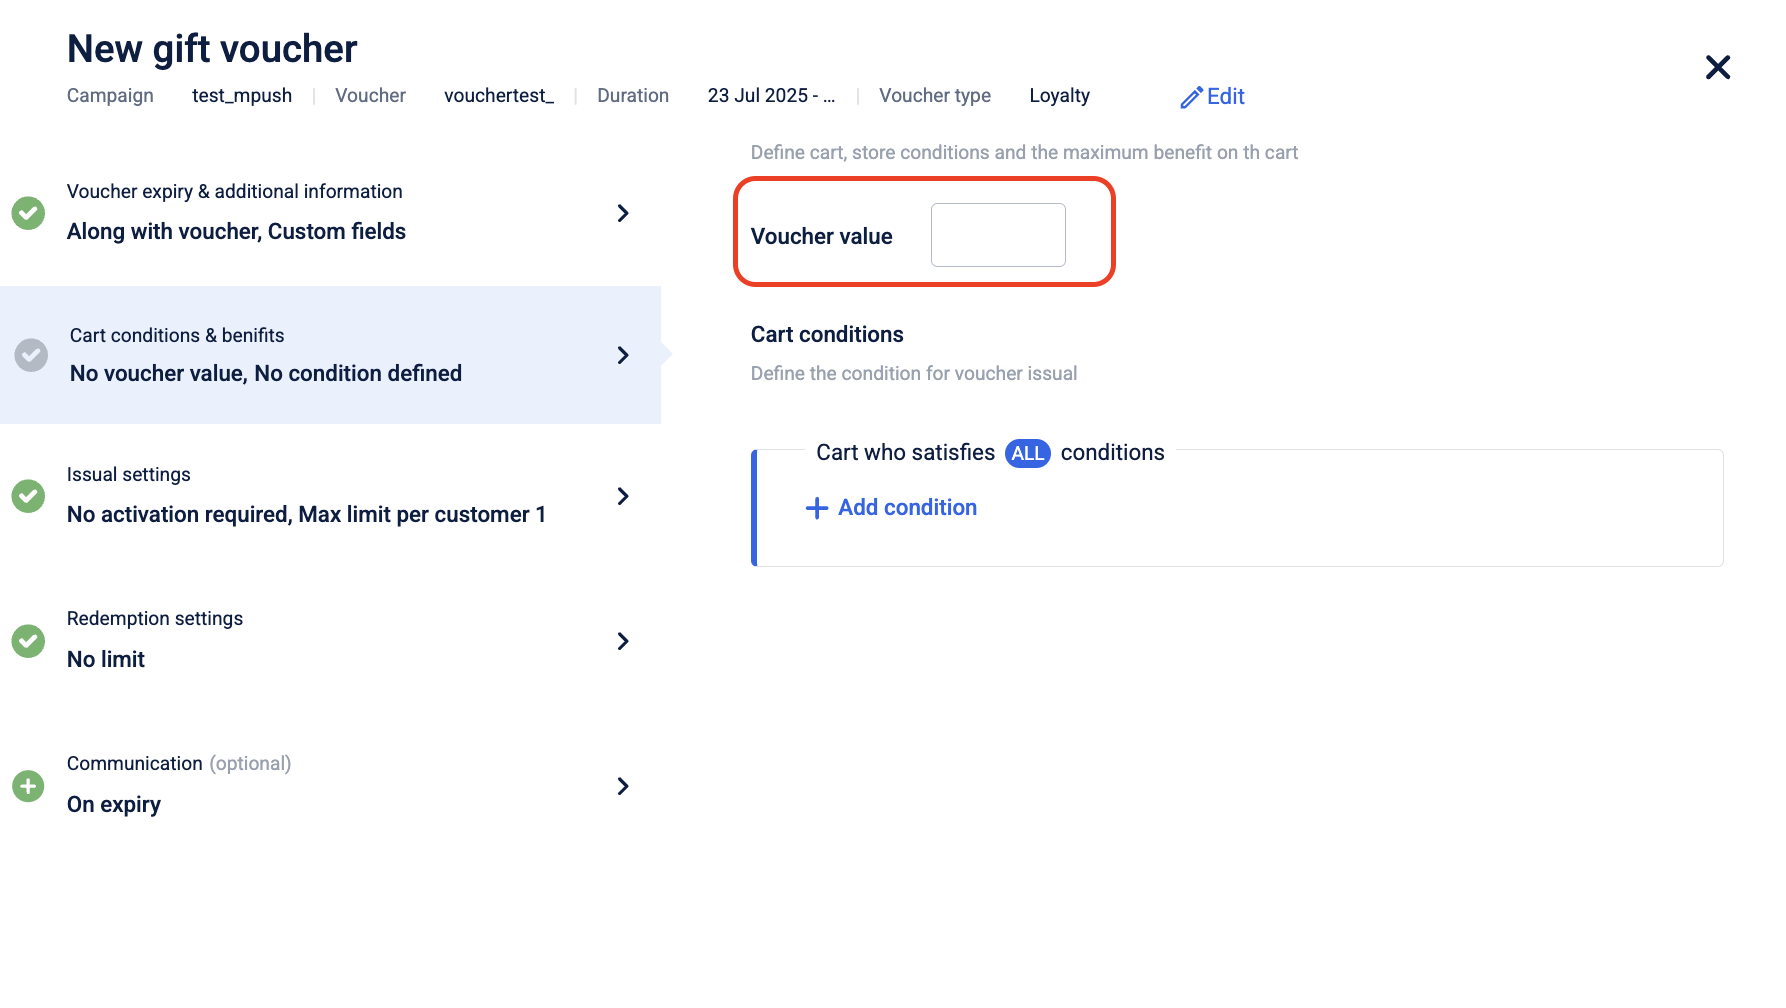
- Click on +add condition.
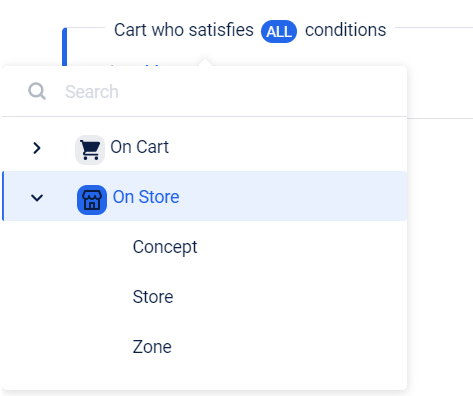
- Select whether you want the conditions to be applied On Cart or On Store.
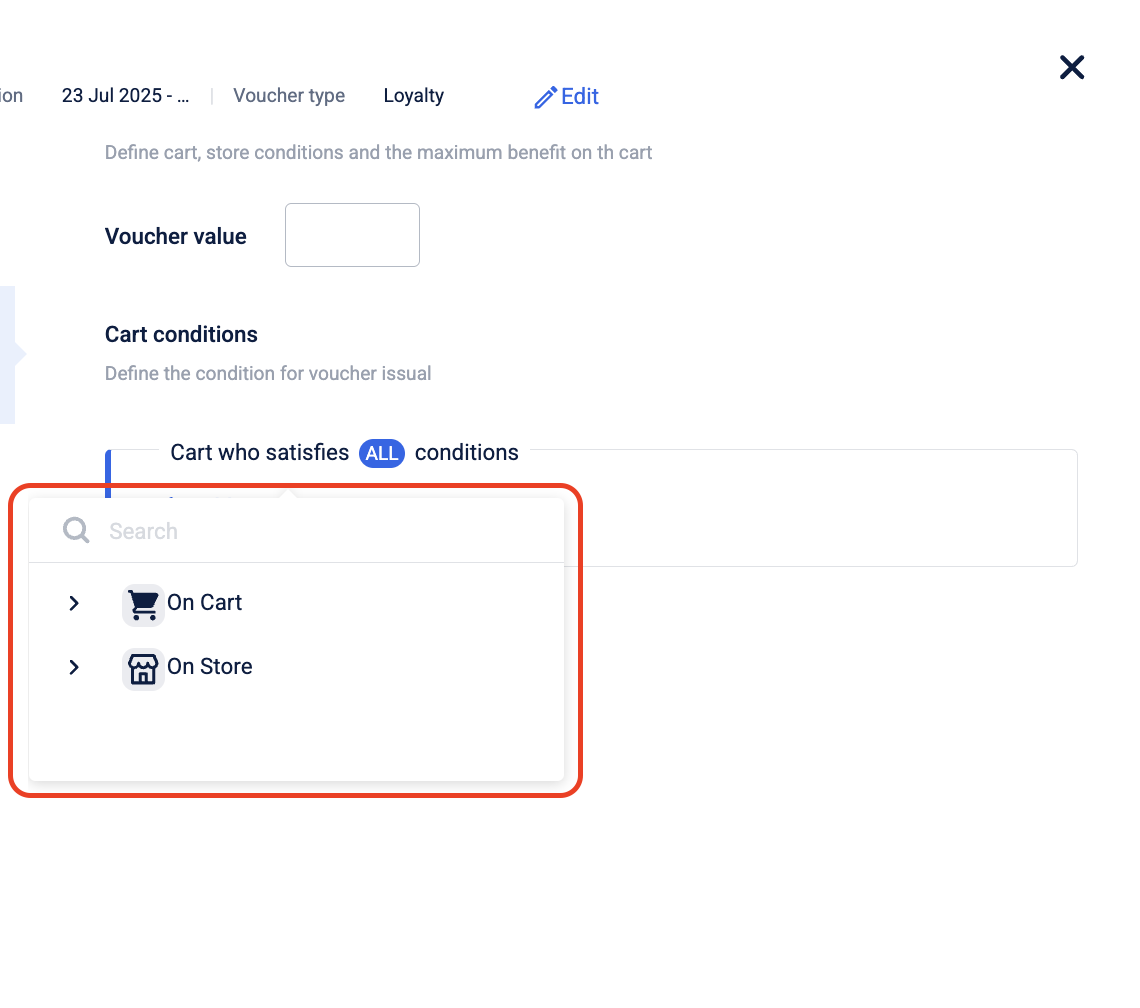
-
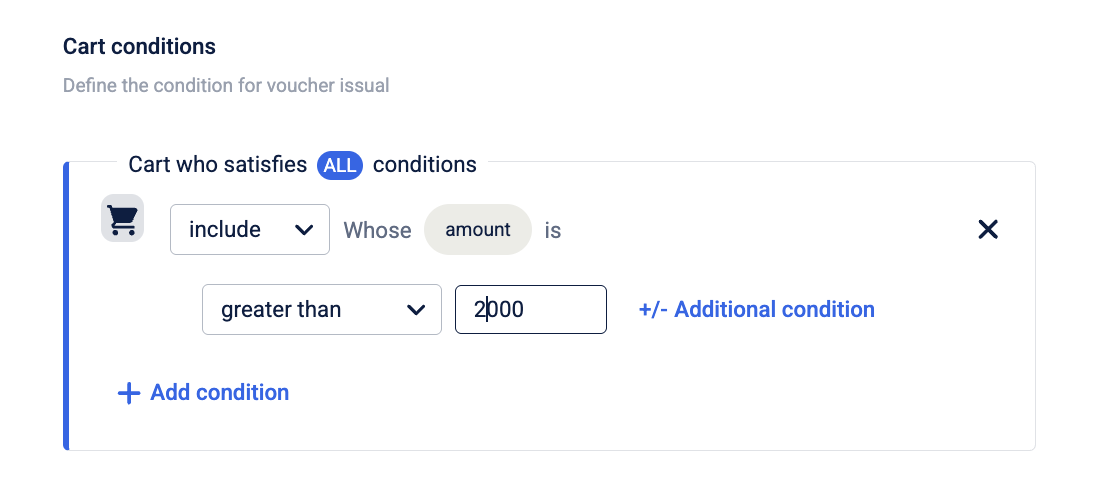
If you select Cart, two condition types are available:
- Amount: Apply the voucher when the total cart amount meets a specified value.
Example: Apply the voucher only if the cart value is ₹2000 or more.
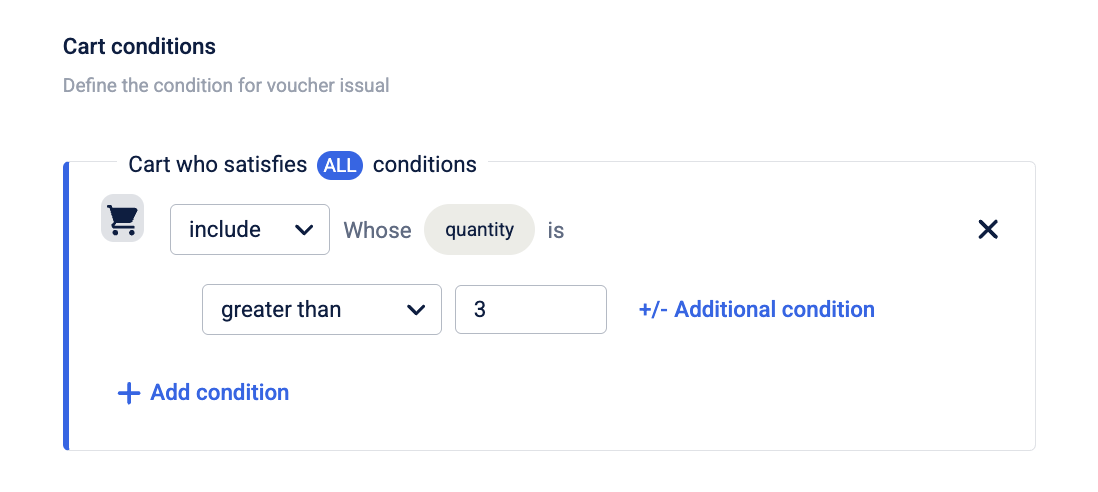
- Count of Items in the Cart: Apply the voucher based on the number of items in the cart.
Example: Apply the voucher only if there are at least 3 items in the cart.
- Amount: Apply the voucher when the total cart amount meets a specified value.
-
You can also add additional conditions by selecting attributes or uploading SKU files to further refine eligibility. You can choose to add conditions based on:
- Attributes: Filter line items in the cart using one or more of the following:
- Brand
- Category
- Product
For each attribute, specify whether the condition applies to items in (included) or not in (excluded) from the selected values. You can add multiple attributes in combination.

- Upload SKU File: Upload a list of SKUs to define specific products that should be included or excluded from the condition.

- You can also apply conditions based on the store by selecting On Store as the condition type. The following store-level filters are available:
- Concept
- Zone
- Store
- Click +Add Condition to define both cart and store conditions, if needed.

Step 3: Issual settings
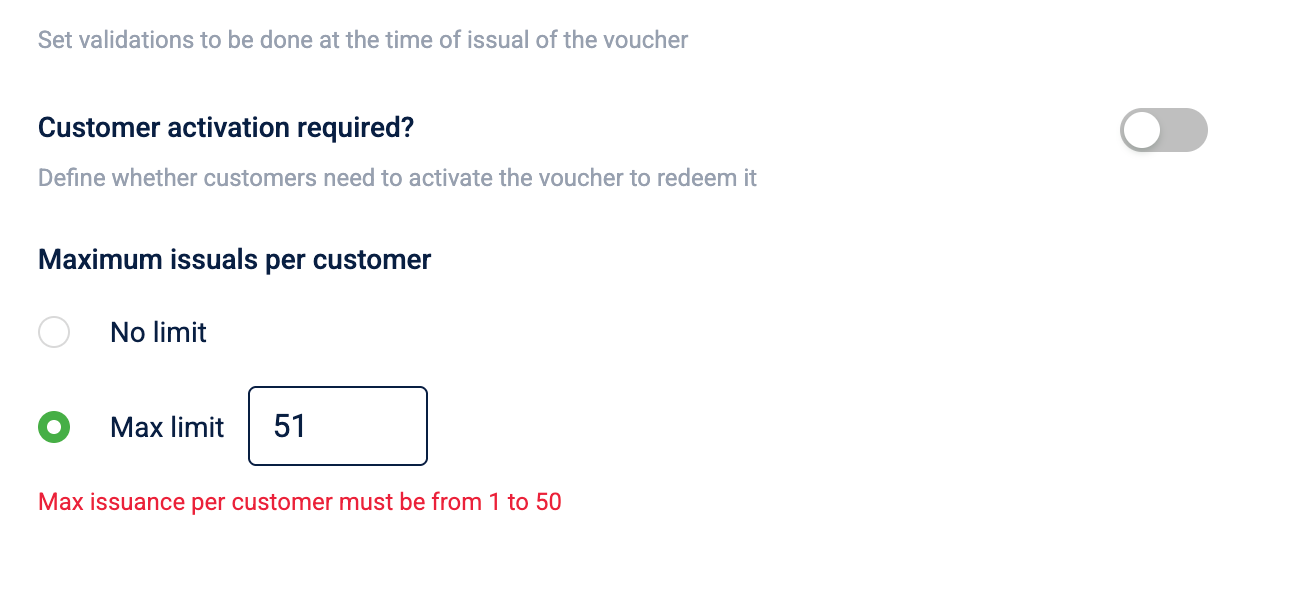
Set validations to be done at the time of issual of the voucher.
- Enable Customer activation required to allow customers to manually activate the voucher to auto-apply for a transaction. For example, you can allow customers to activate 5% off on groceries. Whoever activates the offer will get flat 5% off on grocery items in their next transaction.
- You can set the maximum number of times a voucher can be issued to a single customer, up to a limit of 50. For example, if the limit is 10, each customer can be issued the same voucher 10 times.
Step 4: Redemption settings
Configure redemption limits for the customers.
- Configure redemption settings for vouchers by the customers.The number of times a voucher can be redeemed by a customer is by default set as 1 and cannot be changed. Set the number of earn instances that can be redeemed in a single cart.

Step 5: Communication
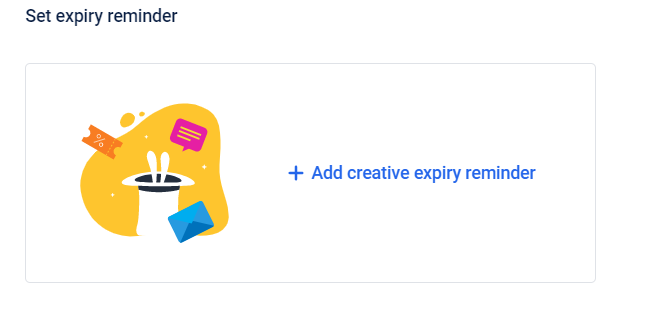
Set expiry reminder to notify customers before their vouchers expire.
- Click + Add Creative Expiry Reminder, then select the creative you want to use for the reminder.
- The following engagement channels are available: SMS, E-Mail, Push Notifications.
Click Save and save all the settings.
The voucher is created. You can view it You can also hover over the three dots after the voucher is created and change the settings as required.
Configuring loyalty earning gift vouchers
After selecting the voucher type, there are configurations that allows you to have a better control over the loyalty earning gift vouchers.
Step 1: Voucher expiry & additional information
Define the expiry and add custom information required for the voucher. For more information refer to voucher expiry & additional information.
Step 2: Cart Conditions and benefits
Define cart, store conditions and the maximum benefit on the cart. You can define the cart evaluation condition for customers to qualify for the voucher and the actual benefit the customers could get with the voucher. For more information refer to Cart Conditions and benefits.
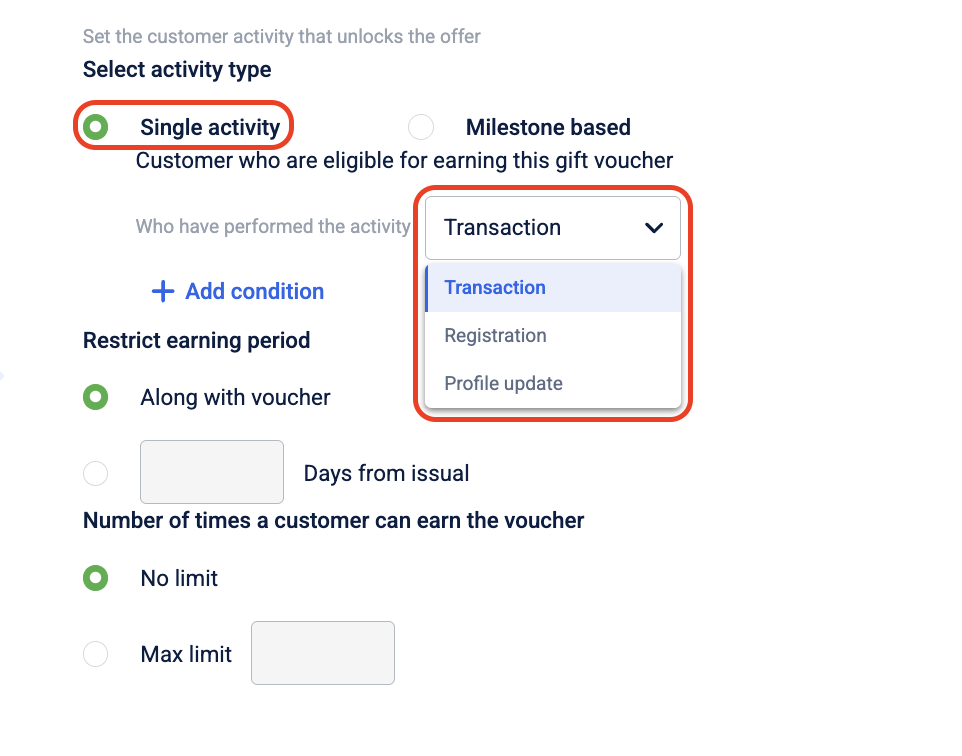
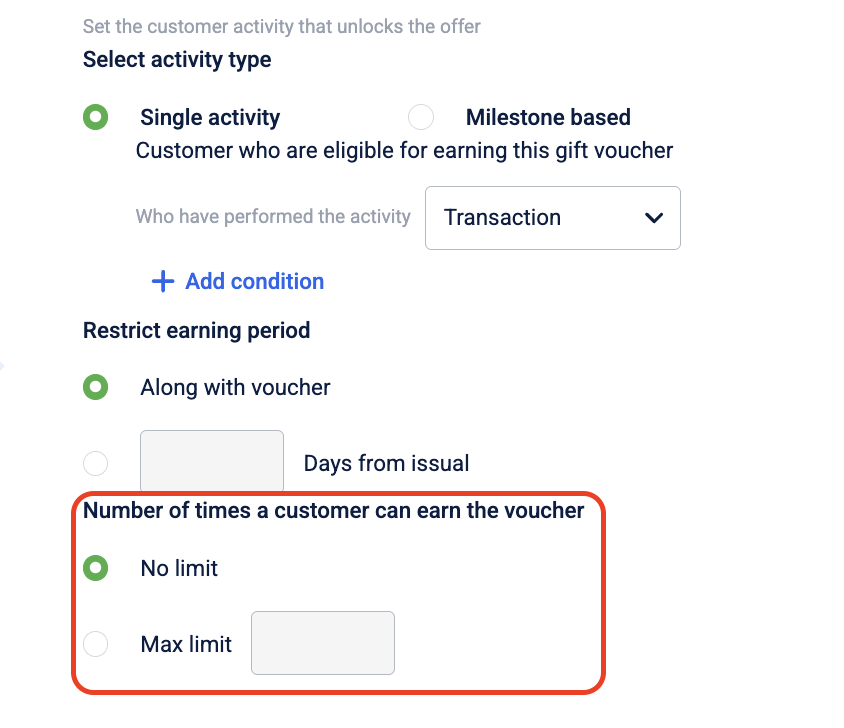
Step 3: Earning criteria
- Select type of activity on the basis of which you want the customer to earn. It can be of 2 types -
Single activity
-
Customer who are eligible for earning this gift voucher, who have performed the activity -
- (a)Transaction
- (b)Registration
- (c)Profile update
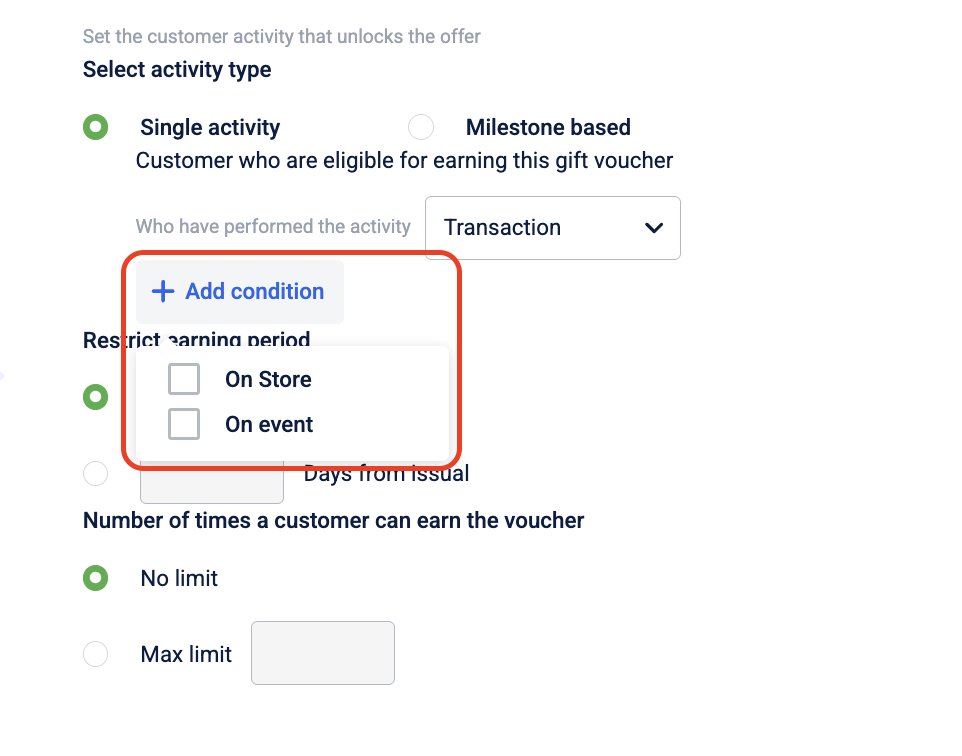
-
You can add conditions on
- On Stores
- On event
Milestone based
- Select the milestone group to whom you wanted to give gift voucher.
- Under that select the target which you want to achieve.
- Restrict earning period: Select when you want the restrict this earning period either along with the voucher or x days from issual.
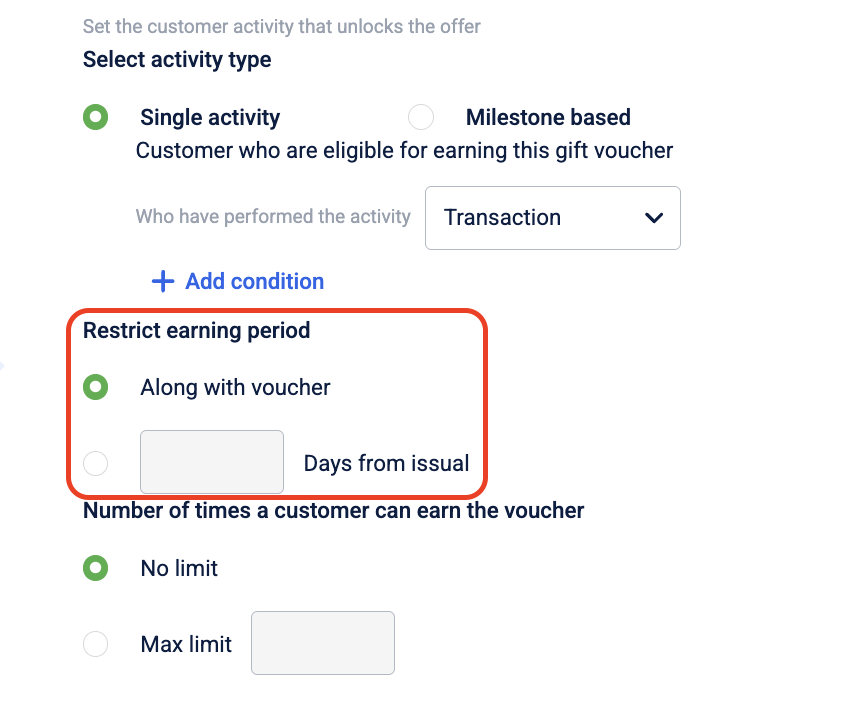
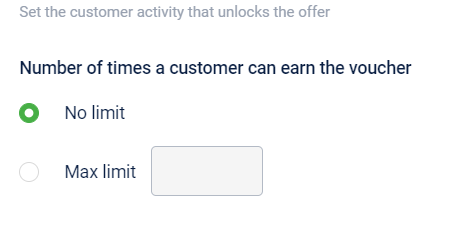
- Number of times a customer can earn the voucher: You can specify the maximum number of times a customer can earn this voucher.
Step 4: Issual settings
Set validations to be done at the time of issual of the voucher. For more information refer to Issual settings.
Step 5: Redemption settings
Configure redemption limits for the customers. For more information refer to Redemption settings.
Step 6: Communication
Set expiry reminder to notify customers before their vouchers expire. For more information refer to **Communication **.
Click Save to apply all settings. The voucher will be created.
Configuring reward linked gift vouchers
After selecting the voucher type, there are configurations that allows you to have a better control over the reward linked gift vouchers.
Step 1: Voucher expiry & additional information
Define the expiry and add custom information required for the voucher. For more information refer to voucher expiry & additional information.
Step 2: Cart Conditions and benefits
Define cart, store conditions and the maximum benefit on the cart. You can define the cart evaluation condition for customers to qualify for the voucher and the actual benefit the customers could get with the voucher. For more information refer to Cart Conditions and benefits.
Step 3: Earning criteria
Set the no. of times for which the customer can earn the voucher
Step 4: Communication
You can communicate with the customer by adding creative on earning.
- Click + Add Creative on earning, then select the creative
- The following engagement channels are available: SMS, E-Mail, Push Notifications.
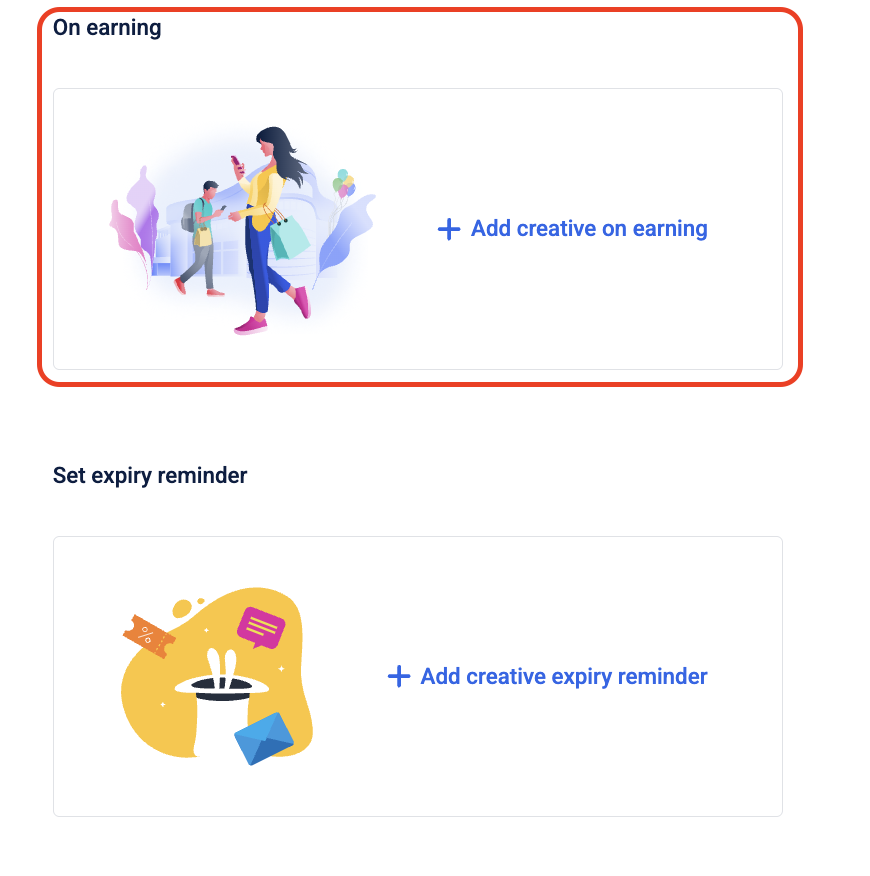
Set expiry reminder to notify customers before their vouchers expire.
- Click + Add Creative Expiry Reminder, then select the creative you want to use for the reminder.
- The following engagement channels are available: SMS, E-Mail, Push Notifications.

Click Save to apply all settings. The voucher will be created.
Configuring code linked gift vouchers
After selecting the voucher type, there are configurations that allows you to have a better control over the code linked gift vouchers.
Step 1: Voucher expiry & additional information
Define the expiry and add custom information required for the voucher. For more information refer to voucher expiry & additional information.
Step 2: Cart Conditions and benefits
Define cart, store conditions and the maximum benefit on the cart. You can define the cart evaluation condition for customers to qualify for the voucher and the actual benefit the customers could get with the voucher. For more information refer to Cart Conditions and benefits.
Step 3: Redemption settings
Configure redemption limits for the customers. For more information refer to Redemption settings.
Updated 5 months ago