
Custom Fields
Introduction
Custom fields are user-defined attributes used to capture information not covered by standard or extended fields. They offer flexibility to store specialized data across entities such as customers, transactions, transaction line items, and coupons.
While custom fields are useful for capturing non-standard information, they can pose challenges in maintaining data consistency, generating accurate reports, and conducting reliable analysis.
Scope of custom fields
You can create custom fields for the following scopes:
- Loyalty registration
- Loyalty transaction
- Customer feedback
- Zone custom fields
- Store custom fields
- Points redemption
- Voucher redemption (coupon redemption)
- Customer advanced feedback
- Customer preferences
- Customer Card
Key limitations
-
Uncontrolled field values
Custom fields often lack strict data entry rules, resulting in inconsistent or unclear data. For example, a gender field might have entries such as "M," "F," "Male," "Female," or "MF." These differences make it more challenging to filter, search, or report on the data, and often require manual effort to clean and standardize the values. -
Limited reporting and analytics support
Custom fields are less suitable for reporting and analytics than extended fields.- Custom fields cannot be used as dimensions in reports, which are essential for grouping and analyzing data.
- Custom fields support only simple filtering, such as exact matches (regular expressions). They do not support advanced options, such as filtering by range or partial values. This limits their effectiveness in complex data searches.
-
Implications for CDP integration and data governance
In Loyalty, custom and extended fields are often used interchangeably, such as in rule definitions. However, Customer Data Platforms (CDPs) enforce stricter standards to ensure data consistency and quality.The uncontrolled nature of custom field values can hinder their direct use in CDP-driven use cases like personalization, segmentation, and automated workflows unless rigorous validation and standardization practices are applied.
Creating a new custom field
ImportantFor store-level custom fields, you must enter a label for the field to appear as editable on the store page. If you do not provide a label, the custom field will not be visible or editable in the UI. This requirement is due to how the frontend displays custom fields based on the presence of a label.
To create a new custom field, perform the following:
- On InTouch, navigate to Organization Settings > Master Data Management > Data Model > Custom Fields.
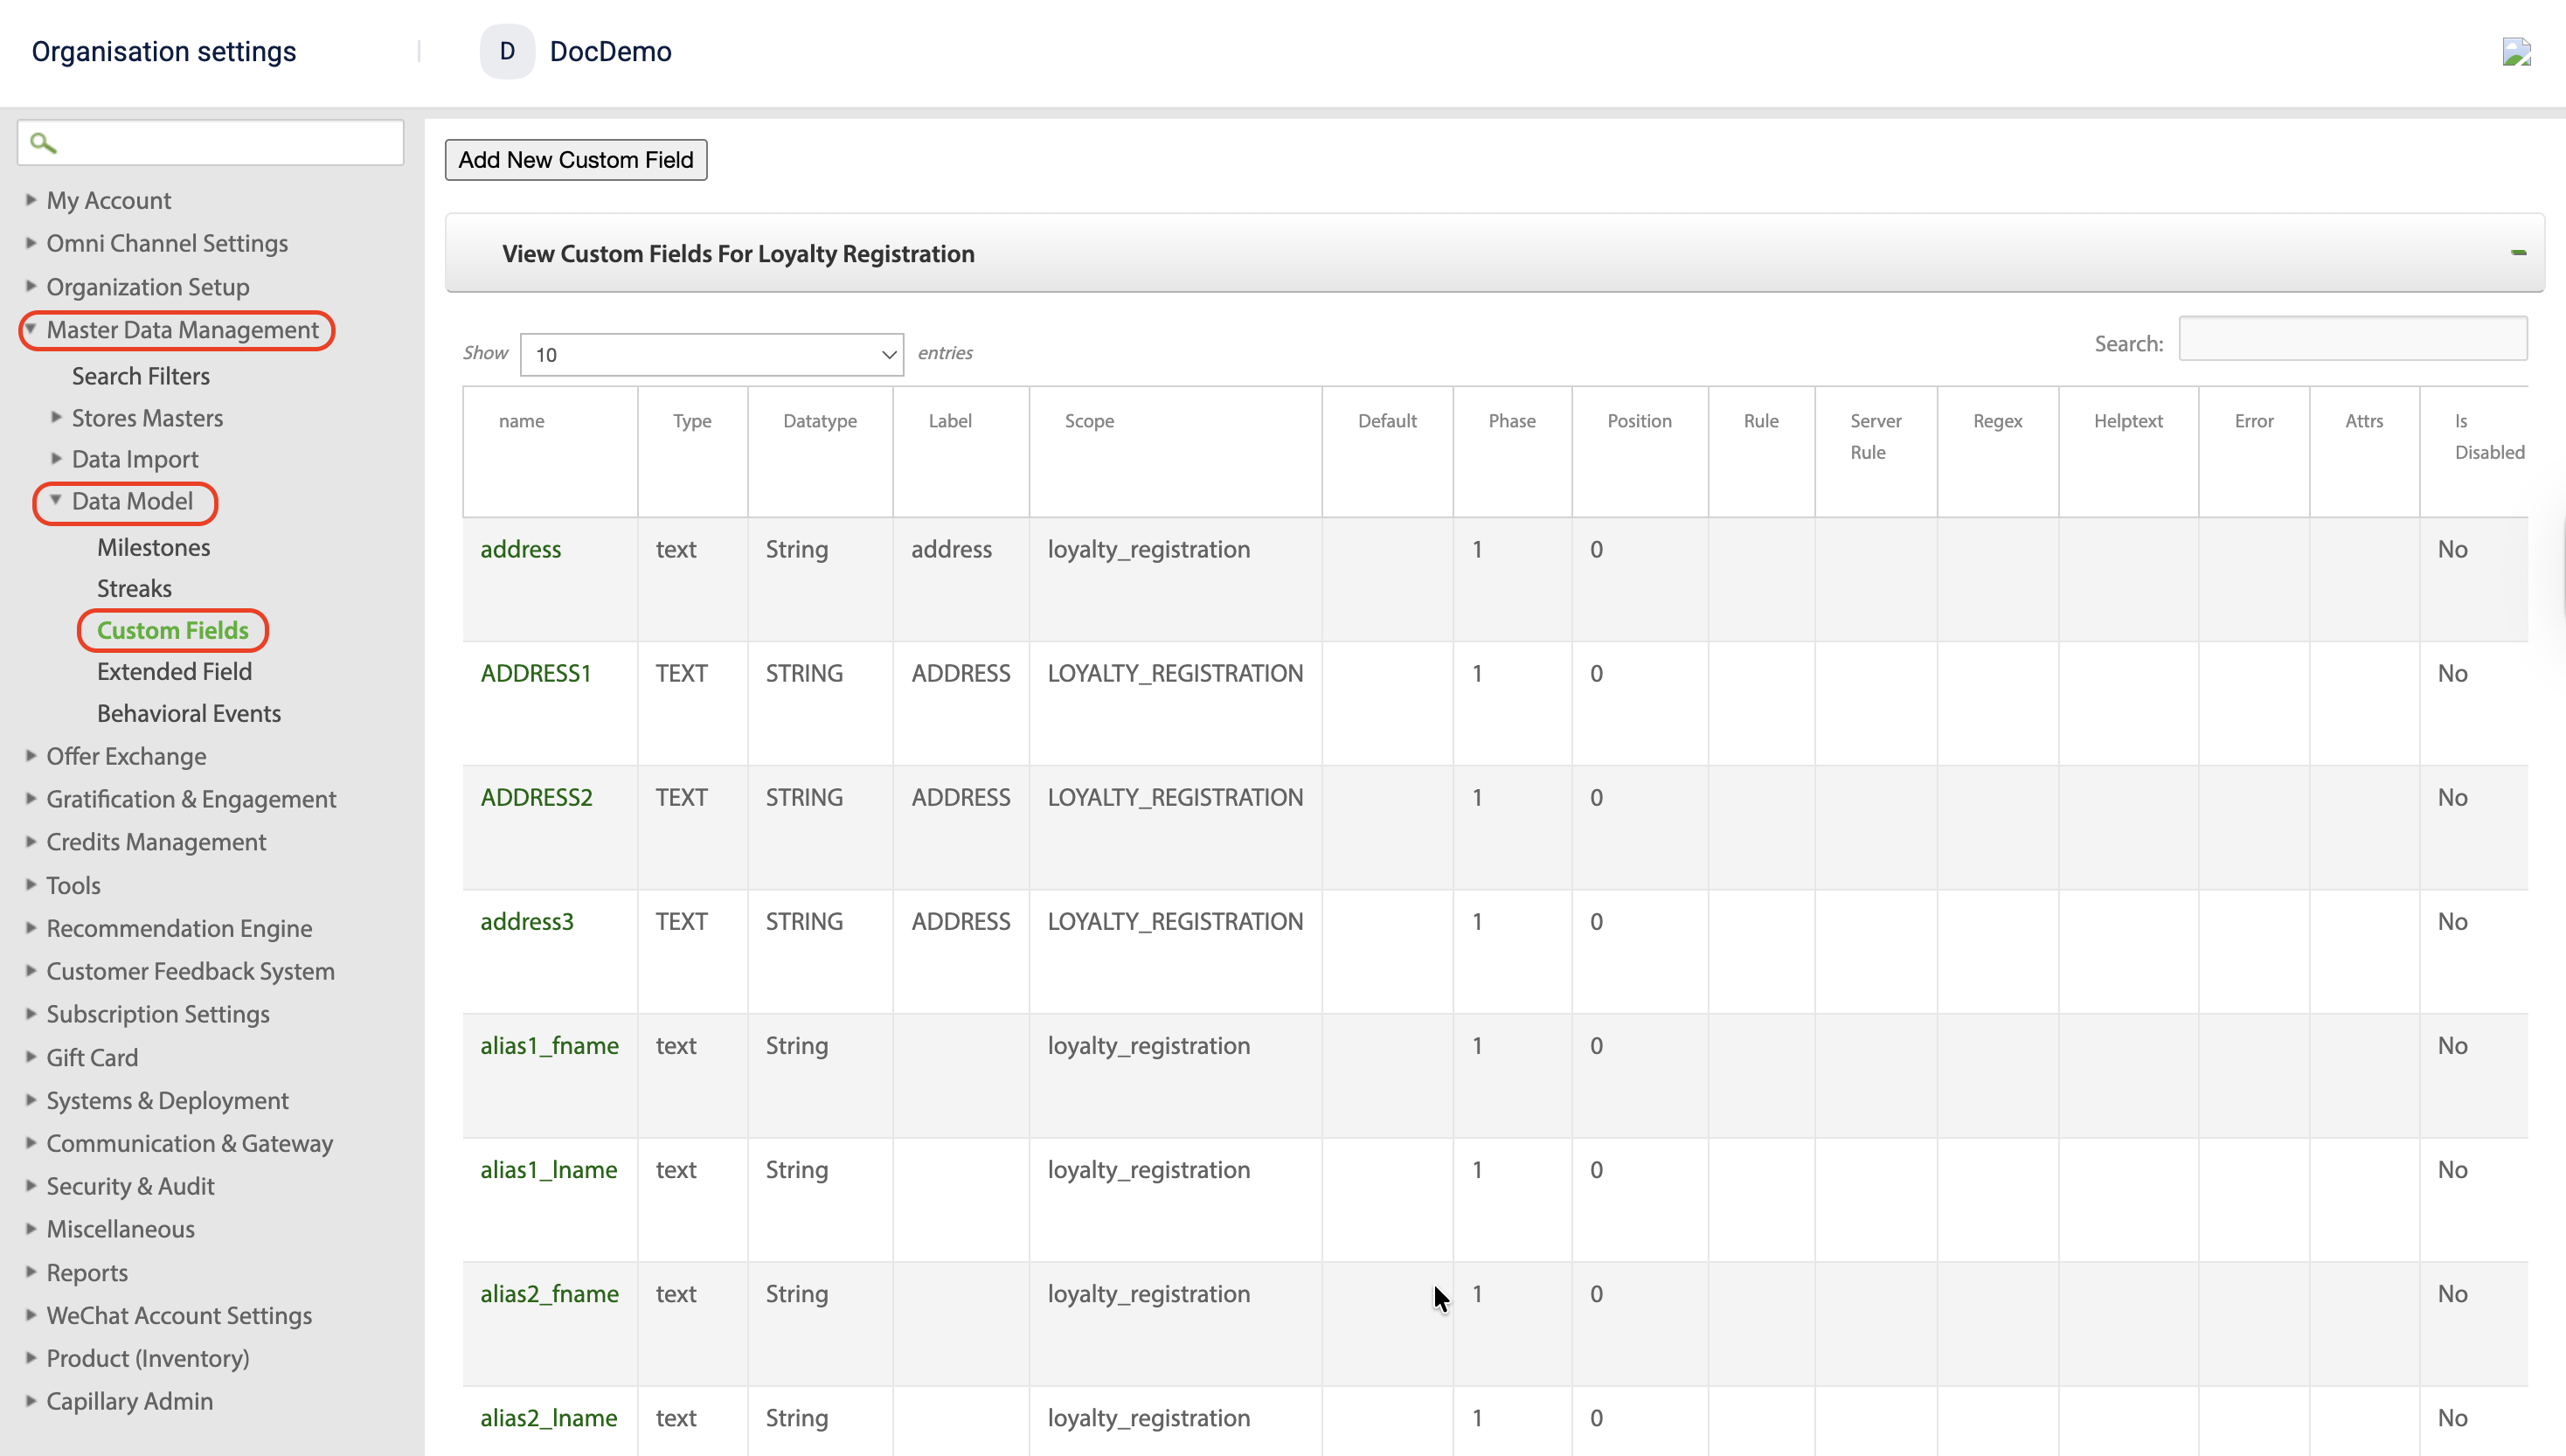
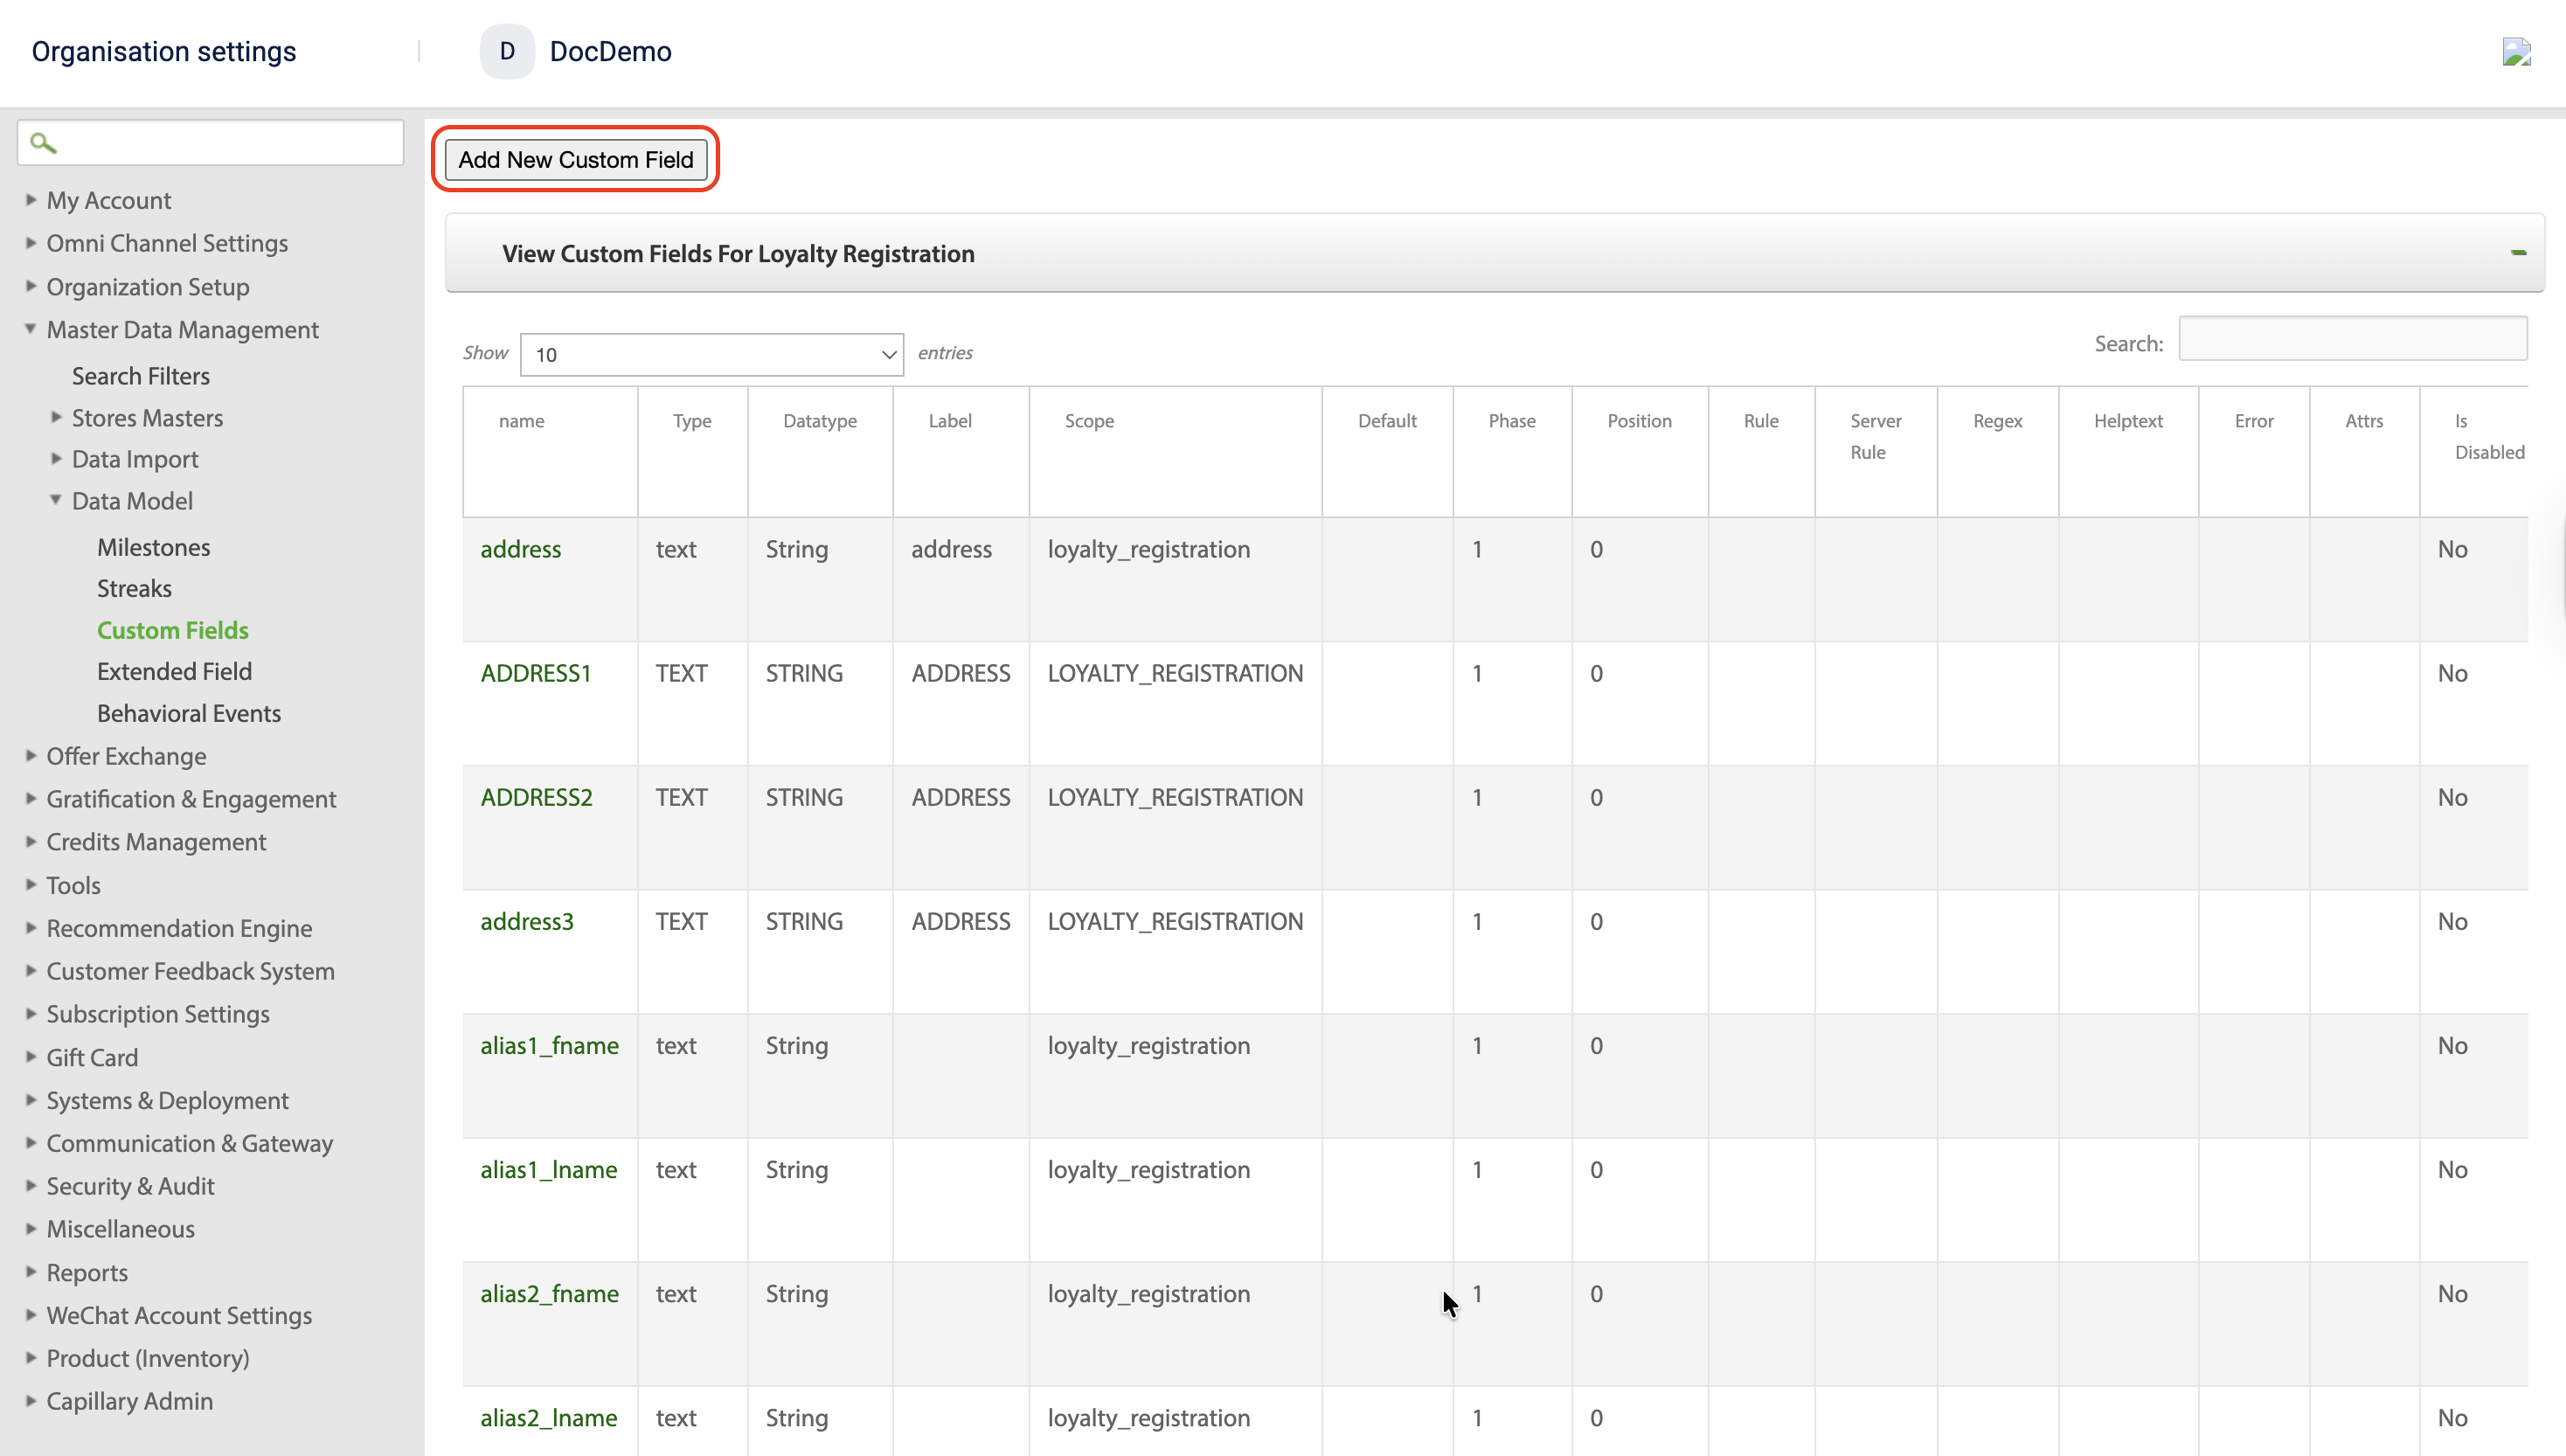
- Click Add New Custom Field.
- Configure the new custom field.
The table shows the fields with their descriptions.
| OPTION | DESCRIPTION |
|---|---|
| Field Name | Name of the field. Note: Field names must be unique within each organization, regardless of the scope. You cannot create multiple custom fields with the same name in different scopes within the same organization. Attempting to do so will fail silently, and the custom field will not be created. |
| Applicable Entity | Choose the entry of the custom field from the options available.
|
| Label | Enter the field name to appear on the UI. For store-level custom fields, the field is only shown as editable on the store page if a label is configured. If you do not enter a label, the custom field will not appear or be editable in the UI. |
| Enable Audit Trail | Select the checkbox if you want to enable audit logging of the custom field. You can add up to 5 custom fields for audit logging. |
| Is this pii data ? | Select the checkbox if you want to classify the custom field as PII data. |
| Is this psi data | Select the checkbox to classify the extended field as sensitive data. Refer to the PSI data documentation for more information on classifying PSI data . |
Notes
- Custom field names have a 20-character limit, and custom field values can contain up to 250 values. Speical characters (! @ # $ % / ? . >) are not supported for custom field names.
- The data type for all custom fields is set to String by default. You cannot change the data type.
- Click Submit.
The custom field is created.
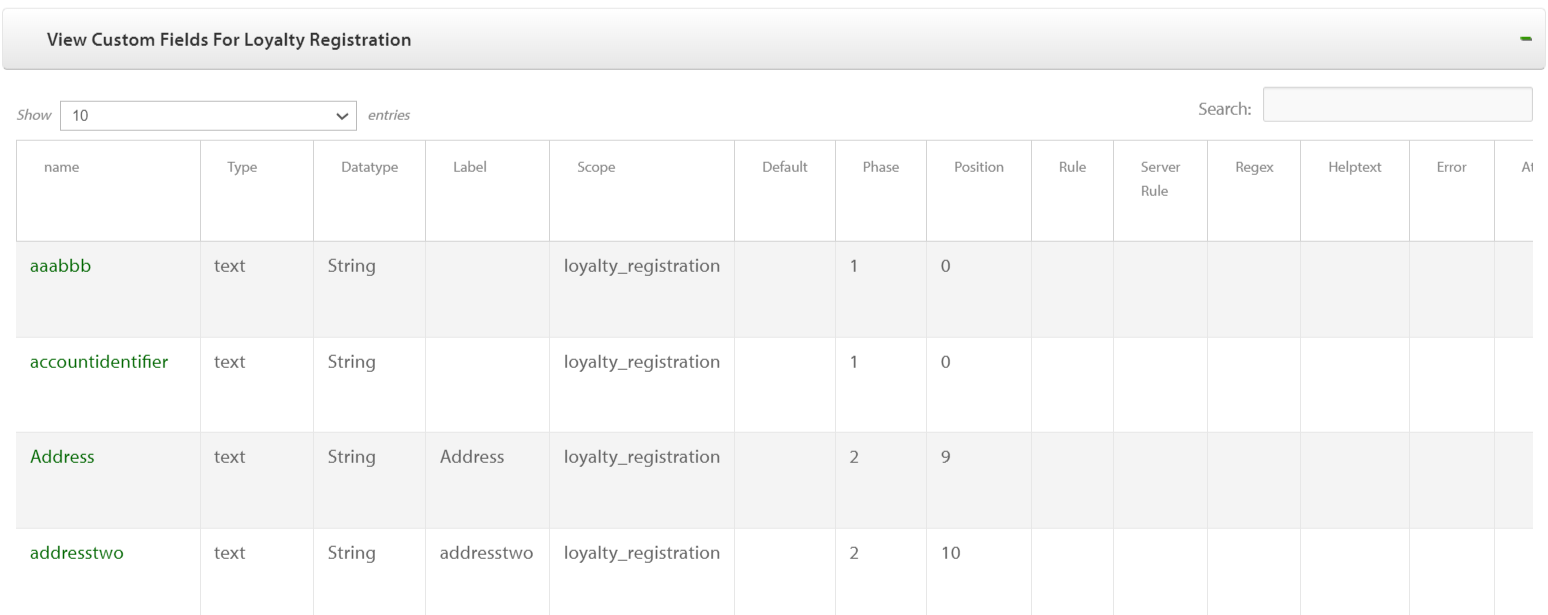
Viewing a custom field
-
To view the new custom field, navigate to Organization Settings > Master Data Management > Data Model > Custom Fields.
-
Click the scope of the custom field .
All custom fields within the scope are visible.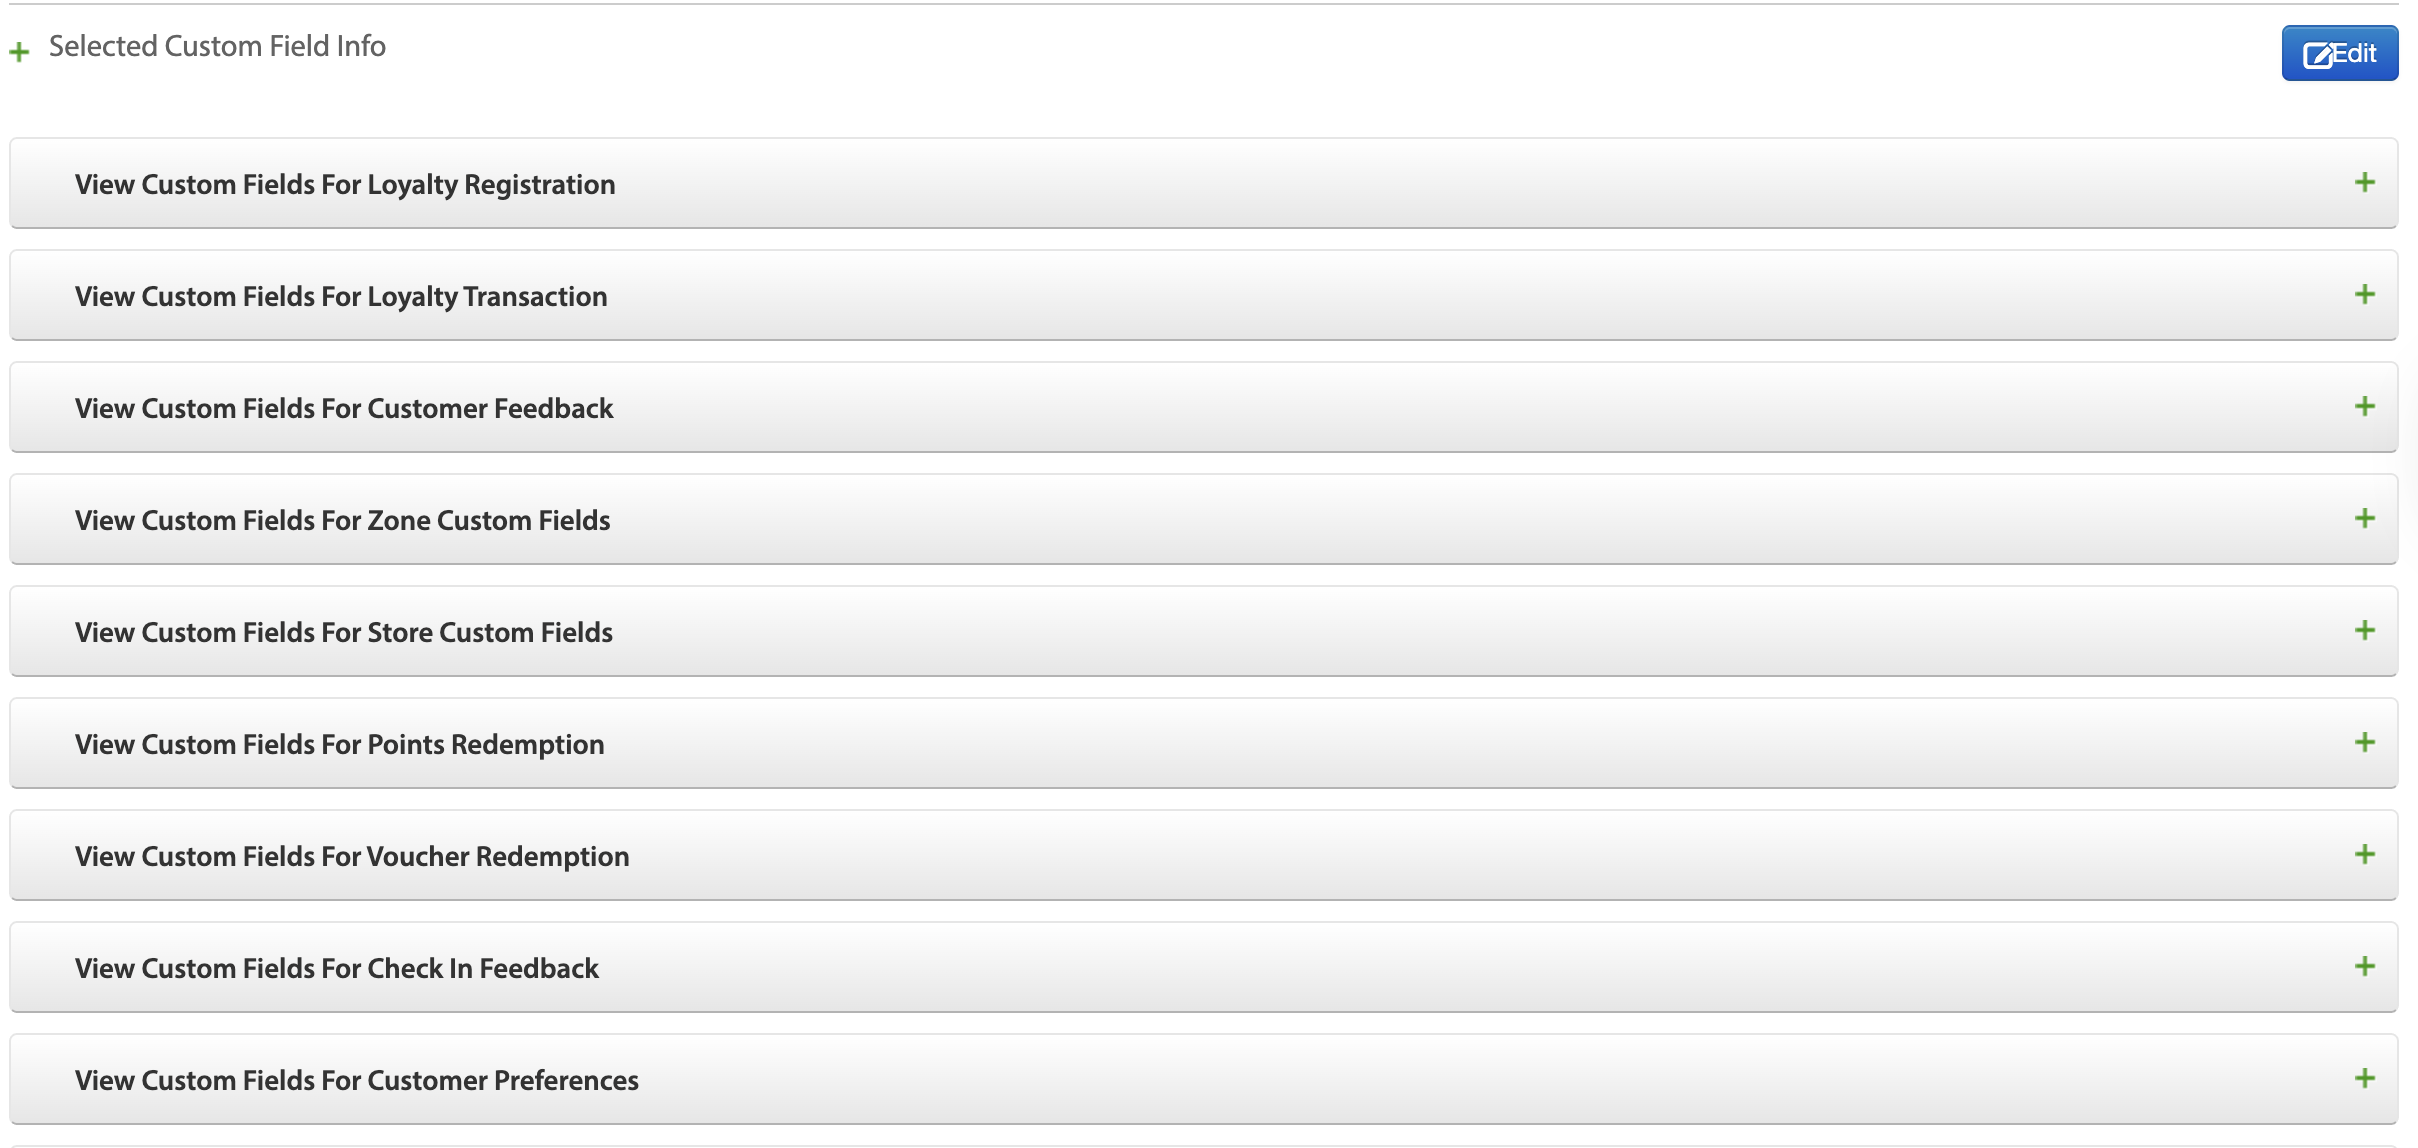
-
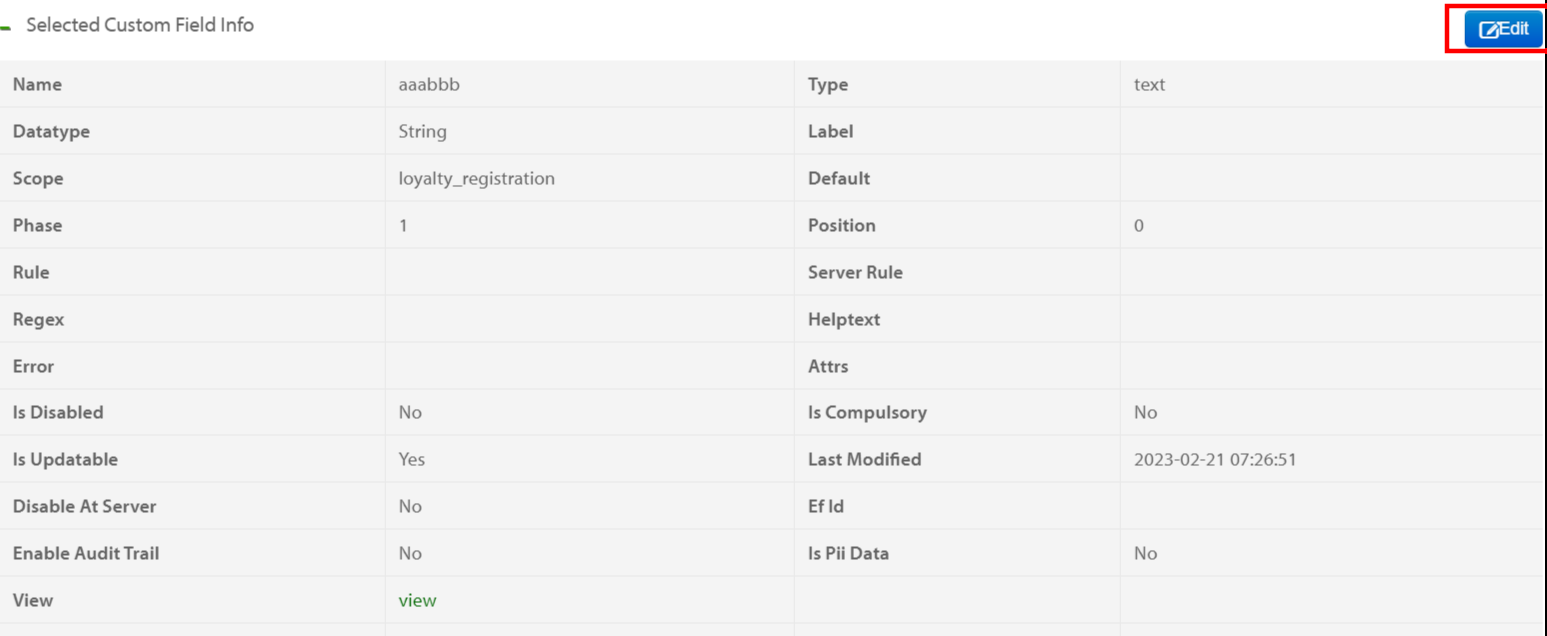
Click the custom field to view.

Updating a custom field
To update a custom field, perform the following:
- On InTouch, navigate to Organization Settings > Master Data Management > Data Model > Custom Fields.
- Select the field you want to modify.
- Click Edit.
- Update the custom field according to your requirements.
- Click Submit.
Updating custom fields via Data Import Framework
When updating custom fields using the Data Import Framework, blank or null values in the import file will not clear the field. To clear or reset a custom field, enter a dash ('-') as the value in the import file. The system will interpret the dash as 'no data' and clear the field value.
Deleting a custom field
To delete a custom field, perform the following:
- On InTouch, navigate to Organization Settings > Master Data Management > Data Model > Custom Fields.
- Click the field you want to delete.
- Click Edit.
- Select the Disable Custom Field.

- Click Submit.
After you make changes in a custom field:
- For Store Server, perform a complete sync from Settings or wait till the next auto-sync completes.
- For Thin Client, restart your thin client and check if you are able to view the changes.
Converting custom field to extended field
To convert a custom field to an extended field, raise a ticket to the Platforms team requesting the conversion. The converted extended field is be used in reports and campaigns.
NOTE:
- The platforms team verifies whether the conversion is necessary; otherwise, the request is rejected.
- The platforms team carries out the mapping of custom field to extended field.
Updated about 1 month ago