Enrolling and Issuing Badges from Journeys
Use cases
Use Case 1: New Member Welcome
Objective: Welcome and encourage new customers to make their first purchase.
Journey Overview:
- Trigger: A new customer signs up.
- Condition Check: The system checks if the customer has made their first purchase.
Path 1: First Purchase Completed
- Action: Issue a "New Member Welcome Badge."
- Journey End: Concludes after badge issuance.
Path 2: First Purchase Not Completed
- Action 1: Send an email with a 10% discount coupon to encourage the first purchase.
- Action 2: Wait for 7 days.
- Condition Check: Has the customer made a purchase within this period?
- If Yes: Issue a "First Purchase Badge" and end the journey.
- If No: The journey ends without issuing a badge.
Journey Overview:
- Trigger: Select the Inactive Audience.
- Action: Send a re-engagement email with a 15% discount coupon.
- Wait: The system waits for 10 days.
- Condition Check: Has the customer made a purchase?
- If Yes: Issue a "Win-back Champion Badge" and end the journey.
- If No: The journey ends without issuing a badge.
Use Case 3: Product Review Campaign
Objective: Encourage customers to provide product reviews.
Journey Overview:
- Trigger: A customer makes a purchase.
- Action 1: Enroll the customer in the badge system.
- Action 2: Send a follow-up email requesting a product review.
- Wait: The system waits for 7 days.
- Condition Check: Has the customer written a review?
- If Yes: Issue a "Review Rockstar Badge" and end the journey.
- If No: The journey ends without issuing a badge.
Use Case 4: Gamification Adventure
Objective: Engage customers through a gamified experience.
Journey Overview:
- Trigger: A customer signs up for the gamification adventure event.
- Action 1: Issue a "Quest Starter Badge."
- Condition Check: Has the customer completed the first level of the game?
- If Yes: Issue a "Level 1 Champion Badge."
- If No: The journey pauses until the first level is completed.
- Final Condition Check: Has the customer completed all levels of the game?
- If Yes: Issue a "Game Master Badge" and end the journey.
- If No: The journey ends without further badges.
Enrol customers in badges or issue badges to customers from Journeys
- Log in to InTouch of your cluster and navigate to Engage+ from the menu.
- Click on Journeys . You will see the Journeys homepage.
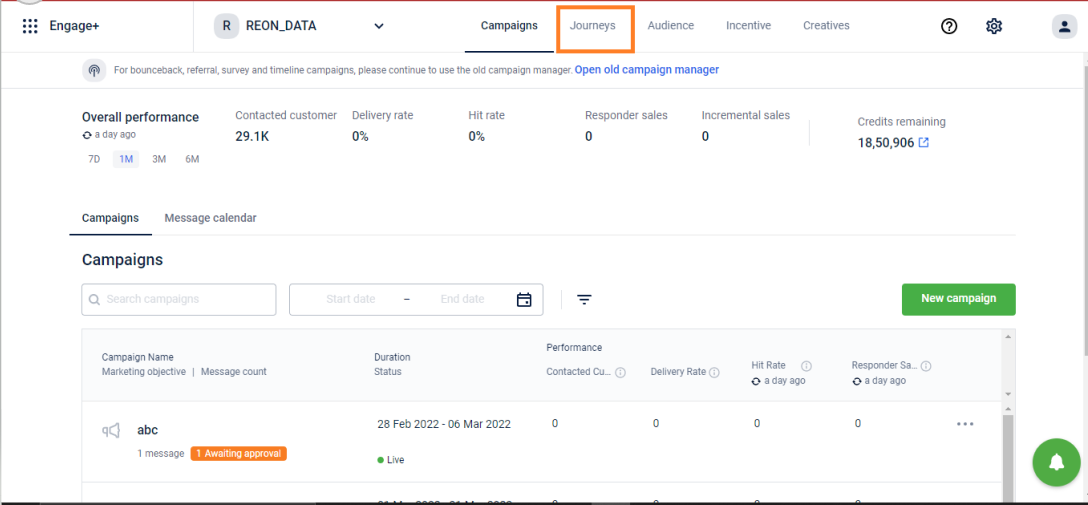
- Click on Create new.
- In the Journey name text box, enter a name for your journey.
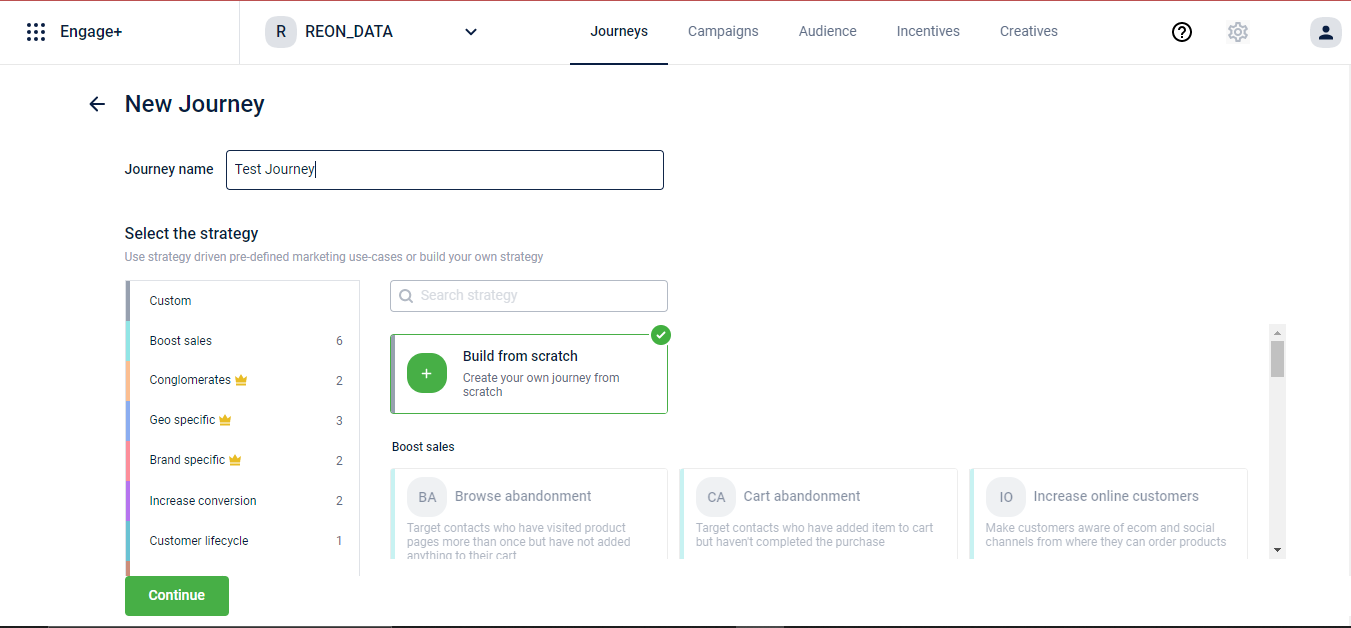
- You can create a journey from scratch or choose one of the existing templates to configure your journey.
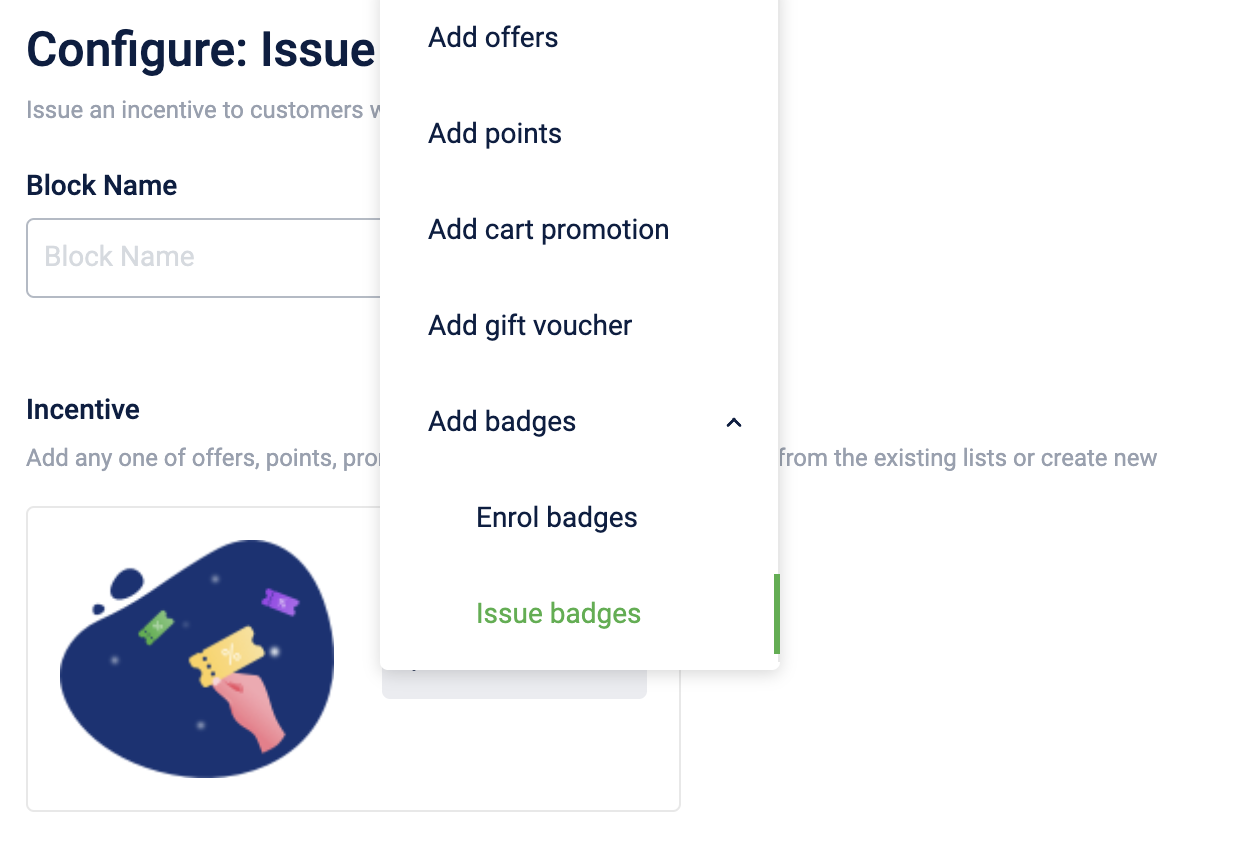
- When configuring the journey, add the building block Issue incentive to the customer journey path.
- Select Add Incentives > Enrol badges to enrol or Issue badges to issue a badge.
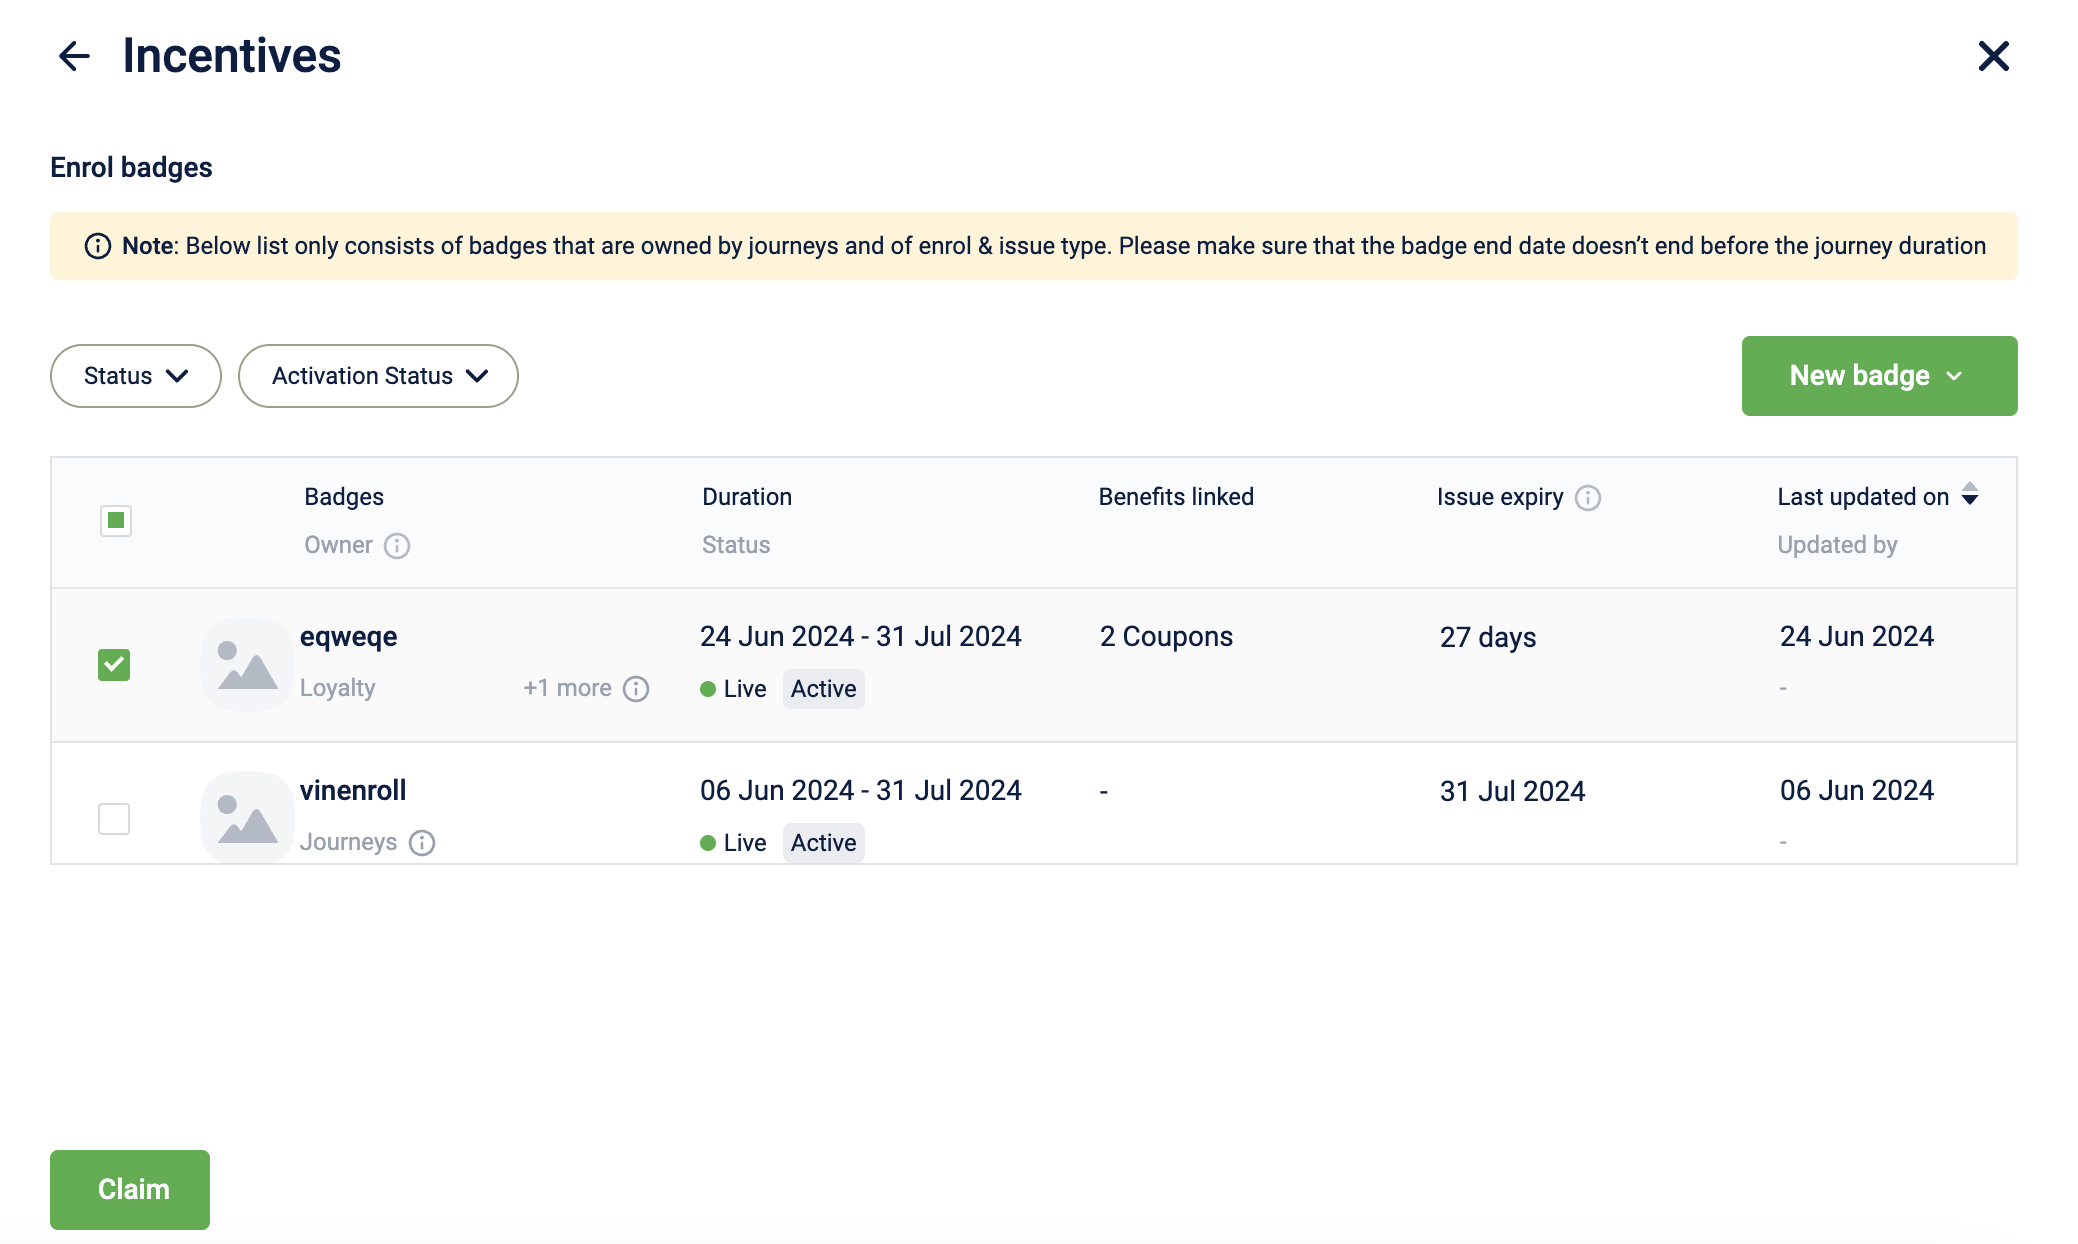
- Select an existing badge or create a new badge and click Claim. Expired badges cannot be attached to a journey. Ensure that the badge does not expire before the Journey ends.
Notes:
- Only Enrol & Issue badges can be created when enrolling customers to badges, and owner type can be any.
- When issuing badges to customers, only Direct Issue badges can be created and owner type can be only Audience Campaigns.
- For Enrol, all the badges, regardless of ownership, are displayed. The ownership of badges indicates the module where the badge will be used. For example, Loyalty, Loyalty Promotion, Journeys, etc. This is defined during the creation of a badge.
- For Issue badges action, only "Direct Issue" type badges are displayed.
Adding badges information through the communication channel
-
Add the desired communication block to the Journey.
-
Select Add Incentives > Add badges > Enrol badges to enrol or Issue badges to issue a badge.
-
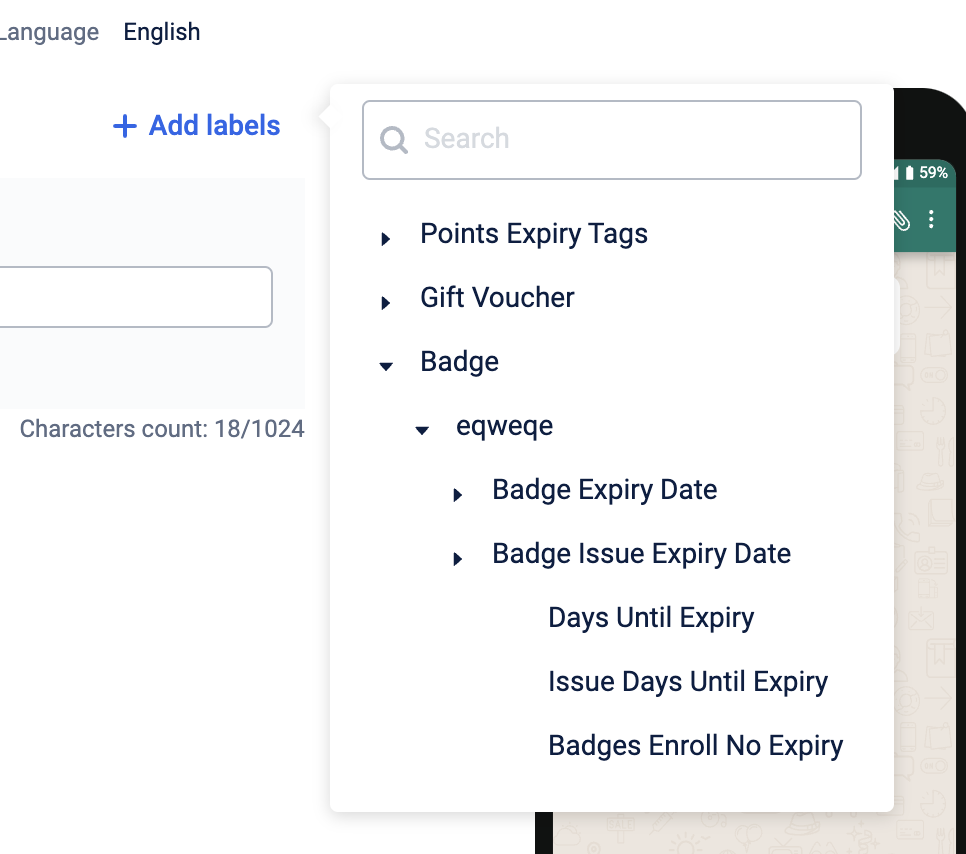
To include information about the badges in the message, select Add Creatives > Select template > Add label > Badge and select the desired tags. If you have added multiple badges, you need to include multiple tags. For example, the expiry information of each badge. If the badges do not have any expiry, select No expiry tags.
Updated 8 months ago
