
Configure Push Notification Settings
To enable push notifications, you need to set up the necessary configurations. This allows notifications to be sent seamlessly to users.
Prerequisites
Before implementing push notifications, ensure the following prerequisites are met for both Android and iOS platforms.
- Capillary SDK must be configured . For more information refer to the Android and iOS SDK documentation.
- Ensure customers install the brand’s mobile app and log in or register at least once to create a valid profile.
- Obtain push permission.
- Push Notification template be configured on the Engage UI.
NoteUsing outdated SDK versions may impact push notification delivery and delivery receipt (DLR) accuracy.
To ensure reliable delivery and reporting, upgrade to the latest SDK version. It is recommended to always use the most recent SDK version for optimal campaign performance.
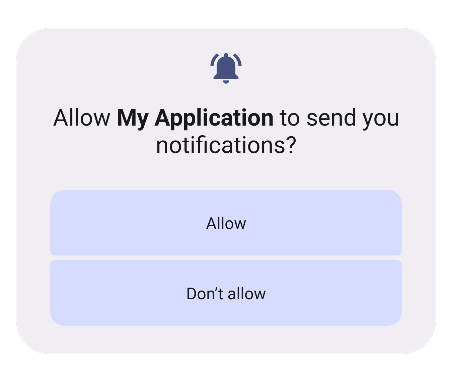
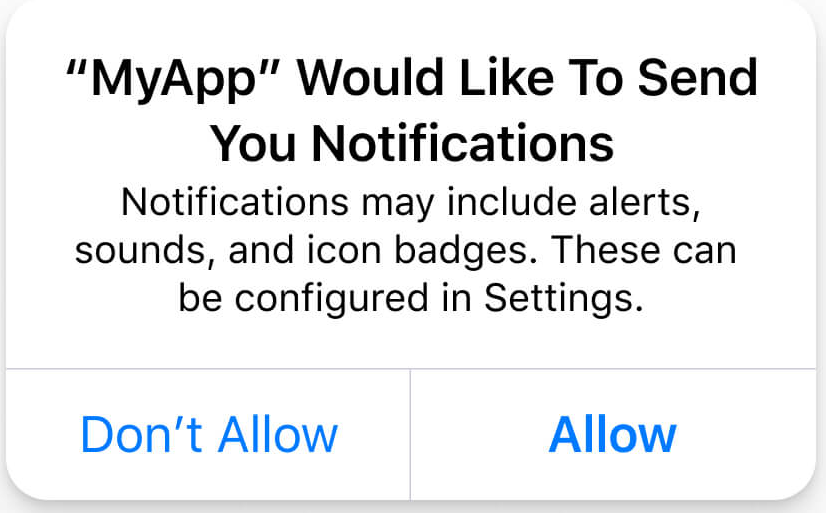
Obtaining Push Permissions
Both Android and iOS require explicit opt-in permissions from users through an OS-level prompt. Users have the final decision to opt in or out of push notifications. Utilizing a Push Primer in-app message can boost opt-in rates effectively.
To Configure Push permissions, refer to Configuring FCM for Push Notification.
Configuring Push Notification
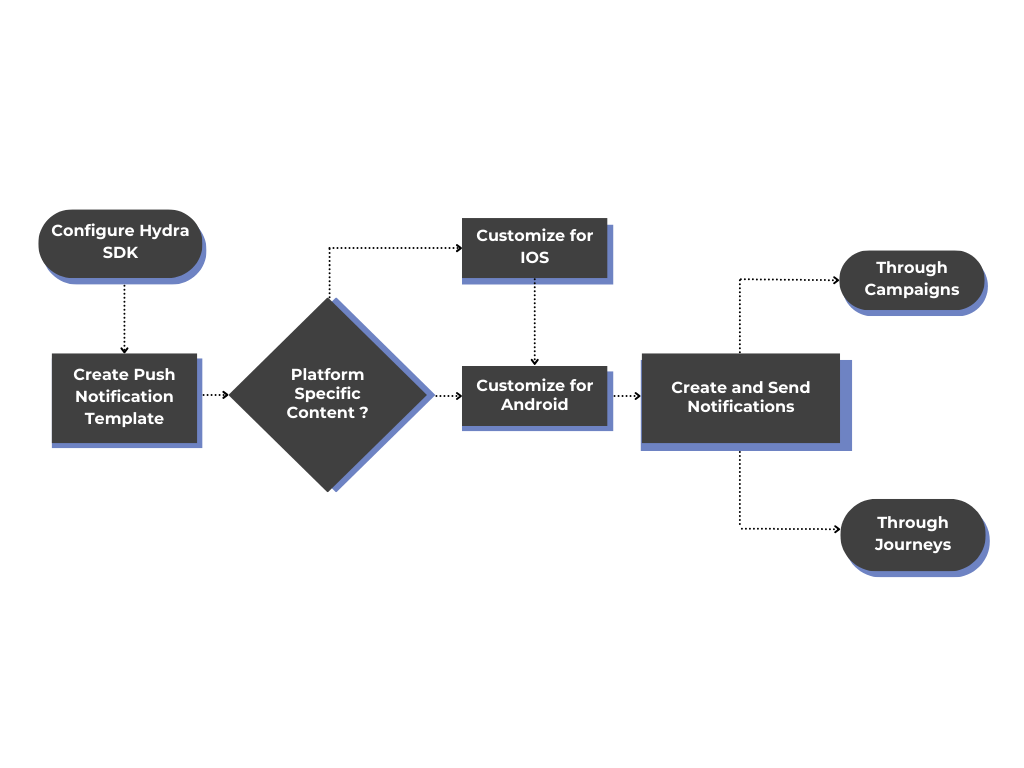
- Configure Hydra SDK for Push Notification- Set up the SDK to enable push notification tracking and delivery.
- Create a Push Notification Template – Choose an existing push notification template or create a new one based on your campaign goals.
- Configure Platform Specific Content – Customize the notification separately for Android and iOS to ensure the best user experience.
- Creating and Sending Push Notifications in Campaigns and Journeys- Push notifications can be added to both Campaigns and Journeys to engage users. In Campaigns, they promote products and drive engagement, while in Journeys, they send personalized prompts as users progress.
Updated 4 months ago