
Getting started
This page provides you with information on geting started with Connect+.
Prerequisites
- Know about terminologies used in Connect+ - Refer to documentation on Connect+ terminologies.
- OAuth credentials, API client secret and key - Connect+ supports only OAuth authentication. For information on how to create a client secret and key, refer to the documentation Creating an API client key and secret.
- Access to the relevant access groups - If you do not have sufficient access group permission, the API will not run successfully. For more information on setting access group permissions, refer to our documentation on access groups.
- Intouch access to organization - To access Connect+ for an organization, you must gain Intouch access to that organization. To request Intouch access, submit a Jira ticket with the Access Control Team.
- FTP server for file transfer with appropriate access - Move access is required for uninterrupted movement of the files between folders.
Accessing Connect+
To access Connect+ from the Intouch home page,
- Select the organization to open Connect+.
- Click Home and select Connect+.
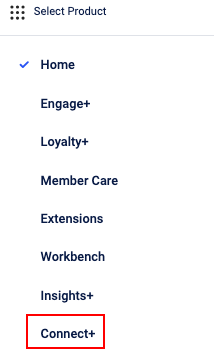
The system redirects you to Connect+ without needing to log in again.
Creating dataflow
Dataflow is a defined sequence of steps or operations that you set up to collect data from a defined source, transform, or process data, and transfer it to a defined location.
To create a dataflow, follow the steps below:
- On the Connect+ homepage, from the drop-down, select the workspace to add your dataflow.
- Click on Add dataflow.
- In the Dataflow name text box, enter the name for the dataflow.
- In the Template section, click Select template and from the Dataflow templates window, select your preferred template.
- Click Done.
- Click Continue.
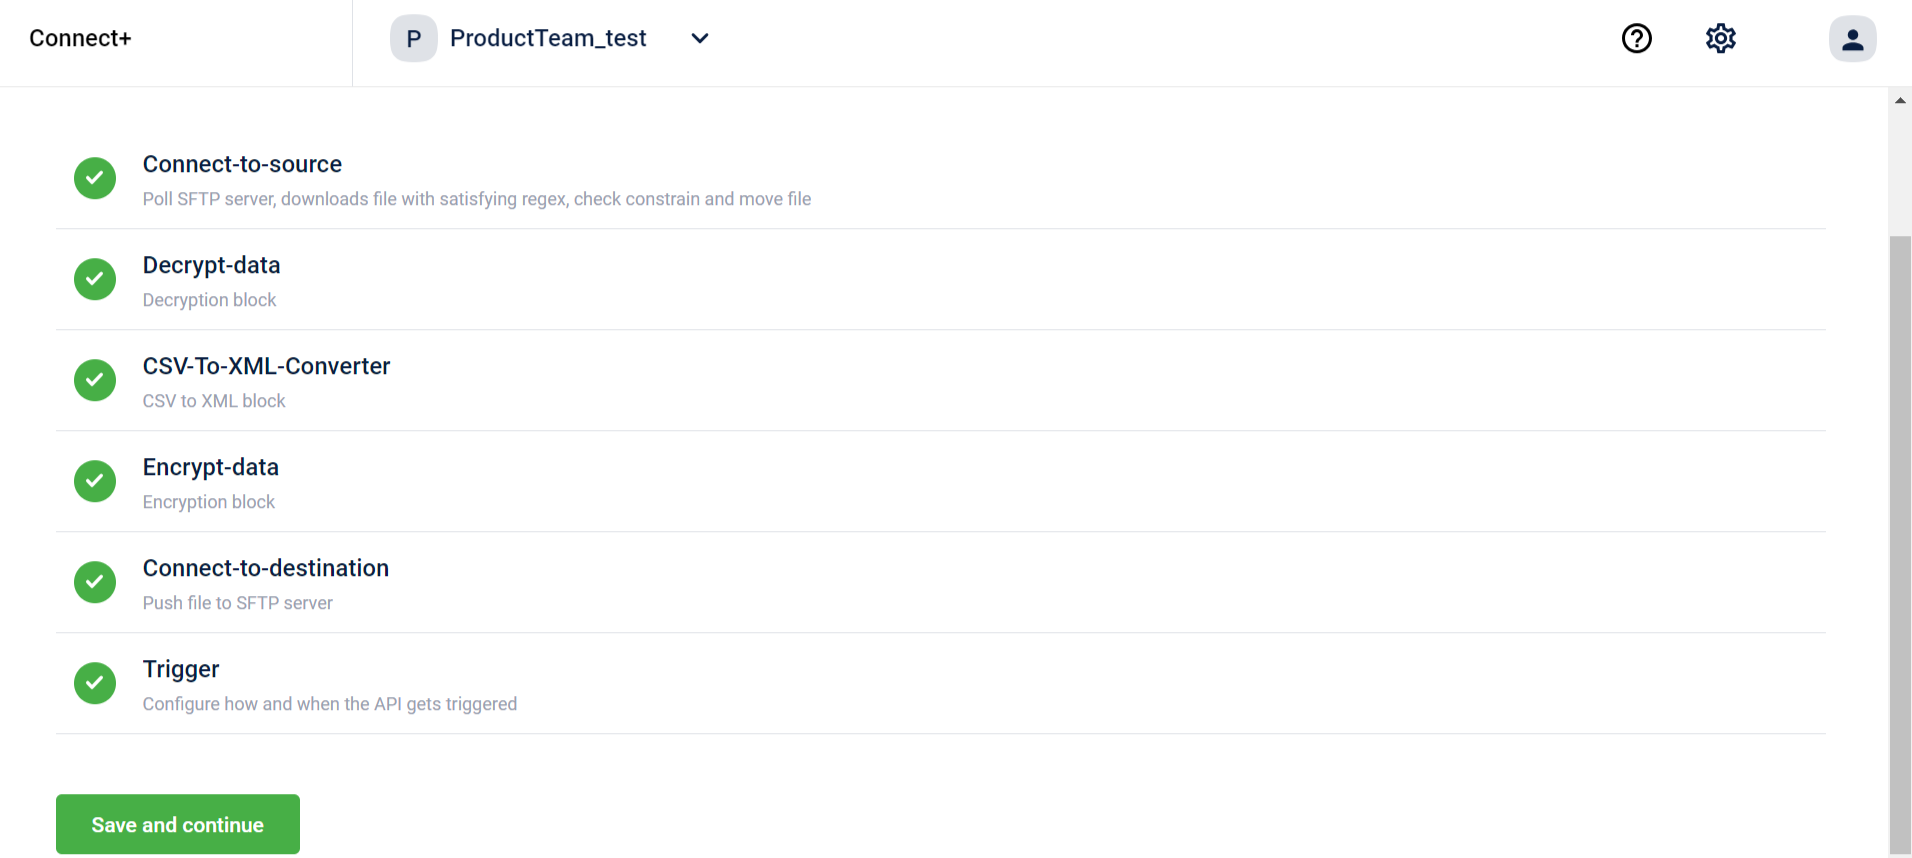
The blocks to configure the template appear.
NoteThese are based on the template selected and can differ from template to template.
- Refer to the documentation of the respective block and enter the details:
- Connect to Source - Data source information action block
- Decrypt-data - Encryption details action block
- Transform-data - Mapping header action block.
- Connect to Destination - API details action block
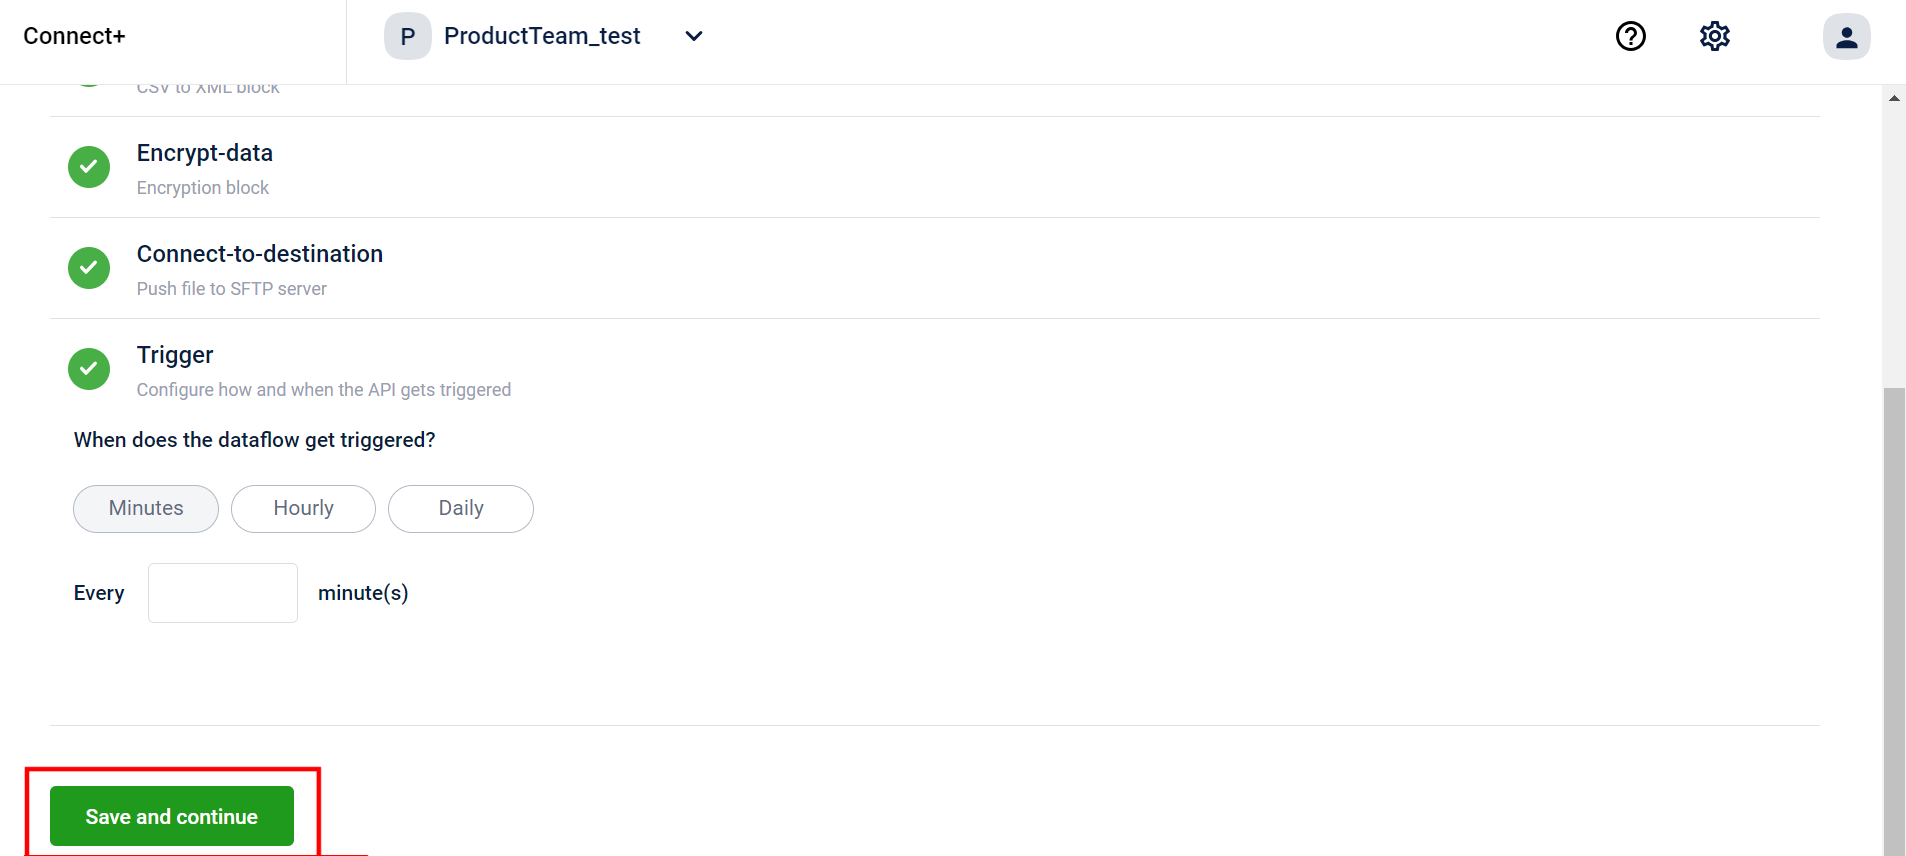
- Trigger - Schedule trigger action block
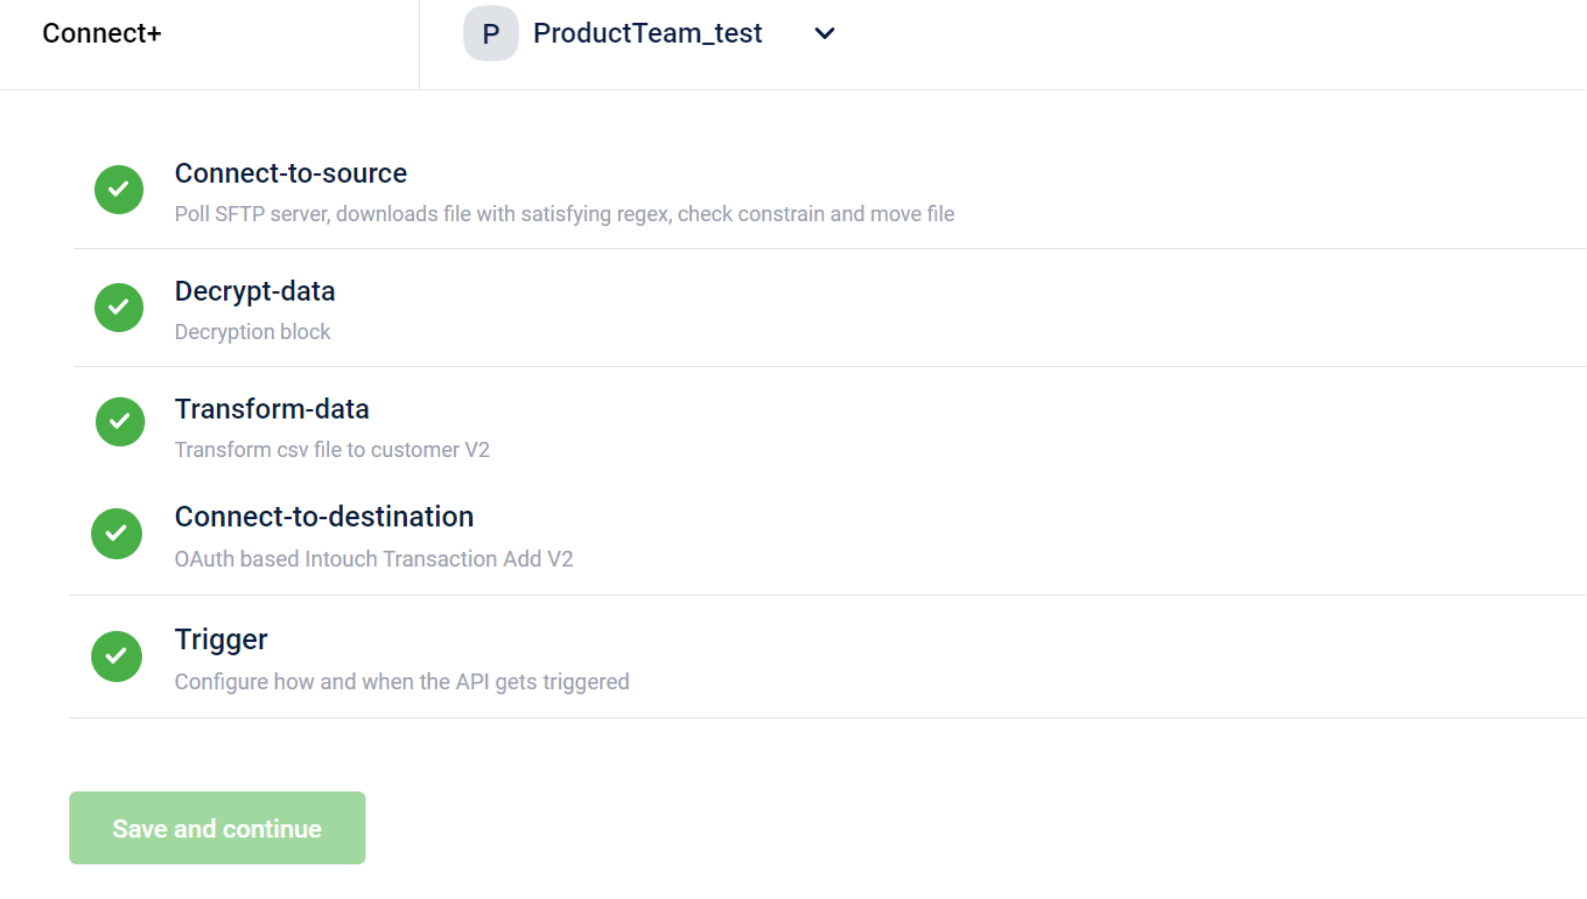
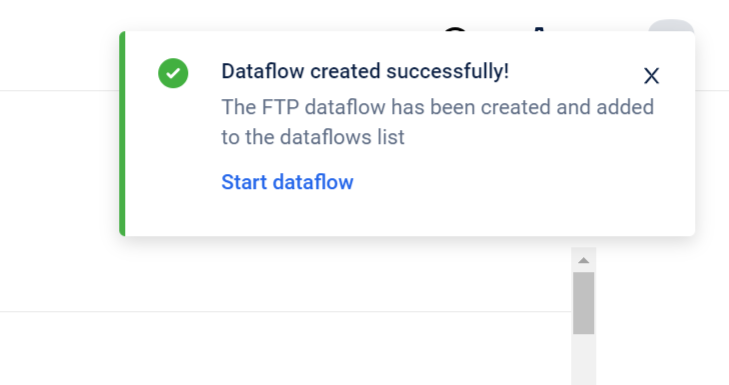
- Click Save and continue
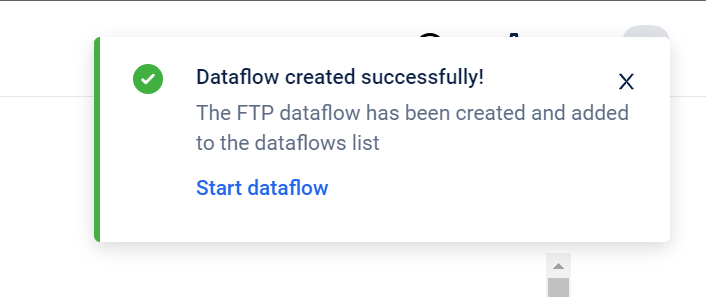
If all the inputs are valid, Connect + will successfully create the data flow. For monitoring the performance of dataflow, navigate to the Performance page. For more information, refer to the documentation on analysing dataflow.
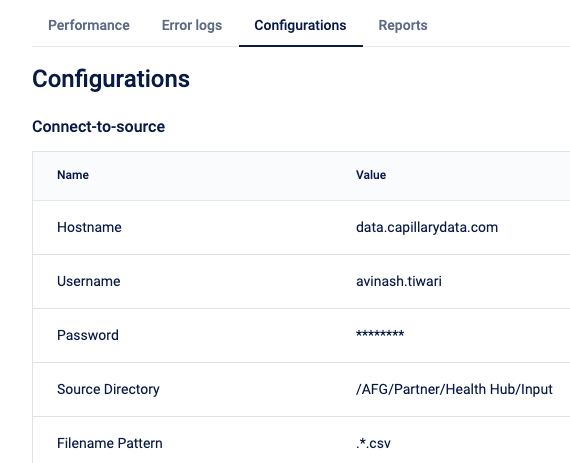
Viewing dataflow configuration
To view the configured dataflow details, perform the following:
- From the home page, click on the dataflow you want to view.
- Click the Configuration tab.
The tab displays the configuration details.
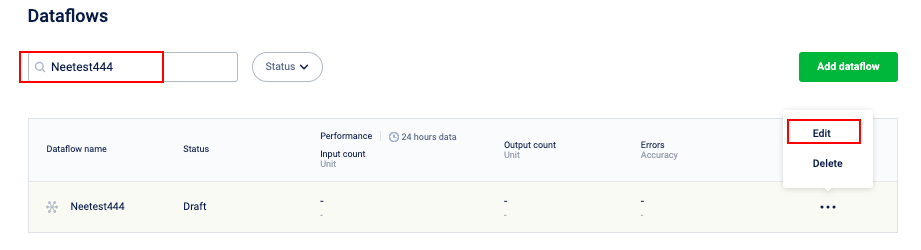
Editing dataflow
At any point in time, you can navigate to the Connect+ home page, search for the dataflow and edit it. You cannot edit a live data flow. To edit a dataflow, follow the steps below:
- Navigate to the home and search for the dataflow. Click on the kebab menu and select Edit.
- Click on any of the action blocks you wish to edit.
- Make the required changes.
- Click Save and continue.
Stop and restart dataflow
Stop dataflow
To stop a dataflow, perform the following steps:
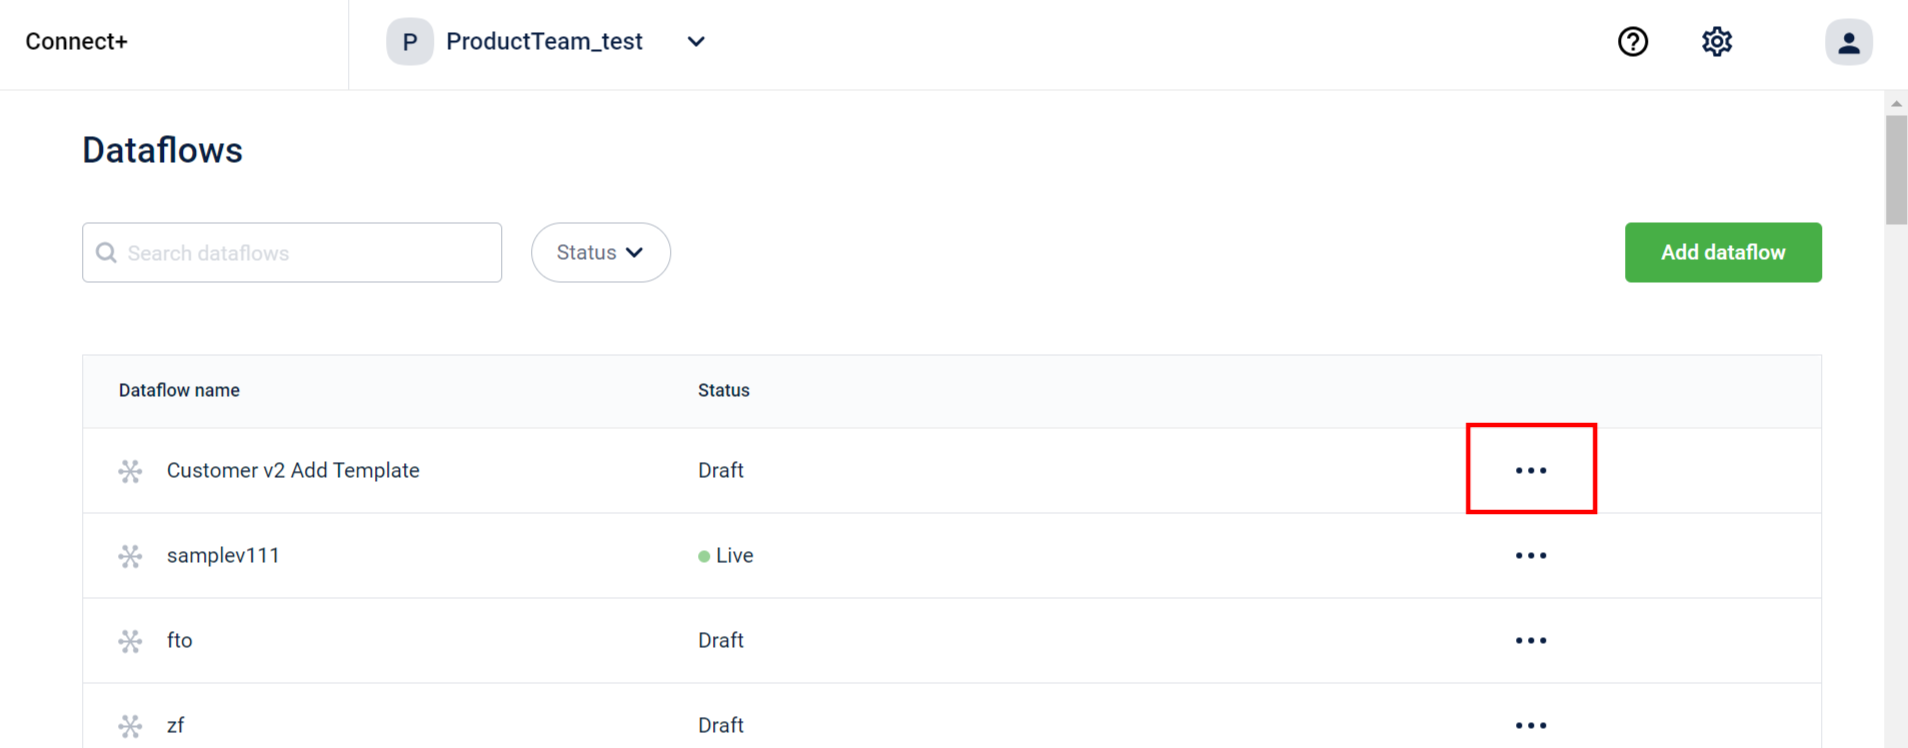
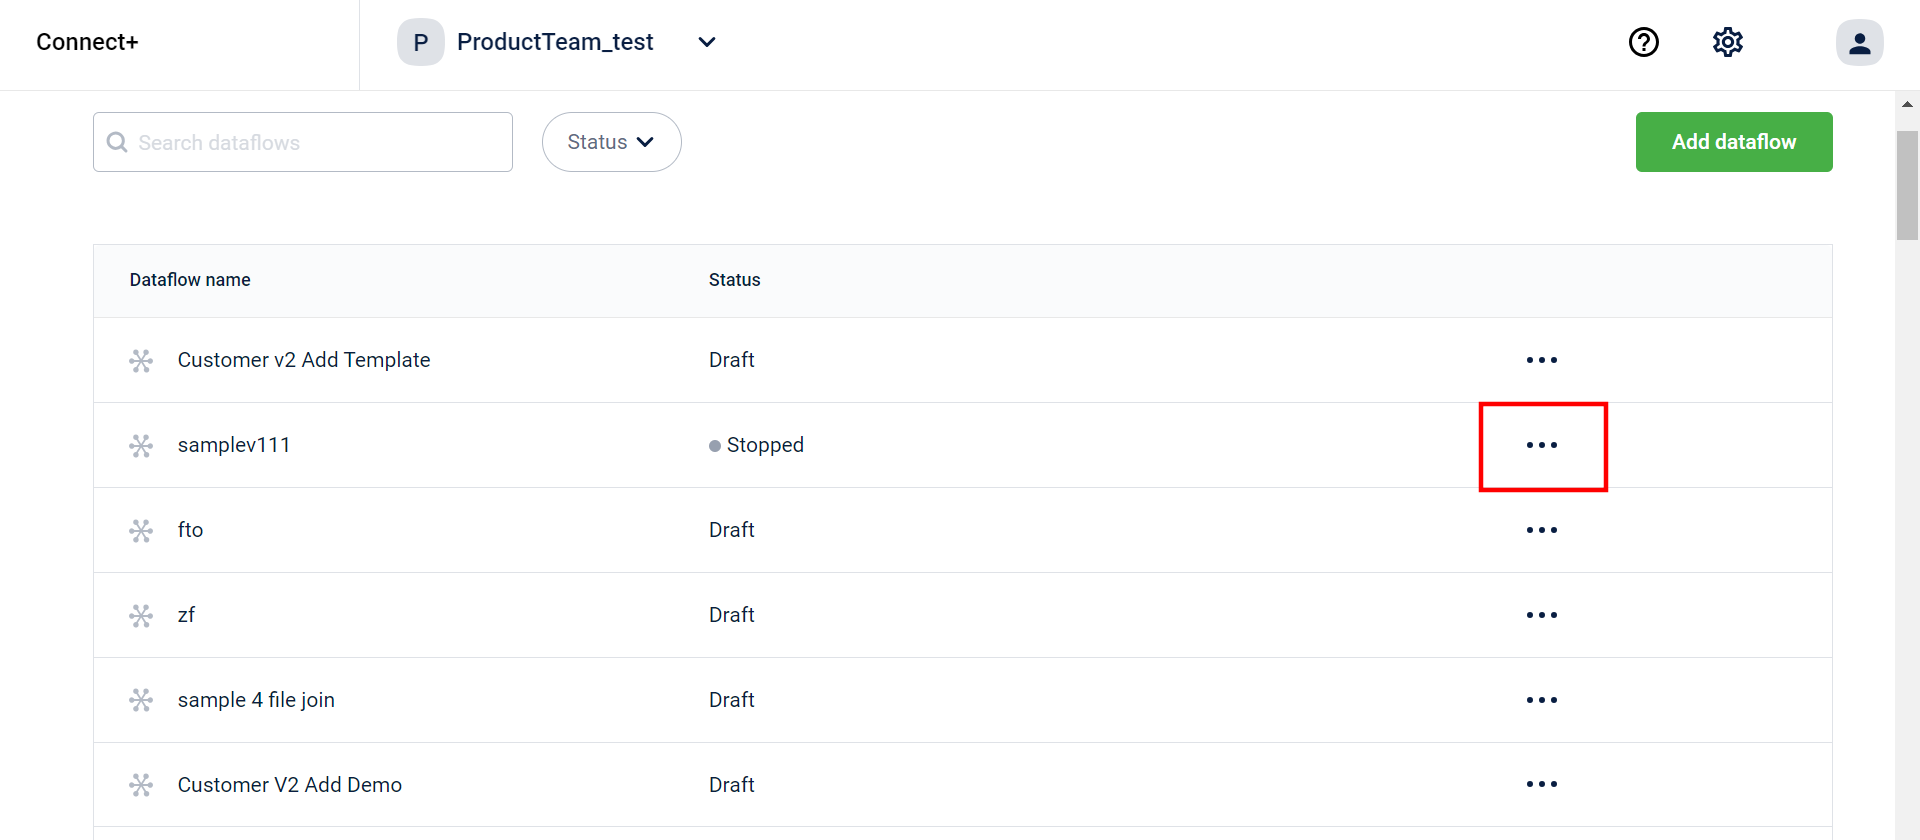
- On the Connect+ homepage, click on the kebab menu corresponding to the dataflow you wish to stop.
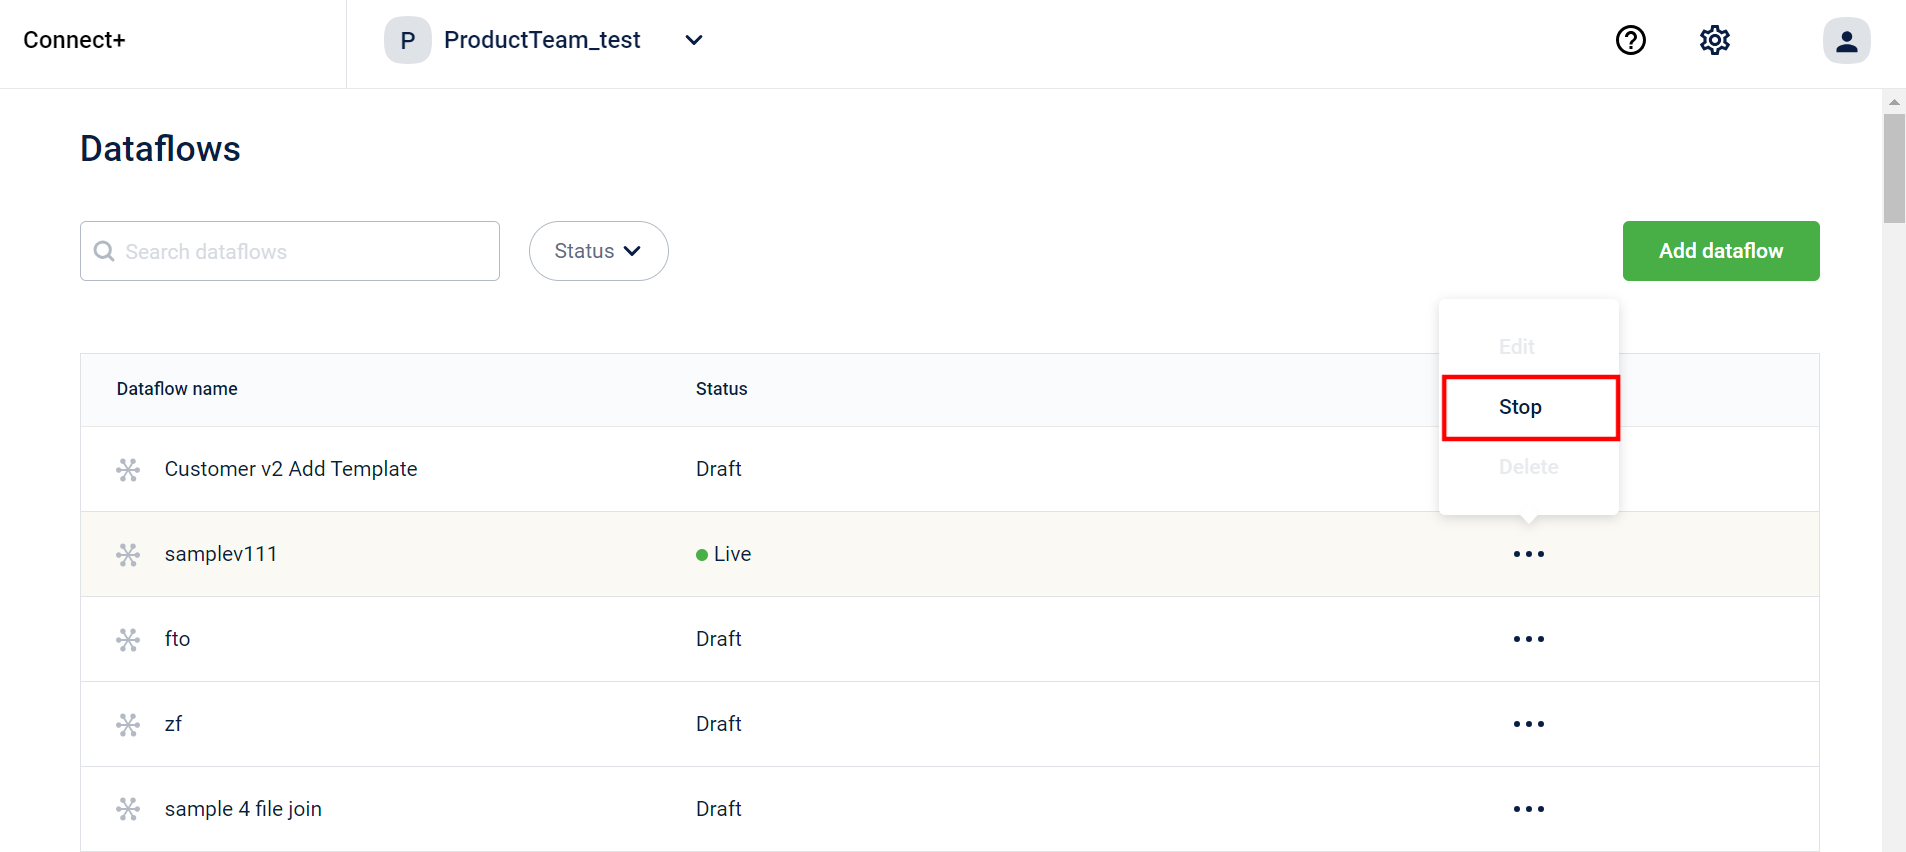
- Click Stop.
- Click Yes, stop to stop the dataflow.
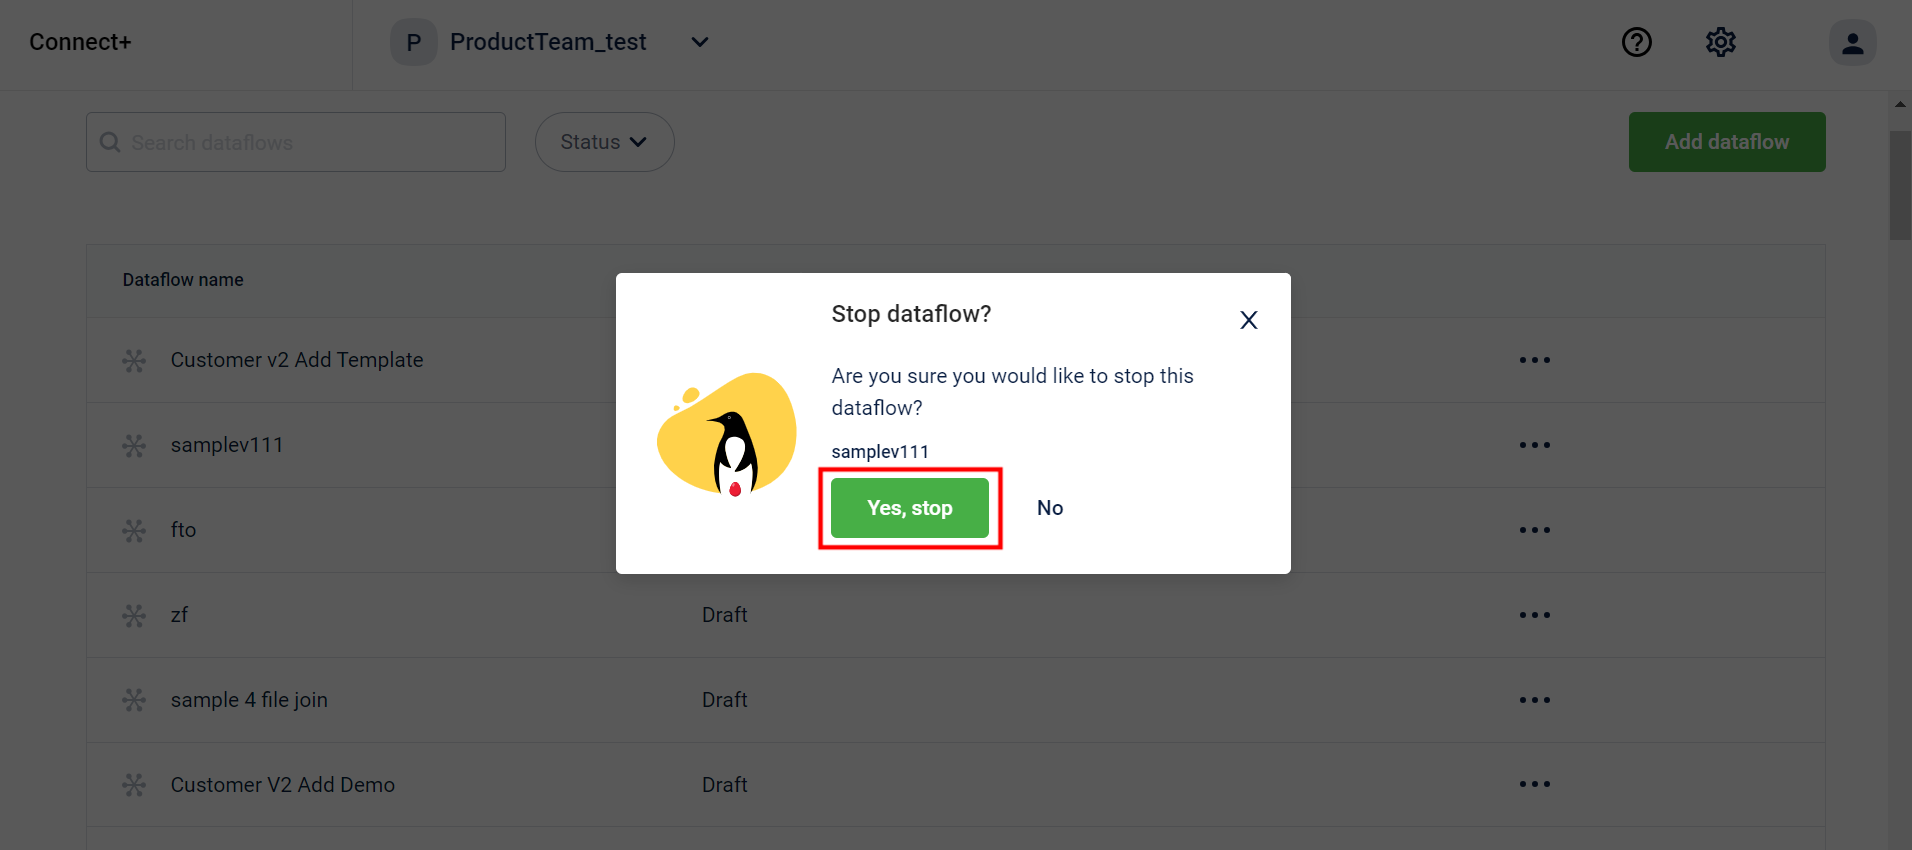
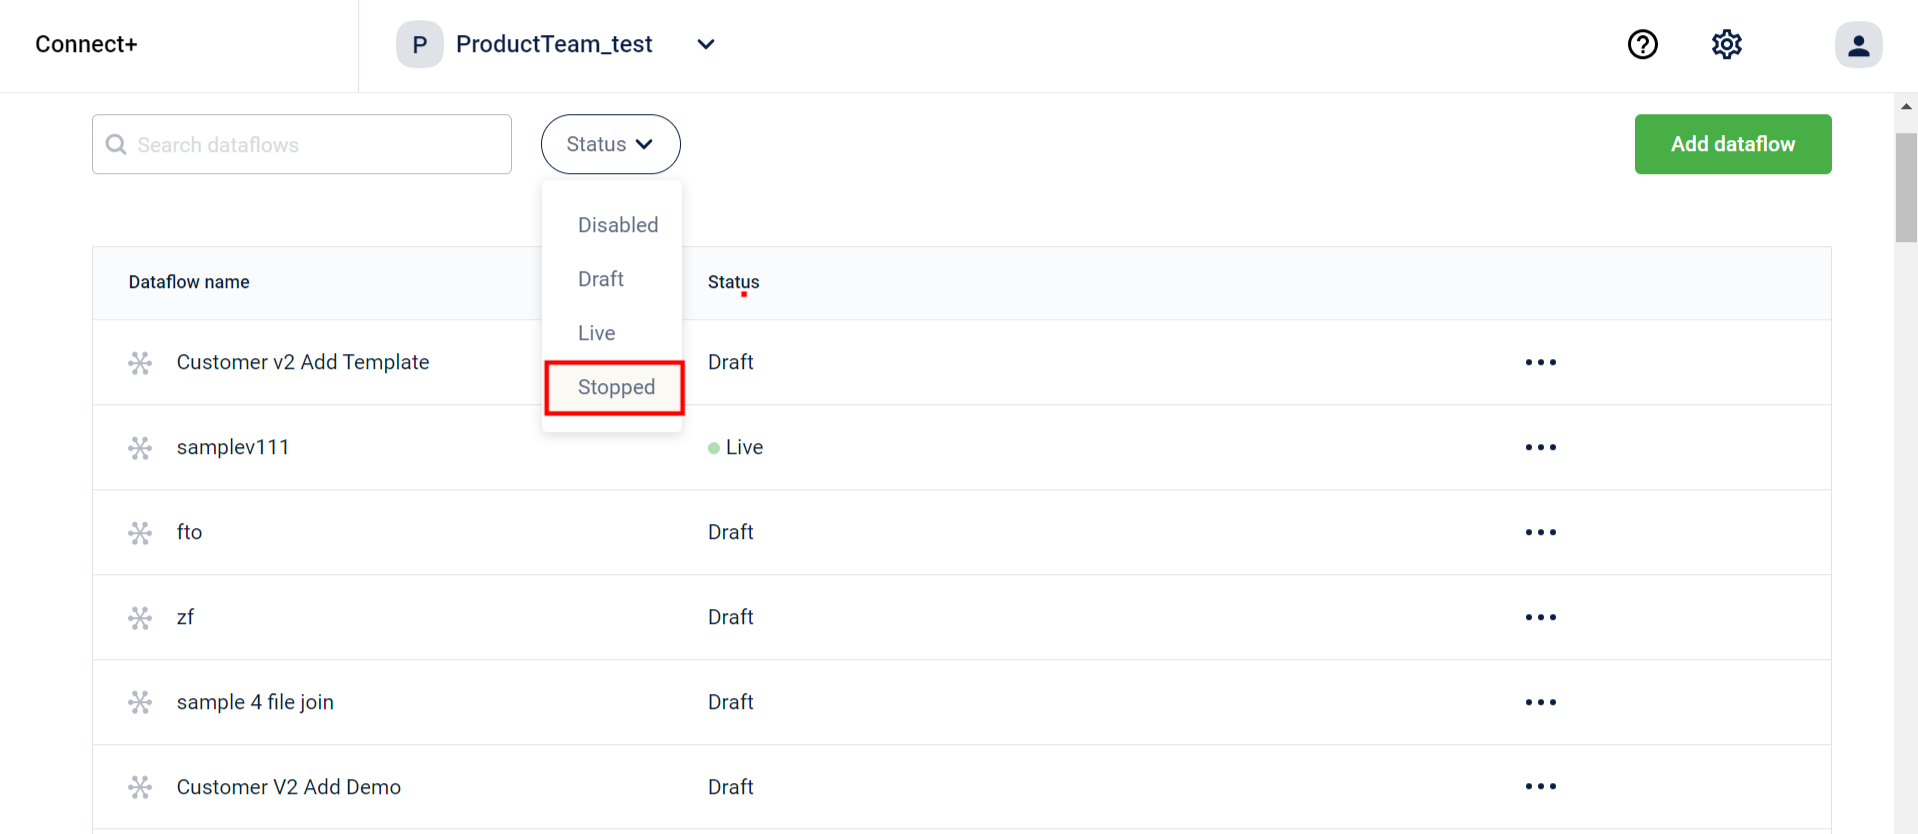
- From the Status dropdown, click on Stopped to view the stopped dataflow.
The dataflow stops and the status changes to Stopped.
Restart dataflow
To start a stopped workflow, perform the following steps:
- On the Connect+ homepage, click on the kebab menu corresponding to the template you wish to start.
- Click Start.
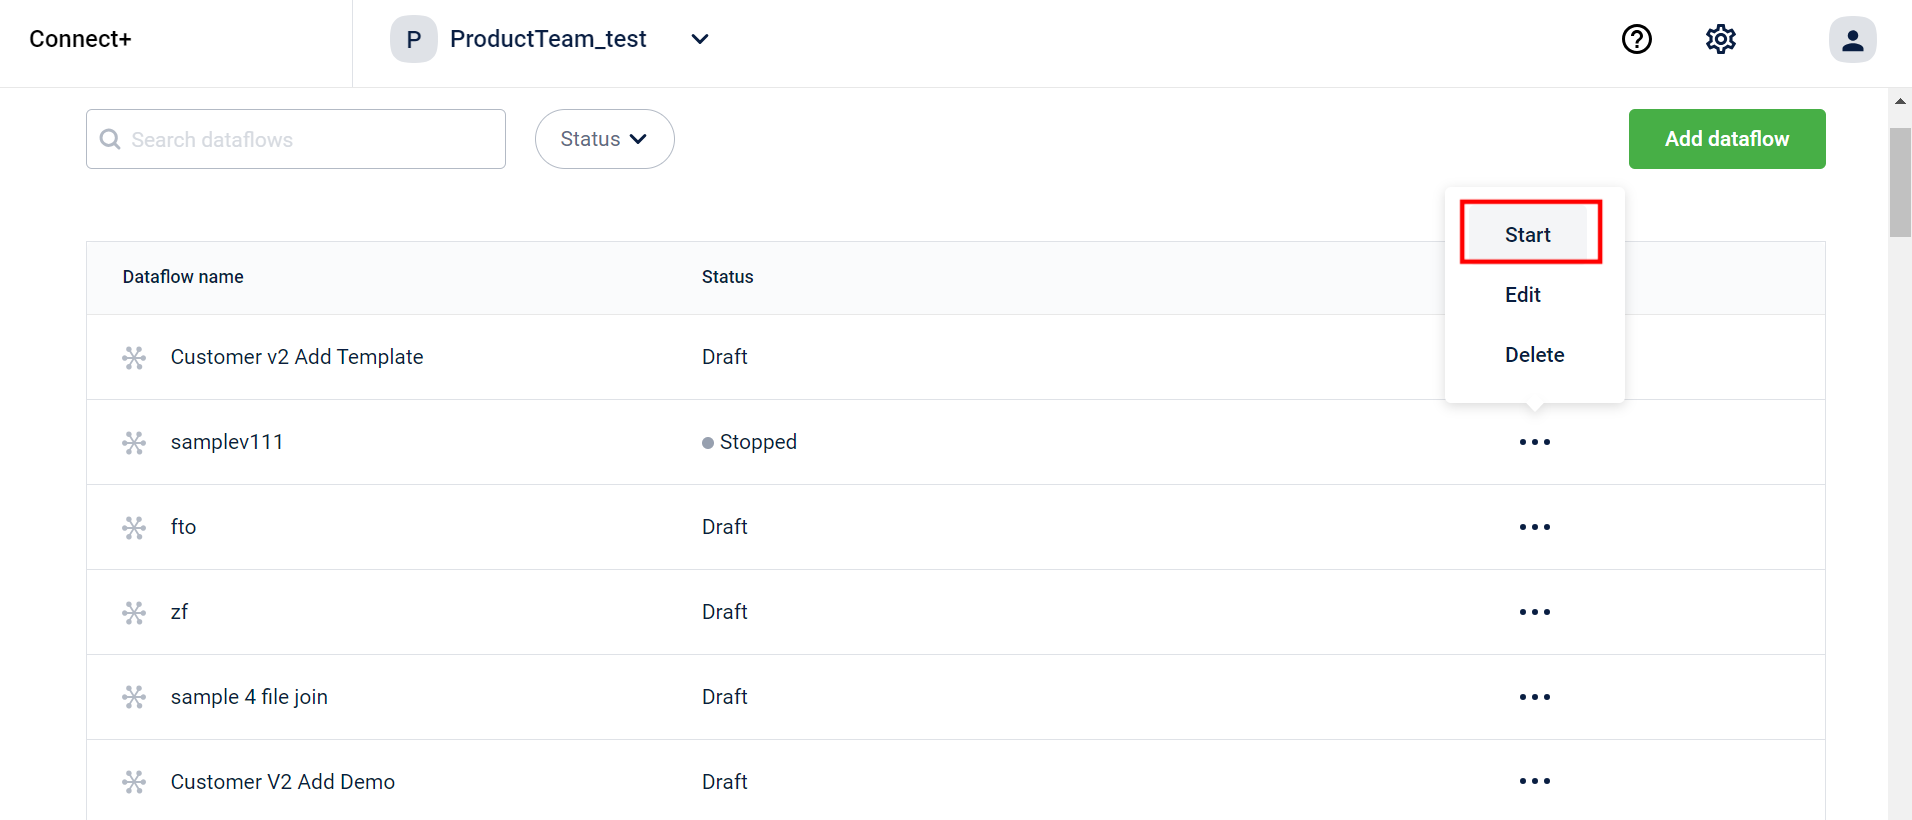
The dataflow starts and the status changes to Live.
Deleting dataflow
To delete a dataflow, perform the following steps:
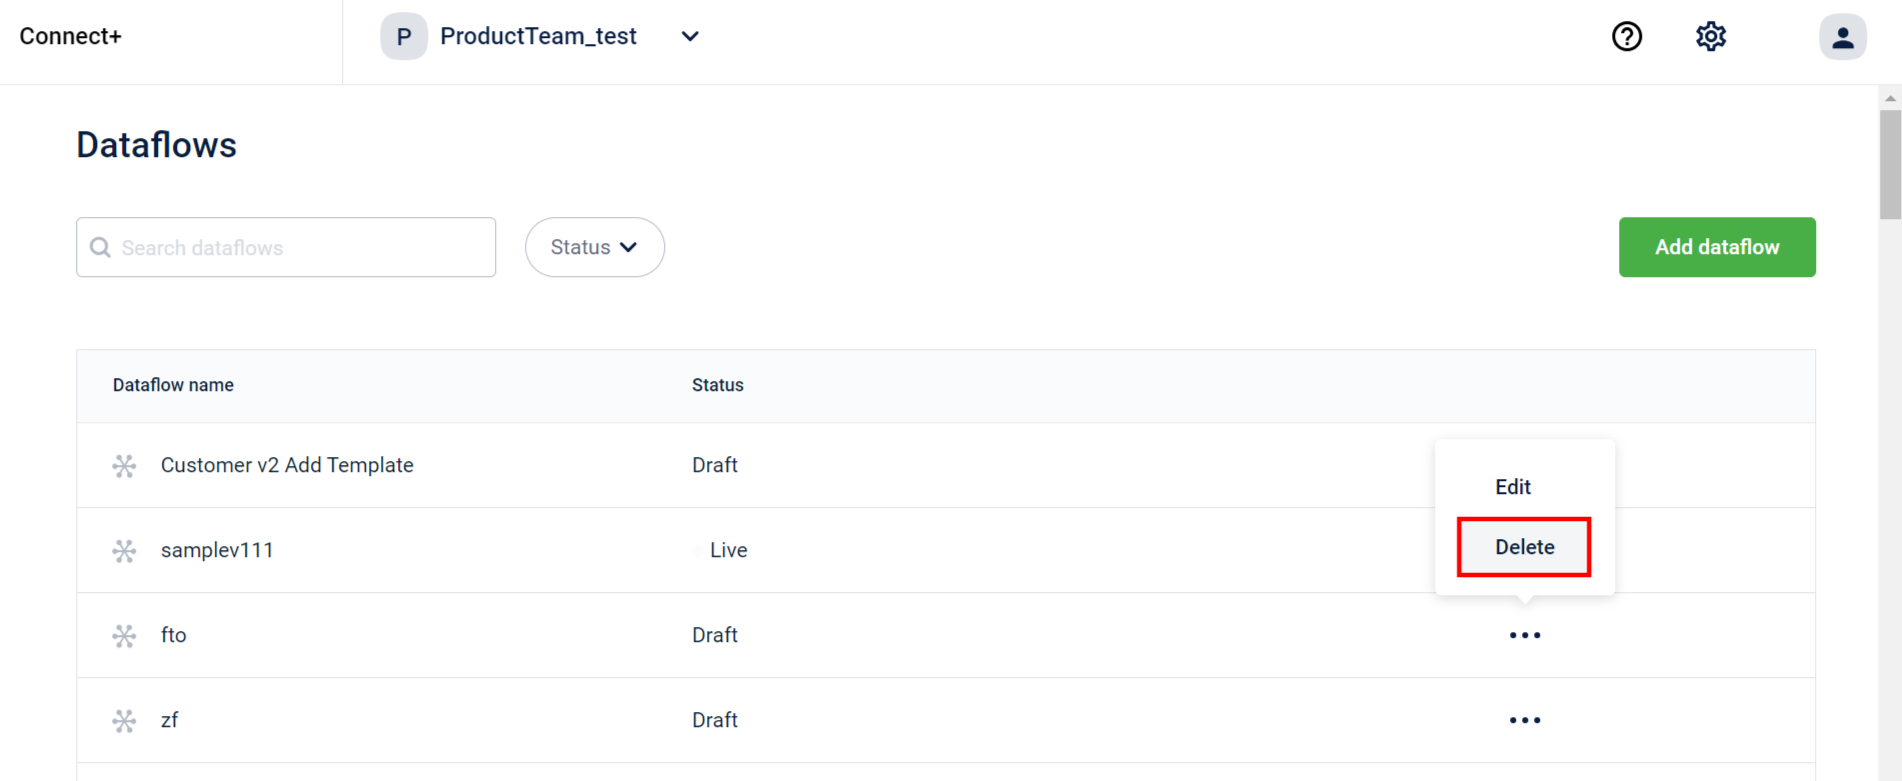
- On the Connect+ homepage, choose the dataflow you wish to delete and click on the corresponding kebab menu.
- Click Delete.
- Click Yes, delete.
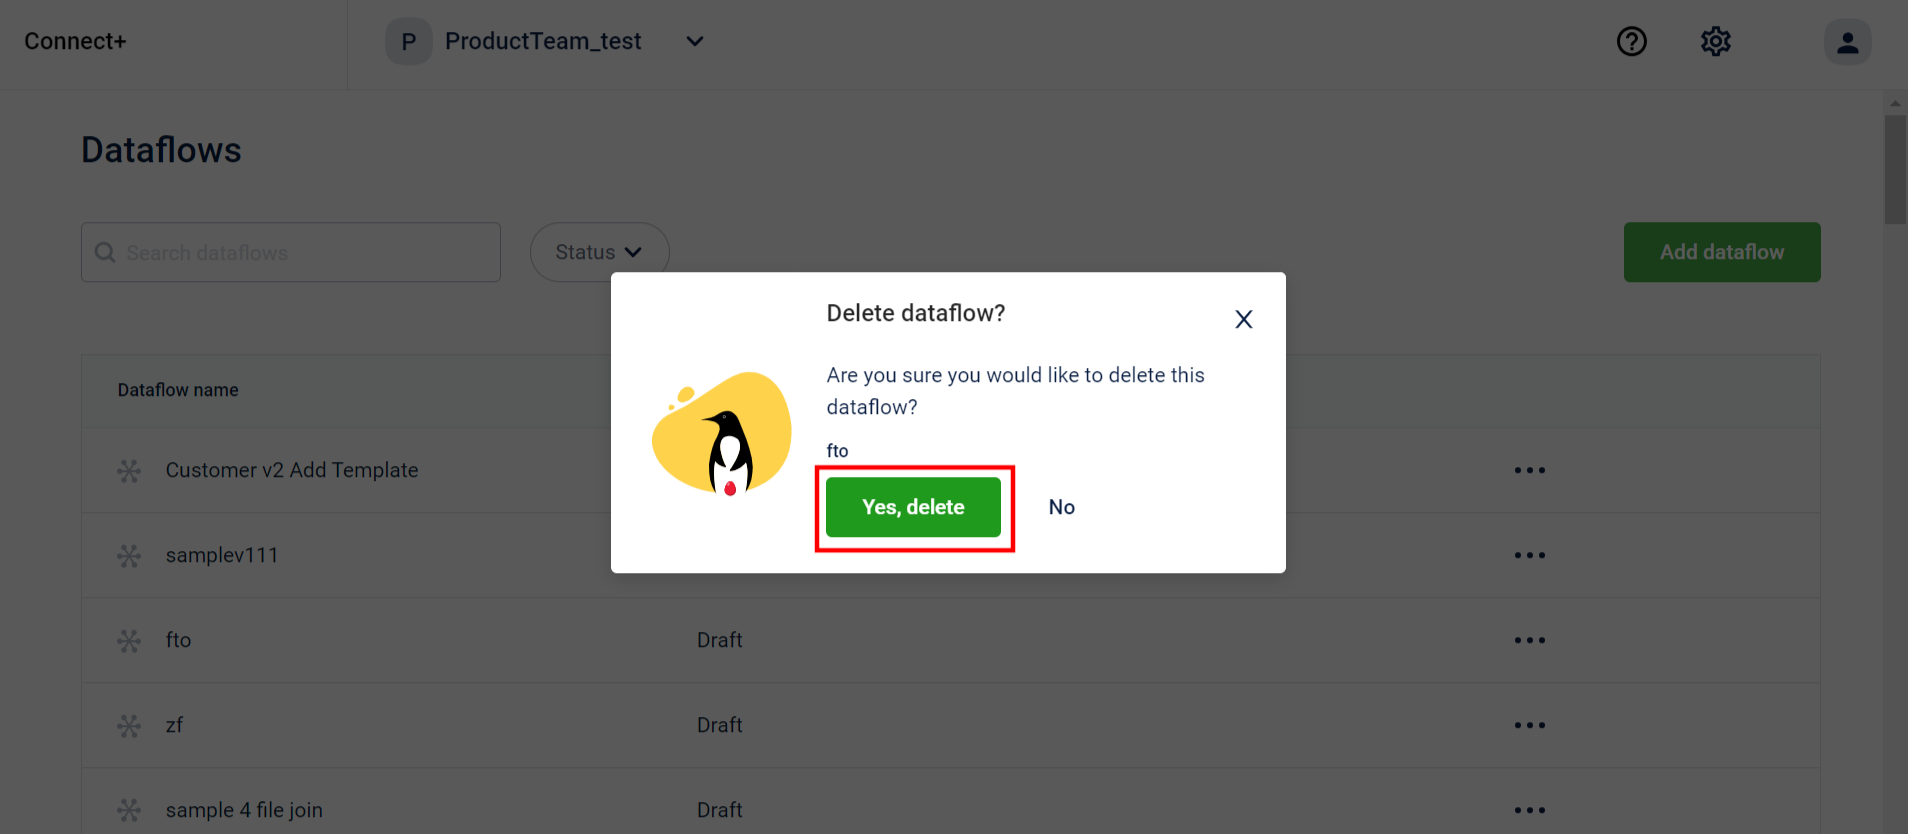
The dataflow is deleted and the status is changed to Deleted.
Analyze dataflow performance
The Connect+ home page displays the list of dataflows running along with their performance status for the last 24 hours.
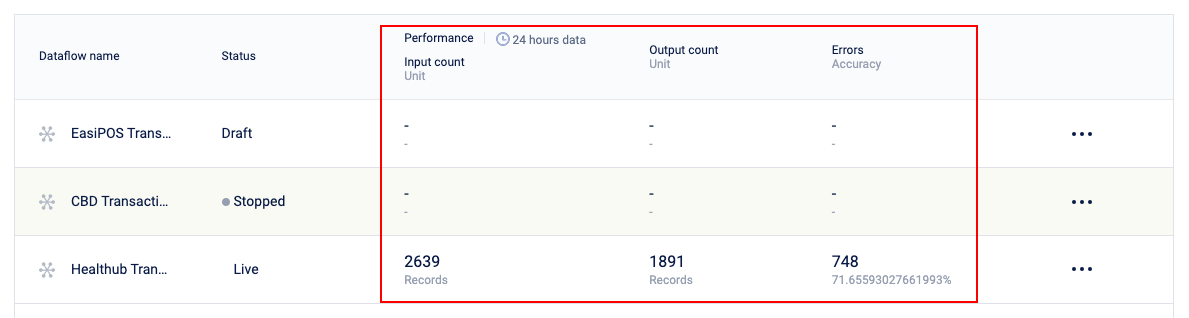
For a detailed dataflow analysis, click on the respective dataflow to view the detailed performance and error data. Refer to the Analyse dataflow for documentation and dataflow analysis and refer to Troubleshooting guide for troubleshooting steps.
Updated 5 months ago