
Accessing Capillary
This section provides the different ways of accessing InTouch.
InTouch is Capillary's cloud-based platform that houses all product modules, including Organization Settings and Workbench. It is deployed across multiple regional clusters, and access is managed by role — not all users will have write access or access to every module. Super Admins assign access based on role and scope.
Before logging in, you need:
- Your cluster URL
- Login credentials provided by Capillary
Cluster URLs
The following table lists the links to the different InTouch clusters:
Authentication methods
InTouch supports three login methods:
| Method | Best For |
|---|---|
| Login with Capillary credentials | Standard users |
| Login with Capillary Google account | Capillary employees |
| Login with SSO | Enterprise/brand users with their own IdP |
You can also enable two-factor authentication (MFA) for your org. To enable this, raise a JIRA ticket with the Capillary Product Support team. If SSO is enabled, Two-factor authentication will not be considered
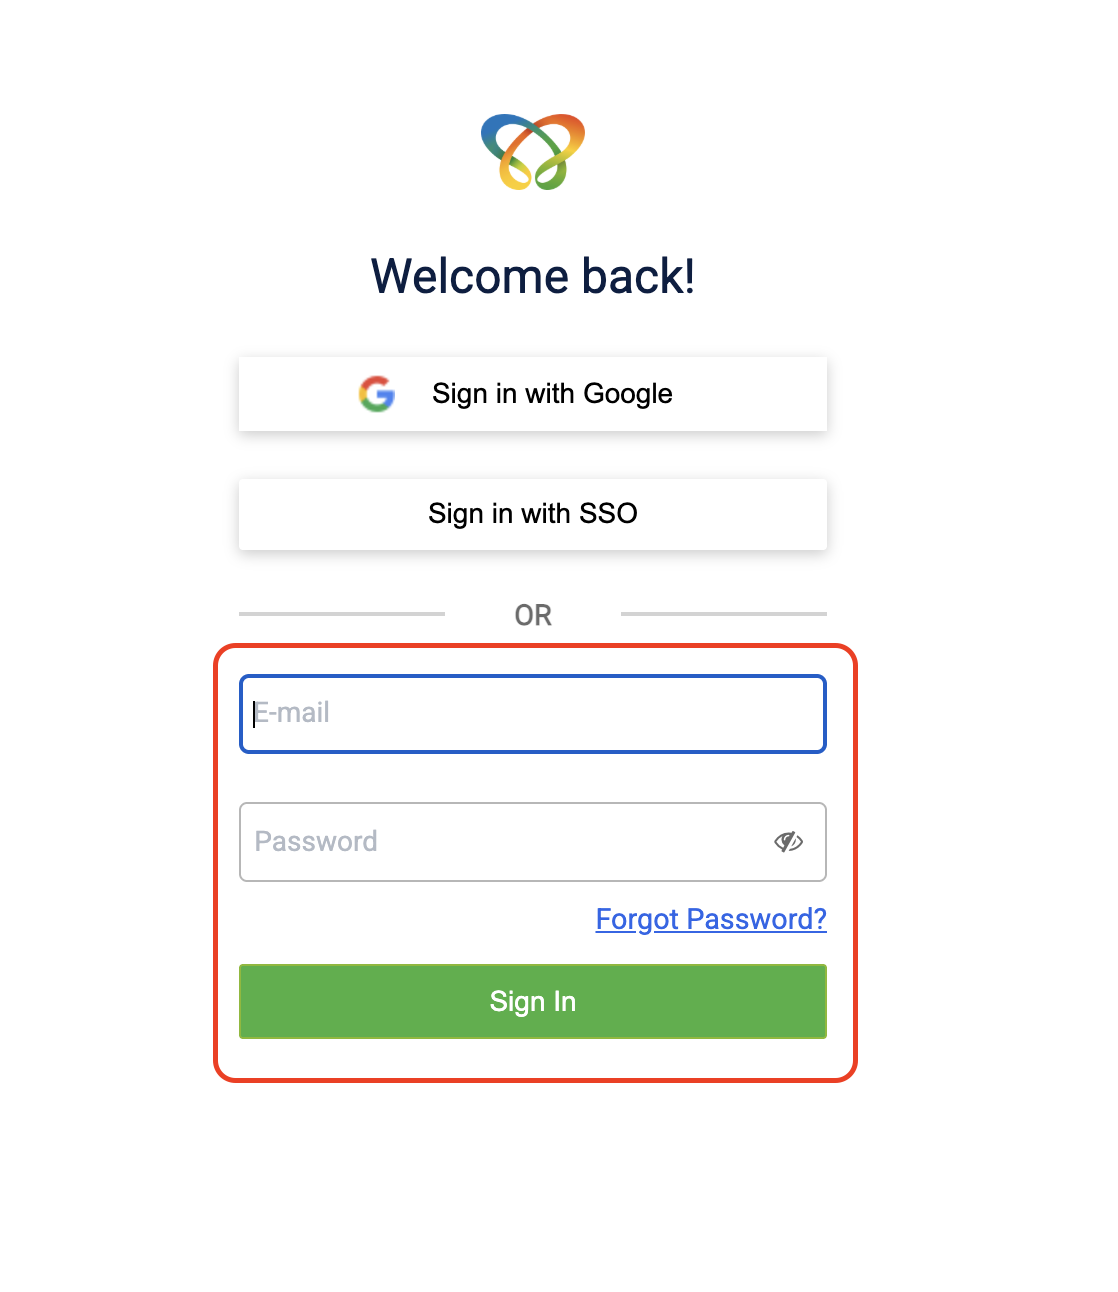
Login with Capillary credentials
Enter the credentials provided by Capillary in the Email ID and Password fields, then click Sign in.
Login with Capillary Google account
You can now sign in to InTouch using your Capillary Google Workspace account. This allows you to access the platform using your existing organizational credentials without maintaining a separate password for InTouch.
With Google Workspace sign-in:
- You no longer need to remember a separate InTouch password
- Monthly InTouch password resets are no longer required
- Authentication is handled through Google’s secure sign-in mechanism, improving both convenience and security
Prerequisites
- A Capillary Google Workspace account (email ending in
@capillarytech.com)
Login with Google credentials
To log in with Google credentials, follow the steps below:
- Open the URL for your cluster in a browser:
- Click Sign in with Google.
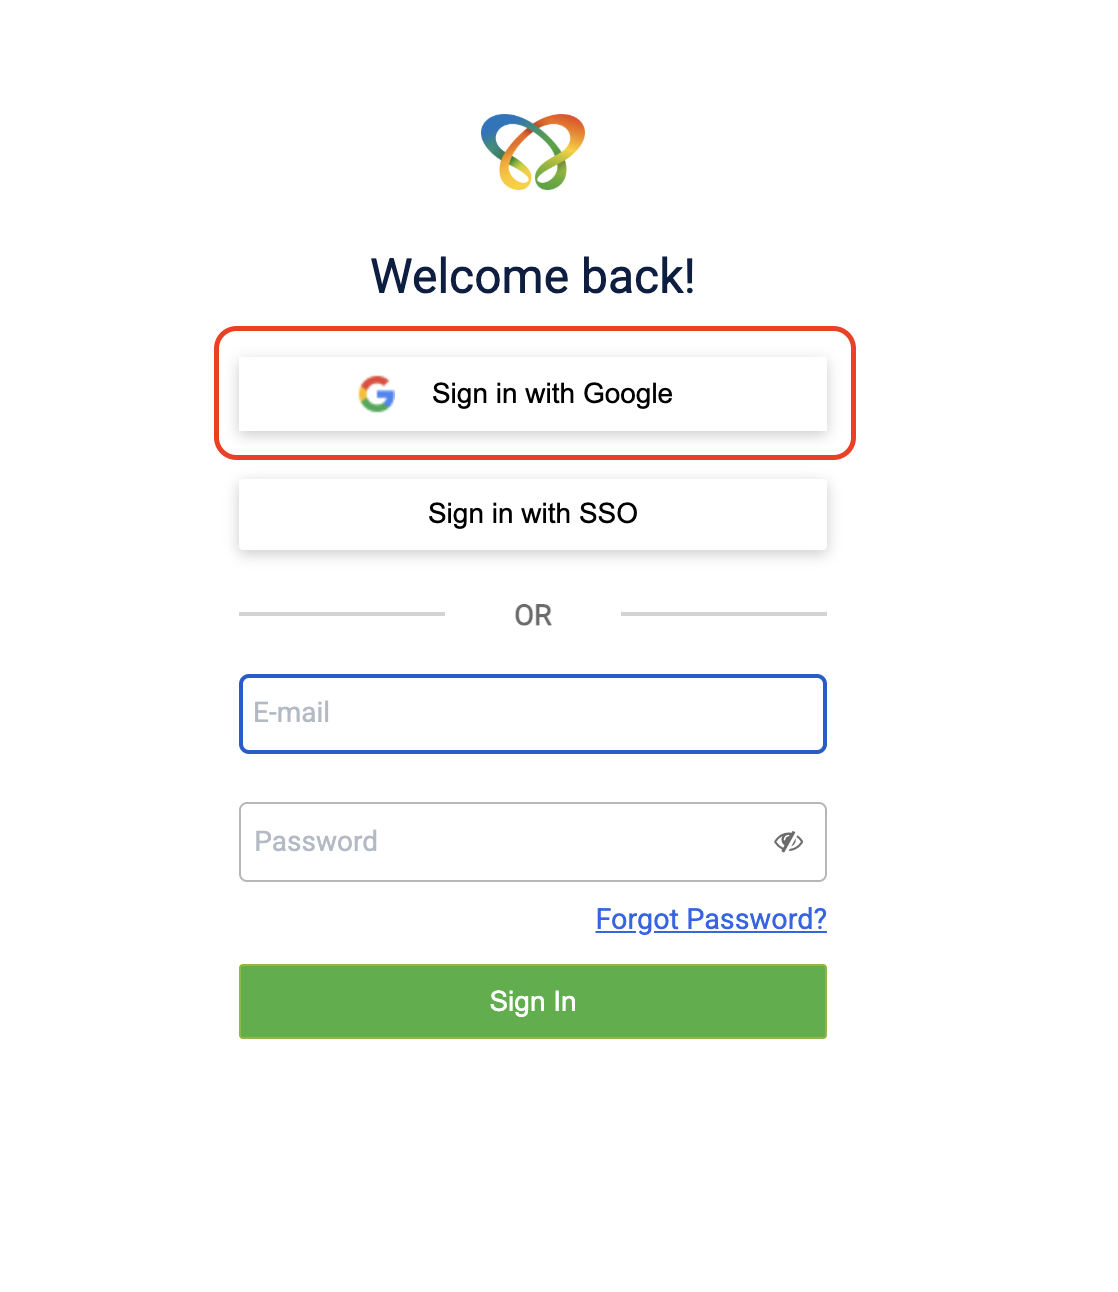
- Enter your Capillary Google Workspace email address and click Next.
- Enter your password and click Next.

You will be taken to the InTouch Workbench. If you are already signed in to your Capillary Google Workspace account, you will be directed there automatically.

Login with SSO
Sign in with a single set of credentials used for multiple applications provided by third parties like Microsoft ADFS,
G Suite SAML. It allows brand users to log in to Capillary Intouch using their Identity Provider (IdP).
Set up SSO with Okta
We have partnered with Okta for the integration. SSO setup requires configuring a connection for Capillary in Org’s IdP and setting up Org’s Identity in Okta Admin Console.
To set up SSO with Okta, follow these steps.
Step 4: Authenticate with SSO
Setting up a connection for Capillary in your org's IdP
For setting up a connection for capillary in your org's Idp follow the steps below:
-
The Capillary Point of Contact (PoC) must send an email to the Capillary Access Team requesting SSO setup for the organization. The request must include the following details:
- Organization name and organization ID
- Organization email domain
For example, if the email address is [email protected], the domain is org.com.
-
The Capillary Access Team will share the following information. This information must be provided to the organization’s PoC for configuring the IdP connection.
- Assertion Consumer Service (ACS) URL.
- Service Provider (SP) Entity ID or Audience URL or Entity ID.
- User profile attributes need to be passed as SAML assertion - email, first name, and last name. Email ID mandatory.
- (Optional) Attribute that defines if the user has access to Capillary. For example, a group or organization. This is required if the org wants to define which employees have access to Capillary.
-
The organization’s PoC will use the above information to create a connection for Capillary in their IdP.
After completing the configuration, the PoC must share the following details with the Capillary Access Team:
- Identity Provider SSO URL.
- Identity Provider Entity ID.
- Identity Provider Certificate signature.
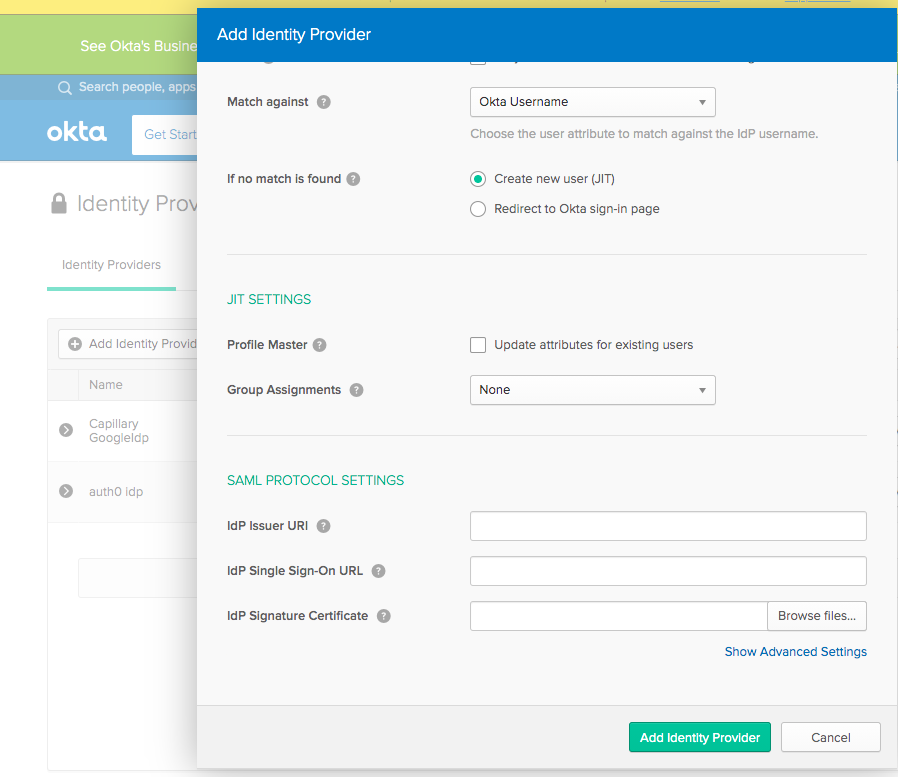
Setting up Identity Provider in Capillary
For setting up Identity Provider in Capillary follow the given steps:
-
The Capillary or organization PoC must share the IdP configuration details (Identity Provider SSO URL, Entity ID, and certificate signature) collected during the IdP setup with the Capillary Access Team.
-
The Capillary Access team will add an Identity Provider in Okta Admin Console and respond with setup confirmation.
Providing Capillary application’s access to Org users
Use Data Import to add Org users to the Capillary application with the appropriate access level.
Note: When you add users on InTouch, a verification email is sent along with the password setup link. The required change to disable the step is in progress and will be released soon. Until then, only Data Import to add Org users.
Authenticating with SSO
Once setup is completed, the org users can authenticate using SSO( Single sign-on) as explained in the following steps.
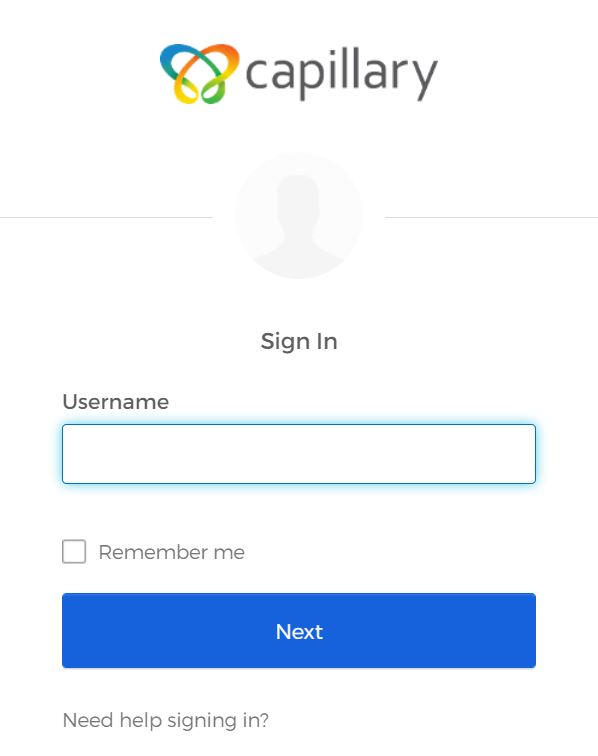
- On the new sign-in page, select Sign in with SSO.
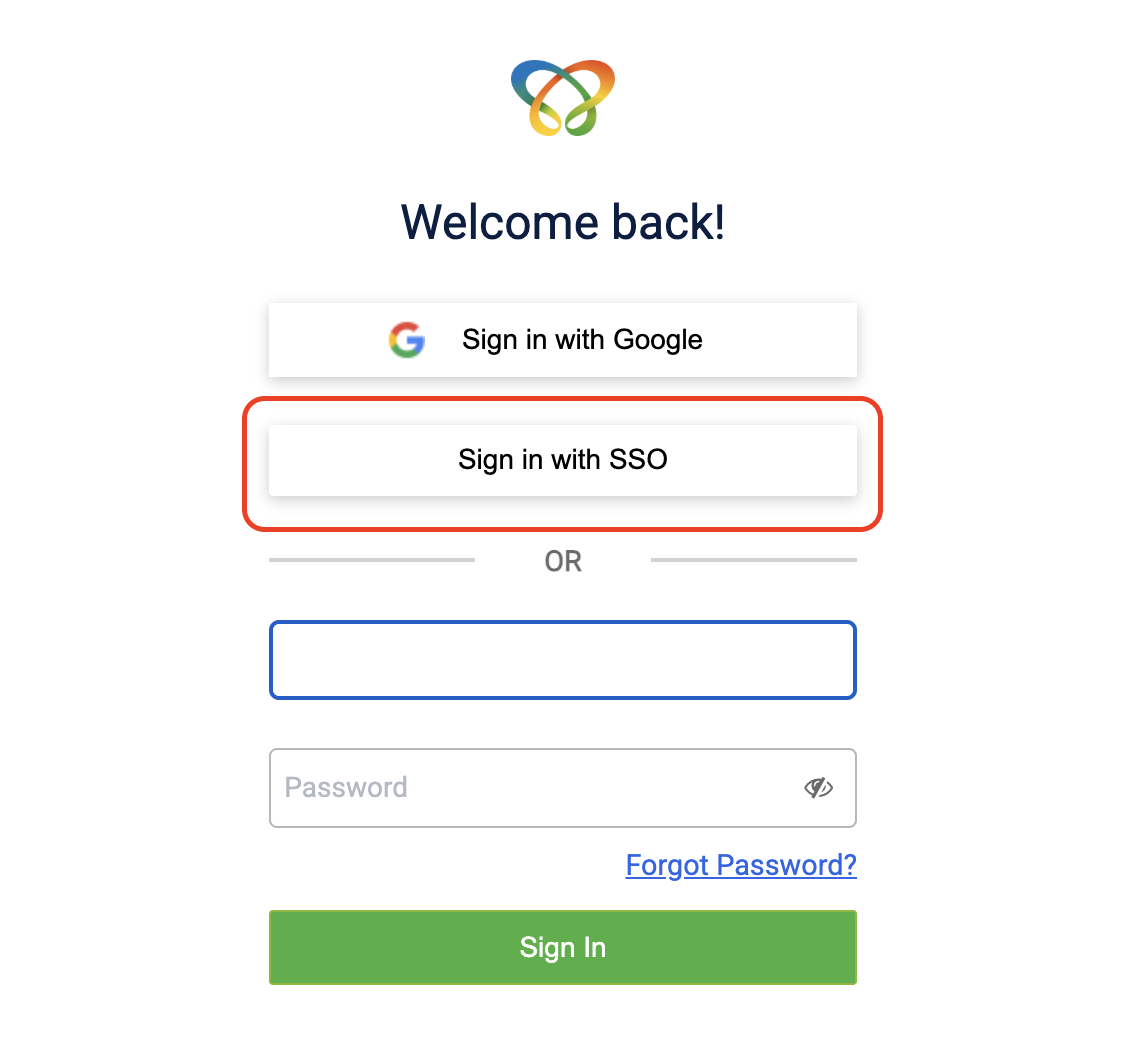
- In Username field, enter a valid email address and select Next. You are redirected to your organization’s Identity Provider (Idp) page to continue authentication.
- On the Identity Provider page, enter your credentials (email address and password) and select Sign in.
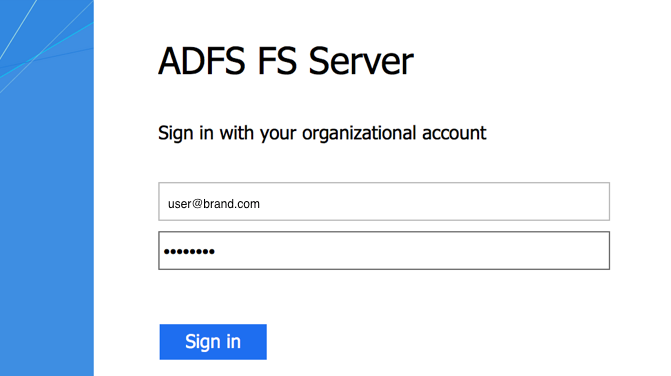
After successful authentication, you are redirected to the InTouch home page.
Configuring two-factor authentication (MFA)
To enable two-factor authentication for your org, raise a JIRA ticket with the Capillary Product Support team. If SSO is enabled, two-factor authentication will not be required.
To configure the two-factor authentication settings, follow these steps:
- Configure MFA settings by navigating to InTouch > Organization Setup > Authentication Configurations.
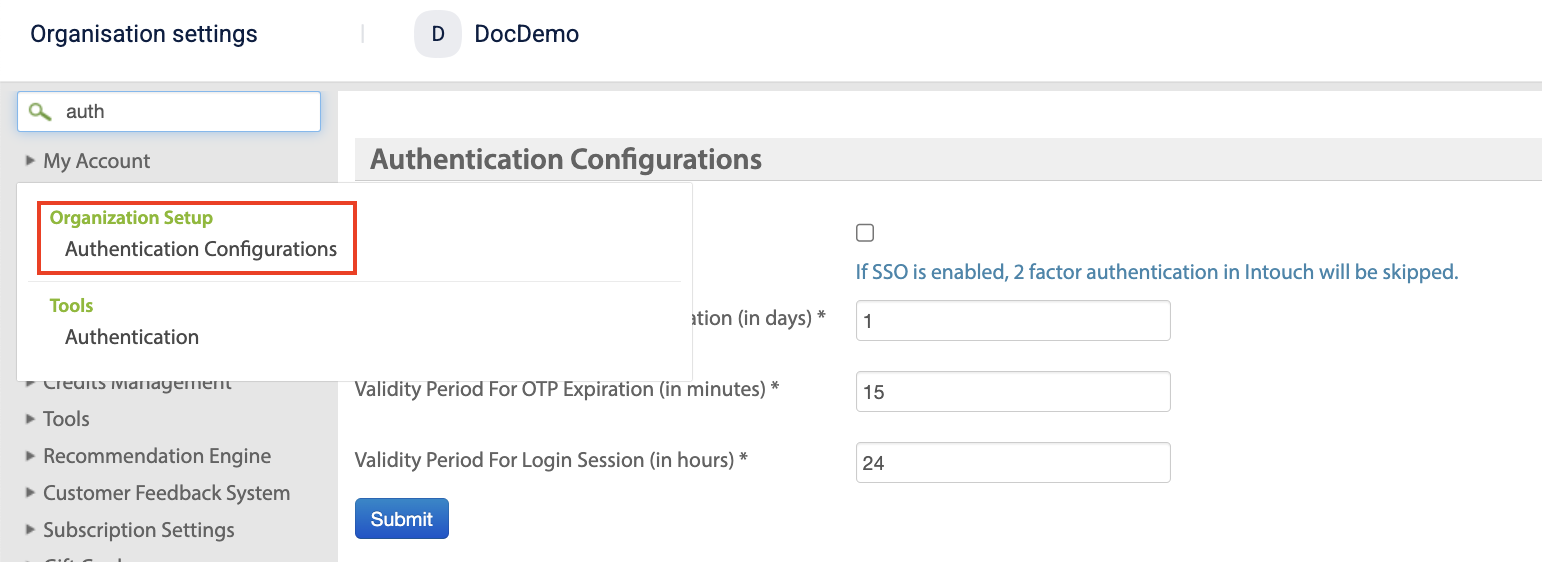
- Configure the following authentication settings:
| Field | Description | Maximum | Example |
|---|---|---|---|
| Validity Period for 2 Factor Authentication (in days) | Specifies how long a user's 2FA authentication remains valid before they must verify again. | 90 days | If set to 1 day, a user who completes 2FA today will not be prompted again for the next 24 hours. |
| Validity Period for OTP Expiration (in minutes) | Specifies how long a One-Time Password (OTP) remains valid before it expires. | 15 minutes | If set to 15 minutes, the OTP sent to the user's email or phone expires after 15 minutes if it is not used. |
| Validity Period for Login Session (in hours) | Specifies how long a user's login session remains active before they are automatically logged out due to inactivity. | 24 hours | If set to 24 hours, the user remains logged in for 24 hours unless they log out manually or the session expires due to inactivity. |
- Select Submit.
Updated 24 days ago