
Configure Delivery Settings
Engagement channels sender details
When you create a campaign and add message, you select the engagement channel through which the message will be delivered to your audience. Along with the channel, you also need to add the sender details. The sender details define the Sender ID, Reply-to Id and Sender Name that will be used to send the message.
To configure the domain gateway and sender details, create a ticket to the Capillary Gateway team. For more information refer to Configure domain settings
To add the sender details on the UI follow the given steps:
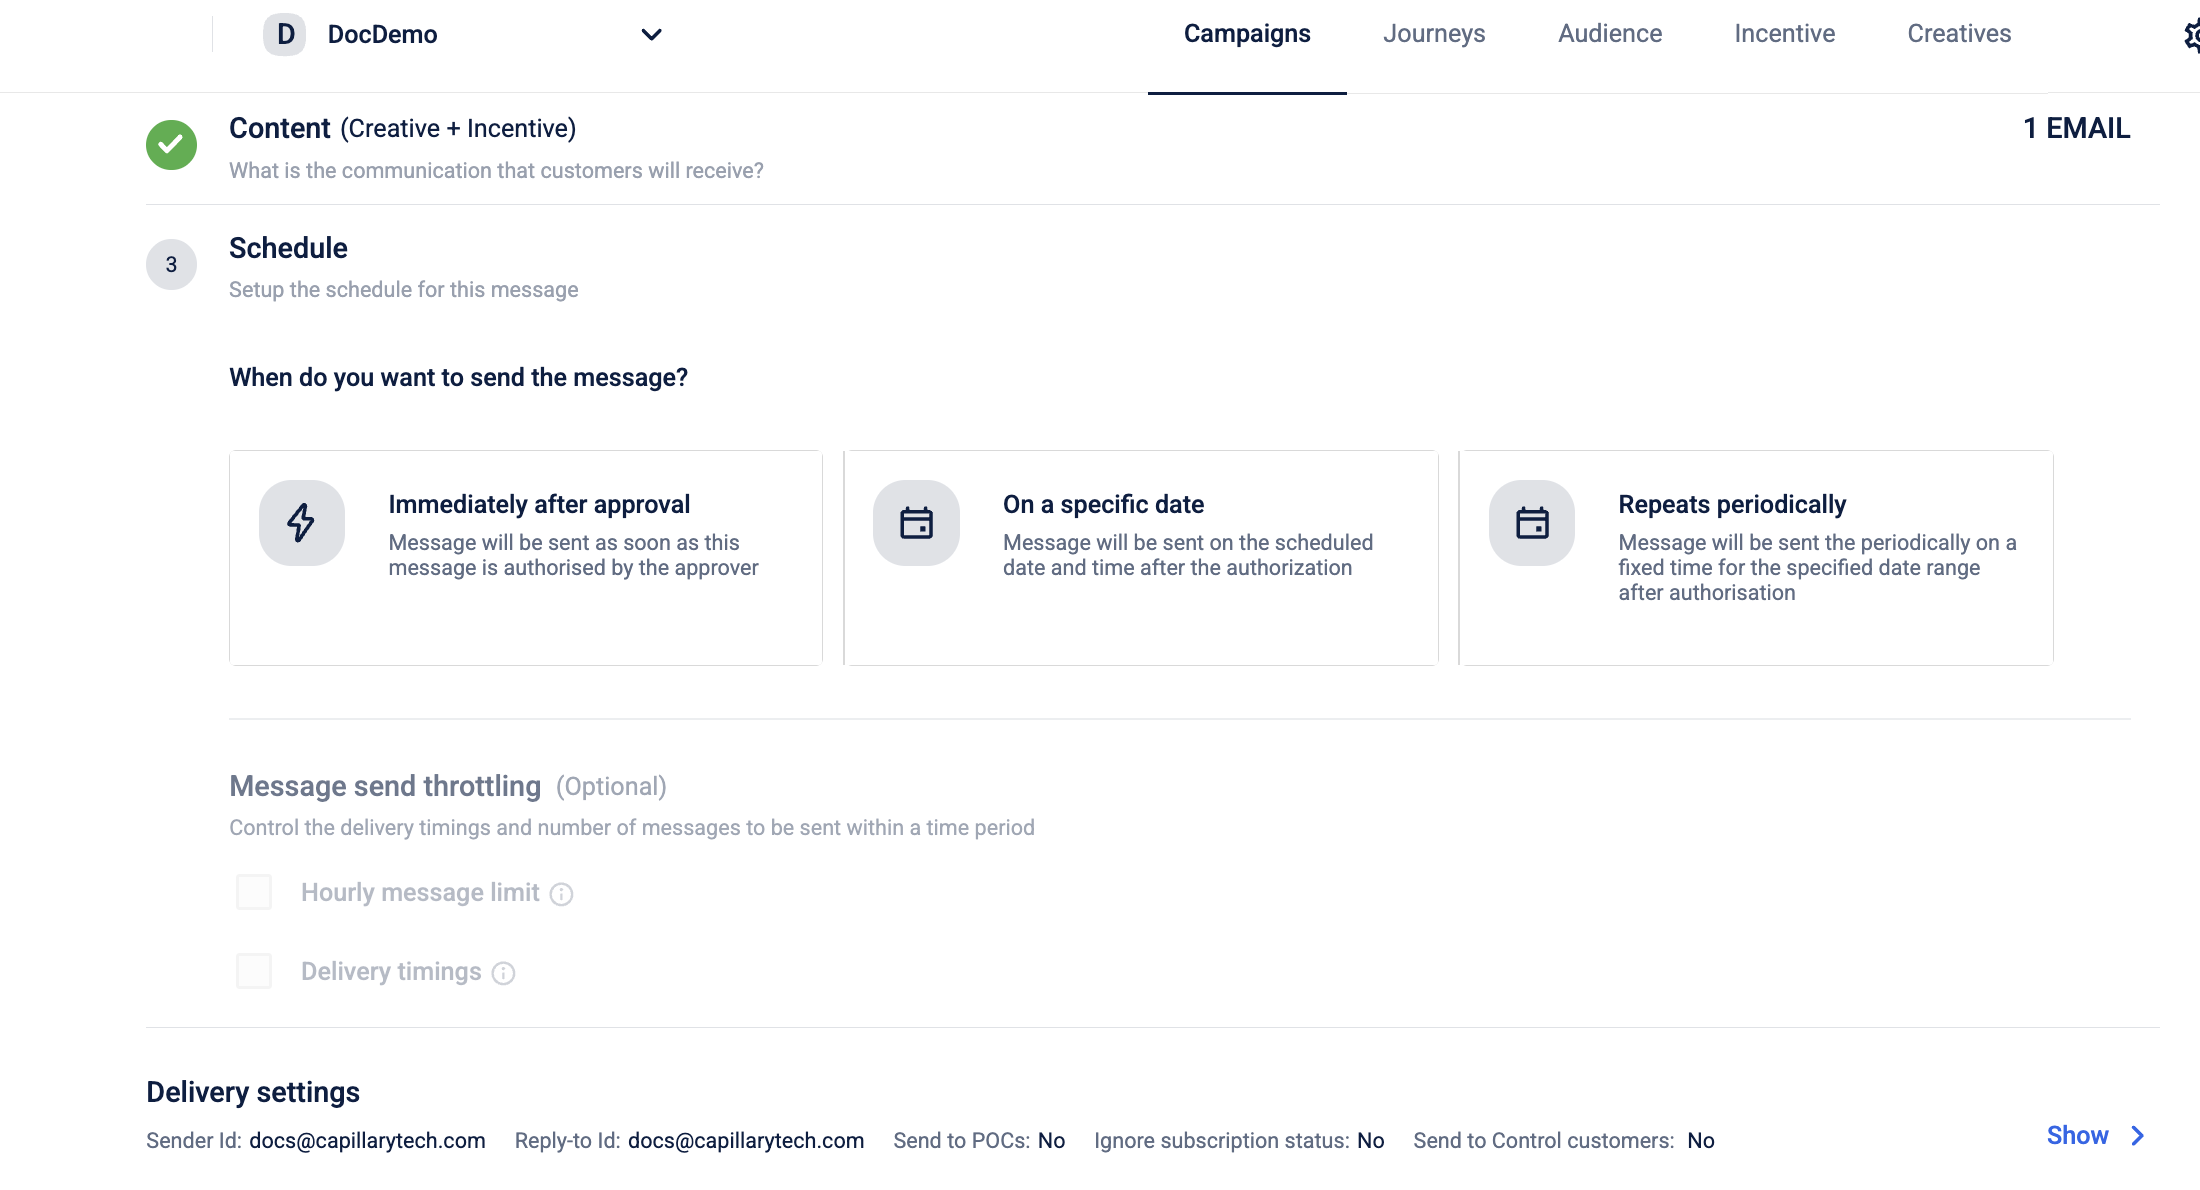
- Create a campaign and then create a message, choose the desired engagement channel and navigate to Delivery settings and select Show.

- Based on the selected engagement channel add the sender details.
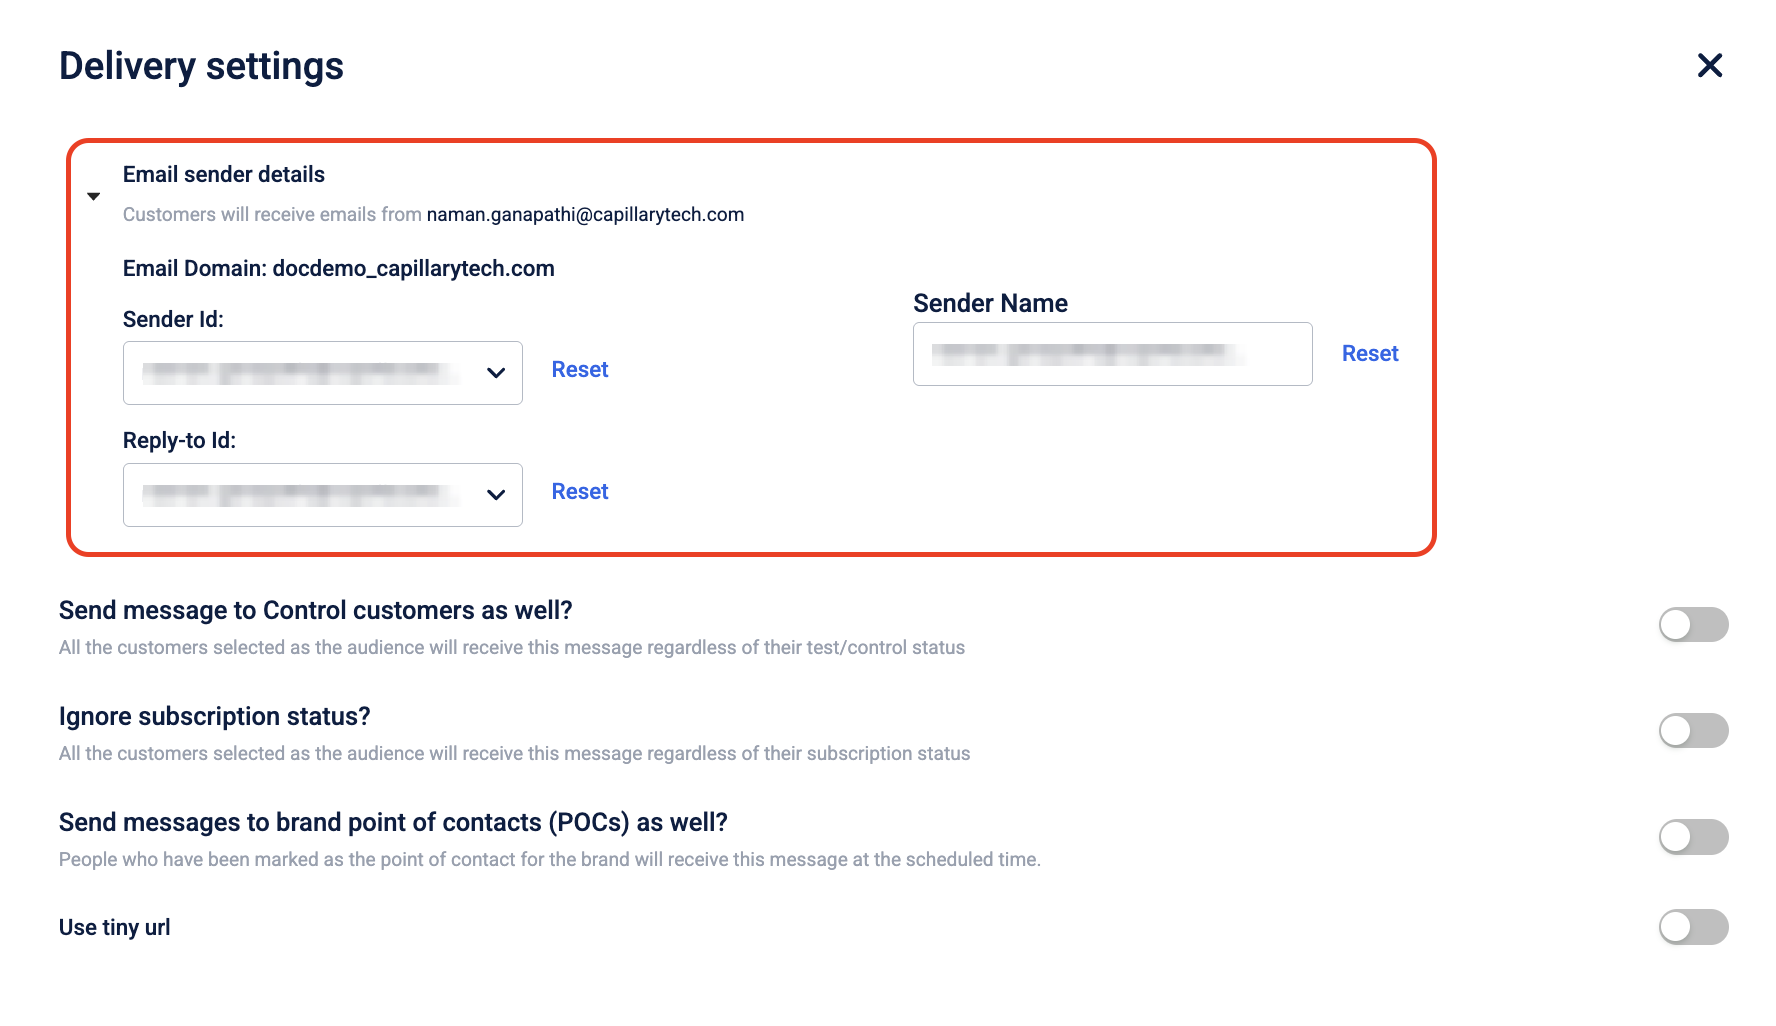
- Navigate to Sender Id and, from the dropdown, select the desired sender Id that you want to use to send the message to the customers.
- Navigate to Reply-to Id and from the dropdown, select the desired Reply-to Id that you want to use to receive customer replies.
- Navigate to Sender Name and enter the name that you want to display to recipients.
- Select Done.
The sender details are added and ready to be used for sending the campaign.
Target DND users
Mobile SMS messages are blocked for users who have marked themselves as DND (Do Not Disturb). By default, messages are not sent to DND users, but you can manually enable messaging for them if required. This is useful for checking reachability if those DND users have opted out of DND.
To allow messages to be sent to DND users:
- Enable the NDNC toggle to send messages to customers subscribed to DND.
By default, this option is not available for all organisations. To enable it, navigate to _{hostURL}orgadmin/administer/{orgID}_ and enable the Send to NDNC Customer option.
Send communication to control customers
In general, Test Audience/Customers are the selected group of customers or audience to whom all communication messages are sent. Control Audience/Customers are the selected group of customers or audience for whom messages are not sent. The brand decides the ratio and group of the Test-Control audience.
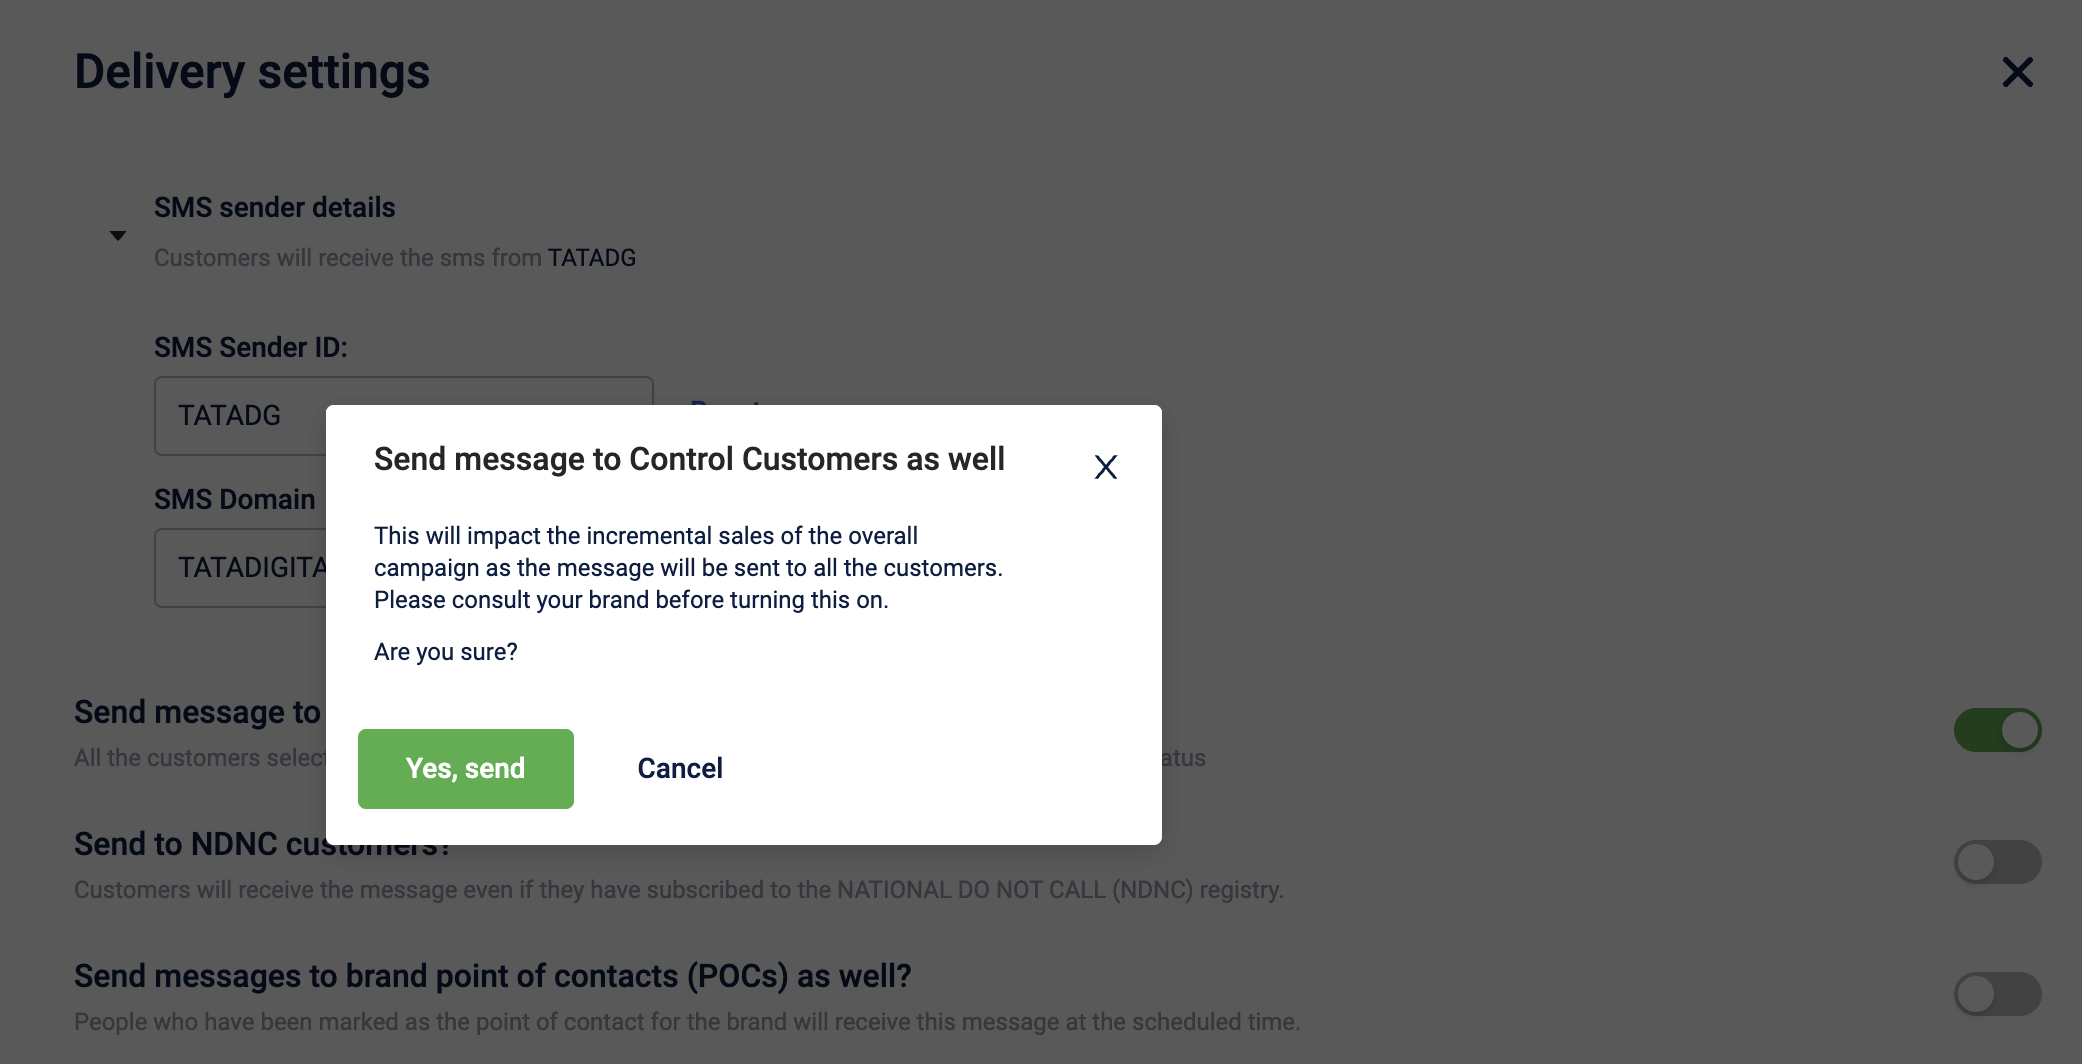
By default, the campaign communication messages are not sent to the Control customers but only to the Test customers. You can turn on the toggle switch to enable sending communications to Control customers.

A confirmation message is displayed on enabling the option. Select Yes, send to proceed.
Use case
You can enable this option in scenarios such as:
- sending communication about a brand's promotional program to all customers
- sending feedback form and collect feedback from all the customers
- sending any emergency communication
- event invitation to all customers
Send messages to unsubscribed users
This feature enables you to send communication messages to customers who have disabled their subscription status. You can set this while configuring the campaign or journey.
When this option is enabled, users who have unsubscribed from a channel are not filtered out from your audience. They will receive the communication if they are reachable on the selected channel.
Note: Use this option only when your use case requires reaching all contactable users, including those who have unsubscribed.
To activate this:
-
From the Campaign configuration page, navigate to the Delivery settings.
-
Set the Ignore subscription status? toggle switch to On.

- A confirmation box appears asking if you want to send the message to users regardless of their subscription status. Click Yes, send to proceed.
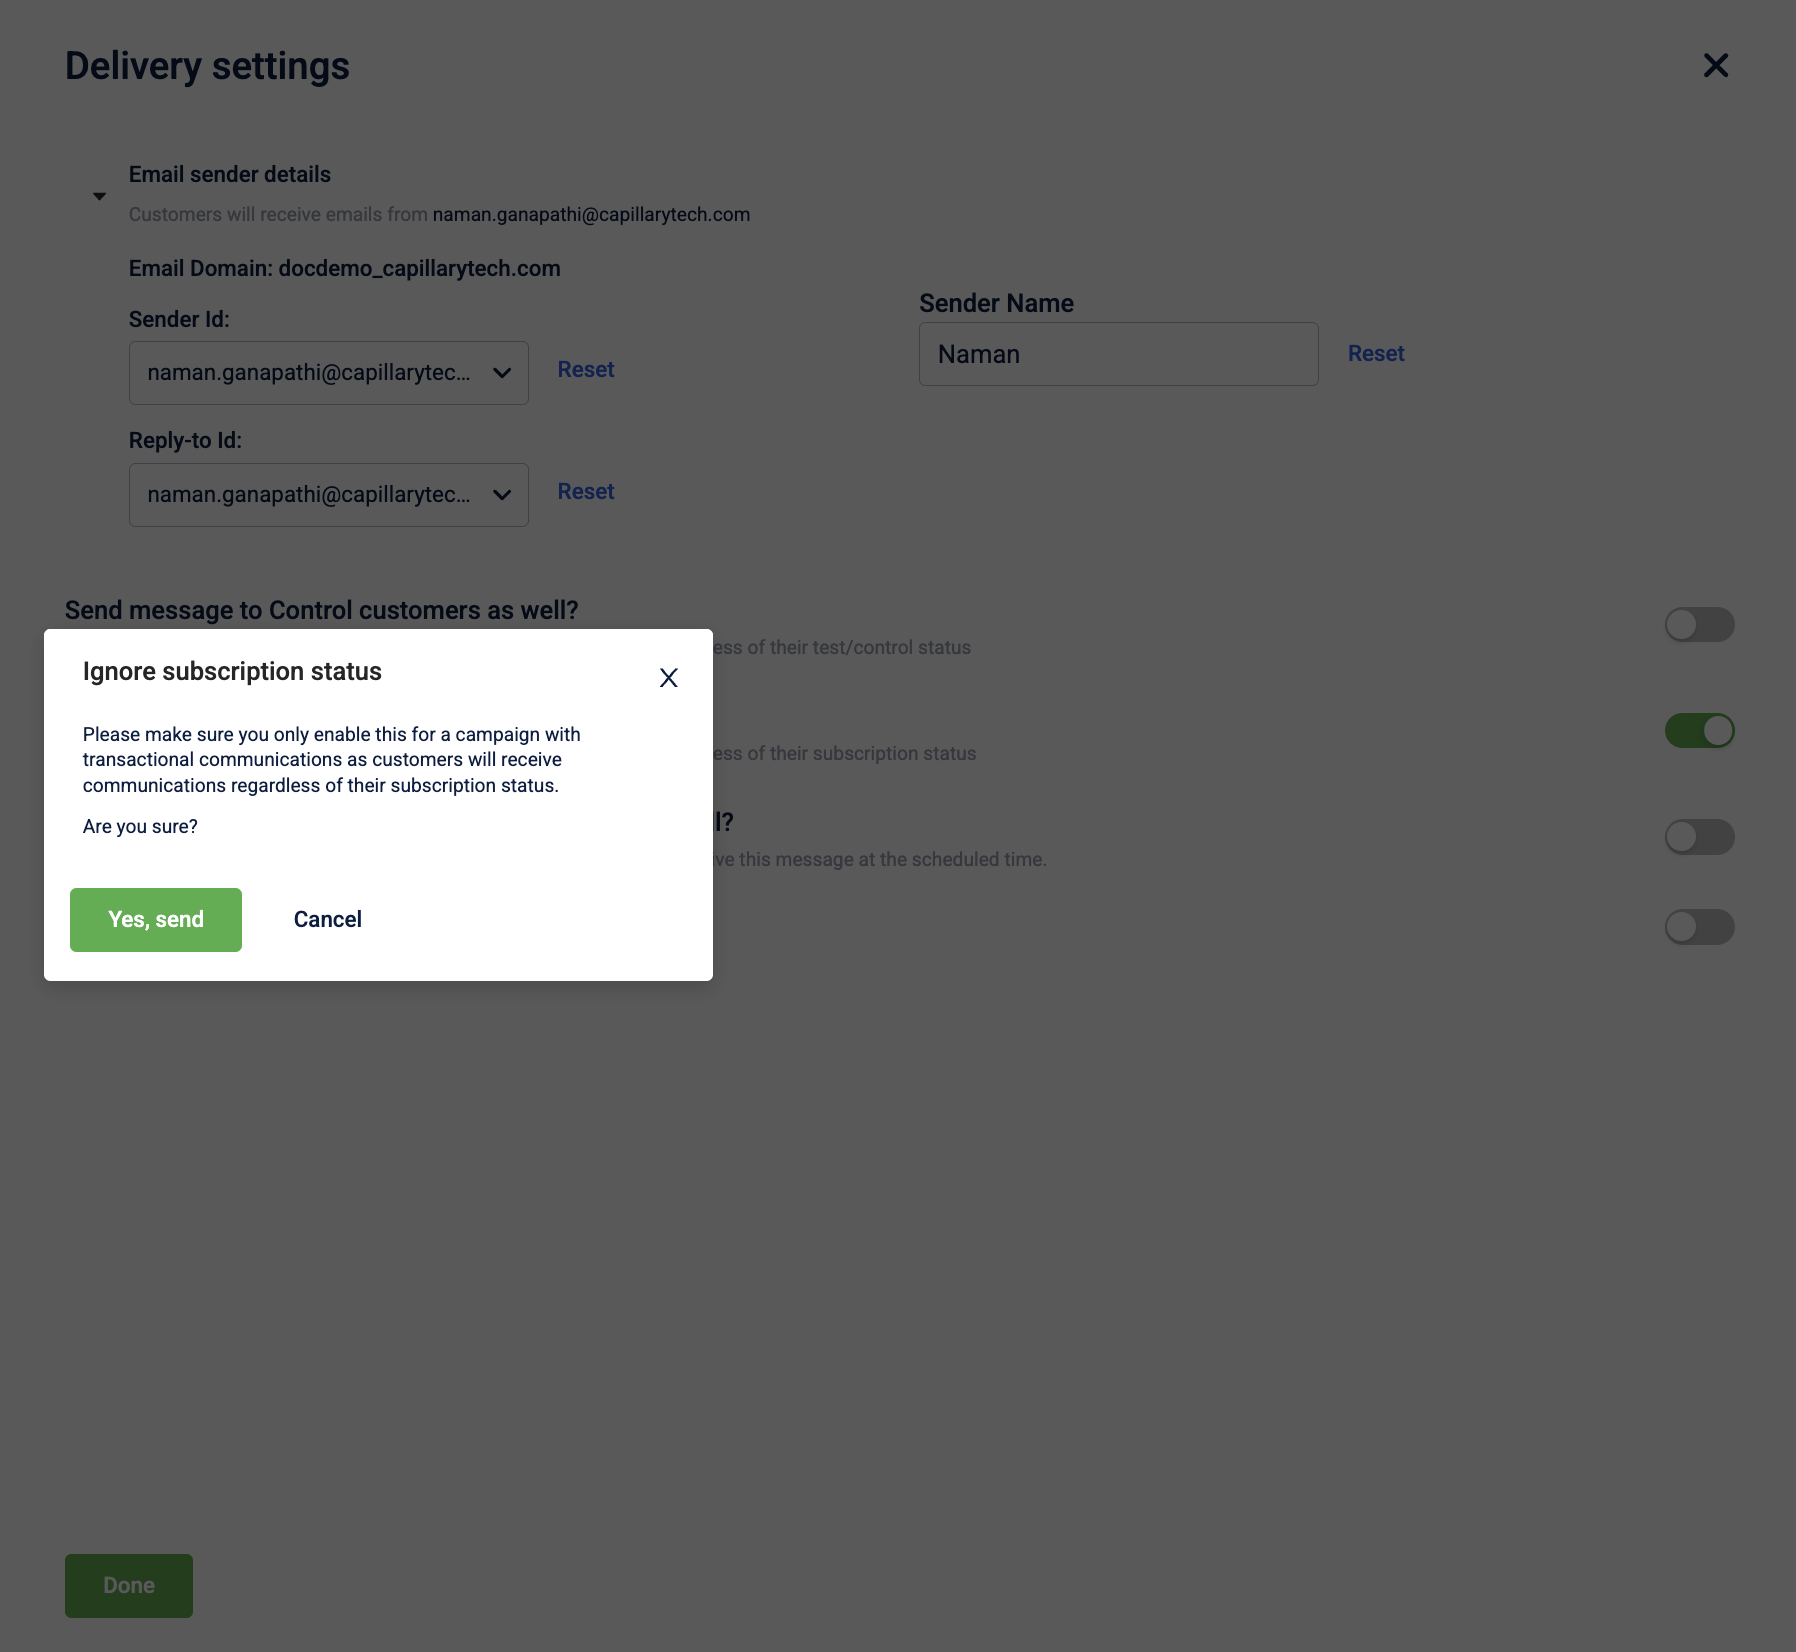
- Click Save.
Shortening URLs in communication messages
This helps you shorten any URL in your communication message when you are constrained by character limits. You can enable Use tiny URL from the delivery settings, and the system will automatically shorten the URL. This is applicable across all engagement channels.

Updated about 2 months ago