Create email content
To create email content, follow these steps.
- In the Content section, click Add creative.
- Navigate to the Email tab.
- To use an existing template, select the template from the list.
- To create a new message, click Create New.
Creating a new email
- Select your preferred option from the following.

A. Upload zip file:
- Select Upload zip file, then click Upload.
- Browse a file (format: .zip, .html, .htm), and then click Continue.
- In the email body; modify the text and formatting, add images and labels, and then click Create. You can also use Liquid language in the messages. You can use Liquid language to send personalised messages, messages based on conditions, product recommendations based on last purchase, etc. For more information, refer to the detailed documentation on Liquid language.
You can also use the organization custom field to use dynamic header, footer etc according to the organization. This can help in a connected org set-up. Refer to the documentation here.
B. Create using the editor:
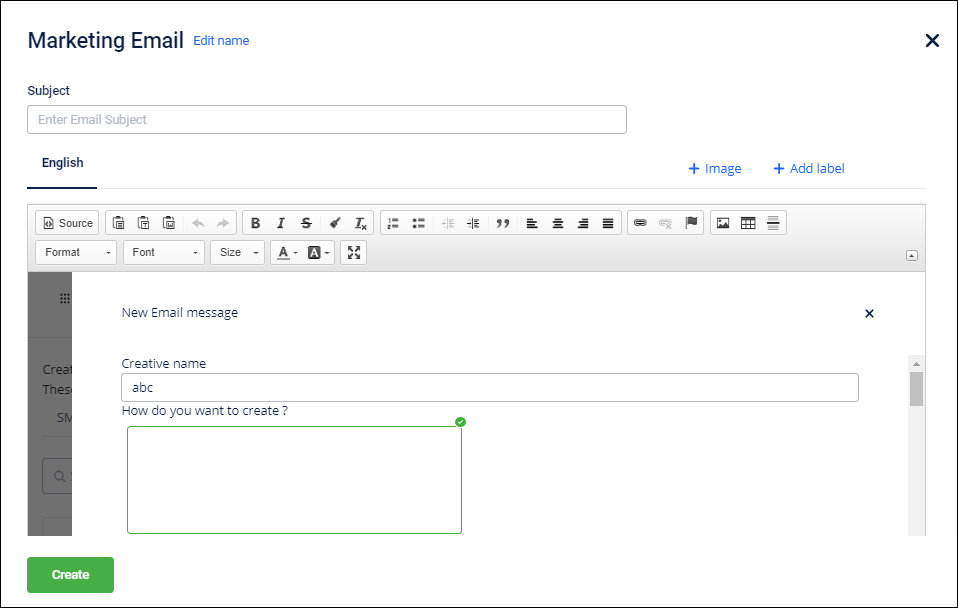
- Select Create using editor, then click Continue.
- Click the appropriate Select option - either to Select from scratch on the appropriate template.
- In Subject, enter the email subject.
- In the email body; modify the text and formatting, add images and labels, and then click Create.
Notes
- You can also create email content from the Create message section.
- Unsubscribe tag is compulsory to include. To know more about each tag, see Message content section. You can raise a Jira ticket, if you want this to be optional.
- Click Preview to preview the email content and design before sending.
- Click Test message to test the message by sending it to your preferred email IDs or test user group before sending it to the actual recipients. Add email IDs or test groups accordingly.
- Rows tab
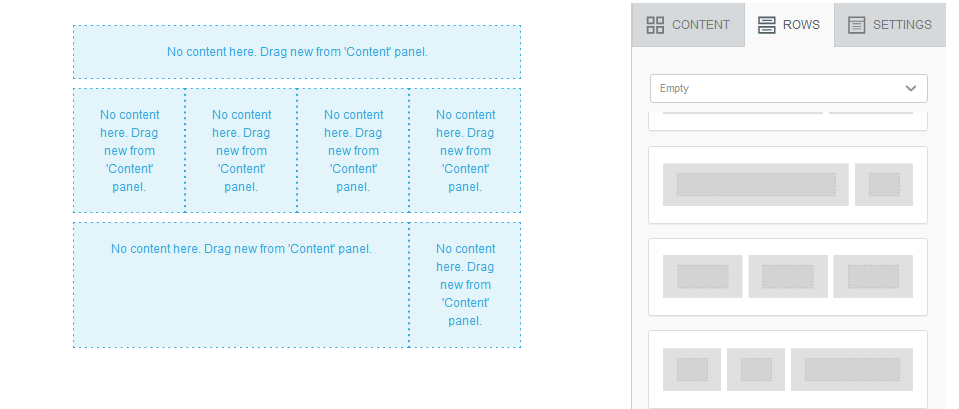
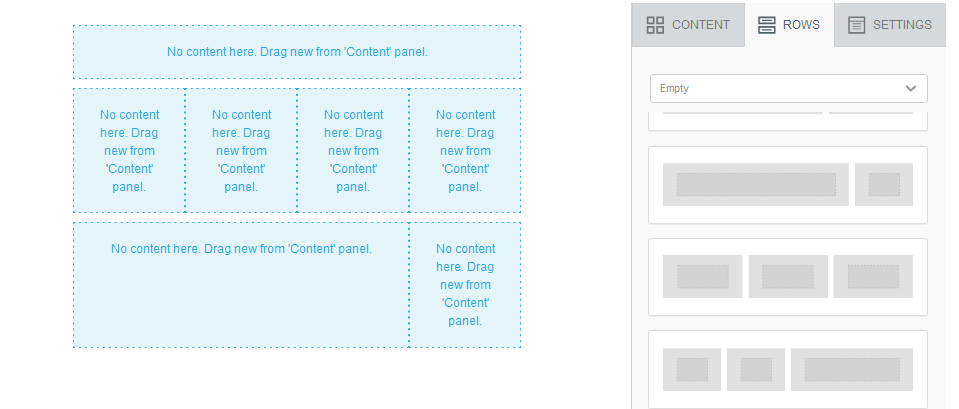
To design the layout, click the Rows tab on the right panel, drag, and drop it to your preferred position on the mail body. Similarly, you can add more rows as required.
Note
There are various rows available each with a different dimension.
- Content tab
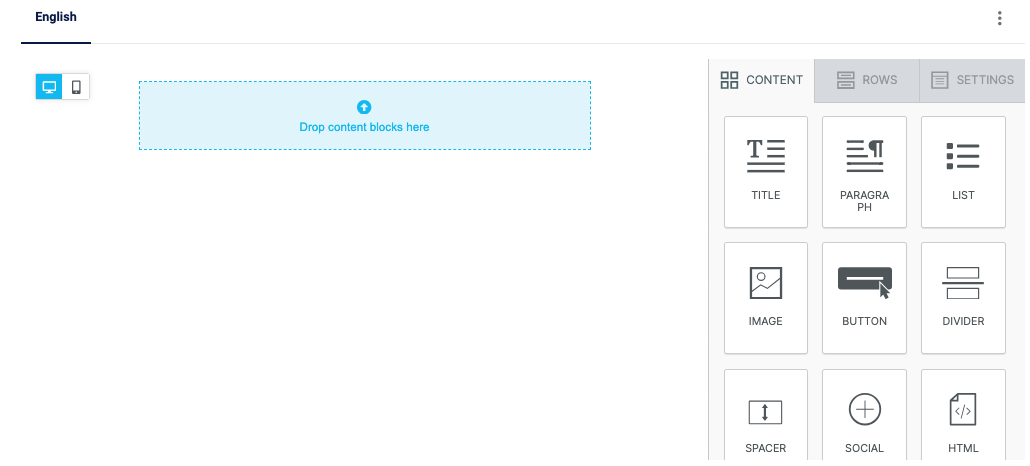
Use the Content tab to add text, images, buttons, divider, social network links, HTML code, videos, and more to the email body (each row).
Drag and drop the required content block to the desired position in the body.
You can also include a barcode which will have the customer's loyalty identification information. This can be included in the email during a customer registration email or any other updates or campaigns in the email. For more information on barcodes, refer to the barcode documentation.
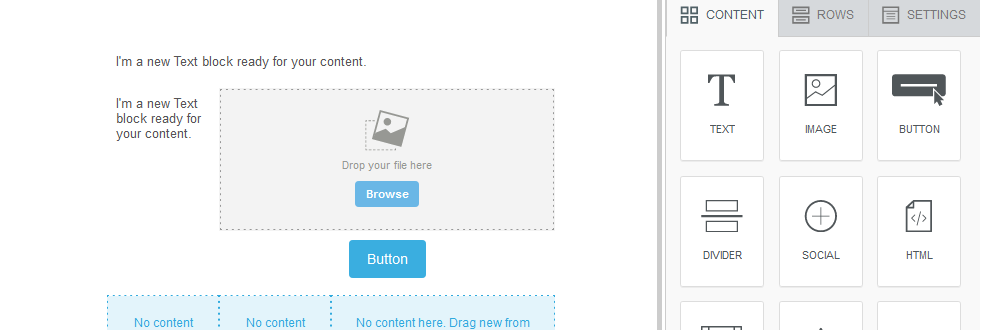
Content Blocks
Block | Description |
|---|---|
Title | To include a title |
Paragraph | To add text. This is similar to the text block. |
List | To add a list. |
Text | To include a text message. |
Image | To add images from the library or your local system. |
Button | To add action buttons such as Click here, Submit. |
Divider | To add columns to a row (divide a row into columns). |
Social | Include Social Channel icons to navigate recipients to the organization's social platforms. You need to link the respective URLs for each social channel icon (Facebook, Twitter, Instagram, and LinkedIn). |
HTML | To insert HTML code blocks in the template. For example, HTML tags, headers, hyperlinks, and more. |
Video | To embed a video in the email. Add a video embed link in the input box. For example, you can embed a video representing specific information about the brand or product or brand ad. |
Icon | To add an image icon in the email body. An icon, a small image, or a symbol is usually used for the brand or product logos. Add an icon from the library and modify it as required. |
Menu | To insert a menu bar in the email body. A menu is a navigation bar with links to each menu option. You can configure multiple menu items if required. |
Stickers | To include stickers from the library. |
GIFS | To add animated images or GIFS from the library. |
Block Options
| Content Properties | Description |
|---|---|
| Padding | Use to add an additional margin to the content on all sides (Overall) or each side of a box - Right, Left, Top, and Bottom. |
| Hide on | Hide on feature enables you to show the content on your preferred form factor. You can choose to hide content either on desktop or mobile. |
- Toggle between code view and normal view
To switch to the code or editor mode, hover the mouse and click Switch editor.
Note
In code mode, you can only see editor design email using HTML code. Repeat the previous step to switch back to Drag-N-Drop editor mode.
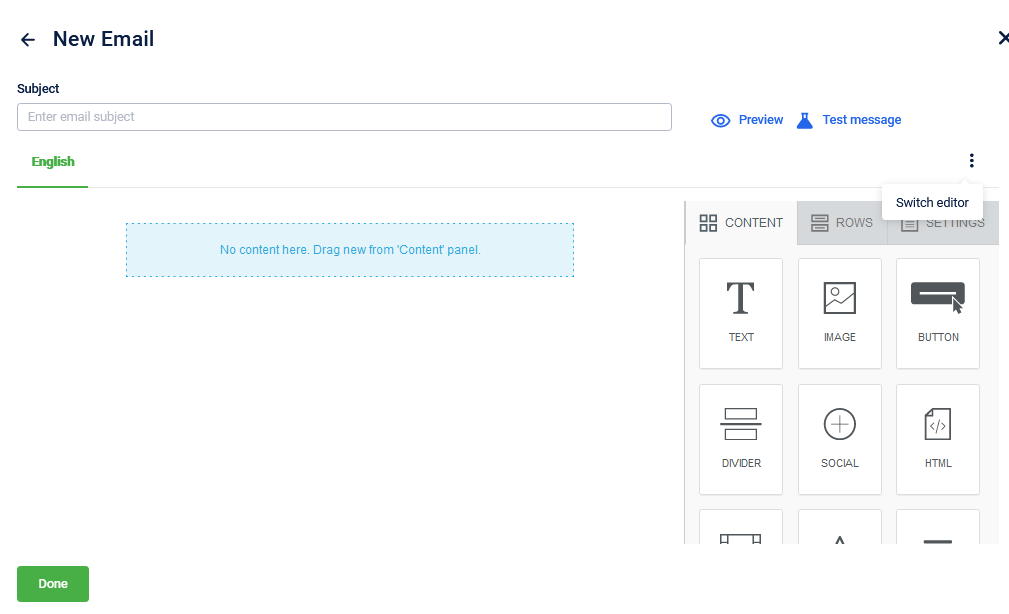
Note
After selecting the content block, you can view all the content properties and block options to modify the content.
For example, Font style, Font color, Bold, Italics, Alignment, Add bullets, etc.
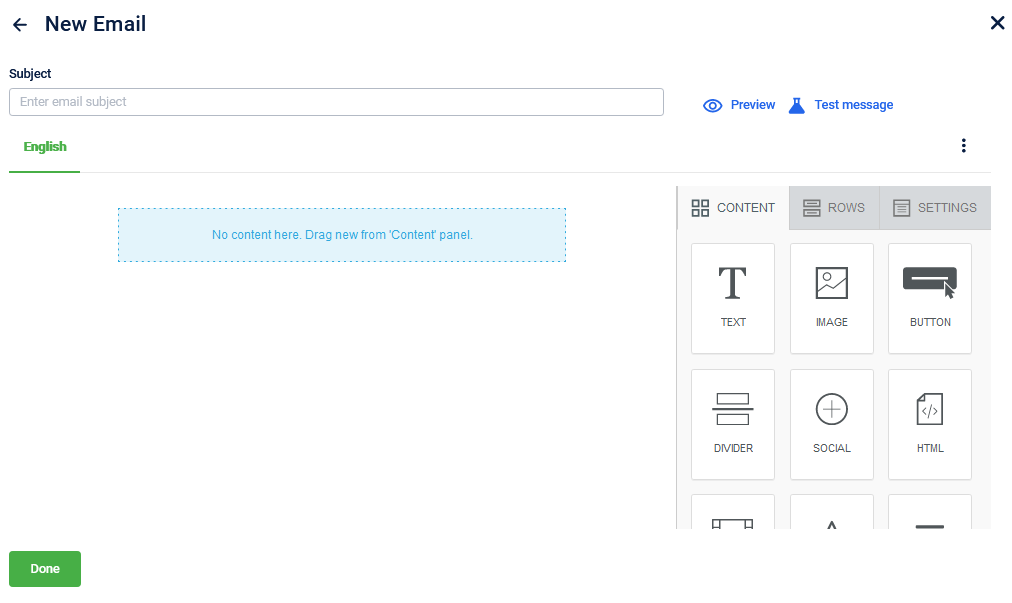
Preview and Test mode
- Preview: Use to view the email content and design in advance before saving the message..
- Test message: You can send a text message to a test group to review the content and design before sending it to the actual audience. You can send it to your preferred email IDs or to a test user group.
Updated 2 days ago
