Configuring the staff counter switch
The Staff Counter is a switch that lets you track store persons' in or out count. Our technicians will decide which way to track based on the feasibility and accessibility. The staff is required to press the switch before entering the capture area for in count tracking or after crossing the capture area for out count tracking.
Where to install the switch?
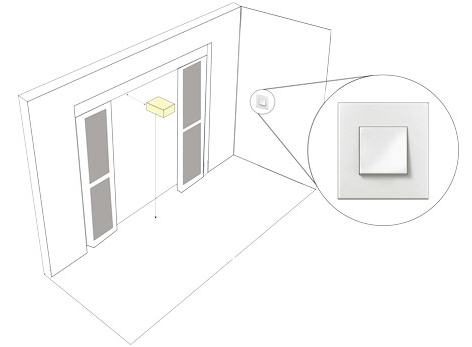
It is recommended to install the switch at the entrance just before the VisitorMetrix's capture area starts.
How does the switch work?
The store person needs to press the switch and cross the capture area immediately for a staff walk-in count or walk-out from the capture area and then press the switch for a staff walk-out count. For an instance, if a count is recorded in Staff Counter but not in VisitorMetrix then the count is ignored as a false count.
How does VisitorMetrix eliminate duplicate entries?
In an instant, the number of counts of the Staff Counter should not be more than the count tracked by VisitorMetrix. For example, in an instance, if the switch is pressed 5 times, but only 2 counts are tracked by VisitorMetrix immediately, then the system automatically ignores the remaining 3 false counts and considers only 2 as staff count.
Prerequisites
To configure the device, you need to have
- MAC address provided along with the device
- InStore installed on any of the POS machines
Configuring the Device
- On InStore, click FFC. InStore automatically fetches the device and shows on the FFC screen.
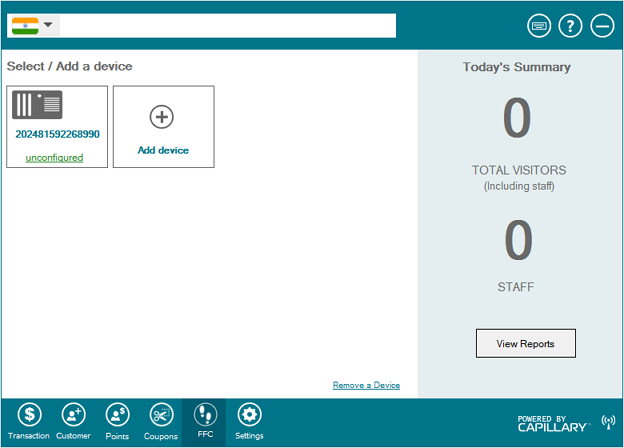
You will see the list of devices available.
- If the Staff Counter switch is not detected automatically, click Add Device
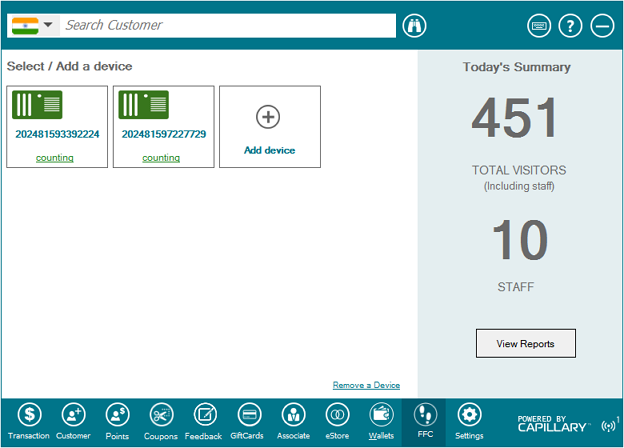
- Click Staff Counter Setup
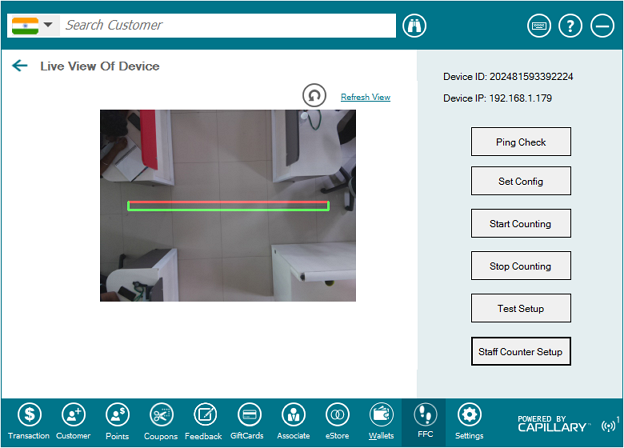
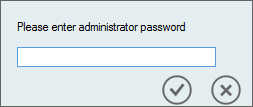
- Enter the admin password and click
- Specify the MAC address of the switch in Enter Device Id to be paired with the FFC
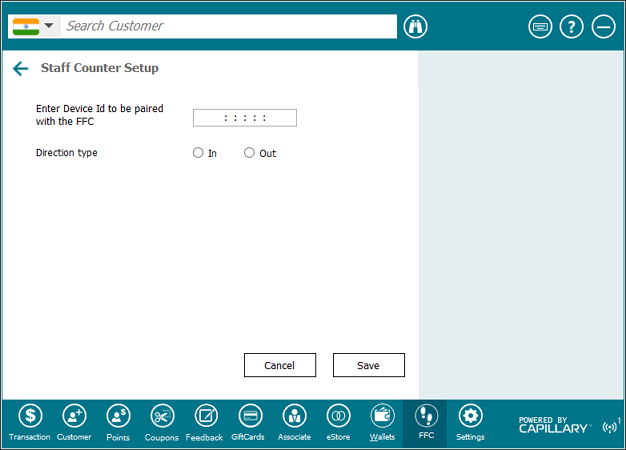
- Select In to allow the switch to capture walk-in count [or] Out to capture walk-out count
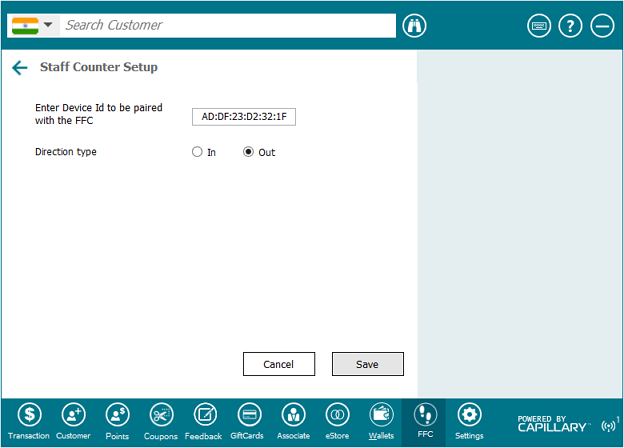
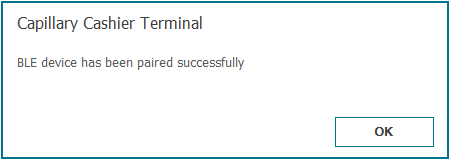
- Click Save
Updated 7 months ago
