Create a Campaign (New UI)
Learning Objectives
After reading the article, you would be able to:
- Create a Campaign to Engage any user base
- Get a Campaign Approved
Introduction
Note
Once a campaign is executed, it cannot be stopped. For support, raise a ticket to the Capillary Sustenance team.
Engage+ new UI consists of a single campaign creation flow with different content strategies. You can create a campaign either for the org or an org unit. There are three different user roles for org unit access.
- Access to parent org and its org units.
- Access to multiple org units but not org.
- Access only to a specific org unit.
Note
- To create a campaign for an org unit or org, ensure that you have the necessary permissions.
Campaigns created on Engage+ can be used to reach out to customers through Omnichannel mediums like Line, Viber, SMS, Email etc.
Create a Campaign
To access Engage+'s new UI, follow these steps.
- Log on to InTouch of your cluster and navigate to Engage+ from the menu.
- To create a campaign for an org unit, click on the highlighted dropdown and select the org.

- Now click New campaign.
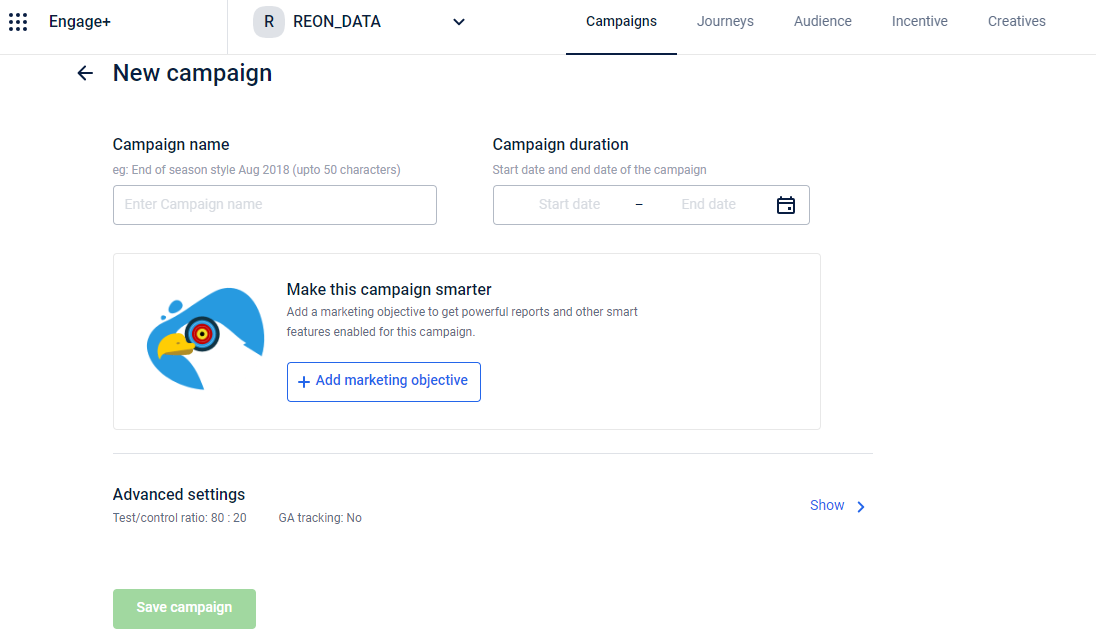
You can see the selected org unit throughout the campaign creation process.
- Enter a Campaign name and select a Campaign duration using the calendar.
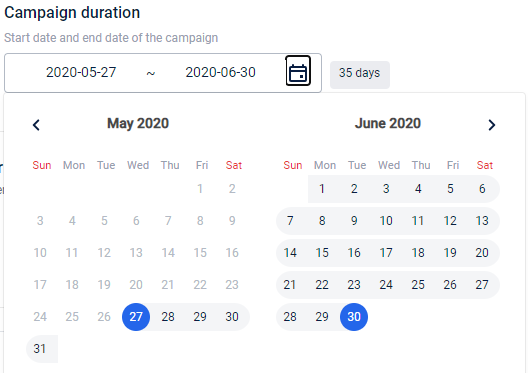
- Start date: The date from which the campaign and all other associated coupons/offers will be valid.
- End date: The date after which the campaign and all other associated coupons/offers will not be valid.
- Click +Add marketing objective to tag a marketing objective to the campaign. This helps classify the campaign to achieve better automation and reporting. To know more, see Marketing objective * To modify the campaign level test and control ratio and add a Google Analytics account, click Show of Advanced settings. To know more, see Advanced Settings
- Click Save campaign.
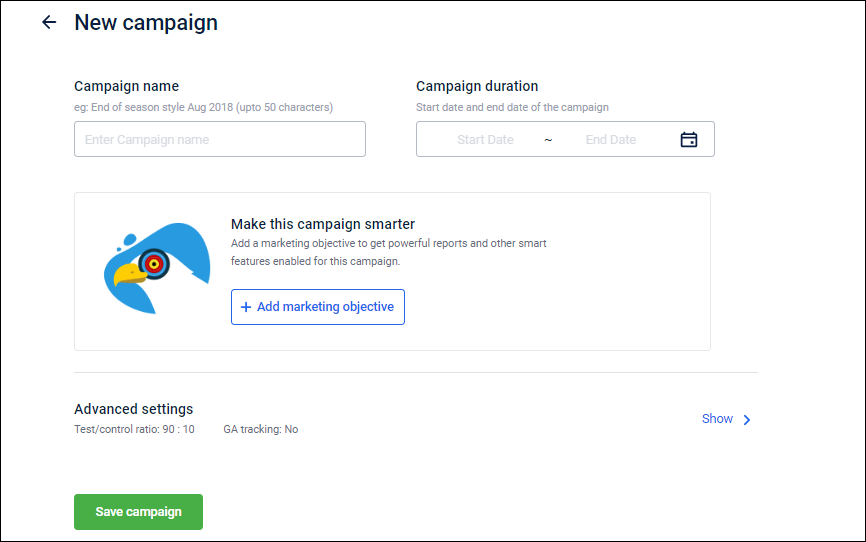
- Click New Message to set up other things such as audience, content, delivery settings, and schedule the campaign.
- Enter Message name, select the Type of messages, and Optimization strategy and click Next to continue. For more details, see Create a message
- Click Add audience group to add recipients for the campaign. You can create an audience list in the following ways - Create Segments using Filters , Create audience group by uploading csv , Audience combined list and Audience split list.
- Add Campaign content (Create SMS Template , Create Email Content , Create Mobile Push Template , Call Tasks , Create Facebook Template , Create RCS Template,Create WhatsApp template, Create Line Template, Create Viber Template, ) that you want to send.
- To issue points or coupons through the campaign, click +Add incentives, and select your preferred offer, points strategy, promotion or gift voucher.
- To create a new offer comsee Create Offer
- To create a new points strategy, see Points strategy.
- To create a new promotion, see Cart Catalog promotion.
- To create a new gift voucher, see Gift Voucher.
- Schedule the campaign on your preferred date. You can also set to run the campaign repeatedly at equal intervals. For more information, see Schedule Message .
- After setting up all the required parameters, in Delivery settings, click Send for approval. An email is sent to the admins of the org with the subject
Alert! Campaign approval needed.
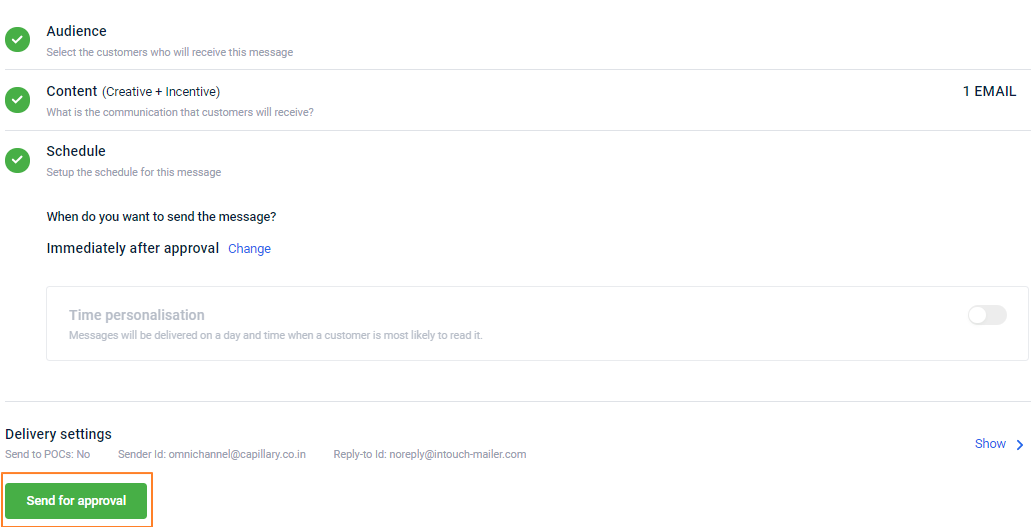
- See the following section to know how to approve a campaign.
*Once the admin approves the campaign, the campaign will go live as per the schedule. You will also receive a notification over email stating the Campaign message is approved.
Approve a Campaign
Only authentic users of the org can validate and approve campaigns that are created.
To approve the campaign, click on the campaign that you want to approve.
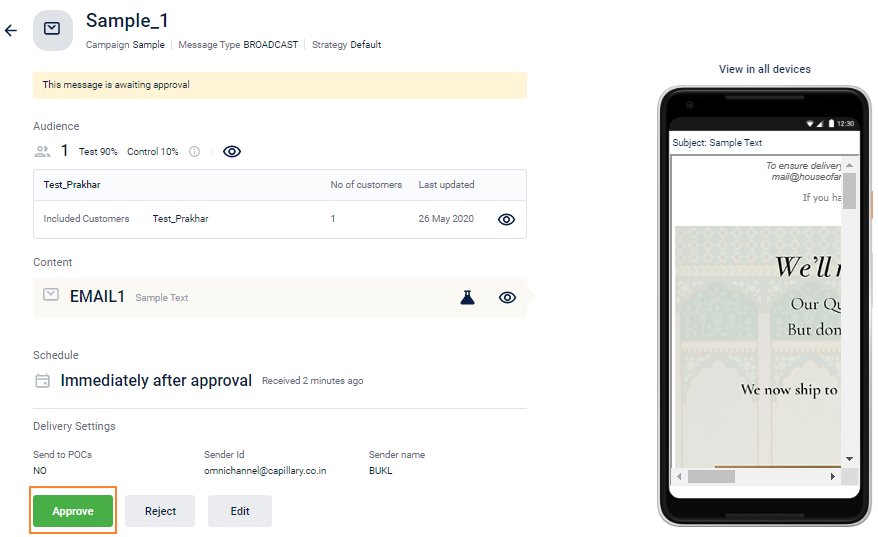
Verify the campaign details. Click Edit to modify the campaign details if required and Click Approve to approve all the campaign messages. For a detailed help guide, see Approve a message
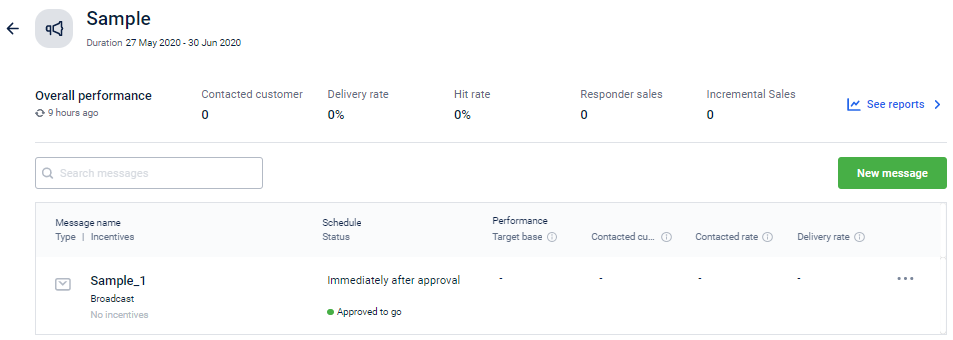
If you want to make any changes to the campaign, click Edit to modify the campaign and send it for approval again.
Notes
- You can add more messages to a campaign using New message button.
- You can also Reject a campaign that you wish to ignore.
Updated 4 months ago
