Configuring VisitorMetrix through InStore
Once the device is installed, you need to configure the device through InStore to set up the capture area and shoulder width. So, you need to have InStore on any POS machine with FFC tab enabled.
To configure VisitorMetrix:
- Login to InStore and navigate to the FFC tab. InStore starts fetching the devices automatically.
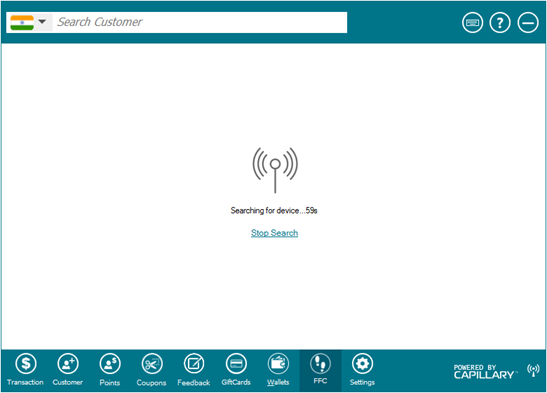
- If the device is not identified automatically, click Add Device. You will see the new device with status Unconfigured as shown below.
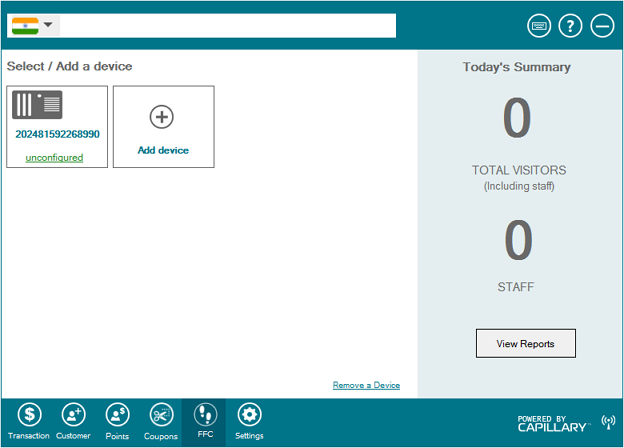
- Click on the device that you want to configure
- Click Ping Check to check the connection between InStore and the FFC device
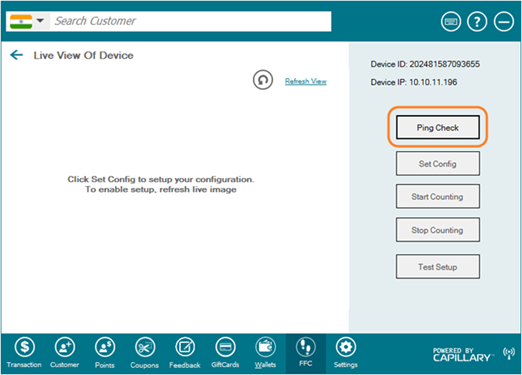
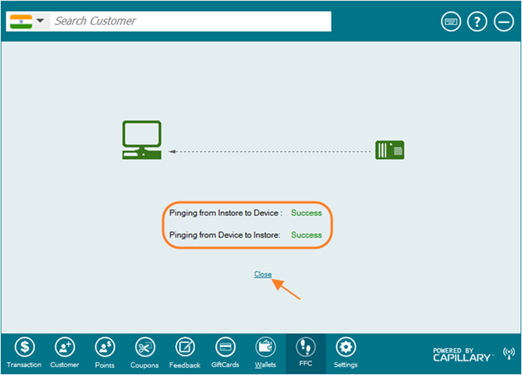
- Ensure that the connection between the device and InStore is established successfully and click Close to go back the Live View of Device screen
Click Refresh View to see the live view of the device.
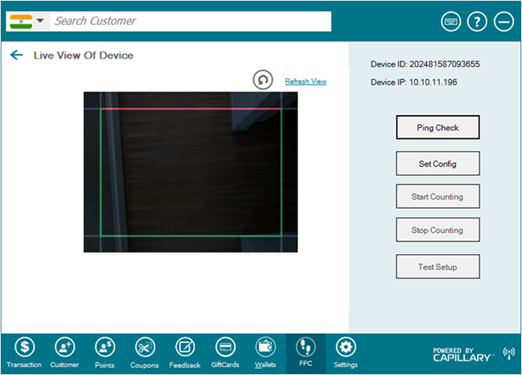
Note: A movement from red line to green line is a walk-in count and vice versa is a walkout count
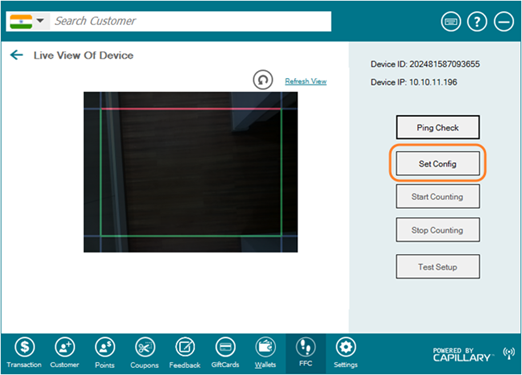
- Click the Set Config button to configure the camera view, enter the device password and click
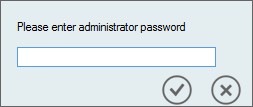
- Enter the device password and click
- Adjust the capture area using Standard or Custom adjusters as explained below
- Standard: Adjust the capture area from the center of the device by dragging the slider of each side to the desired position. Ensure that the red line is parallel to the entrance.
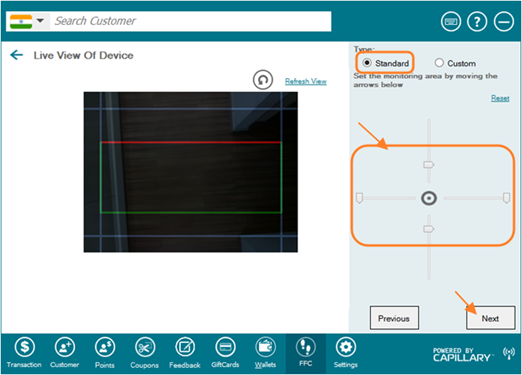
- Custom: You can customize the capture area using the using the six edges available. Hold and drag edge to the desired position. Ensure that the red line is parallel to the entrance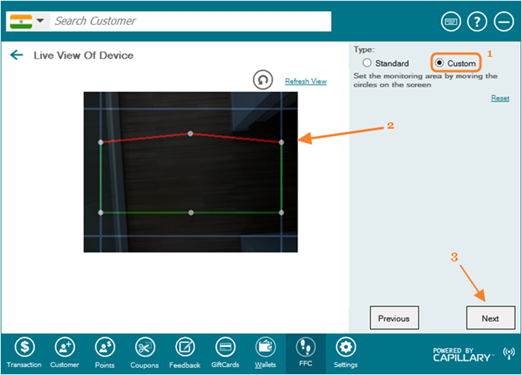
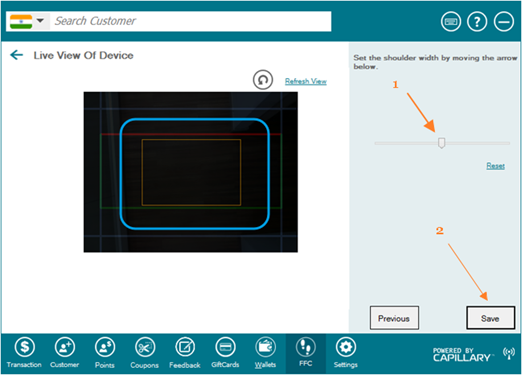
- Set the tentative shoulder width of a person using the slider (based on the ceiling height)
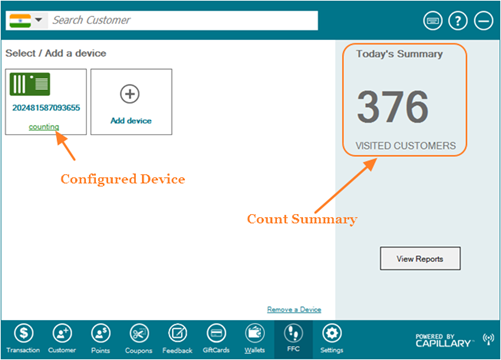
The device should be integrated with InStore successfully and you could see the live count.
To test if the device is working properly, on the live view of the device screen, click Test Setup and have someone to enter and exit the store.
You should be able to see the exact count.
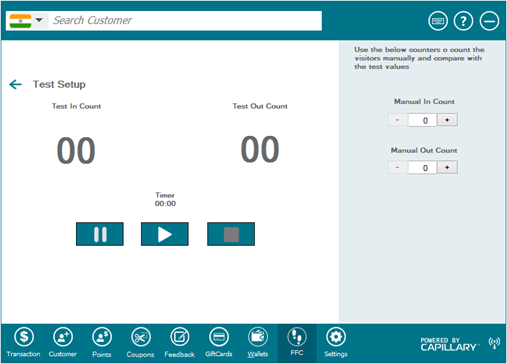
Click the Stop button to exit the test mode
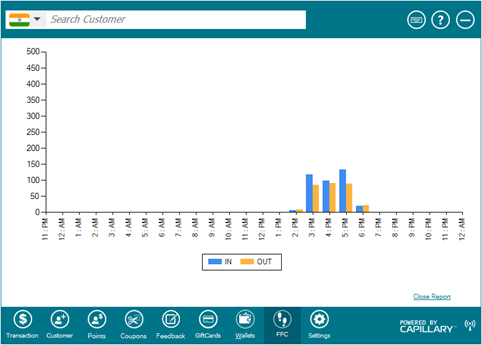
To see a detailed report of footfall count, click View Reports.
Updated 7 months ago
