Xiaomi push notification (Push Amplification)
This page provides you with information on configuring push notifications on Chinese OEM devices.
Push notifications often go undelivered to some app users due to device-level restrictions on certain Chinese OEM devices. The Capillary Android SDK addresses this issue by sending push notifications through both Xiaomi Cloud Push and Firebase Cloud Messaging (FCM) push services, increasing the likelihood of successful delivery. If a message is successfully delivered through one of these push services, the notification from the other cloud service is suppressed. No priority is defined, and there are no changes to the current FCM flow. This ensures that users receive the push notification only once.
To prevent unnecessary additions to the application, separate modules for each push service are available. You can integrate the appropriate module based on the types of devices used by your application's users.
Integrating Xiaomi Push SDK
Perform the following:
-
Register as a Xiaomi developer on the Xiaomi website.
-
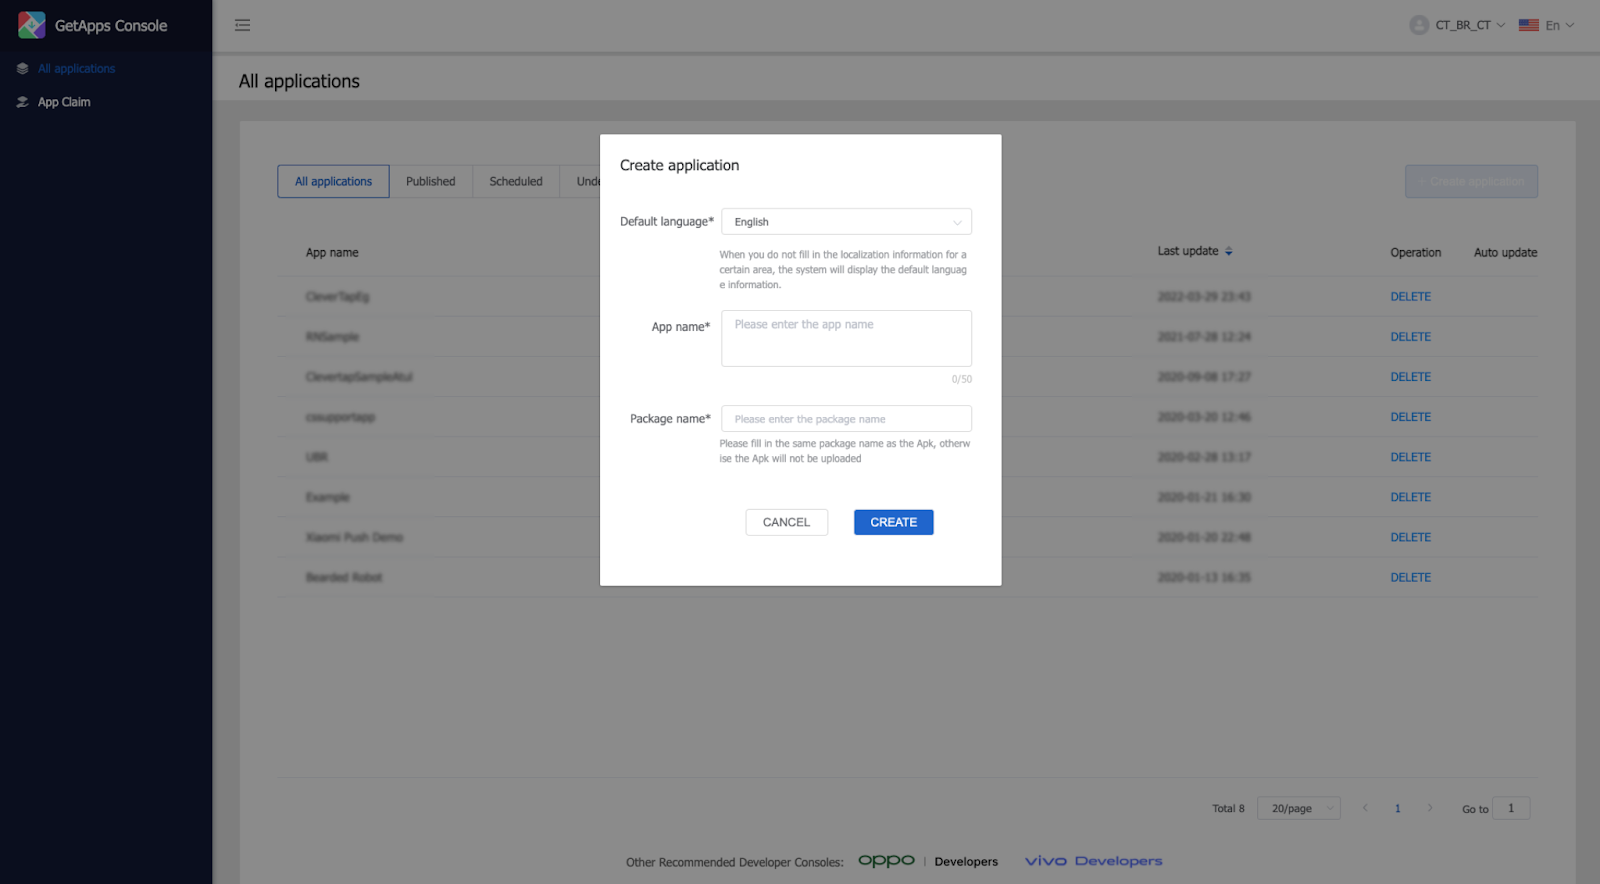
Create app. To create, Log into the console, click Create App, enter the required details and click CREATE.

-
Click on the App name and retrieve the app's Package name/App ID / AppKey / App Secret.
The App ID and App Key serve as the client's identity during client SDK initialization. The App Secret is authenticated for sending messages on the server-side.
-
Log into the Mi Push Operational Console and enable Push.
-
Add dependency of the Mi SDK.
-
Download the Mi SDK.
-
Add the downloaded Mi SDK to the "libs" folder of the application module in your project.
-
Include the following configuration in the
build.gradlefile of the app module:android { repositories { flatDir { dirs 'libs' } } } dependencies { implementation fileTree(include: ['*.aar'], dir: 'libs') } -
For the new project structure (applicable from the Android Gradle plugin version 7.0.0 and above), add the following in the
dependencyResolutionManagementblock of yoursettings.gradlefile:dependencyResolutionManagement {DependencyResolutionManagement it -> repositoriesMode.set(RepositoriesMode.FAIL_ON_PROJECT_REPOS) repositoriesMode.set(RepositoriesMode.PREFER_SETTINGS) repositories { RepositoryHandler it -> google() mavenCentral() } }
-
Installing SDK
Perform the following:
-
Add the dependency files.
Installing using version catalog:
This is the recommended method.- Configure the catalog. For more information, refer to the Version Catalog Installation.
- Add the dependency in the
app/build.gradlefile.Installing using Artifactdependencies { ... implementation("hydra.mipushkit") }
To install using artifact, add the following dependency in theapp/build.gradlefile:
dependencies { … implementation("com.capillary:hydra-mi-push-kit:x.x.x") } -
Add the SDK files to the project.
-
Download the helper class and broadcast receiver files from here.
-
Create a package named
com.hydra.sdk.miPushKitand paste the downloaded files into this package. -
Add Broadcast Receiver in AndroidManifest.xml file.
<receiver android:name="com.hydra.sdk.miPushKit.MiBroadcastReciever" android:exported="false"> <intent-filter> <action android:name="com.xiaomi.mipush.RECEIVE_MESSAGE" /> </intent-filter> <intent-filter> <action android:name="com.xiaomi.mipush.MESSAGE_ARRIVED" /> </intent-filter> <intent-filter> <action android:name="com.xiaomi.mipush.ERROR" /> </intent-filter> </receiver>
-
Initialise Xiaomi push
-
Locate the part of your code where the application comes to the foreground.
-
Insert the following code within that section:
MiPushHelper.initialiseMiPush(context, MI_APP_ID, MI_APP_KEY, Region);
where,
MI_APP_ID: The App-Id from the Mi Dashboard.
MI_APP_KEY: The App-Key from the Mi Dashboard.
Region: The chosen region for Mi data residency.
Handling Push within the Application (optional):
If you're handling token registration and notifications in your app's receiver, follow these steps:
-
Set the Data Region:
-
Determine the region where Mi data resides using the
MiPushClient.getAppRegion(context)API. -
Pass the region to the below API:
HydraMiPushApi.getInstance().setDataRegion(context, MiRegion.valueOf(region.toString()));
-
-
Use the
passPushToken()API and pass the push token to the SDK.HydraMiPushApi.getInstance().passPushToken(context, pushToken); -
Use the
isFromHydraPlatform()helper API provided by the SDK and make sure that the payload is from the Capillary Hydra platform. After you confirm, pass the notification payload to the SDK.HydraMiPushApi.getInstance().passPushPayload(context, pushPayload)
Example:
if (HydraPushApi.getInstance().isFromHydraPlatform(remoteMessage)) {
HydraFirebaseAPI.getInstance().passPushPayload(applicationContext, remoteMessage)
}
Updated 5 days ago
