API Management on Vulcan
Vulcan supports two categories of APIs accessible directly through the Vulcan node layer and those available through Arya APIs.
NoteWhen you use Vulcan APIs, include
x-cap-vulcan-app-idand the Vulcan app ID in the header.
Types of APIs Supported on Vulcan
Type 1
APIs supported on the Vulcan node layer (whitelisted)
- Intouch
- XAJA
- Extension (Avengers API extension.)
- Neo Extensions
- Shield / Workflow Management APIs
- Cortex APIs
Sample Method for Services/API.js:
export const methodName = (param) => {
	const url = `${endpoints.vulcan_endpoint}/<intouch|neo|extensions|xaja/AjaxService>/<URL path of svc>`;
	return httpRequest(url, getVulcanAPICallObject('GET'));
};
Note:Always use
getVulcanAPICallObjectin the api.js method
Type 2
APIs supported on Arya (Node APIs and Whitelisted BE APIs):
- EMF (/loyalty/emf/v1)
- File service (/v1/file-service)
- Promo engine (/v1/promotion-management)
- Observability engine (/v1/observability)
- Rewards core (/core)
- Gamification (/gamification)
- Badges (/v1/badges)
- Any node API (loyalty/api/v1, member-care/api/v1, arya/api/v1/org-settings, arya/api/v1/creatives, any other Arya APIs)
Note:For all the above APIs, if the endpoint has "arya/api/v1" then use
endpoints.arya_endpoint.
Else define an endpoint in theendpoints.jsfile.
Sample:
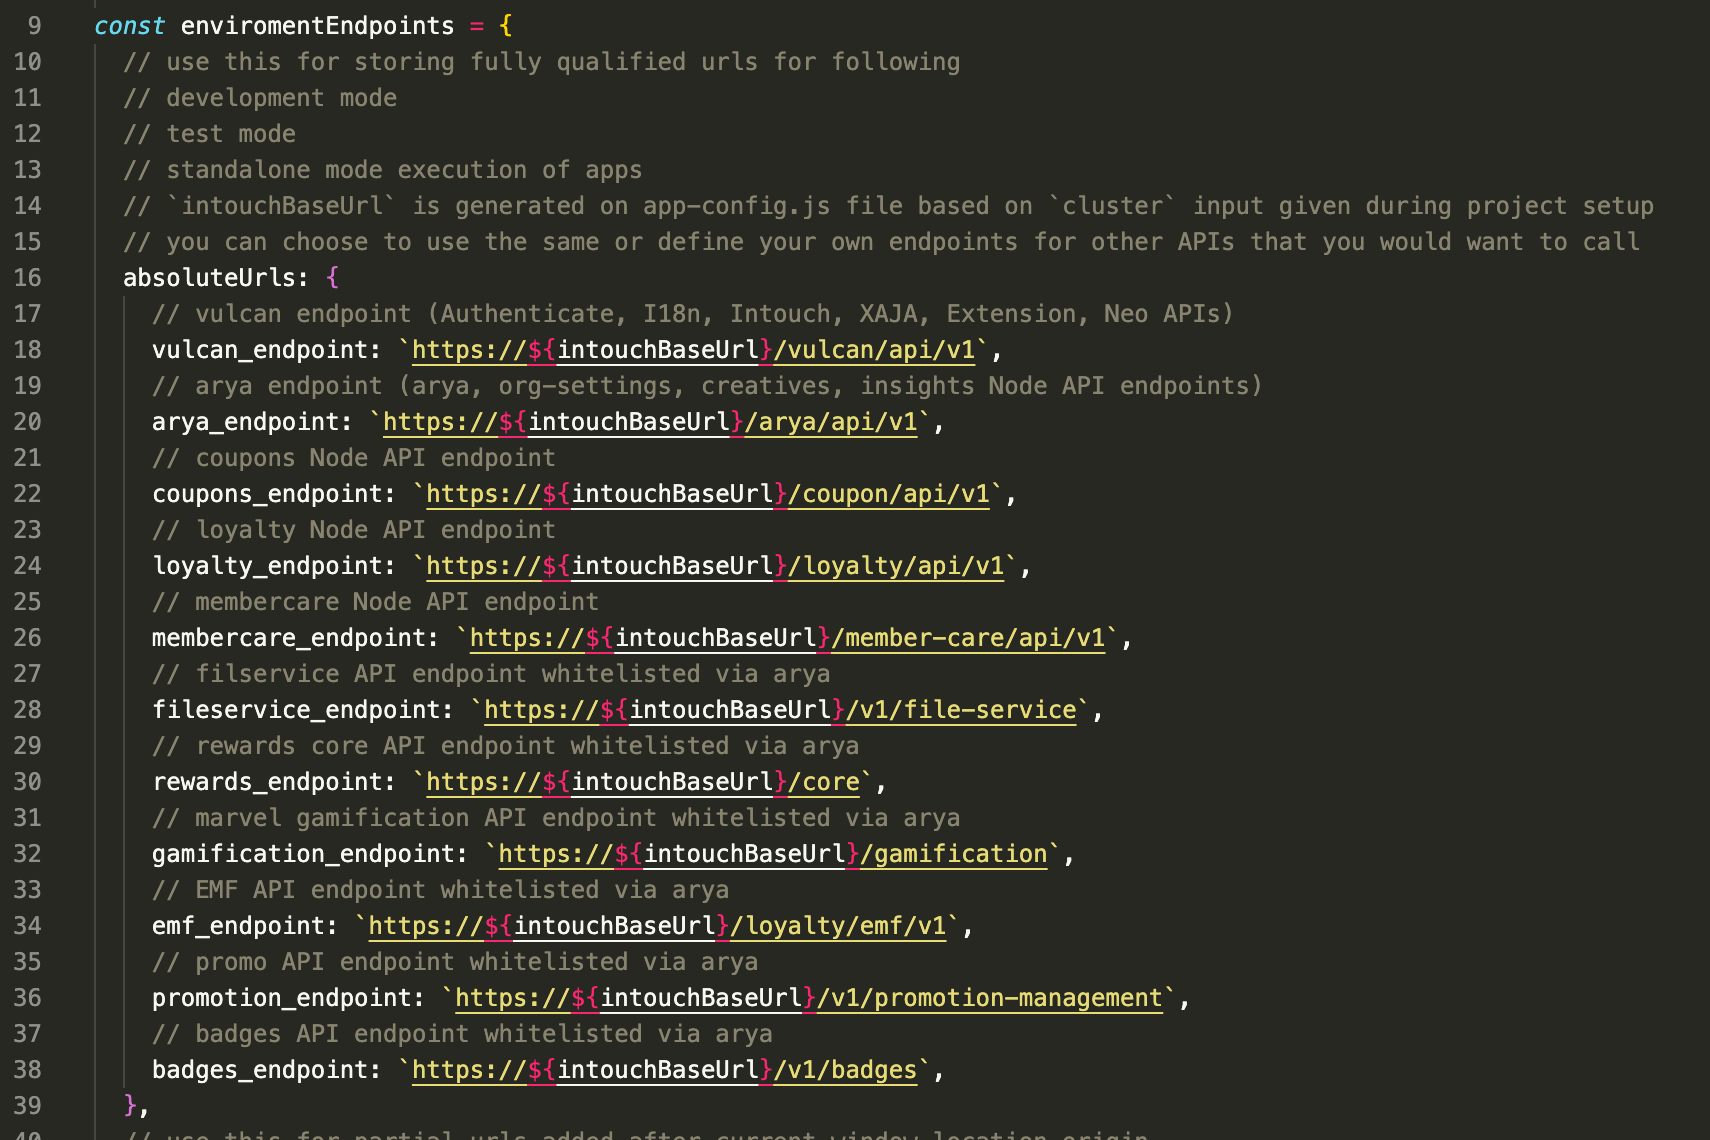
fileservice_endpoint:"https://north-america.intouch.capillarytech.com/v1/file-service"Sample Method for Services/API.js:
export const methodName = (param) => {
	const url = `${endpoints.fileservice_endpoint}/<URL path of svc>/<param>`;
	return httpRequest(url, getAryaAPICallObject("GET"));
};
Note:Always use
getAryaAPICallObjectin the api.js method.
Whitelisted Endpoints
The endpoint.js file contains all the possible whitelisted endpoints callable from Vulcan (Type 1 and Type 2). These are based on the InTouch cluster specified during the project setup

Making Vulcan endpoint calls for OAuth APIs
To make Vulcan endpoint calls for OAuth APIs, follow these steps:
- Register the OAuth client key, secret, and till ID using the
metadata/oauth-clientsAPI.curl --location 'https://{host}/vulcan/api/v1/metadata/oauth-clients' \ --header 'x-cap-api-auth-org-id: <orgId>' \ --header 'x-cap-remote-user: <userId>' \ --header 'Content-Type: application/json' \ --header 'Authorization: Bearer <ct_token>' \ --data '{ "key": "<client_key>", "secret": "<client_secret>", "defaultTillId": <till_id_number> }' - After you register the OAuth client, make the necessary API calls, and ensure that the
x-cap-api-auth-type: oauthheader is included in the request.
Compressing a Vulcan API response
To improve the handling of large Vulcan API responses, enable response compression. This involves configuring the API to compress the response data and decompress the data on the client side once received. This reduces response size, improves data transfer speed, and prevents performance issues such as UI slowdowns or server-side timeouts during response parsing.
To compress an API response, follow these steps:
- Update the Vulcan SDK to version
2.3.1. - Open the project folder on your local machine, then navigate to the
./app/services/api.jsfile. - At the start of the
api.jsfile, add the following code:return httpRequest(url, { ...getVulcanAPICallObject('GET'), useResponseCompression: true }); - . Update the Vulcan SDK to v2.4.0.
Updated 28 days ago
