
Add a Custom Event
Create custom events if you want to capture specific details that are not available in standard events. You can use both standard and custom attributes to create custom events.
The following are the steps involved in publishing a custom event.

To create a custom event, follow these steps.
- Log on to InTouch
- Go to (Profile Icon)> Organization Settings> Master Data Management > Data Model > Behavioral Events.
- Click + Add Events.
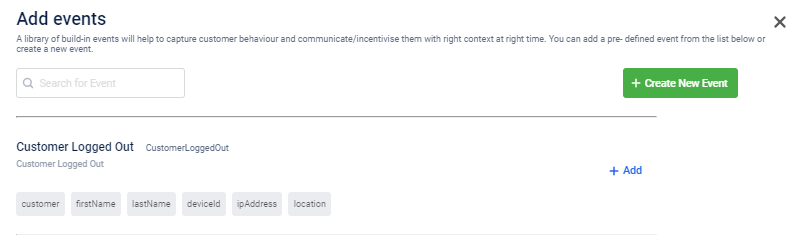
- Click Create New Event and follow these steps
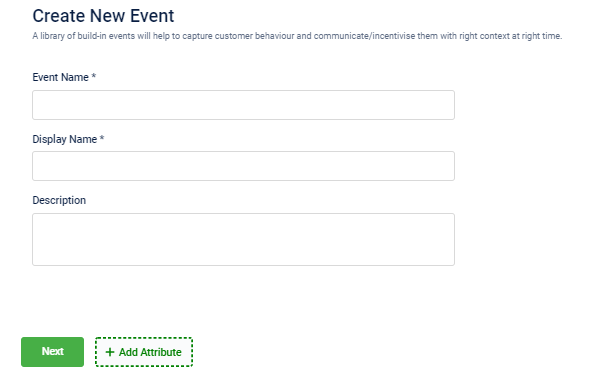
- In Event Name, specify a name for the event without any space or special characters. For example, DemoEvent
- In Display Name, specify a name that you want to see on the event.
- In Description, specify a short description of the event.
- Click + Add Attribute to add event attributes and follow these steps.
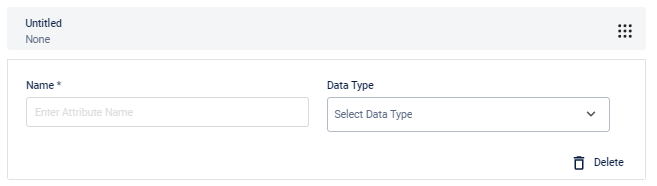
- In Name, specify an appropriate name for the attribute. Customer Identifier is a mandatory attribute for a custom event.
- In Data Type, choose the type of the attribute.
TYPE | DESCRIPTION |
|---|---|
CUSTOMER IDENTIFIER* (MANDATORY) | This is a mandatory attribute for an event and is used to identify an existing customer and also to register a new customer if required. You need to configure identifier type, source, and associated source account.
For example, if you set customer identifier as email ID, and Source as InStore,
|
Enum | Choose this to capture the predefined values for the attribute. In POSSIBLE VALUES enter the supported values for the field separating each by a comma (do not leave space after a comma). For example, if Name is Hobby, you could have the values Music,Sports,Fishing,Archery,Gardening,Others. Enum is a data-type consisting of a set of predefined values. |
Till Code | Choose this to capture Till codes. |
Coupon Code | Choose this to capture coupon codes and configure the Regex (regular expression) for coupon codes accordingly. |
A customer identifier attribute is required for any custom event. Choose this to capture customer identifiers, associated sources, and source accounts from which the event is triggered.
| |
Date | Choose this to capture date values. The following are the different date formats supported. yyyy-MM-dd'T'HH:mm:ssXXX, yyyy-MM-dd'T'HH:mm:s.S, yyyy-MM-dd HH:mm:ss, yyyy-MM-dd, dd-MM-yyyy HH:mm:ss, |
Product SKU | Choose this to capture product SKUs or item-codes. |
Product Brand | Choose this to capture product brands. |
Product Category | Choose this to capture product categories. |
String | Choose this to capture free-flowing text that could contain alphabets, numbers, and spaces. |
Double | Choose this to capture a double data type. Double is a 64-bit floating value with precision up to 15 decimal places. |
- Enable Required if the attribute is a required field for the event.
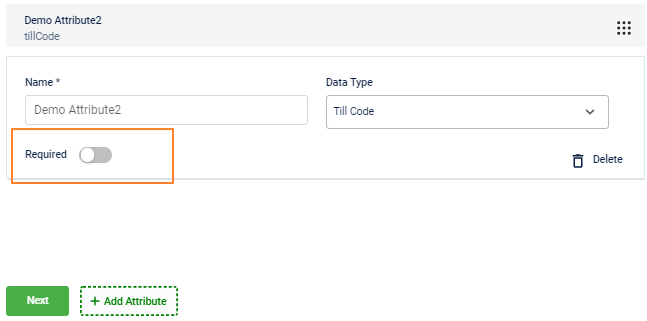
- Similarly, click + Add Attribute to create more attributes for the event.
- Click Next to continue
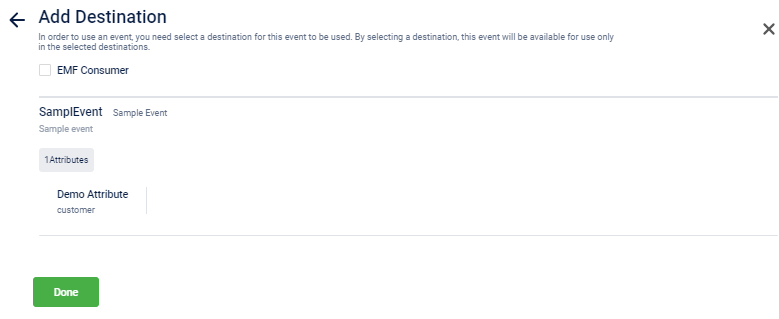
- Check EMF Consumer to show the event in Loyalty Manager, and Bounceback Campaign to reward points, coupons, or just send messages. By default, these events are consumed by Essential Insights.
- Click Done to save the event.
- Test the event to see whether data is flowing to the system as expected. For example, for the Add to Cart event, open the WebEngage portal, and try adding items to the cart. The system will automatically validate the data and completes the testing process. For detailed instructions, see Test & Publish Event.
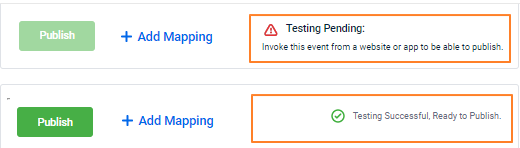
The Publish button will be active only once the page is refreshed after pushing the event's data to the system. You need to refresh the page manually.
- Click Publish to publish the event.
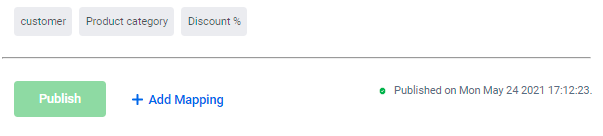
* Once the event is published, you cannot edit or delete either standard or custom attributes.
- After creating, testing, or publishing the custom event successfully you can map it with the source event. For details, refer to mapping custom event to source event.
Updated 7 months ago