
Getting Started
How to create your first dataflow in Connect+ — selecting a template, configuring blocks, and running the flow.
Connect+ is Capillary's data integration platform. It lets you build dataflows that read data from a source, transform it, and send it to a destination. This page walks you through everything you need before you begin and shows you how to create and run your first dataflow.
Understand the flow
Every dataflow in Connect+ follows the same lifecycle. Understanding this before you start saves time.
- Save your connection details in Extension Configurations in Dev Console. This includes FTP hostnames, folder paths, passwords, Secret Key, Databricks Token, and Client Secret.
- Create a dataflow in Draft state, either from a template or from scratch on the canvas.
- Configure the blocks according to your requirements.
- Save the dataflow and send it for approval.
- A reviewer approves it.
- Make the approved dataflow live.
- Monitor accuracy and errors from the Platform Metrics tab in Dev Console.
Step 1: Create configurations in Extension Configurations
Extension Configurations is a secure store in Dev Console where you save the connection details and credentials that your dataflow blocks need. Set this up before you create a dataflow so the values are available to select when you configure each block.
To create a new configuration, refer to the documentation on Extension Configurations
Enable isSecret for the following fields: Password, Secret Key, dataBricksToken, and Client Secret. Once marked as secret, the value cannot be unmasked. If these fields are not marked as isSecret, the configuration name does not appear in the drop-down when you configure the block.
Step 2: Open Connect+
- Open Connect+ using your cluster URL.
- EU: https://eu.intouch.capillarytech.com/extensions/connectplus/ui
- India: https://intouch.capillary.co.in/extensions/connectplus/ui
- APAC2: https://apac2.intouch.capillarytech.com/extensions/connectplus/ui
- SG: https://sgcrm.cc.capillarytech.com/extensions/connectplus/ui
- US: https://north-america.intouch.capillarytech.com/extensions/connectplus/ui
- From the dropdown at the top of the page, select your organization.
You are now on the Connect+ homepage. It lists all dataflows in your workspace along with their status, version, and accuracy percentage.
Step 3: Create your first dataflow
On the Connect+ homepage, click Create new dataflow. Enter a name, optionally add tags, enter notification email addresses, and click Done. The dataflow creator receives notifications by default.
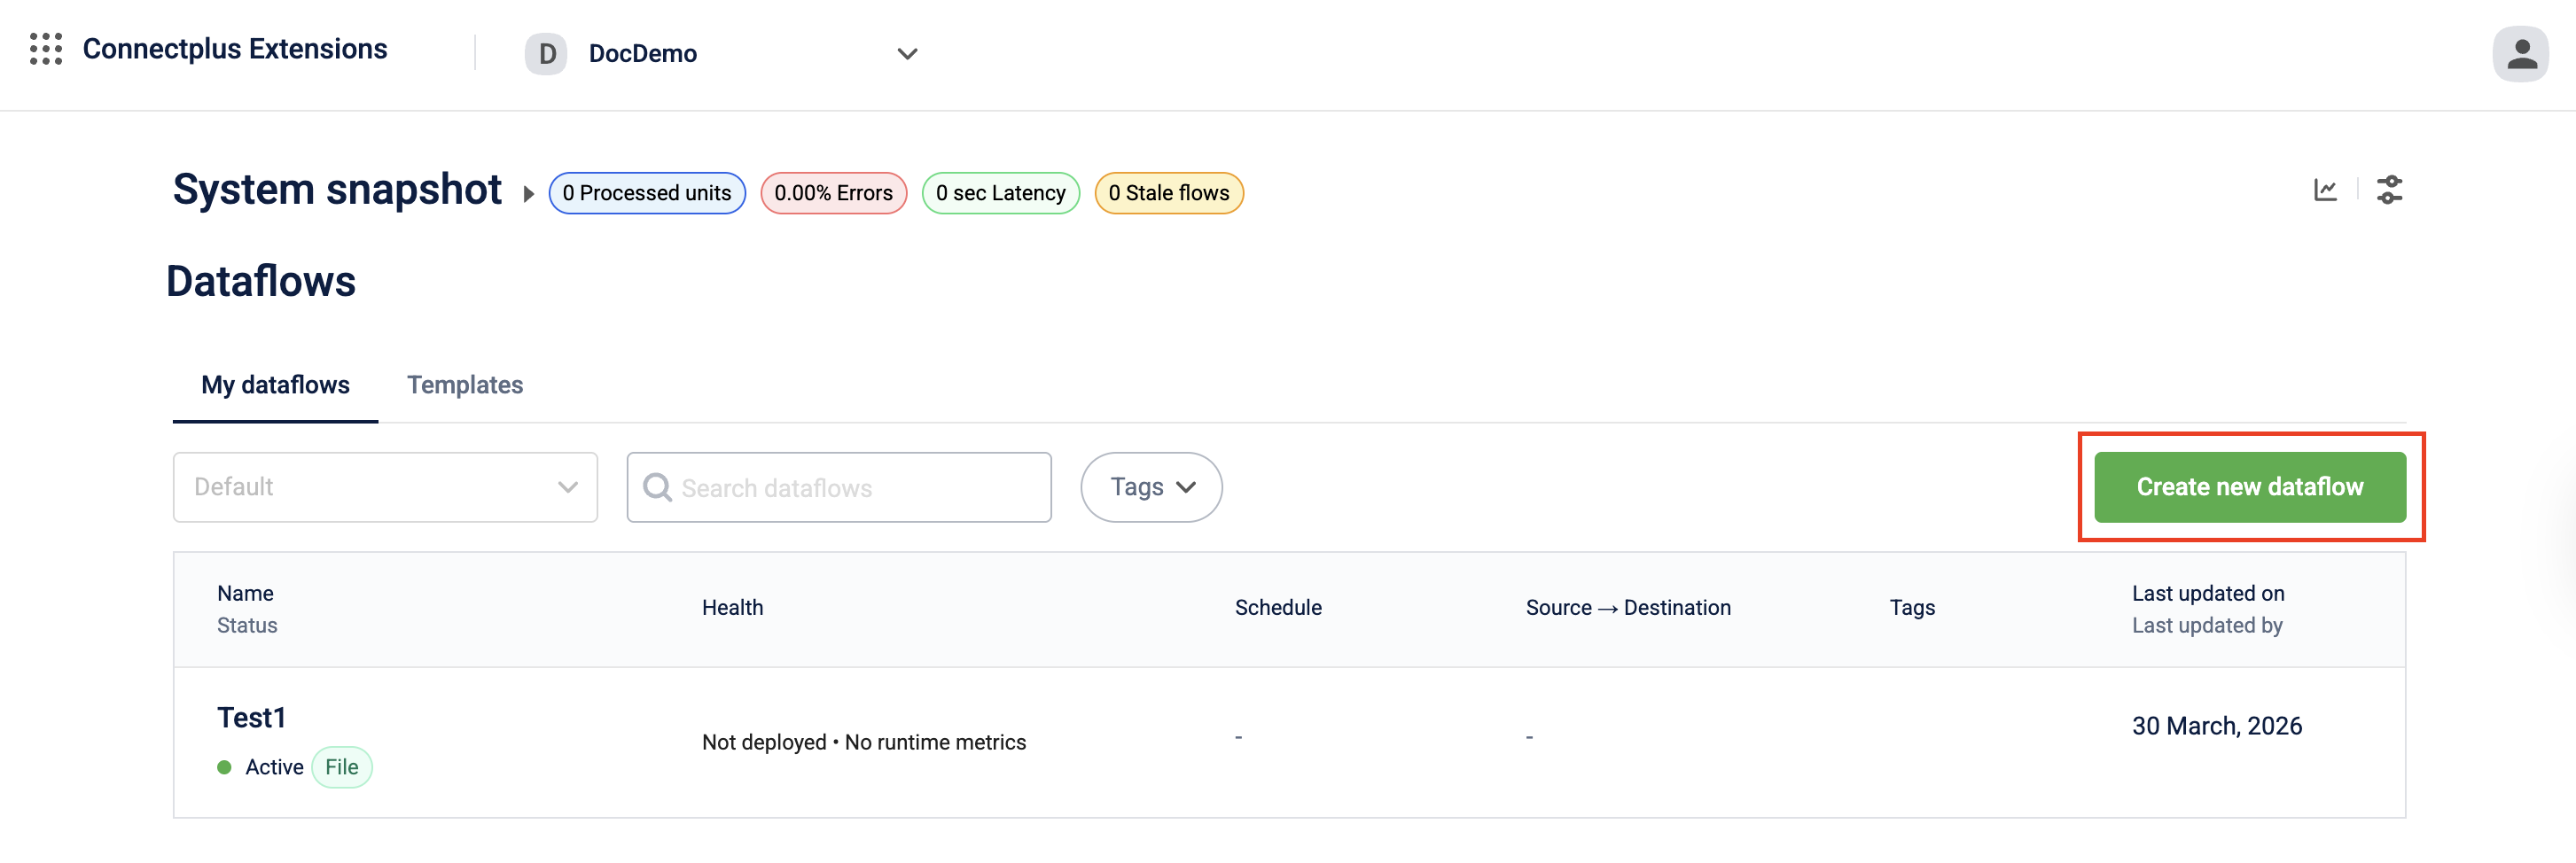
Your dataflow is created in Draft state. For all creation methods and detailed steps, see Creating and managing Connect+ dataflows.
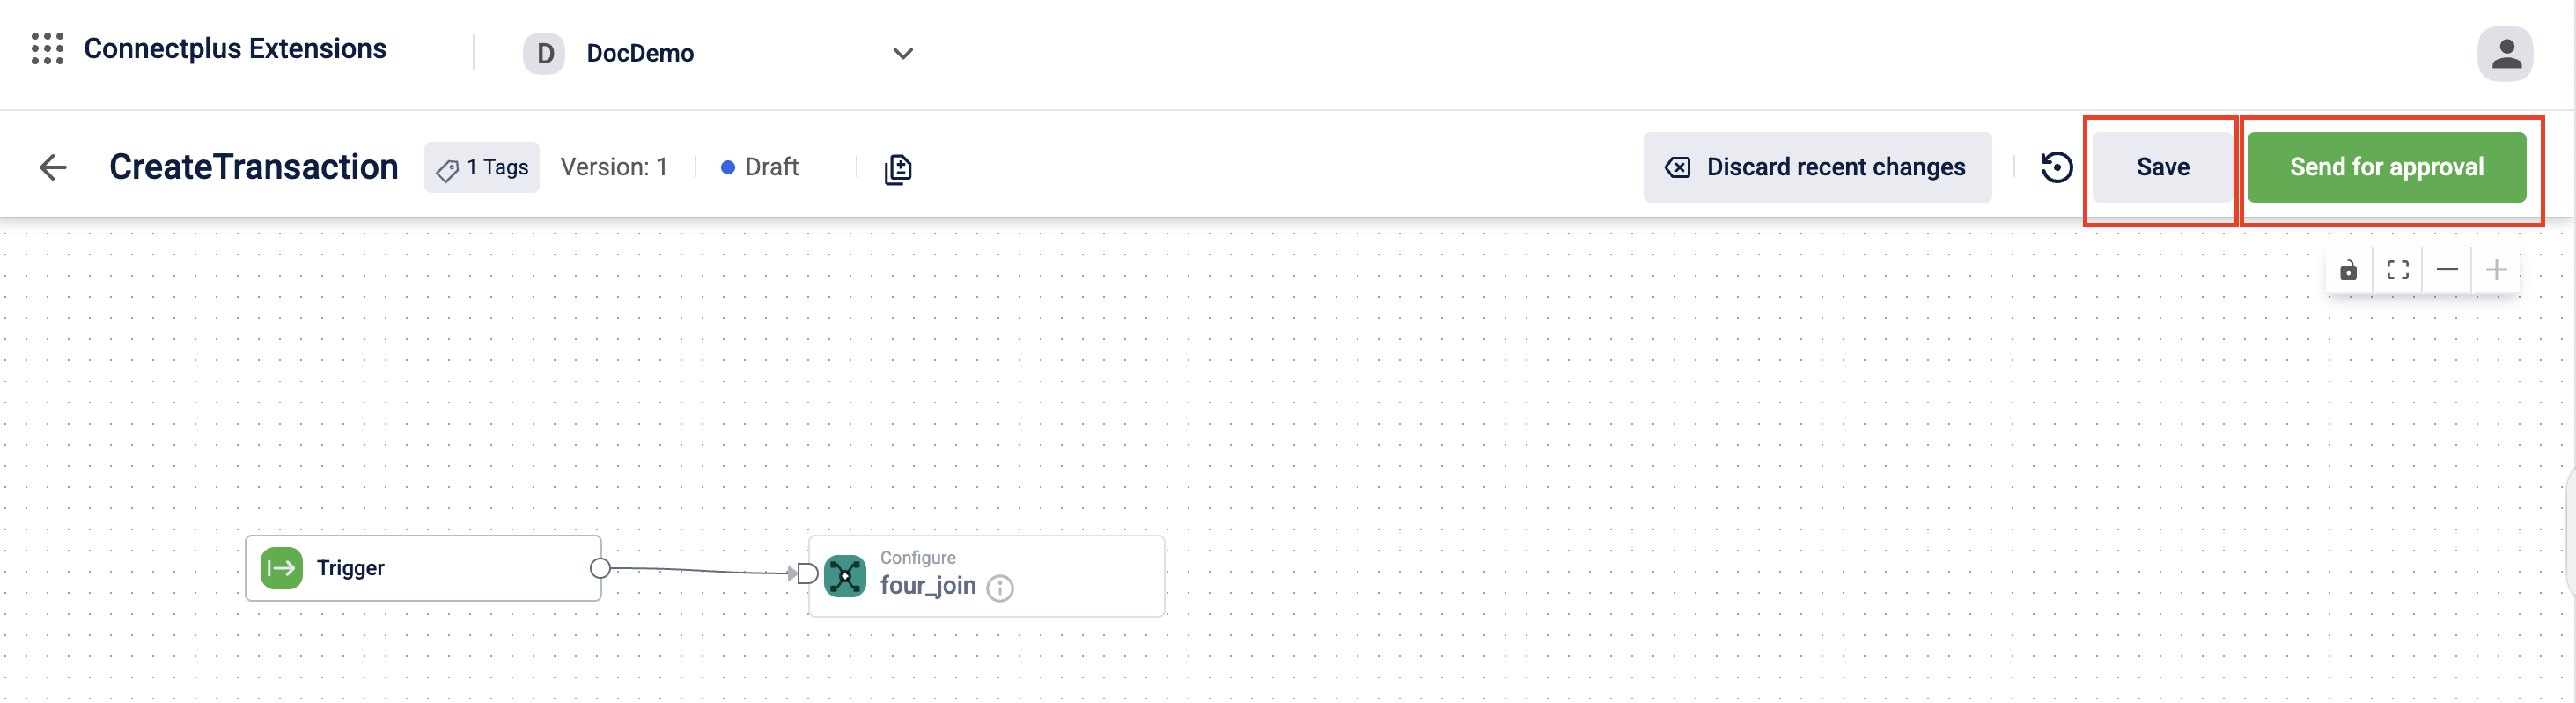
Step 4: Compose the dataflow
Open the dataflow and click version v1. Add blocks to the canvas to define how data is sourced, transformed, and delivered. Configure each block's fields, connect the blocks in sequence, and click Save.
For block configuration details, see Creating and managing Connect+ dataflows.
Step 5: Save and send for approval
Click Send for approval to submit the dataflow for review. It moves to Awaiting approval state and is locked for editing until an Admin approves it.
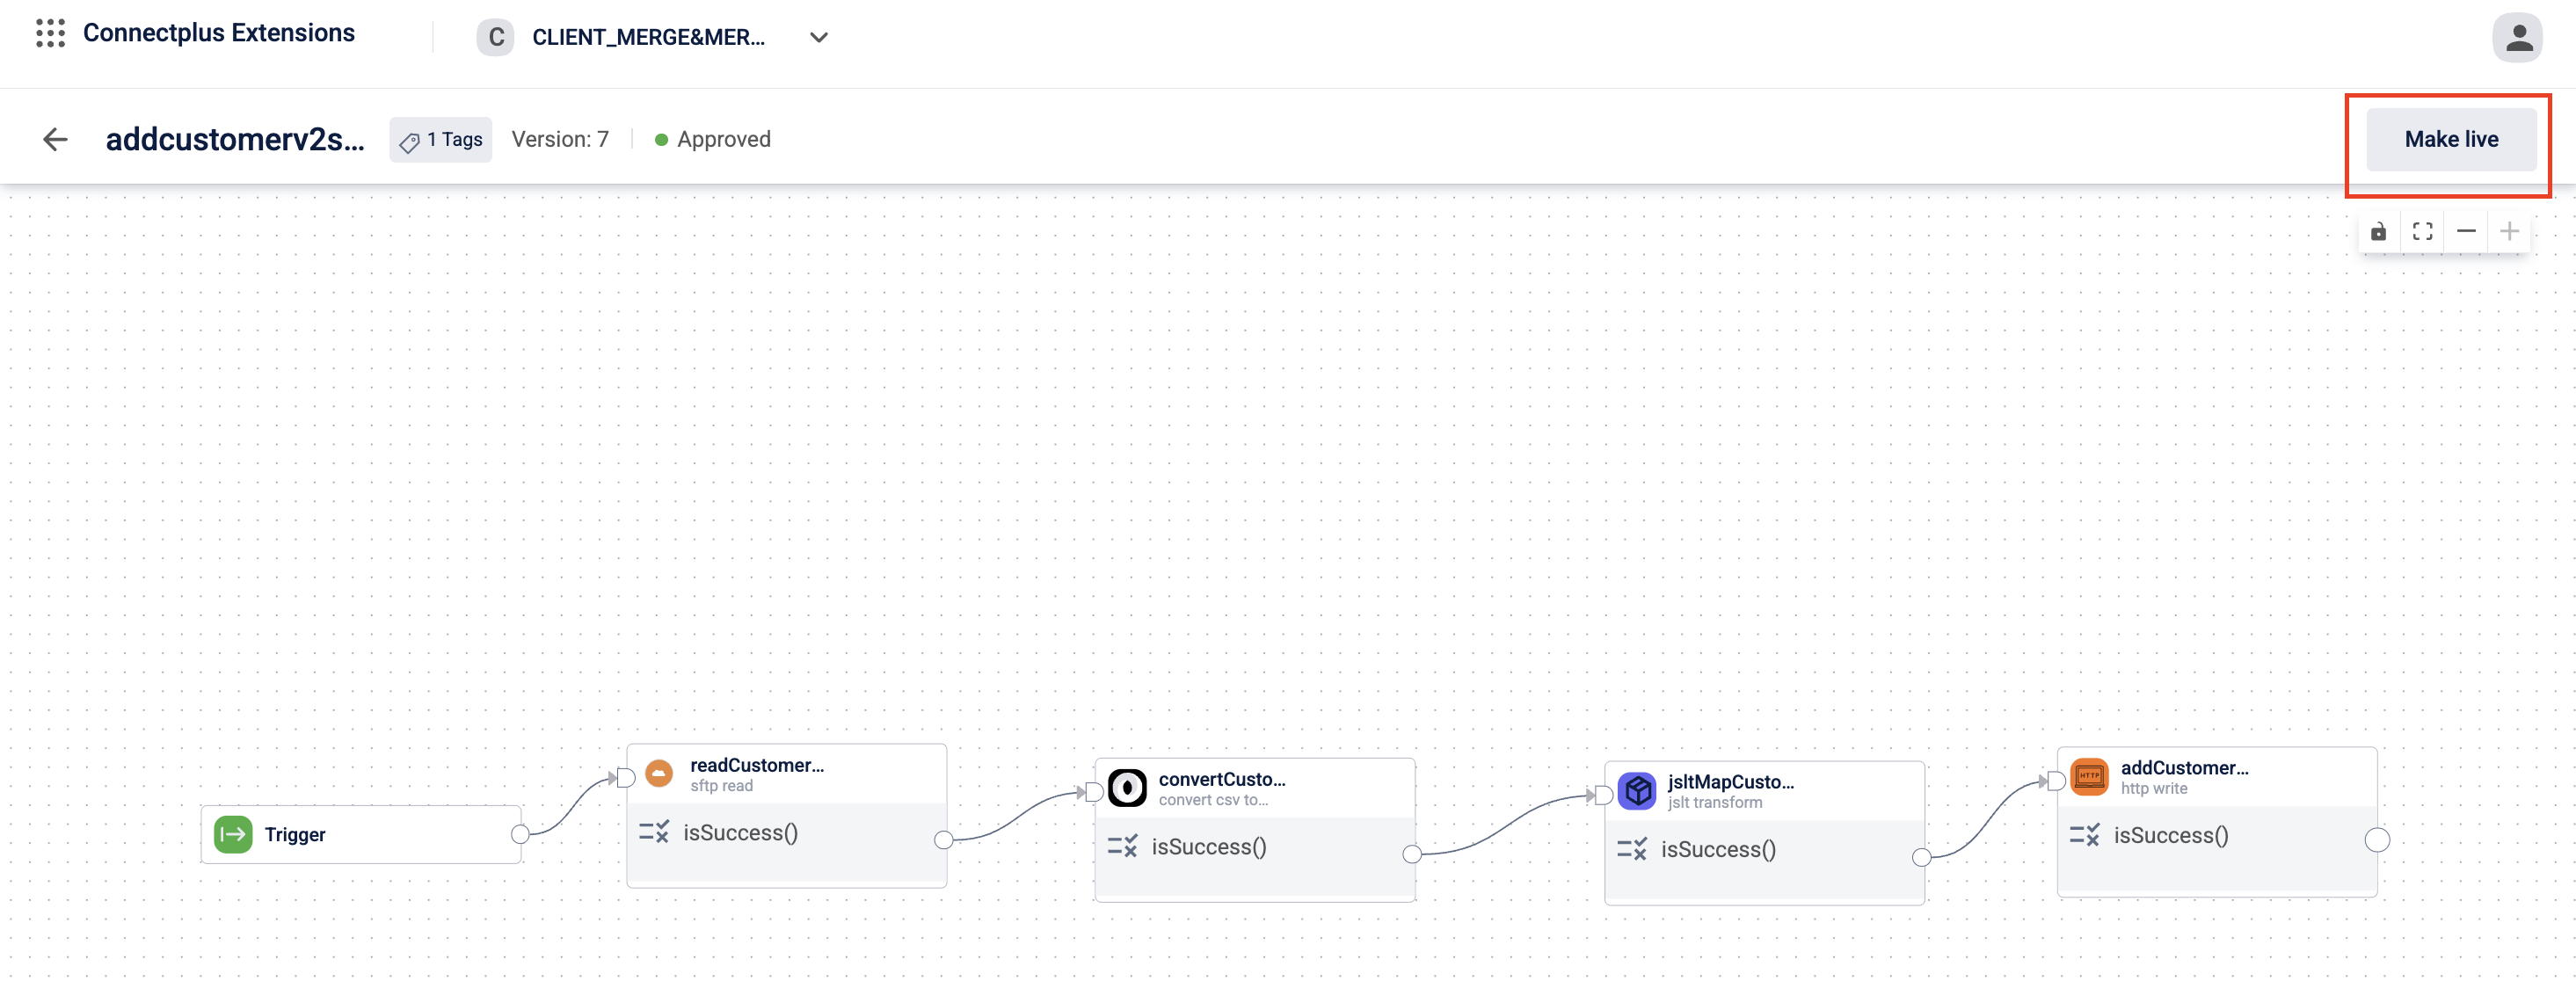
Step 6: Make the dataflow live
Once the dataflow is approved, its state changes to Approved. Open the dataflow and click Make live.
Your dataflow is now live and will process data according to the schedule you configured.
Step 7: Monitor the results
After the first run, check your dataflow performance from the Platform Metrics tab in Dev Console. To receive notifications when issues occur, set up alerts from Alert Management. For more information, see Connect+ performance in Dev Console.