PGP Encrypt block
Configuration reference for the Encrypt Data block — encrypts the output file before it is transferred to the destination.
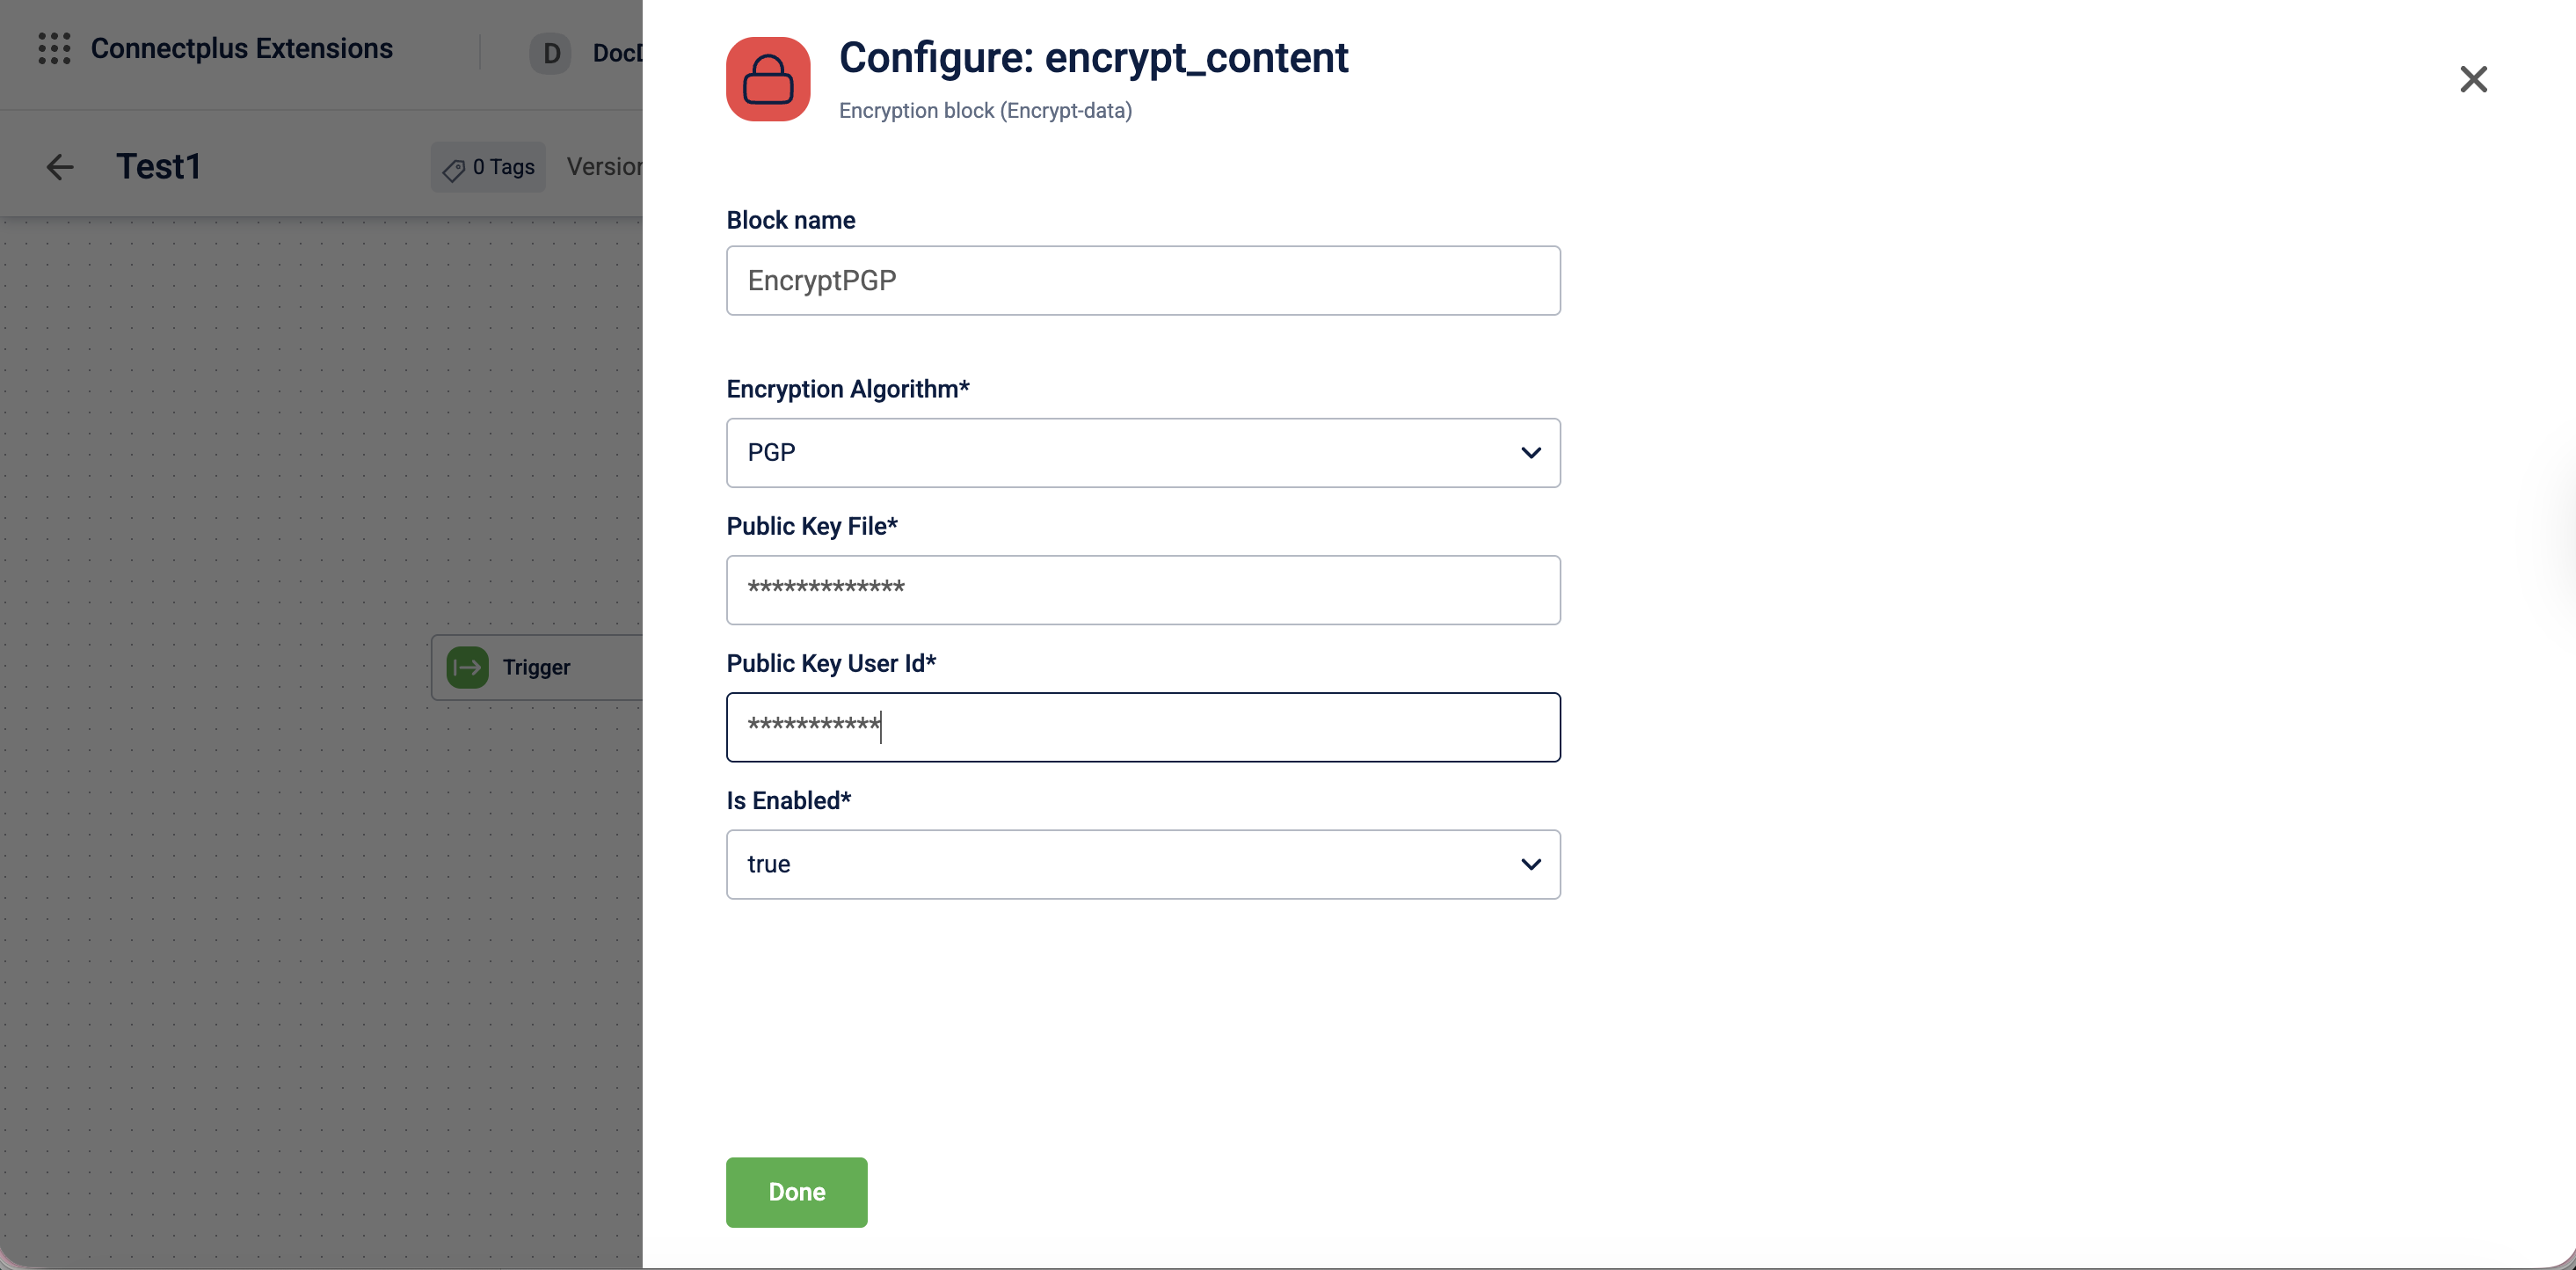
The encrypt_content block encrypts output files before they are delivered to the destination. It acts as an optional transformation block in a Connect+ dataflow, sitting between the transformation and destination blocks to secure outgoing data. The block supports PGP-based encryption using a public key and can be enabled or disabled without removing it from the dataflow.
When to use this block
Use this block when the destination server or system requires files to be PGP-encrypted before delivery.
Prerequisites
Before configuring this block, make sure you have:
- The recipient's PGP public key, in Base64-encoded format
- The user ID associated with the public key
Configuration fields
| Field name | Required | Description |
|---|---|---|
| Block name | No | A name for the block instance. For example, Encrypt_Block. |
| Encryption Algorithm | Yes | The algorithm used to encrypt the output file. Select the algorithm from the dropdown. For example, PGP. |
| Public Key File | Yes | The public encryption key used to encrypt the output file. For example, the Base64-encoded content of your PGP public key. |
| Public Key User Id | Yes | The user ID associated with the public key. For example, [email protected]. |
| Is Enabled | Yes | Enables or disables the encryption block. Select true to activate encryption or false to skip it.Default value: true. |
Creating PGP public & private key
PGP is an encryption method based on public-key cryptography. It uses a pair of keys — a public key for encrypting data and a private key for decrypting it. These keys can be created and managed using the GnuPG (GPG) tool, which implements the OpenPGP standard. Perform the following steps to create a PGP key pair using the command line interafce.
- Install the GnuPG in your operating system.
- macOS:
brew install gnupg - Linux:
sudo apt install gnupg - Windows PowerShell:
winget install GnuPG.GnuPG
- macOS:
- Use the command
gpg --full-generate-keyand generate a PGP key-pair. - Select the type of key you want to generate.
- Define the length of the keys.
- Specify the duration for which the keys should be valid.
- Enter the name and email ID for creating the User ID.
- Enter Okay.
- Enter a passphrase when prompted.
The system creates a public and private key.
brew install gnupg
bash

gpg --full-generate-key


Please select what kind of key you want:
  (1) RSA and RSA
  (2) DSA and Elgamal
  (3) DSA (sign only)
  (4) RSA (sign only)
  (9) ECC (sign and encrypt) *default*

What keysize do you want? (2048) 1024


Key is valid for? (0) 0
Key does not expire at all
Is this correct? (y/N) y


GnuPG needs to construct a user ID to identify your key.

Real name: <Your Name>
Email address: <[email protected]>
Comment: <optional>


You selected this USER-ID:
  "<Your Name> (<optional comment>) <[email protected]>"
Change (N)ame, (C)omment, (E)mail or (O)kay/(Q)uit? o


We need to generate a lot of random bytes…
(public key generation may take a moment)


public and secret key created and signed.

pub   dsa1024 YYYY-MM-DD [SC]
      <Key Fingerprint>
uid                      <Your Name> (<optional comment>) <[email protected]>
sub   elg1024 YYYY-MM-DD [E]