
Rewards Catalog settings
The Rewards Catalog settings let you configure the organization-wide building blocks that power reward configuration: categories, custom fields, languages, groups, fulfilment statuses, event notifications, and redemption limits. Configure these before creating rewards. Options you add here become available during the reward creation flow.
Select the Settings icon in the top-right corner of the Rewards Catalog page. The settings menu on the left has the following sections:
Categories
When you assign a category to a reward, that reward appears when customers filter the catalog by that category. Without a category, the reward only appears in the unfiltered "All" view.
Examples: Electronics, Fashion, Food & Beverage, Travel, Health & Wellness
Create a category
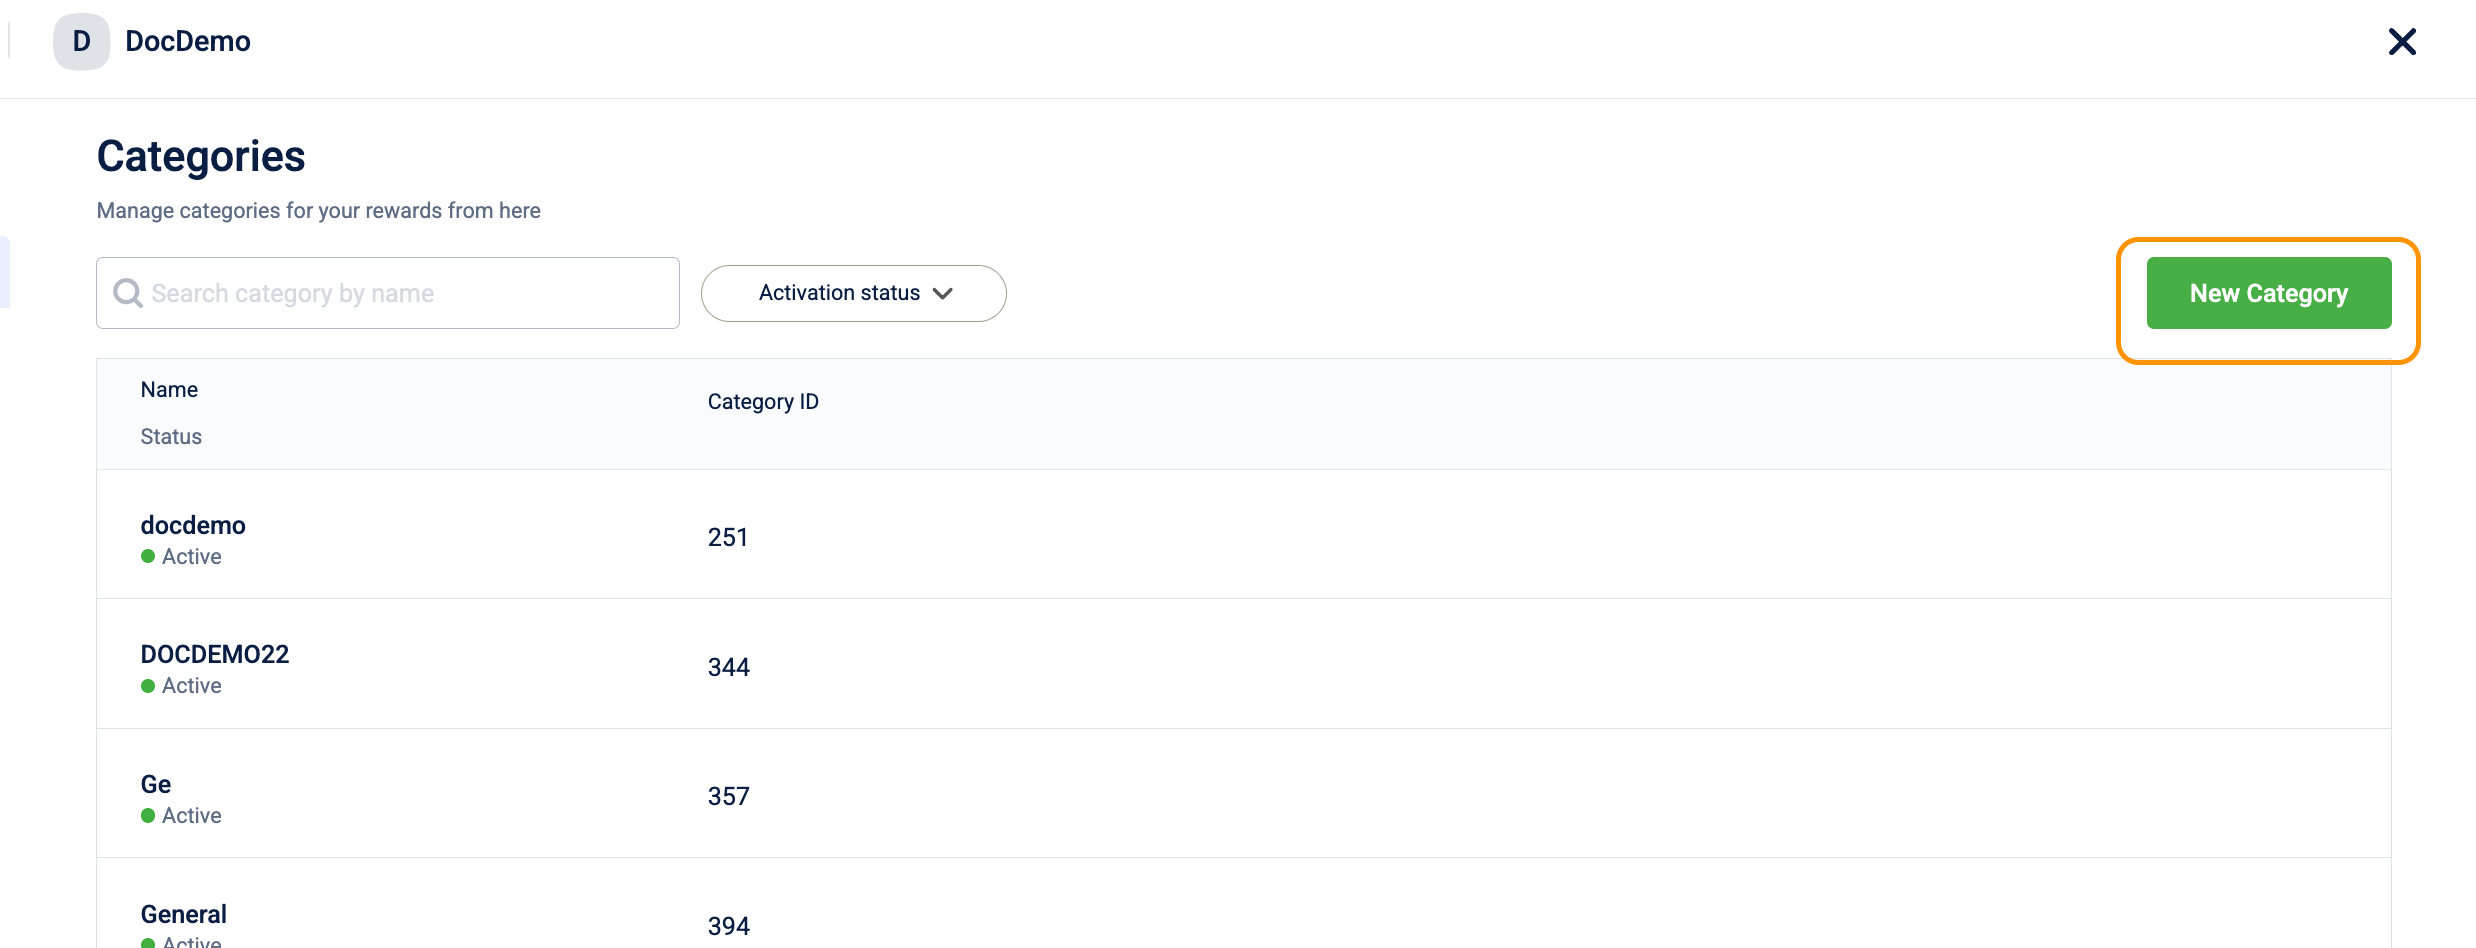
- Go to Settings > Categories.
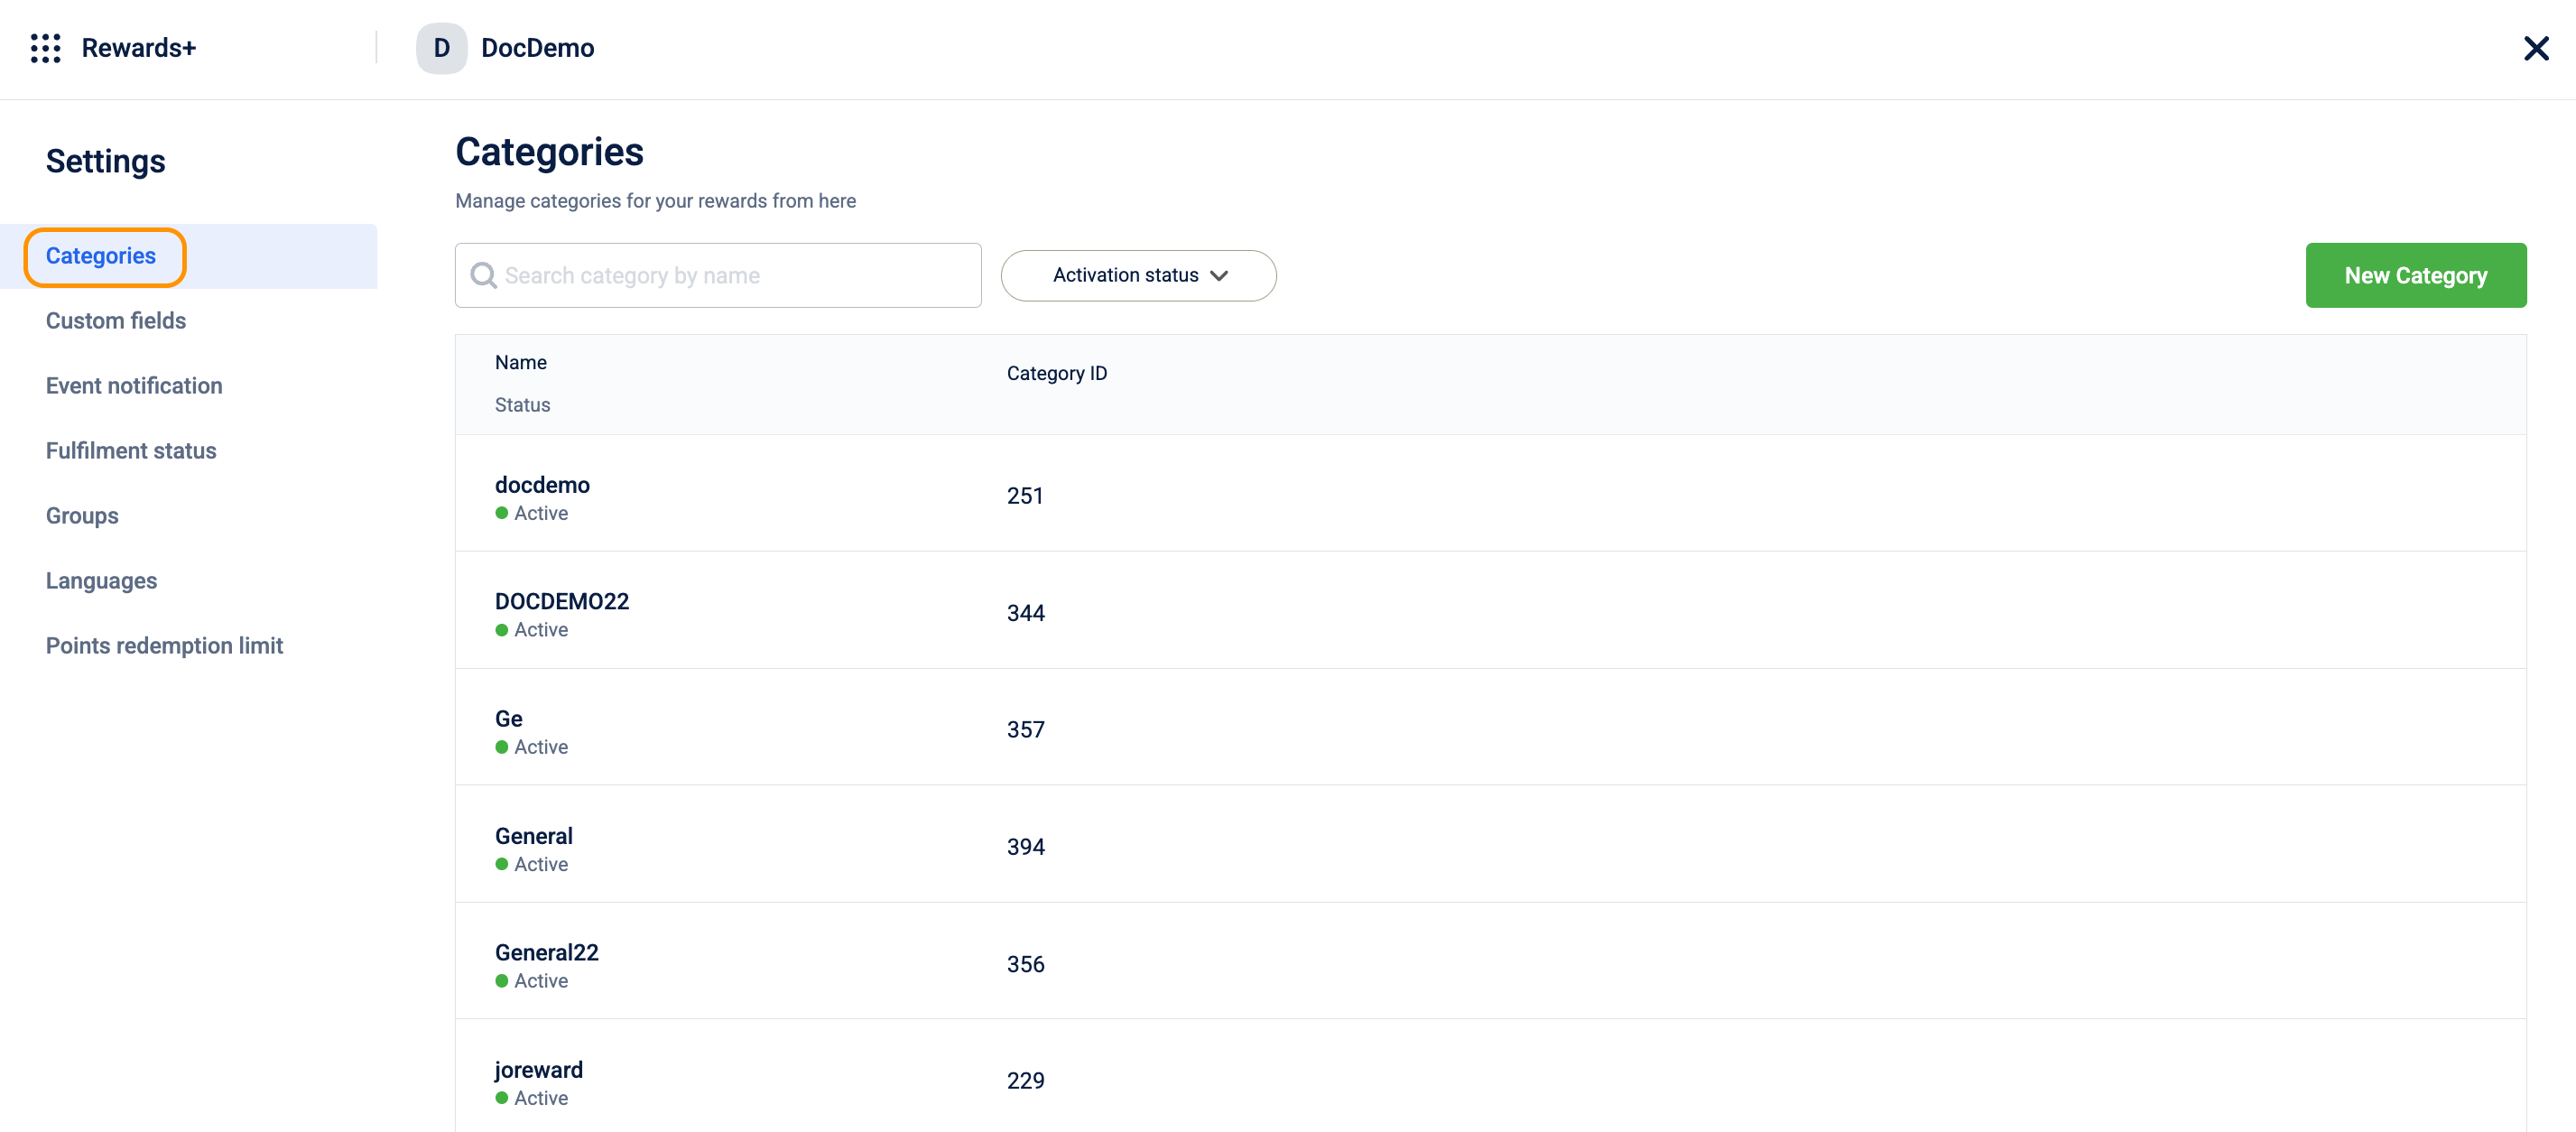
- Select New Category.
- In the Create category dialog, enter a Name. Maximum 255 characters.
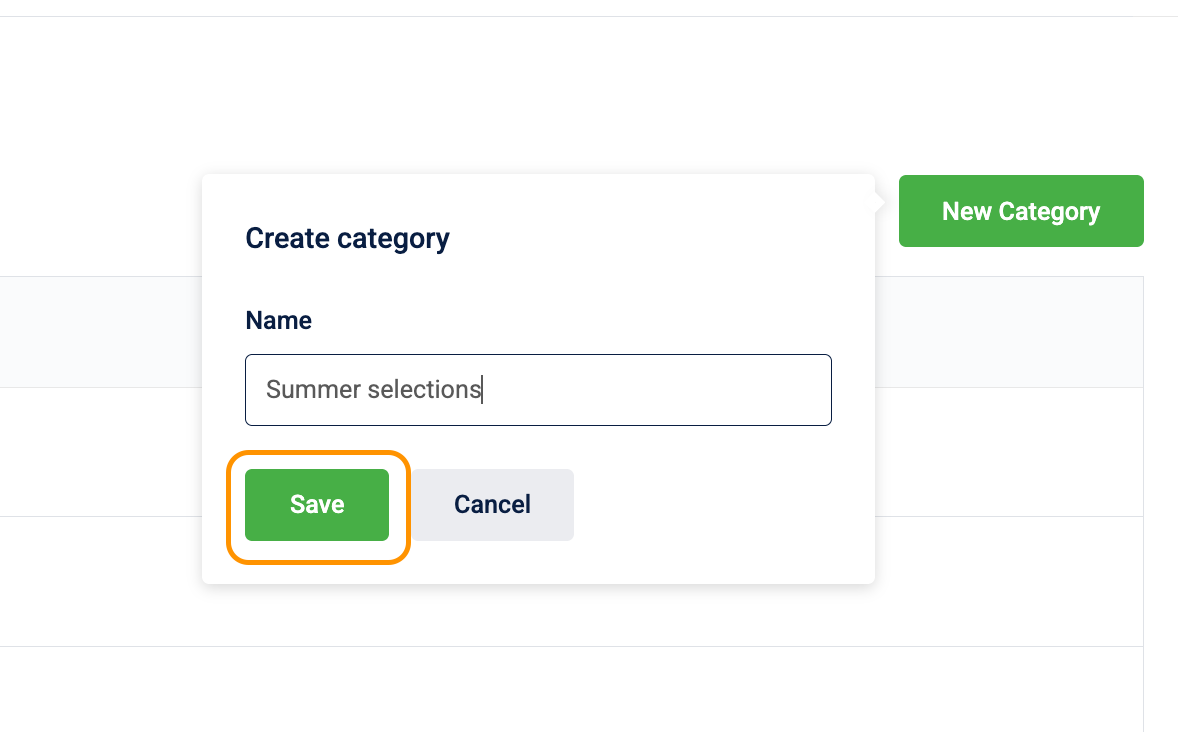
- Select Save.
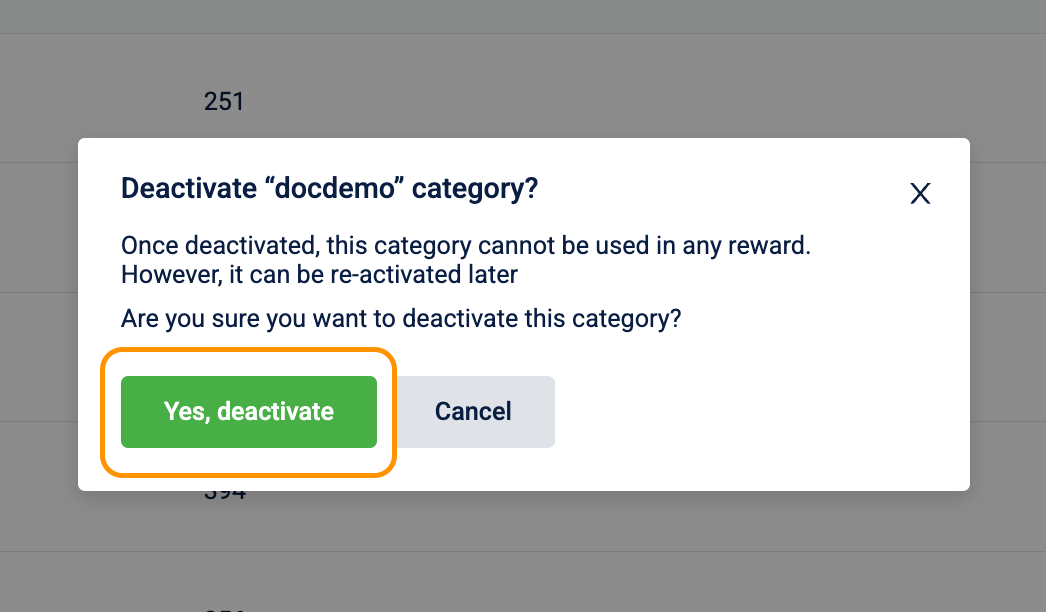
How to deactivate a category?
Once a category is deactivated, it is immediately restricted from being used in any new rewards.
When a category is deactivated, the following changes occur to existing rewards:
- Category Tag Removal: The category tag is removed from all rewards currently using it.
- Reward Visibility: Affected rewards are not deleted; they will remain in the catalog without a category and will only appear in the unfiltered "All" view.
- Reactivation Logic: If you choose to reactivate the category later, previously assigned rewards are not automatically re-linked. You must manually re-assign the category to each reward.
To deactivate category:
- Select the toggle next to the category.
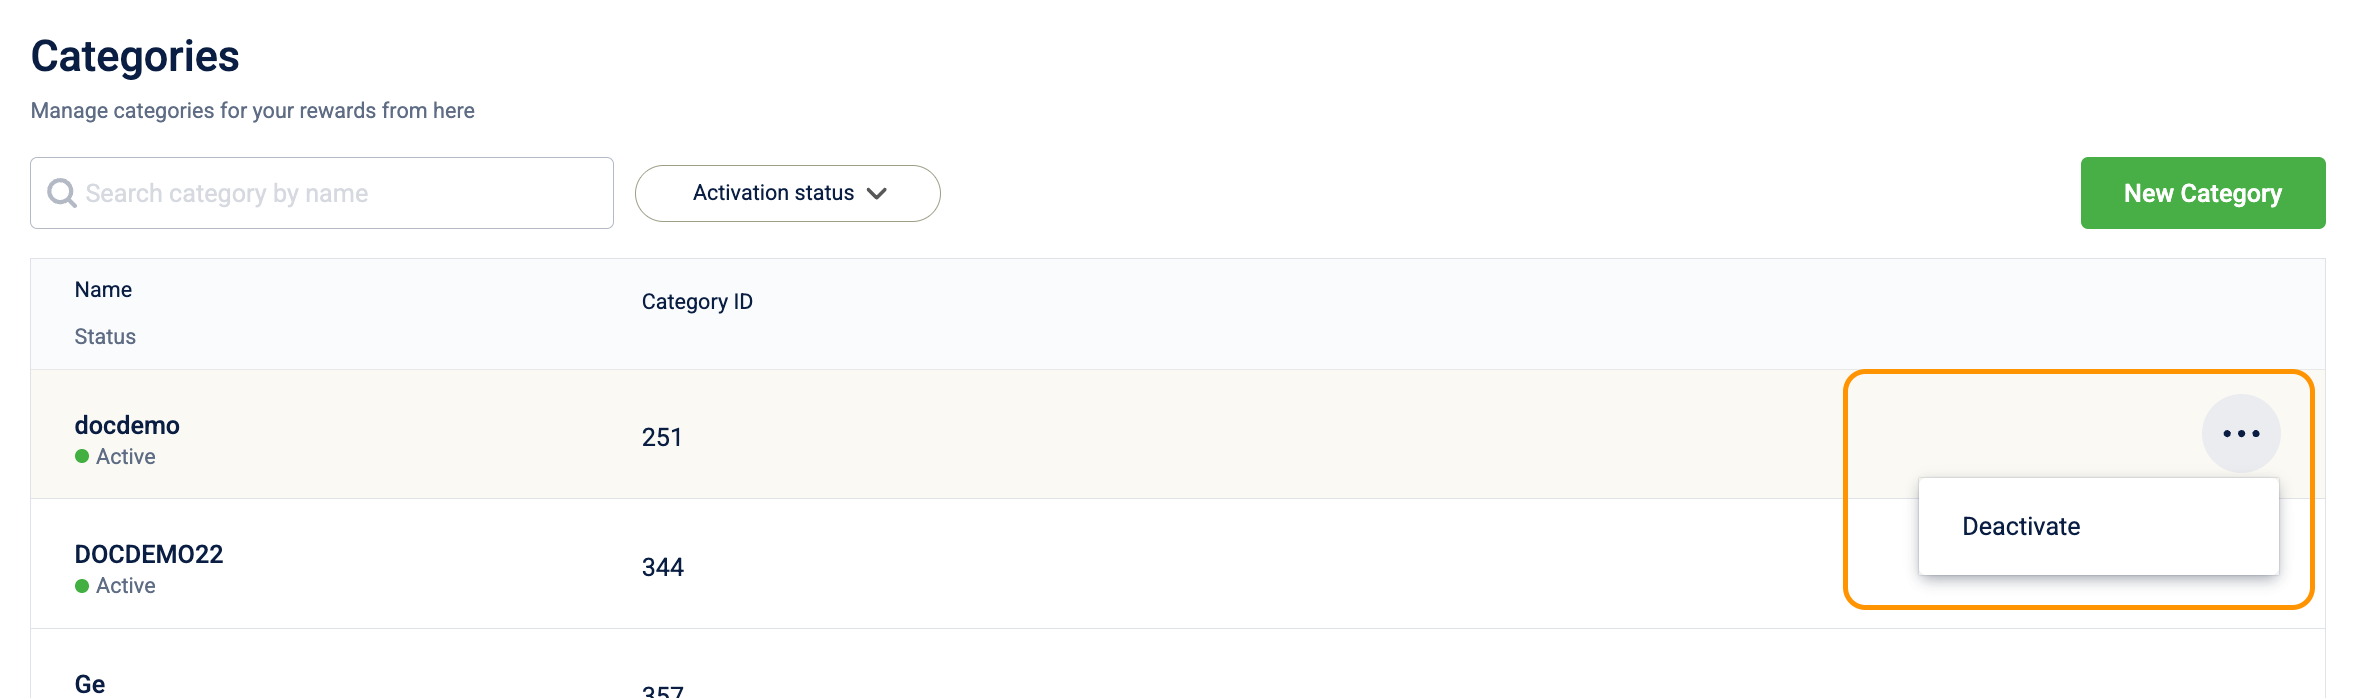
- When prompted, select Confirm to deactivate.
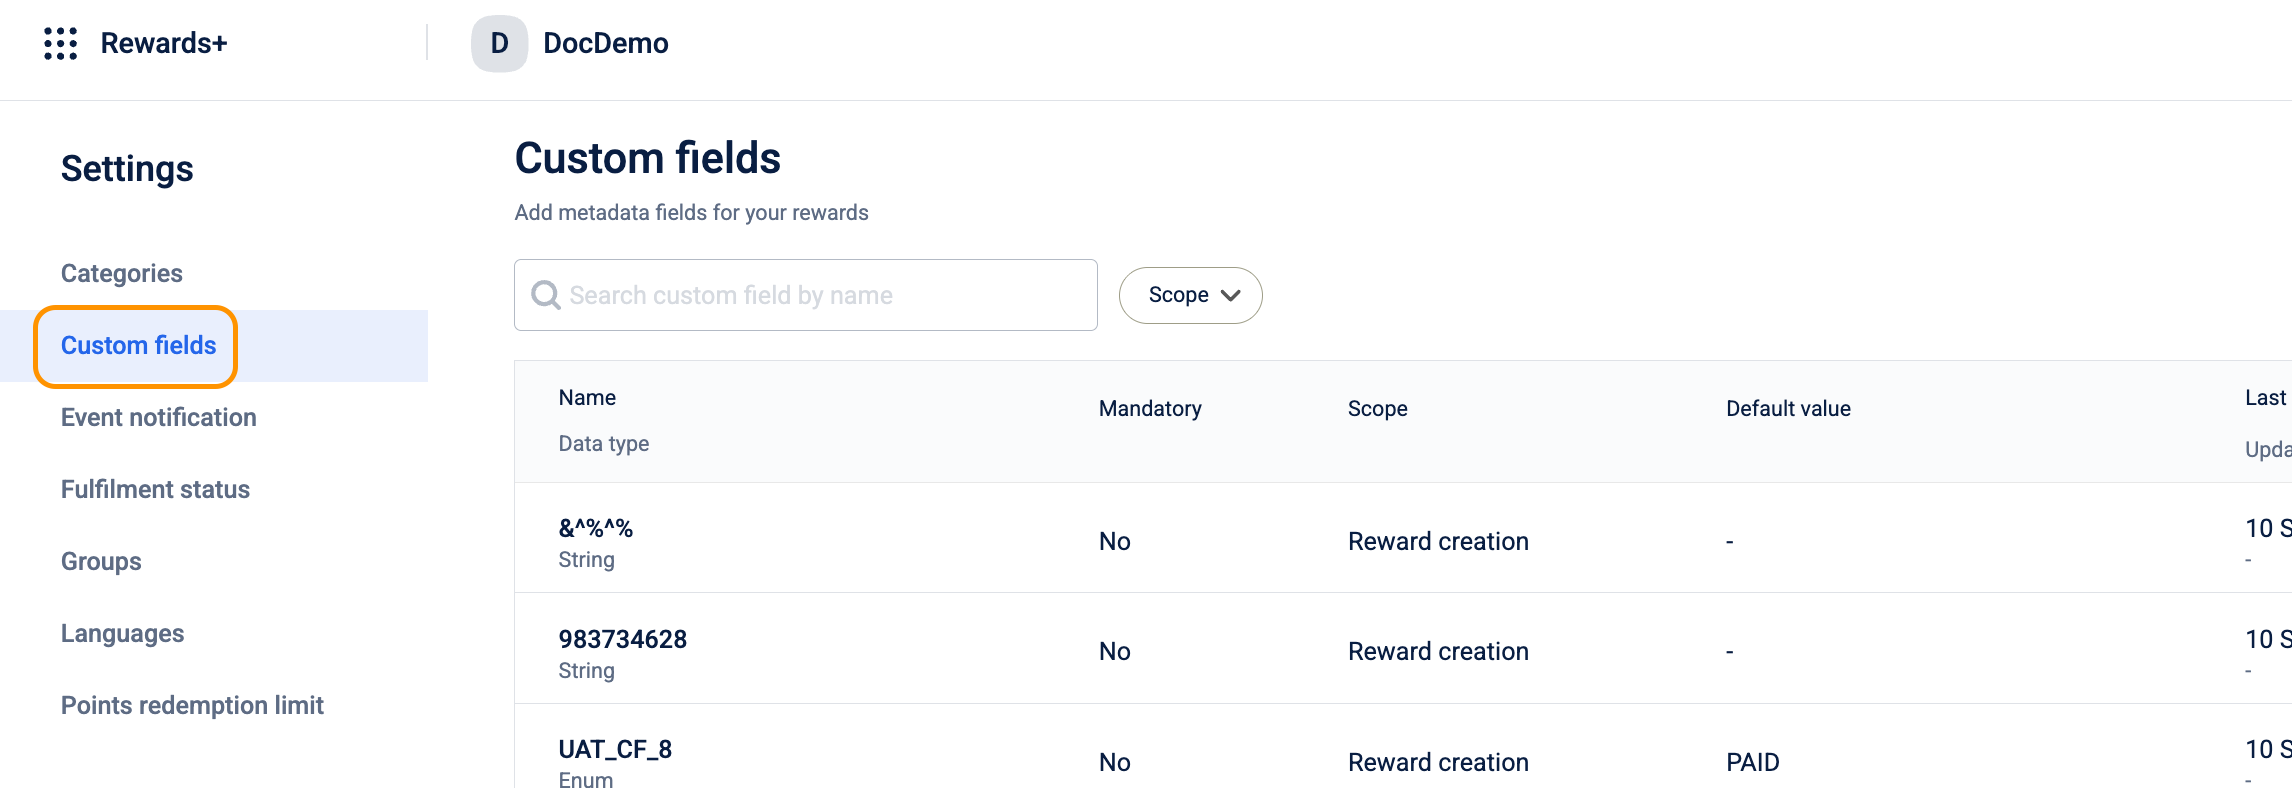
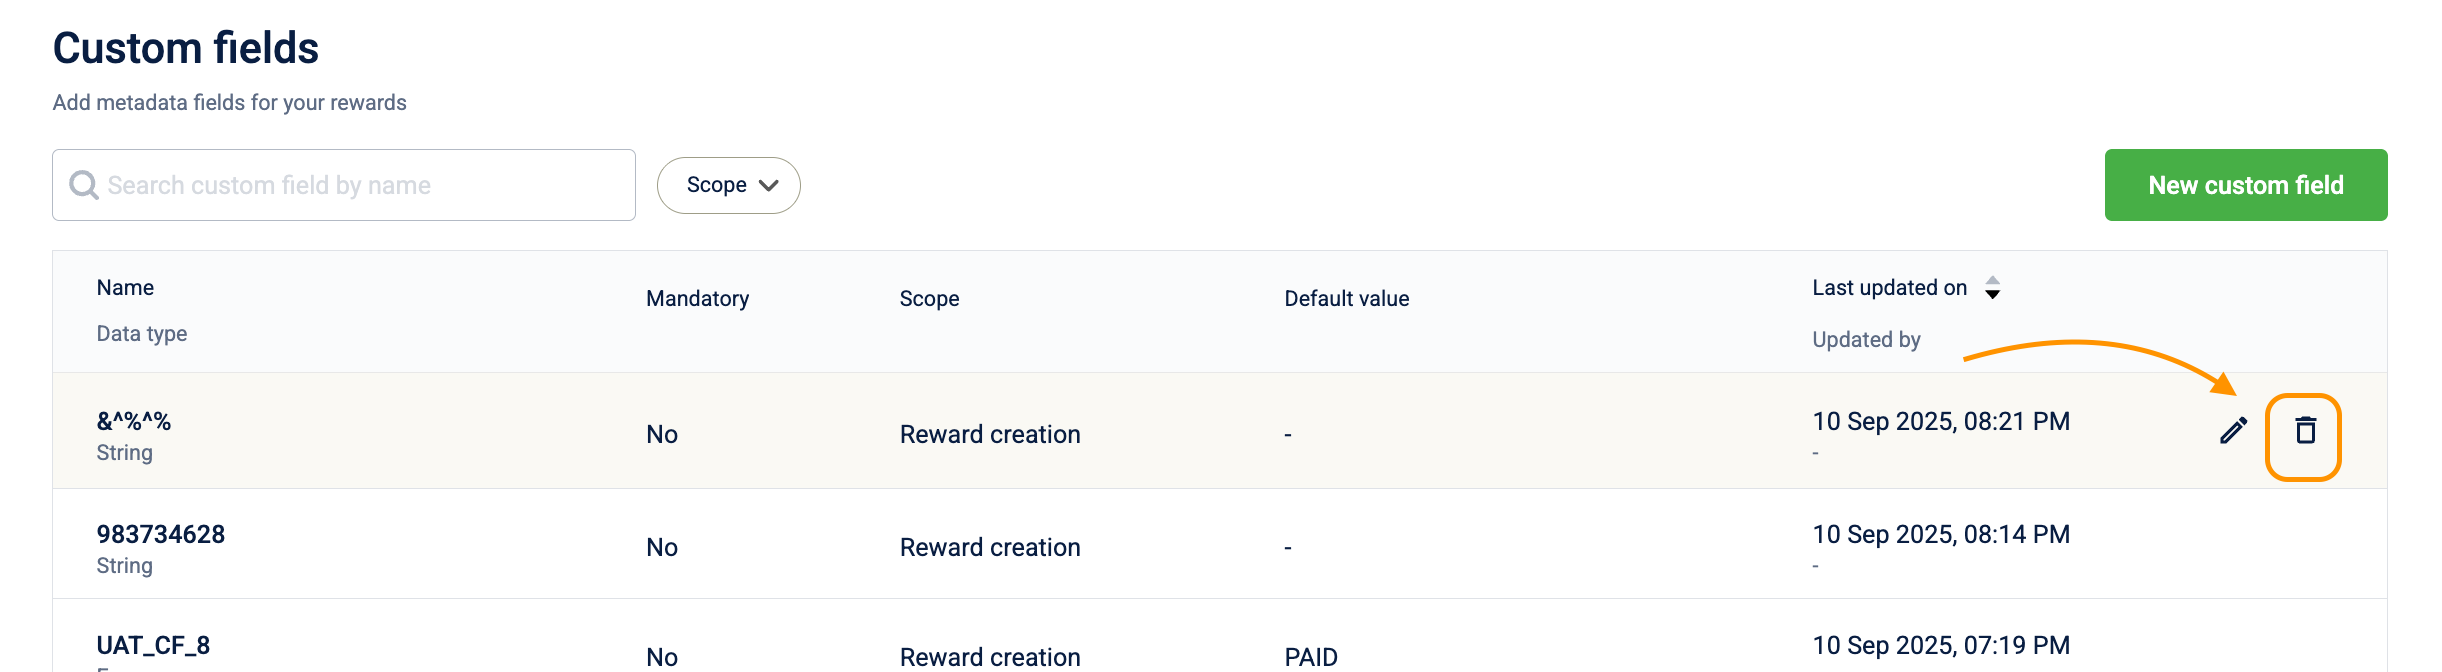
Custom fields
Custom fields attach extra metadata to rewards beyond the standard fields. The scope determines exactly where the field appears. Not all custom fields appear during reward creation.
| Scope | Where the field appears | What it captures |
|---|---|---|
| Reward creation | Step 5 (multi-language content step), when an admin creates or edits a reward | Extra detail about the reward itself, such as a budget code or localized tagline that can vary per language |
| Reward issual | When an operator issues a reward to a specific customer | Per-transaction data at the moment of issuance, not per-reward data |
| Catalog promotion | In promotion rules that reference the catalog | Data used by promotion logic to reference catalog items |
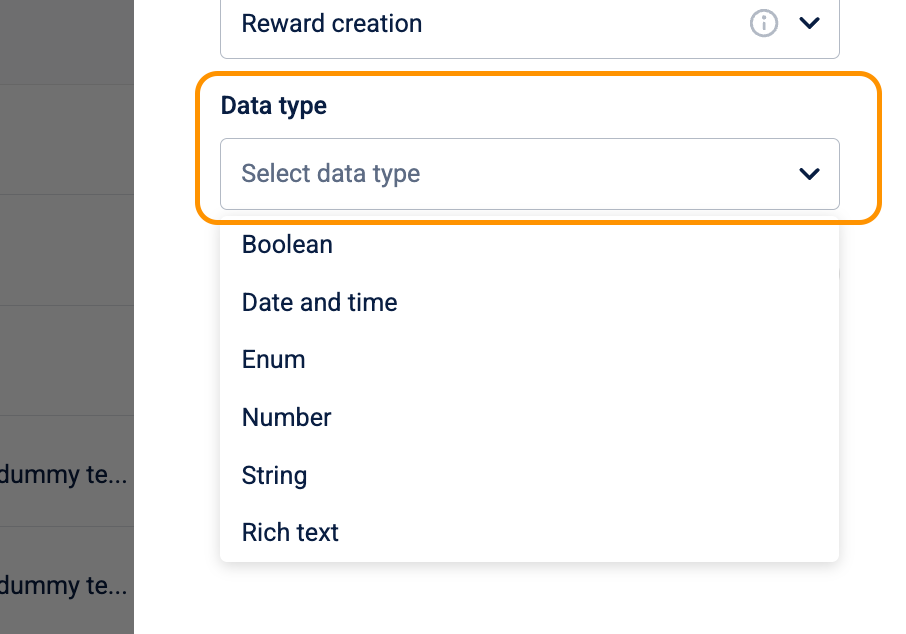
Supported data types
| Data type | Description | Example use case |
|---|---|---|
| Boolean | A true/false value displayed as a toggle. | "Online Only": whether the reward is redeemable only on the website. |
| Date and time | A date and time selected from a calendar. | "Event Date": for a reward granting access to a concert or workshop. |
| Enum | A predefined list of values the user selects from a dropdown. | "Brand Partner": a preset list of partner brands. |
| Number | A numerical value. | "Product SKU": a unique product identifier. |
| String | A single line of plain text. | "Coupon Code": to store a discount code. |
| Rich text | Formatted text with bold, italics, and lists. | "Redemption Instructions": detailed steps on how to claim a reward. |
Up to 20 active Rich text custom fields are supported per organization.
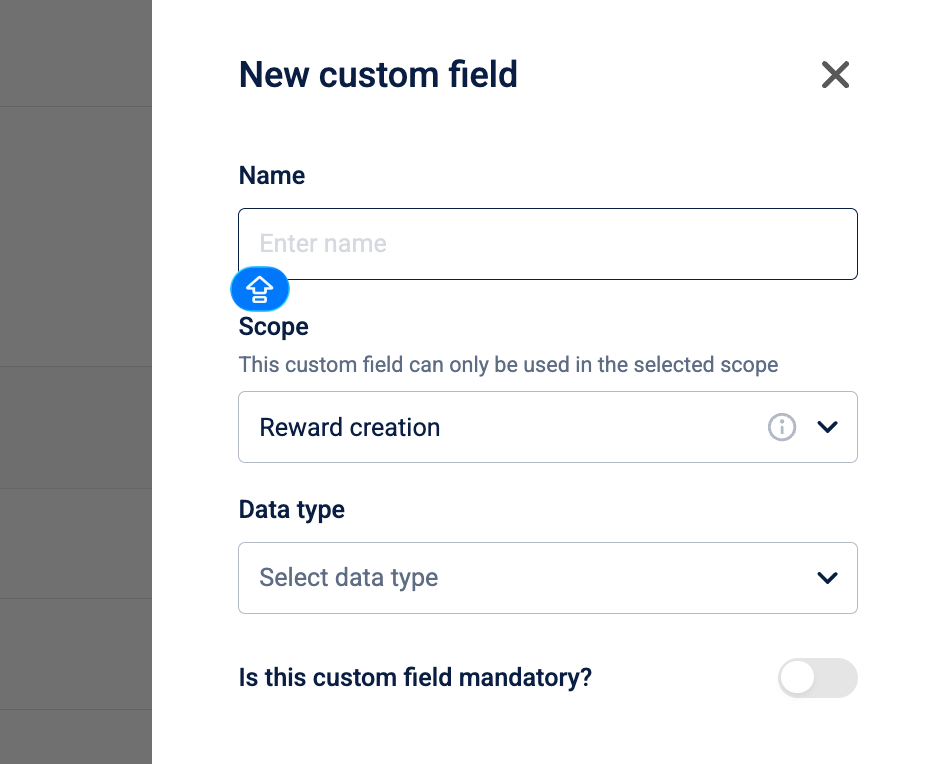
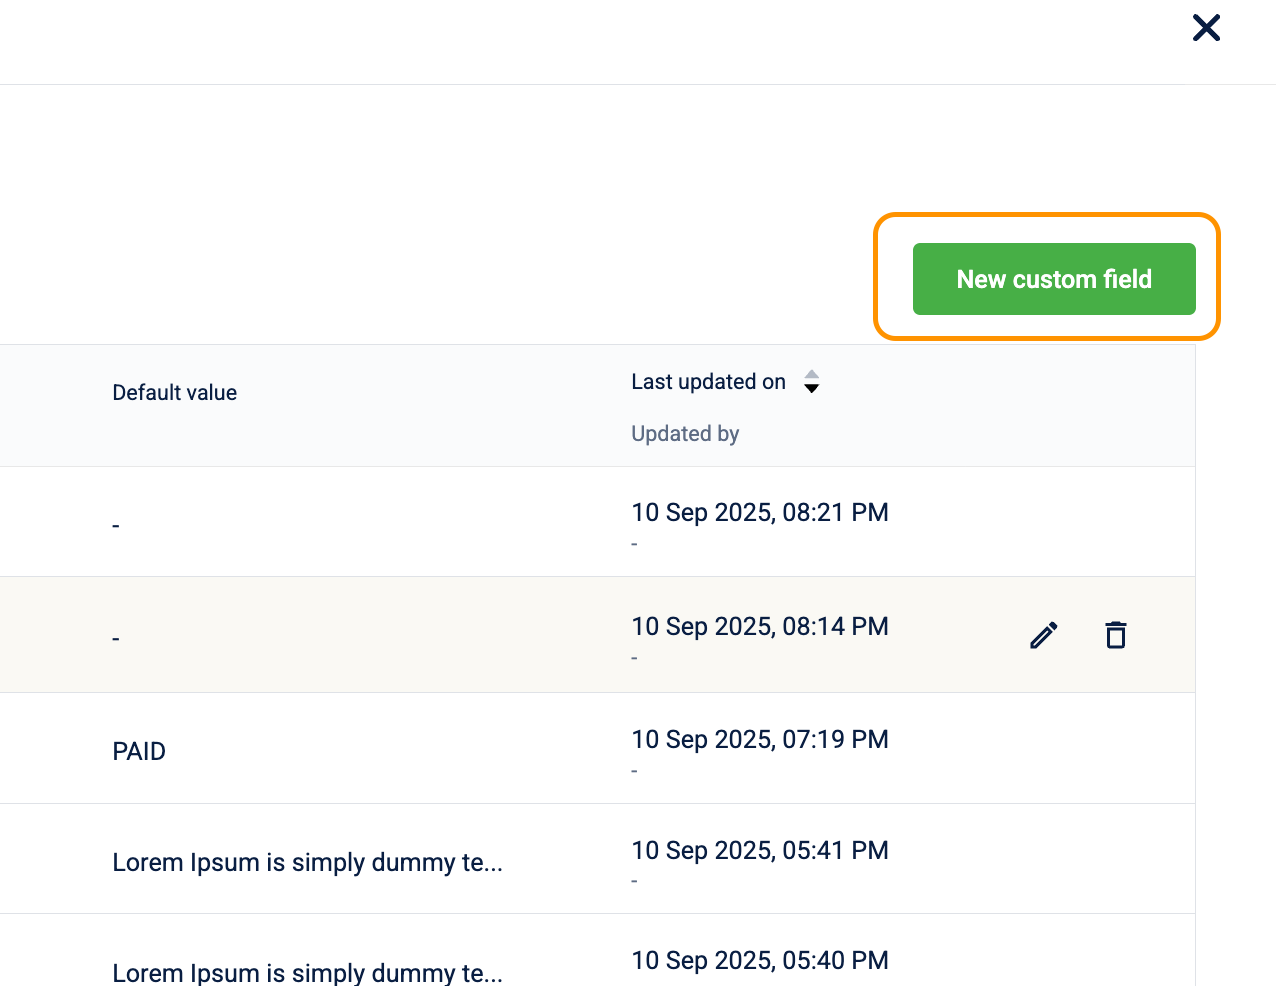
How to create a custom field?
- Go to Settings > Custom Fields.
- Select New custom field.
-
Configure the following:
- Name: Enter a unique name. Maximum 255 characters.
- Scope: Select where the field appears: Reward creation, Reward issual, or Catalog promotion.
- Data type: Select the type of data this field holds.
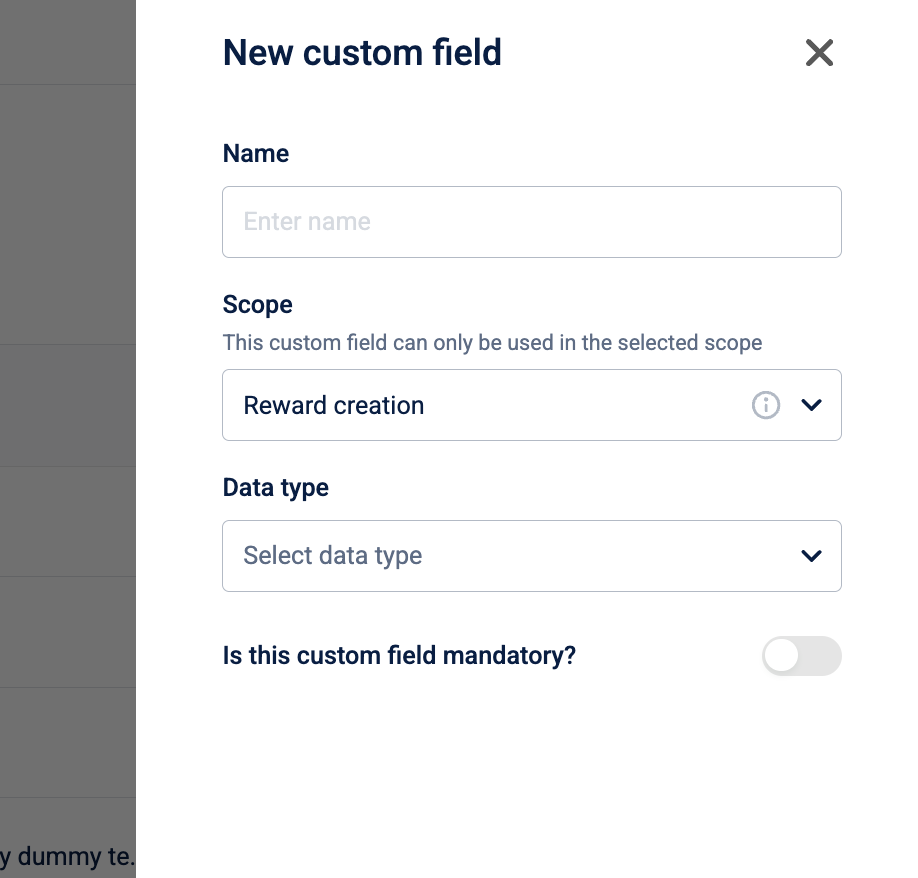
-
(Optional) Turn on Is this custom field mandatory? to require this field on every new save. Every admin who creates or edits any reward must fill it in before saving. Existing rewards without a value aren't blocked retroactively. The check applies only to new saves.
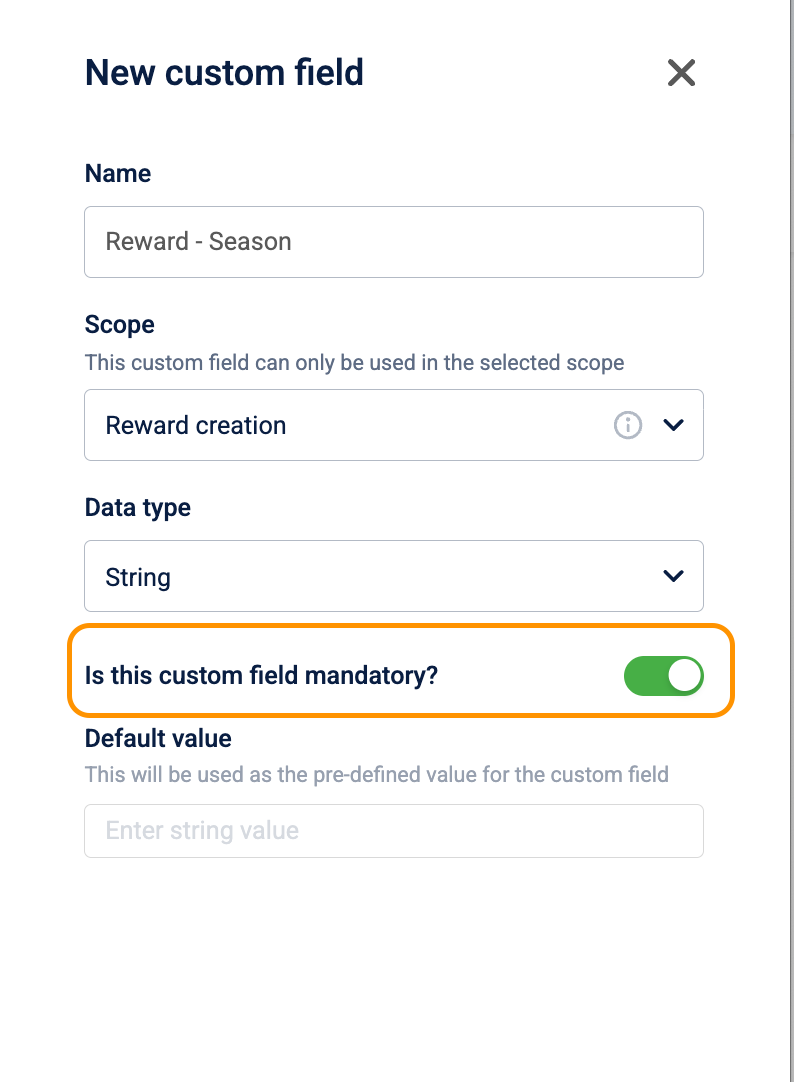
- (Optional) Enter a Default value to pre-fill the field when no value is entered. Default values apply only to mandatory fields.
- Select Done.
How to delete a custom field?
When a custom field is deleted, the following changes occur to existing rewards:
- Permanent Data Loss: All values stored within that specific field across all rewards are permanently lost and cannot be recovered.
- Entity Unlinking: The custom field is unlinked from all associated rewards or entities where it was being used.
- Reward Retention: The rewards themselves are not deleted; they remain in the system, but the specific data associated with that custom field is removed.
Event notification
These settings apply globally to every reward within the organization and cannot be limited to specific rewards. When a reward approaches its expiry date, the system evaluates all active notification rules and triggers those that match the current timing.
The following logic applies to all global notification rules:
- Universal Application: Rules fire for every reward in the organization. You cannot apply a rule to only a subset of rewards.
- Relative Timing: Triggers are based on each reward's end date. For example, a "7 days before" rule is triggered, or exactly one week before the specific expiry date of each reward.
- Channel Configuration: This setting controls only the timing of the trigger. The actual delivery channel (Email, SMS, or Push) is managed through your organization's primary communication settings.
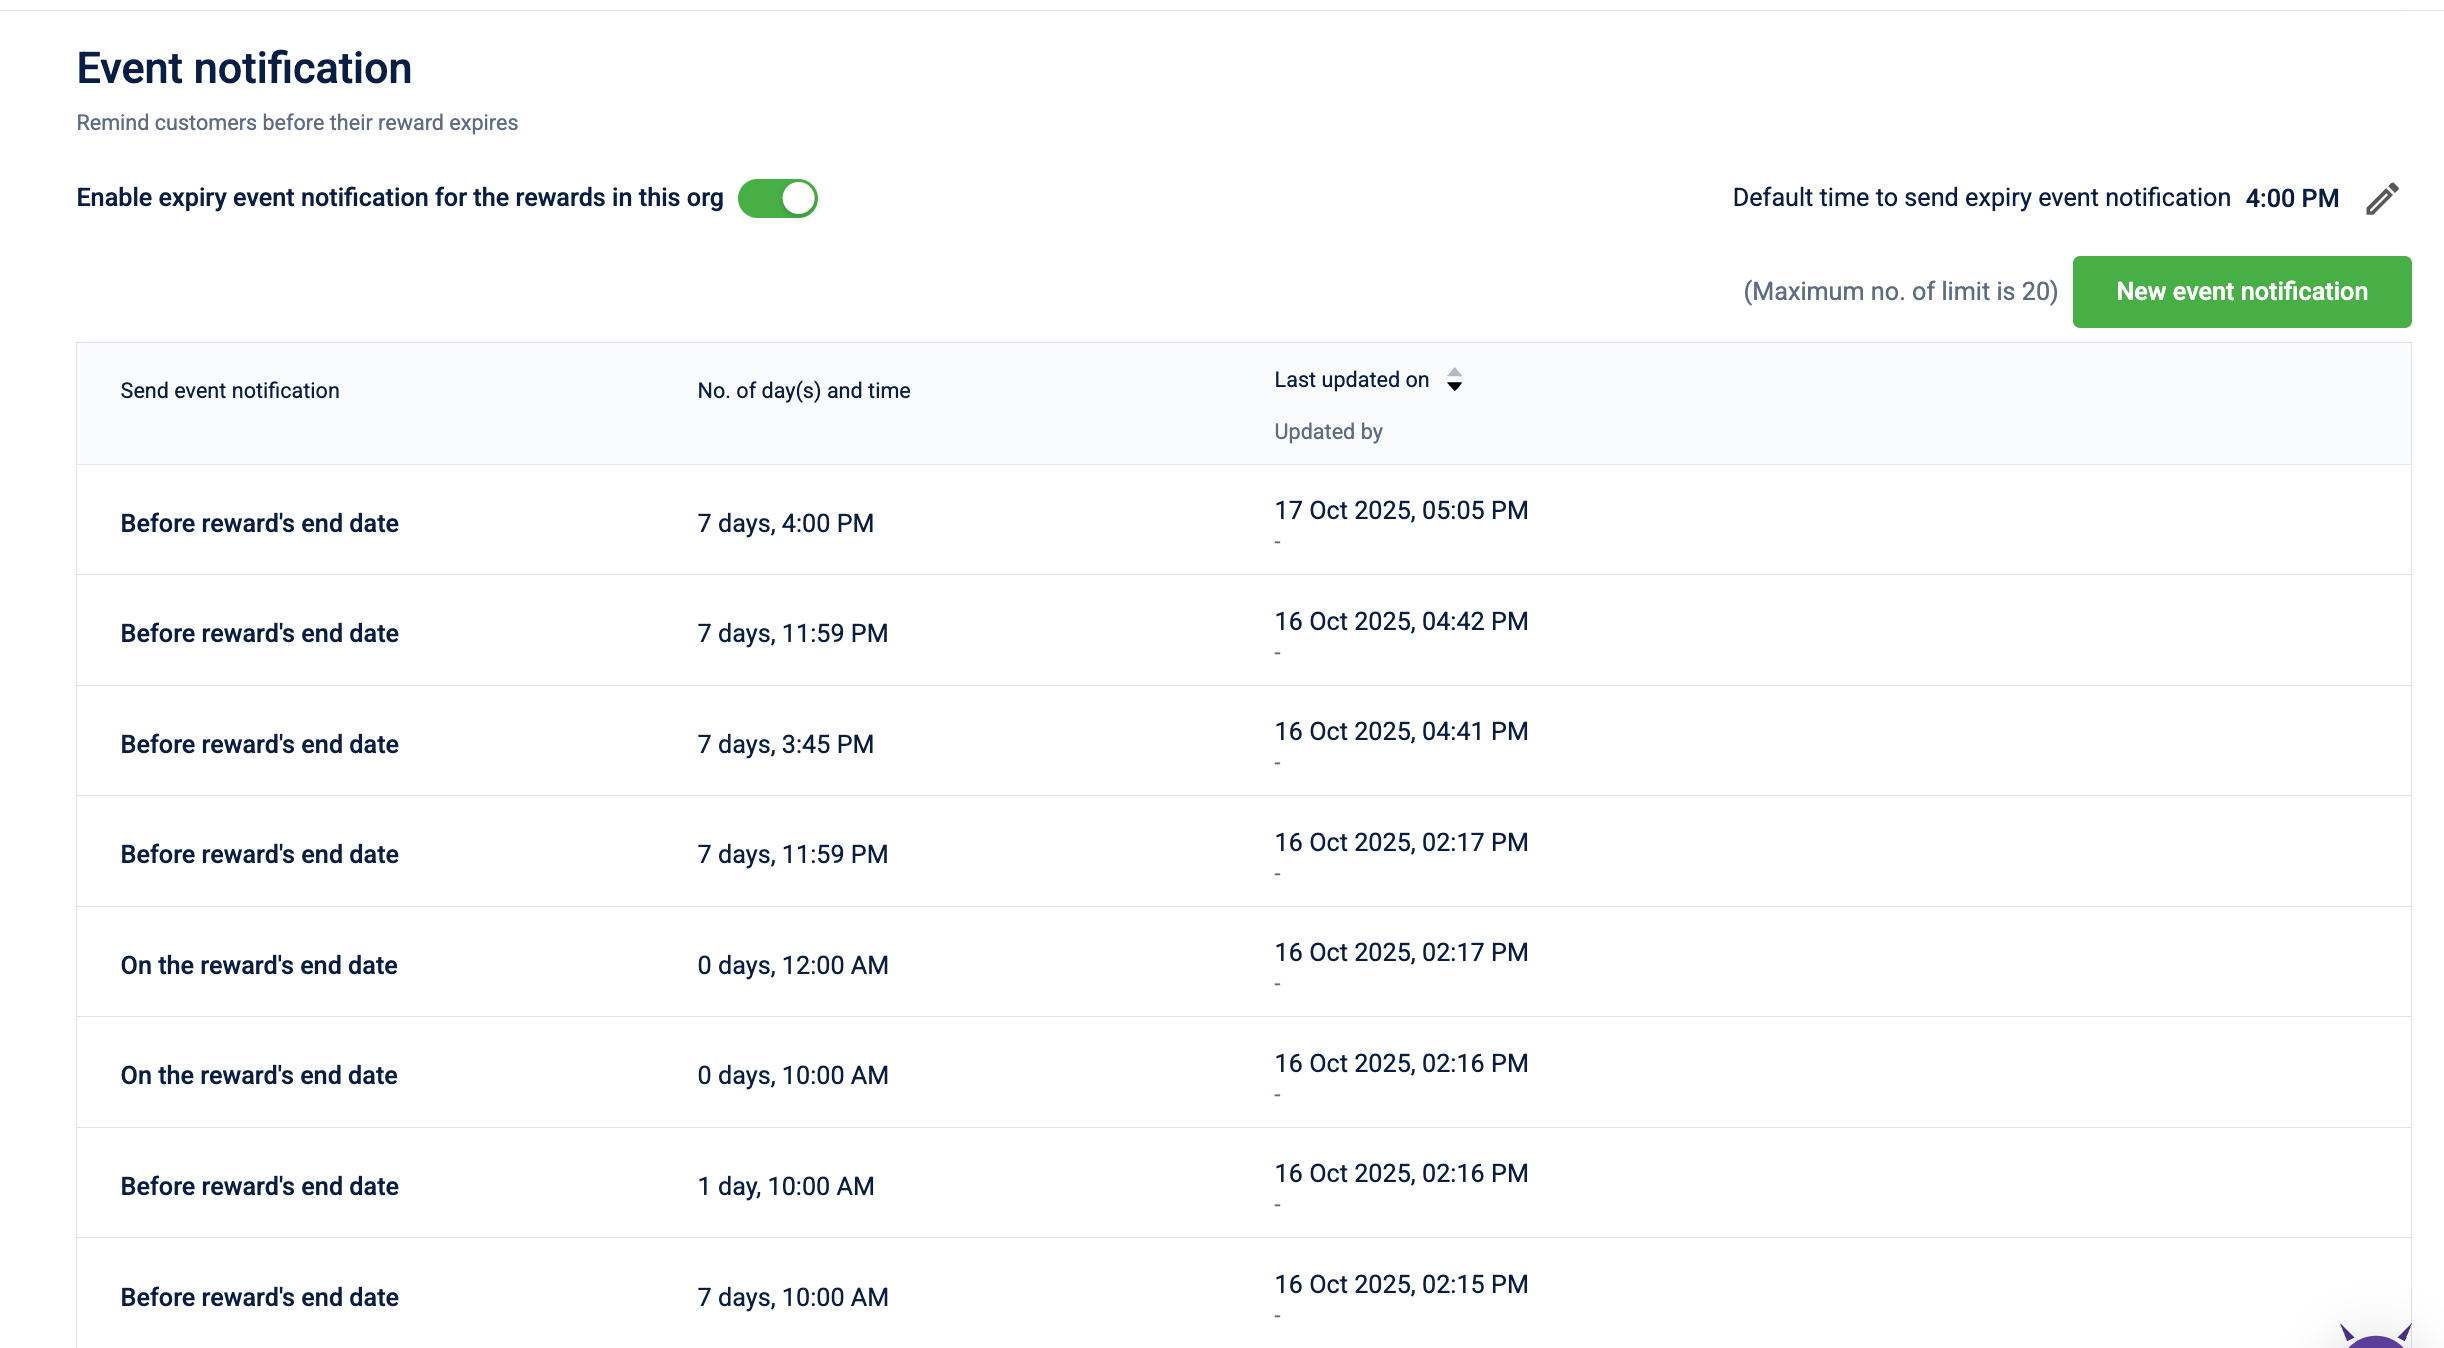
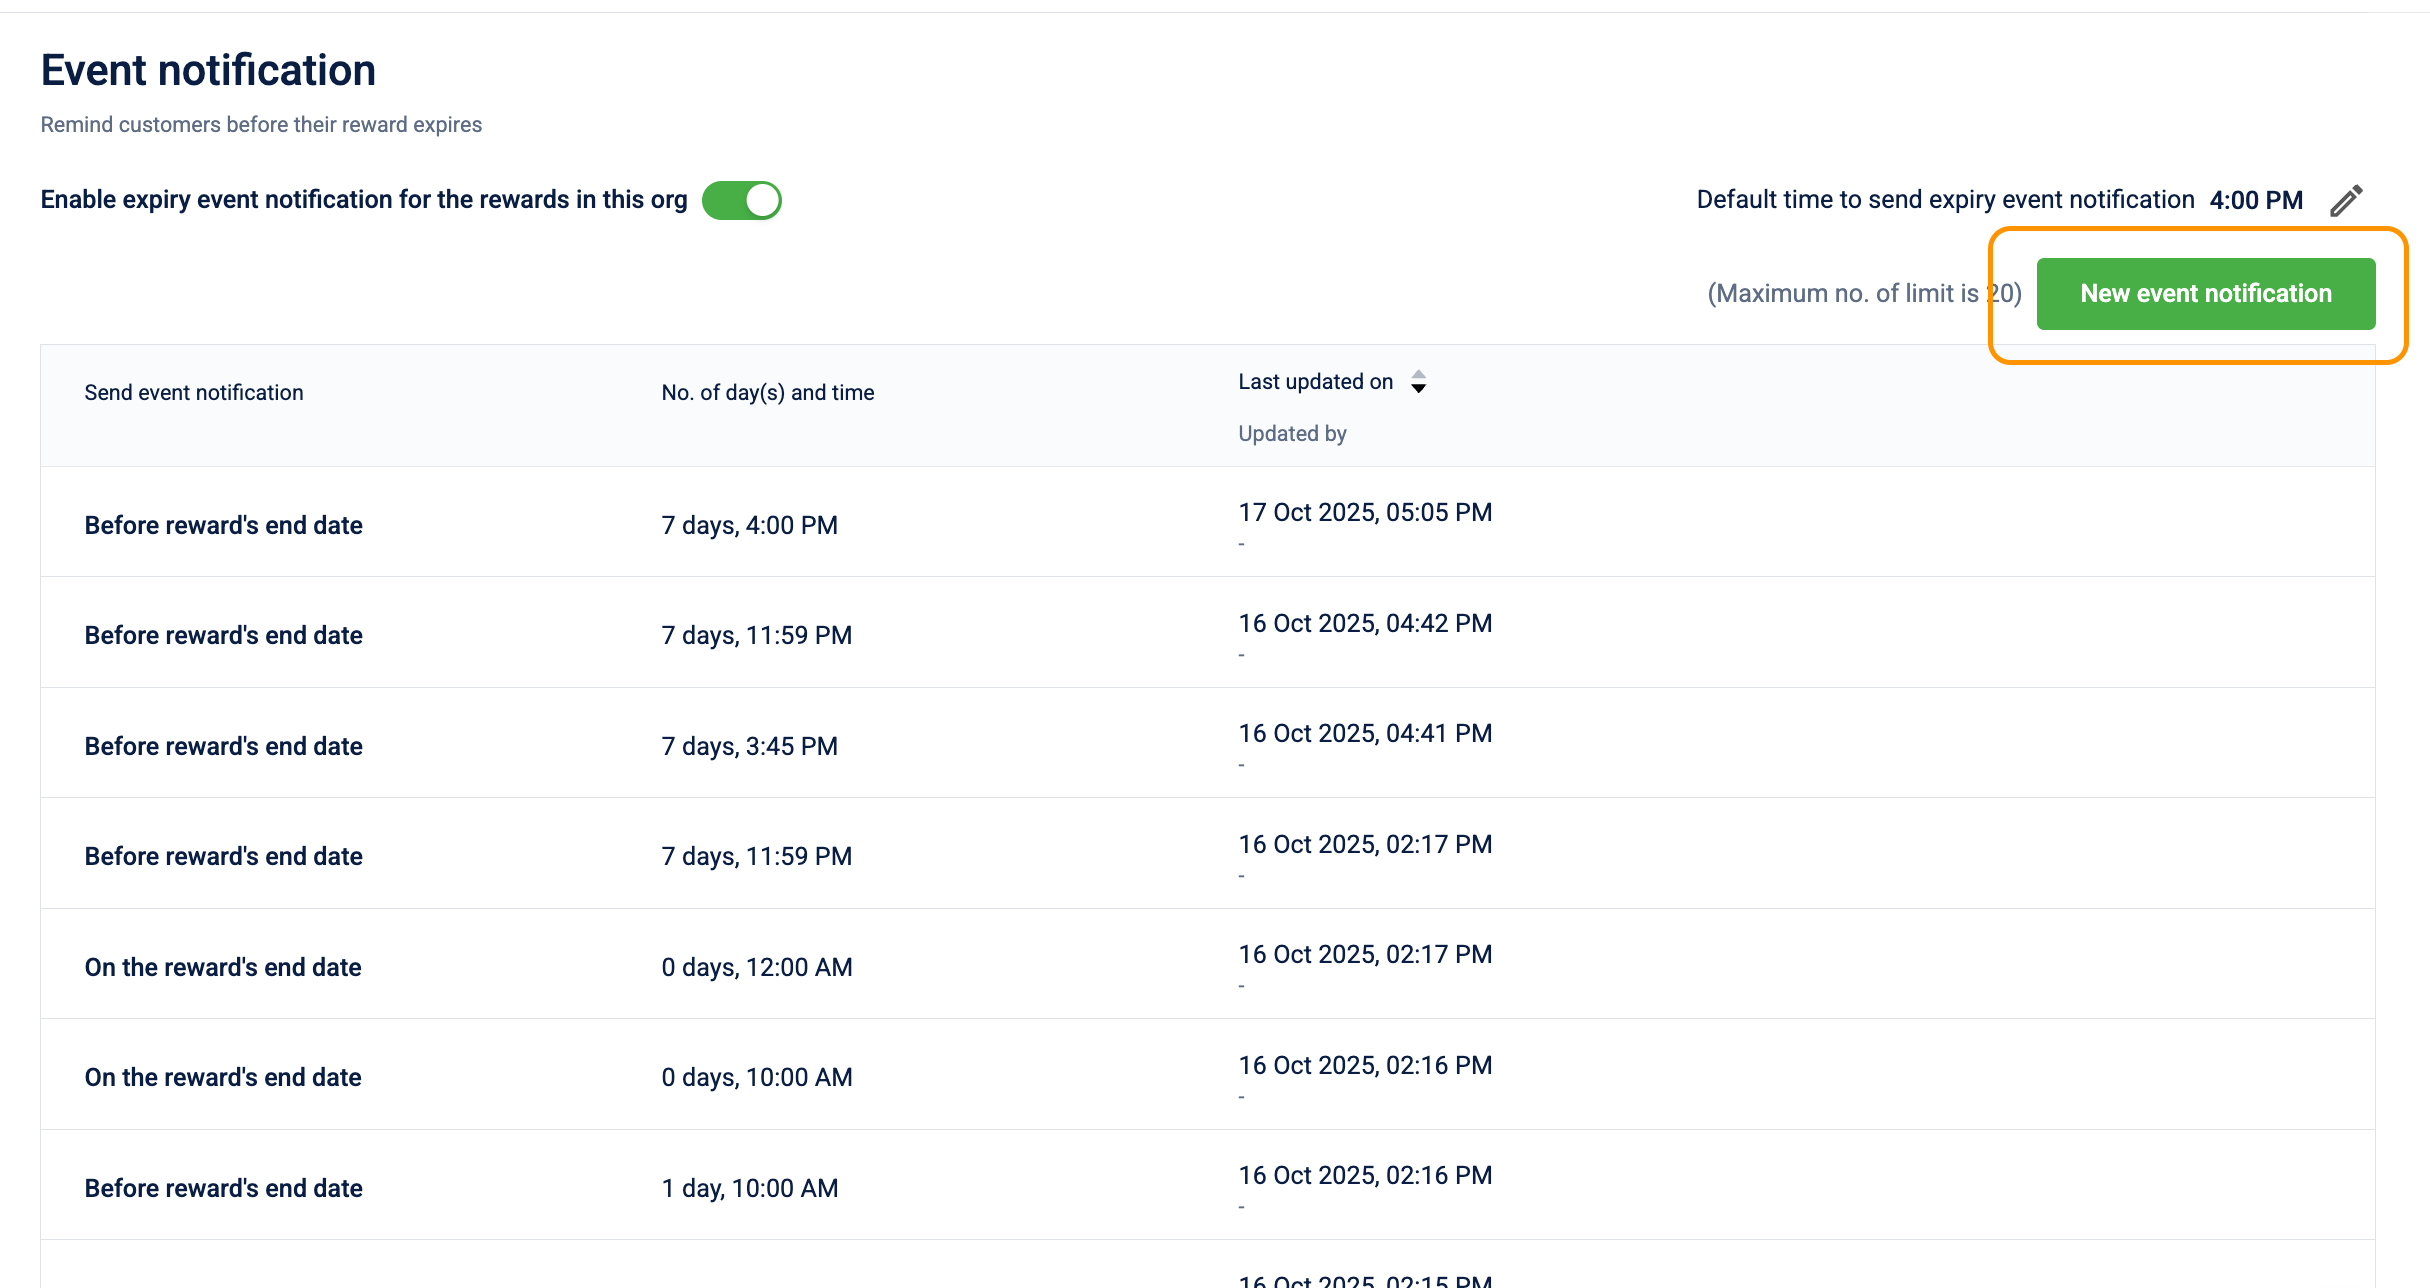
Note: An organization can support a maximum of 20 active event notifications at any time.
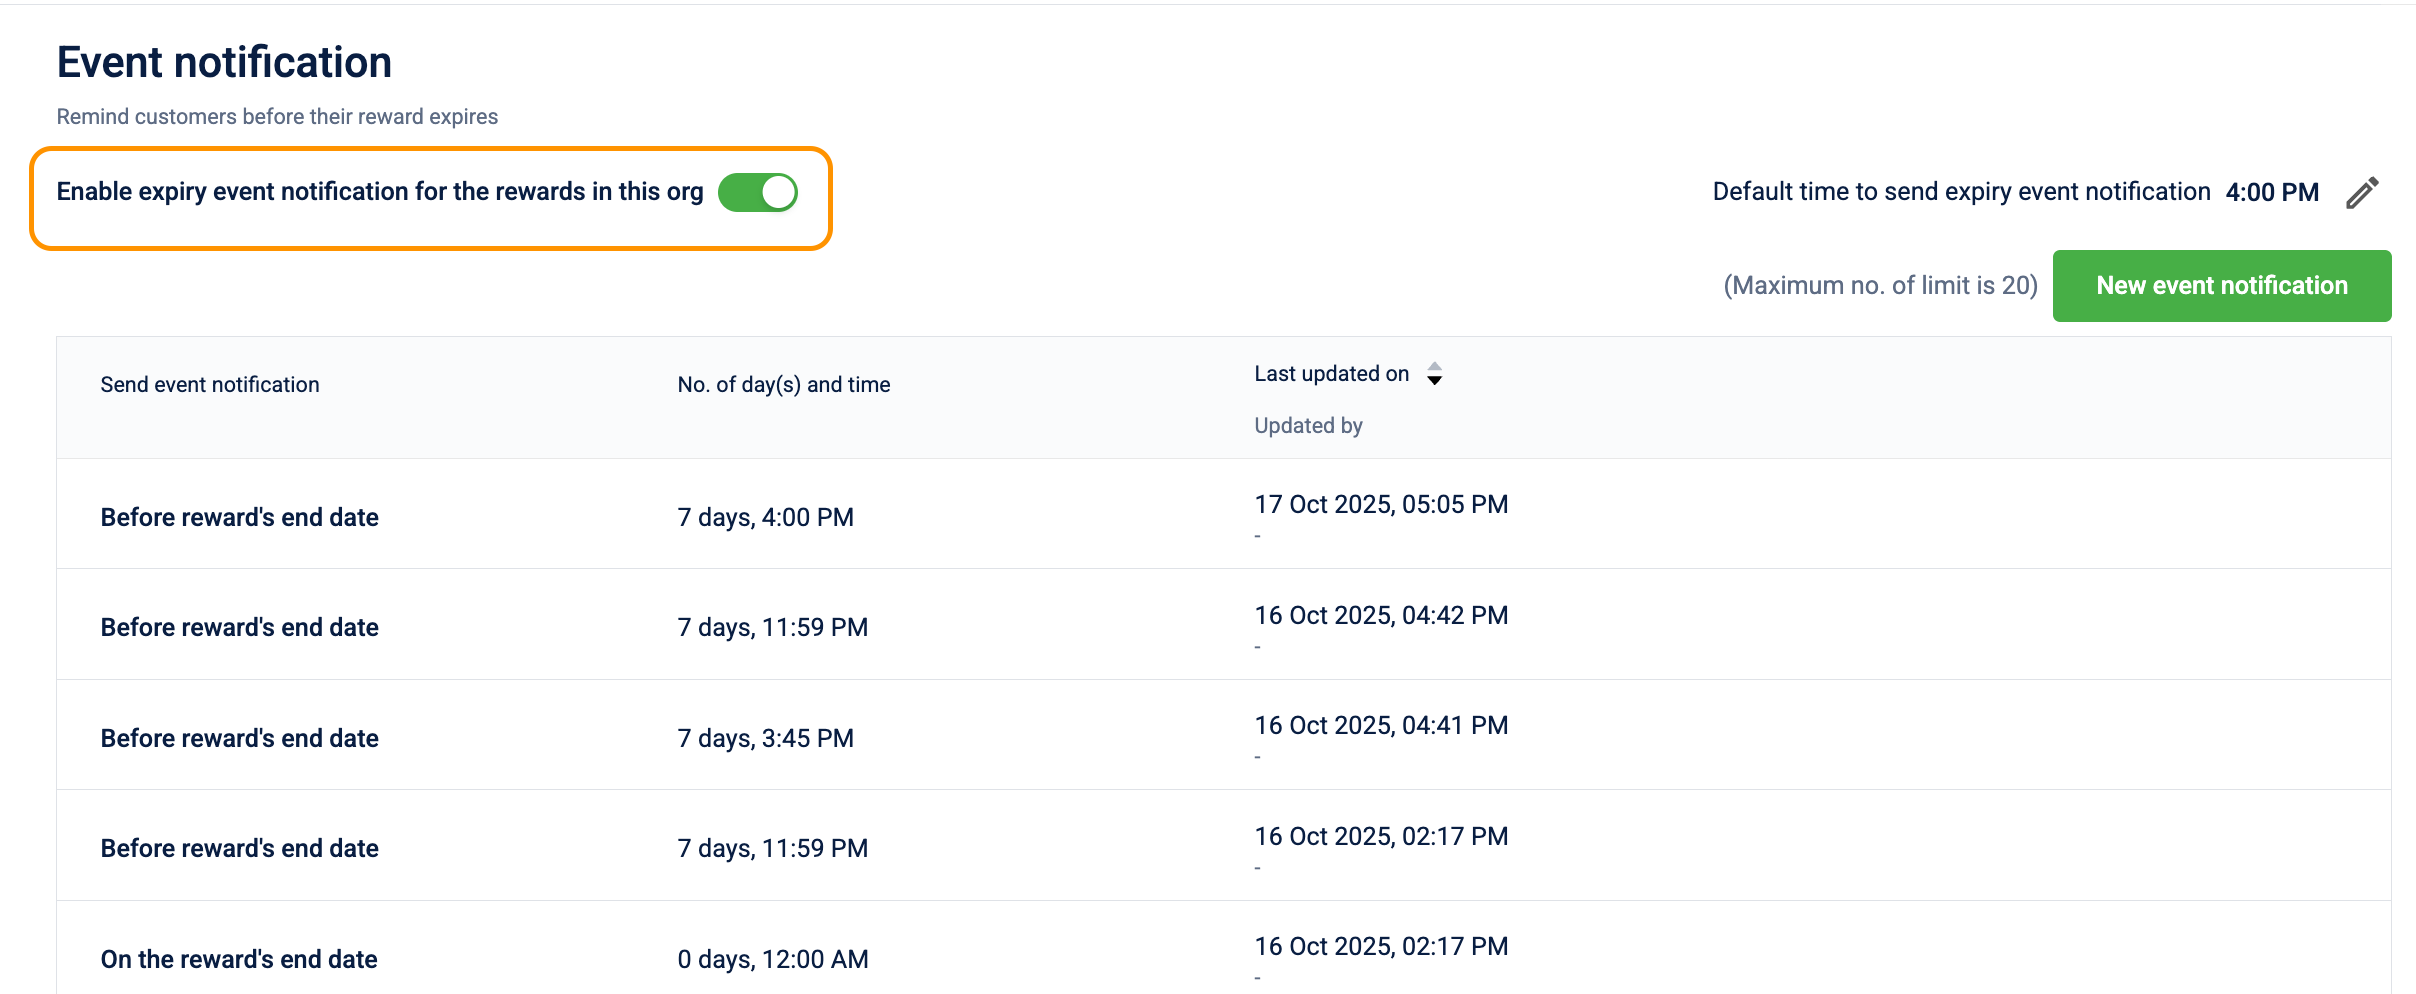
Turn on or turn off all event notifications
Use the Enable expiry event notification for the rewards in this org toggle at the top of the Event Notification page to turn all expiry notifications on or off for your organization at once. Turning this off pauses all expiry notifications regardless of individual rule configurations.
Create an event notification
- Go to Settings > Event Notification.
- Select New event notification.
-
Select when to send the notification:
- On the reward's end date: The notification fires on the day the reward expires.
- Before reward's end date: The notification fires a set number of days before expiry. Enter the number of days (minimum 1), for example, enter
7to notify customers one week before their reward expires.
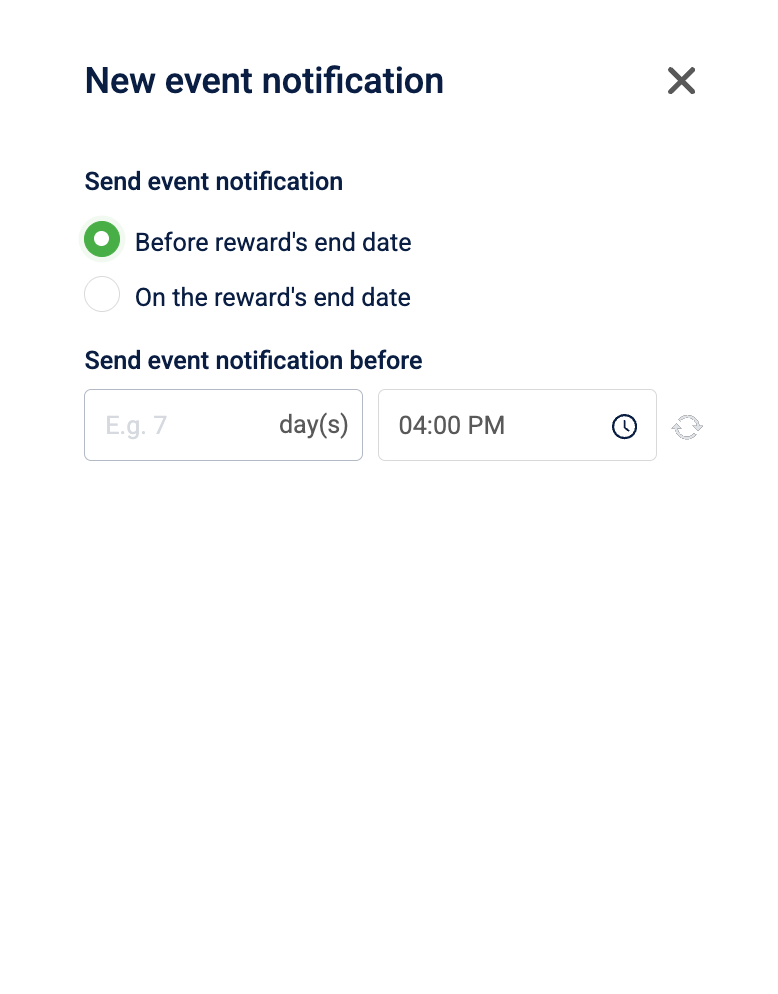
-
Select Done.
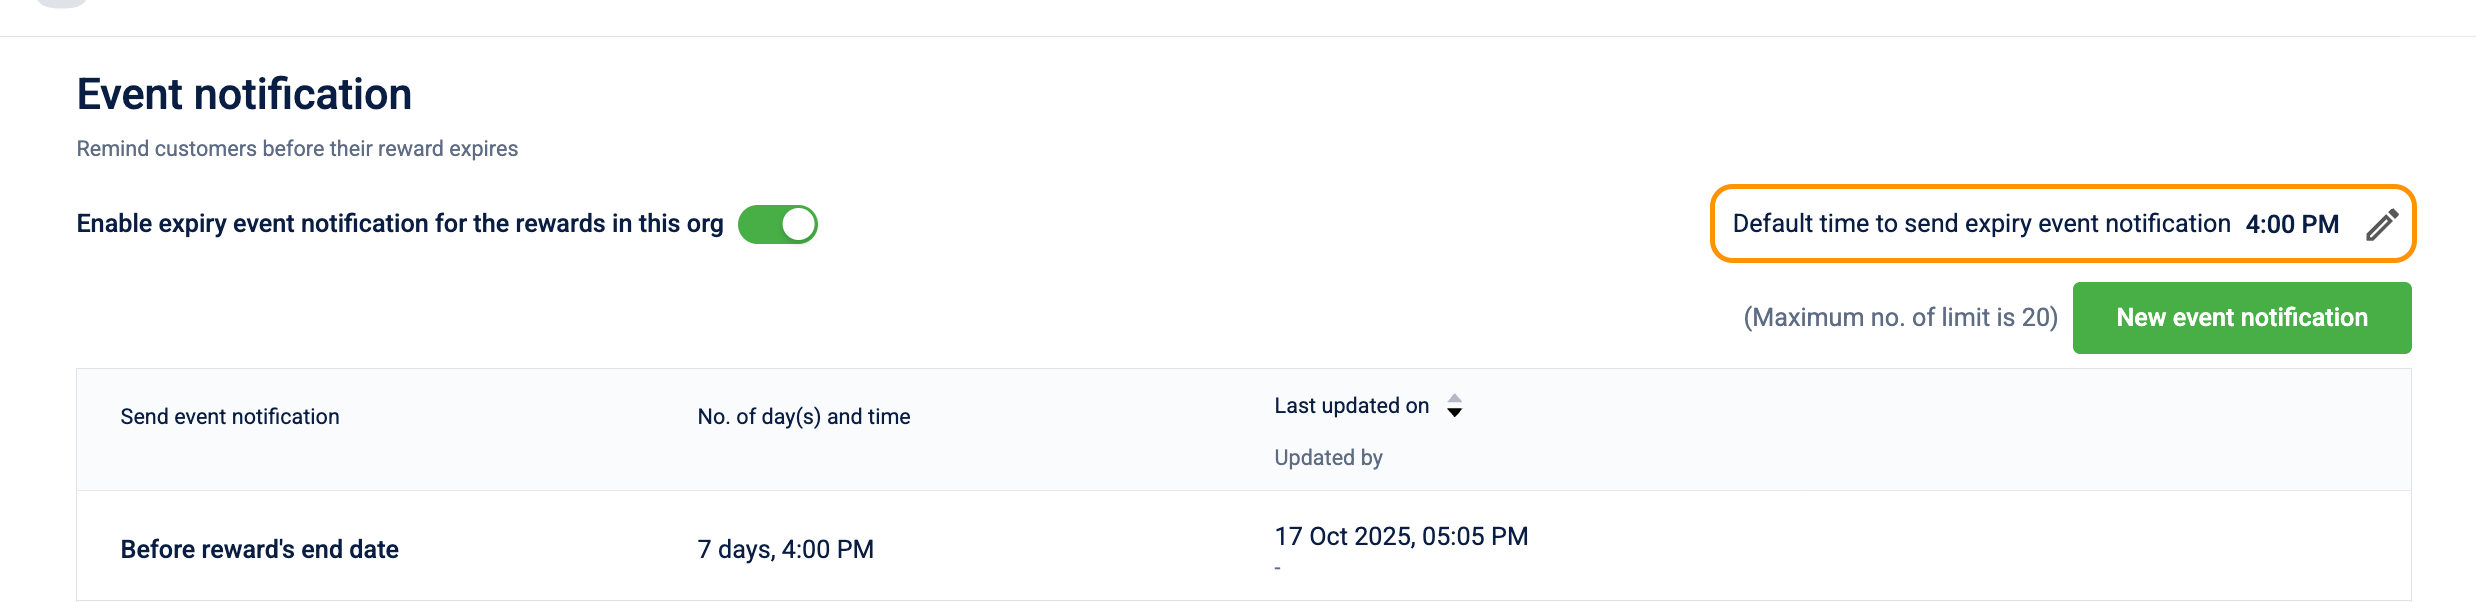
Set the default send time
The Default time to send expiry event notification field sets the time of day at which all expiry notification rules fire. This applies to every rule in the organization
- Go to Settings > Event Notification.
- Select the Default time to send expiry event notification field.
- Select the time you wish to keep as the default.
- Select Save new default time for expiry event notification
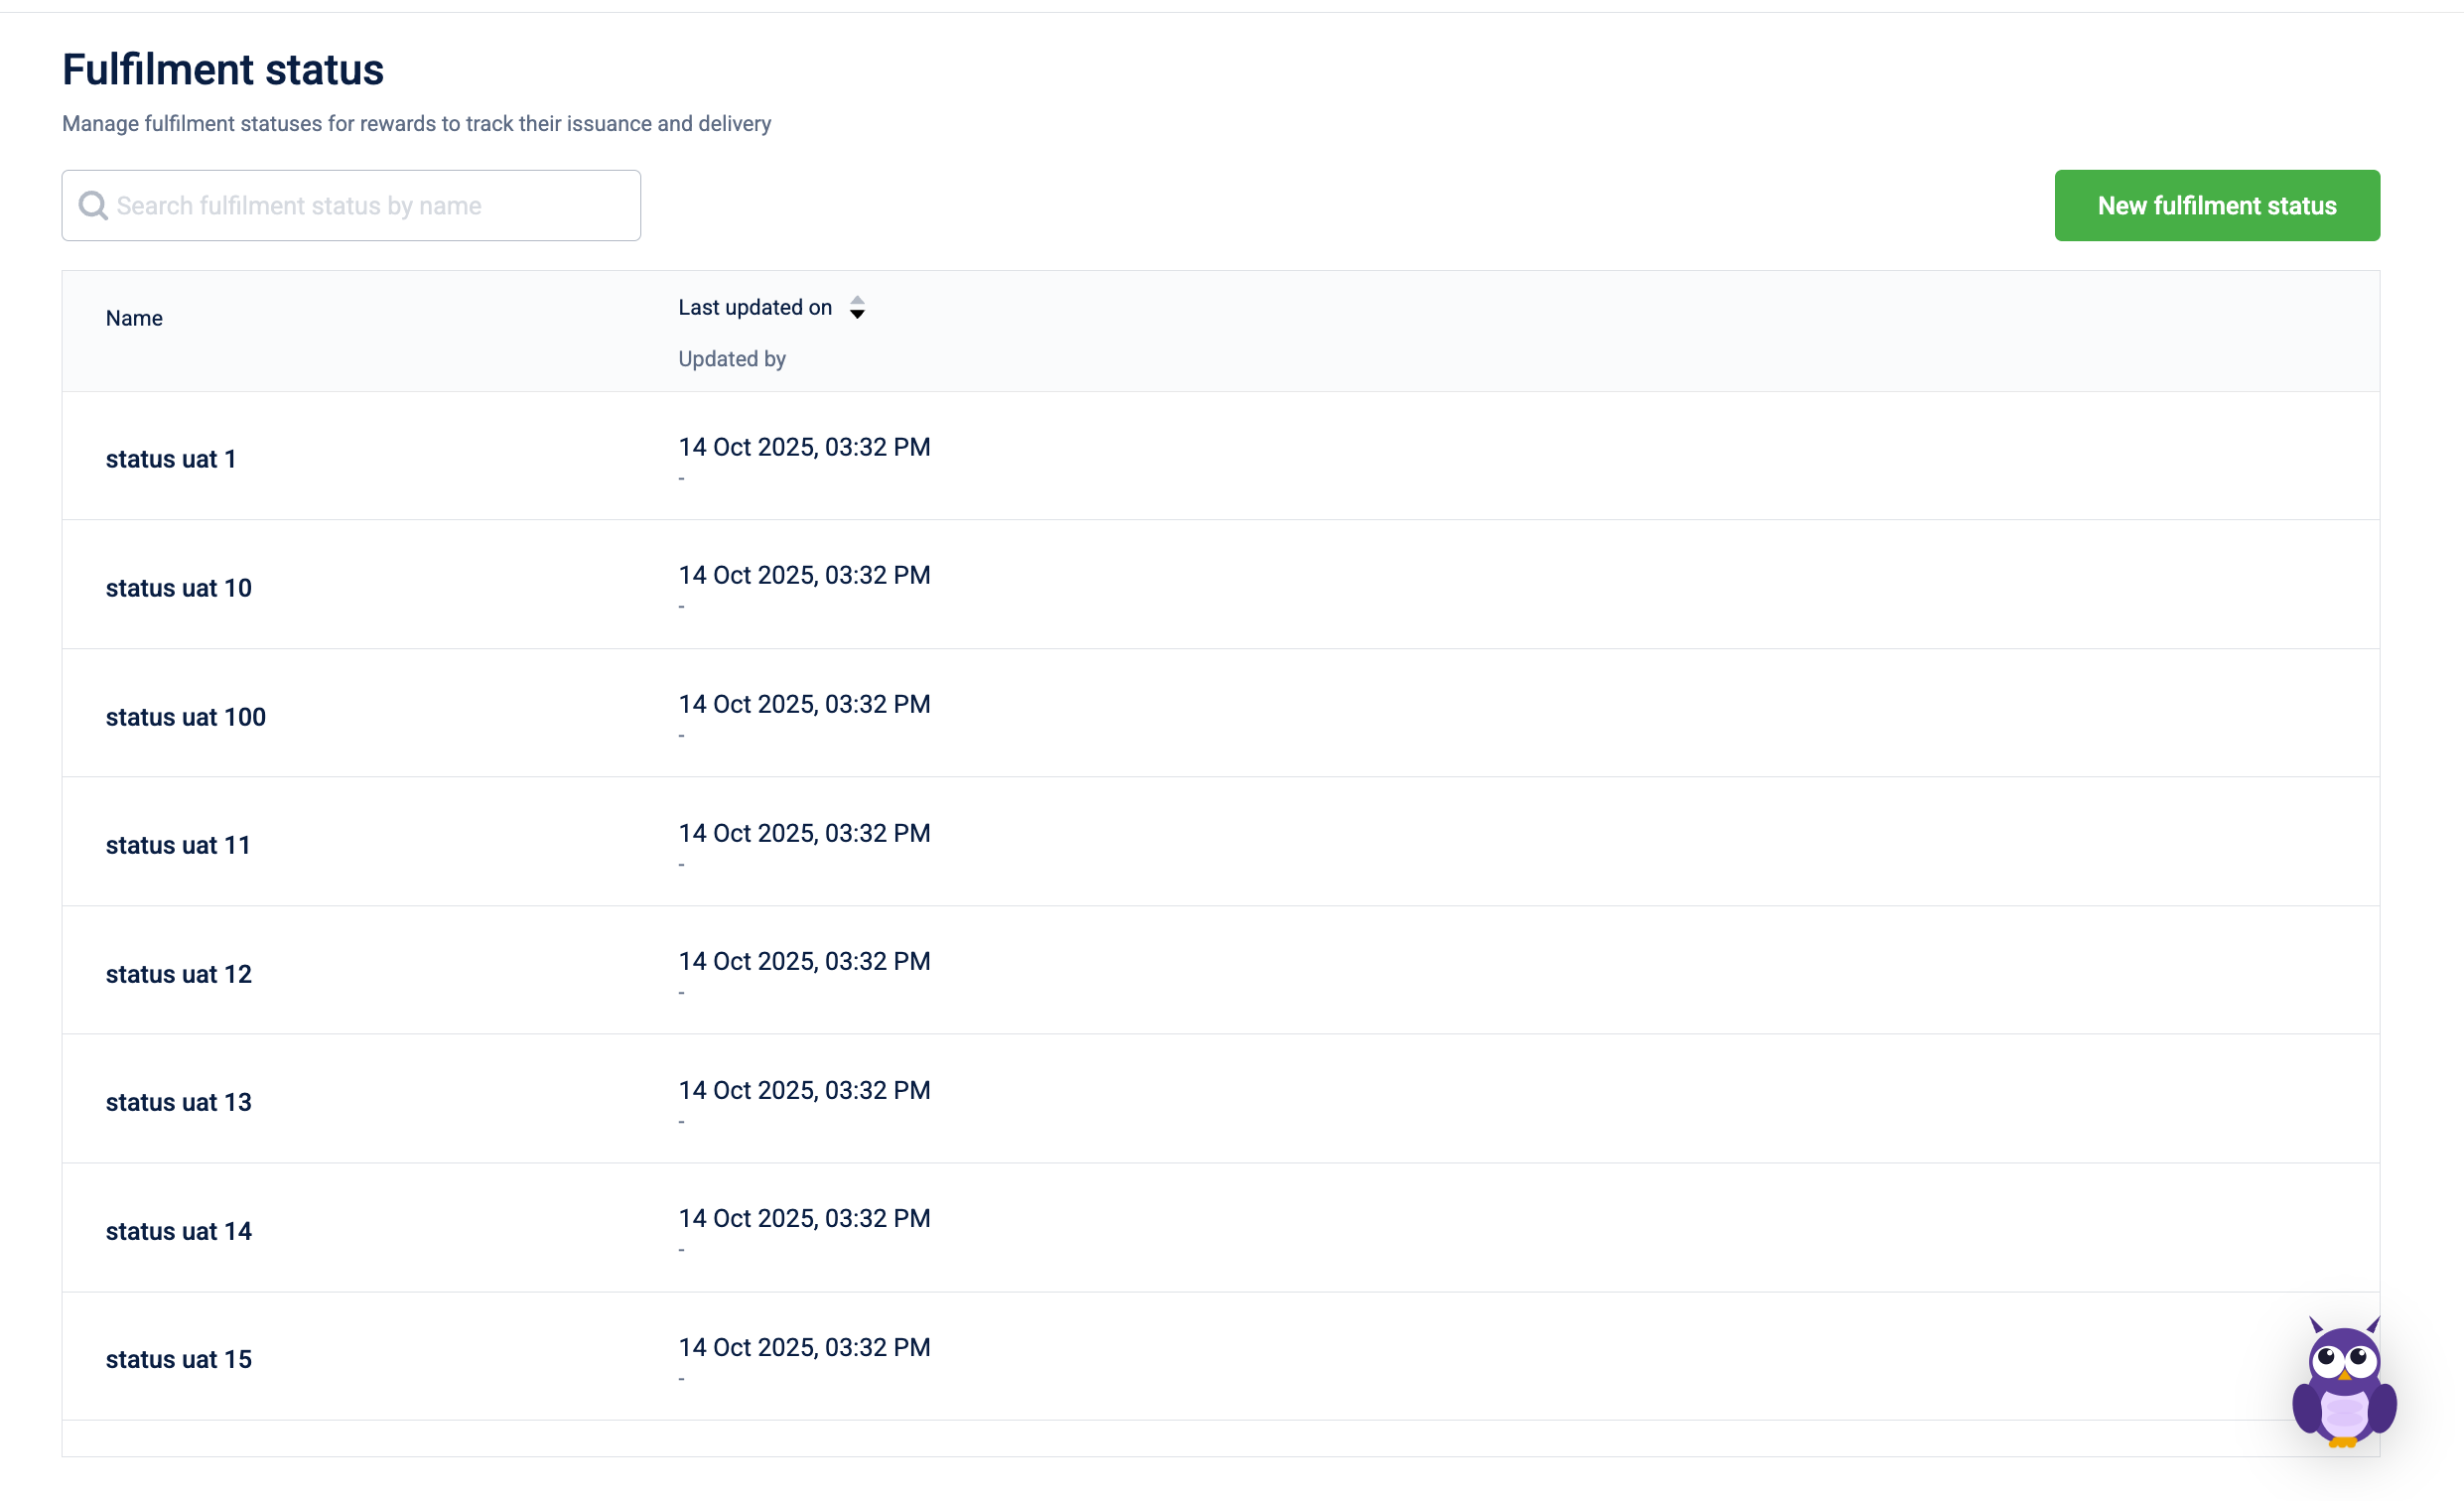
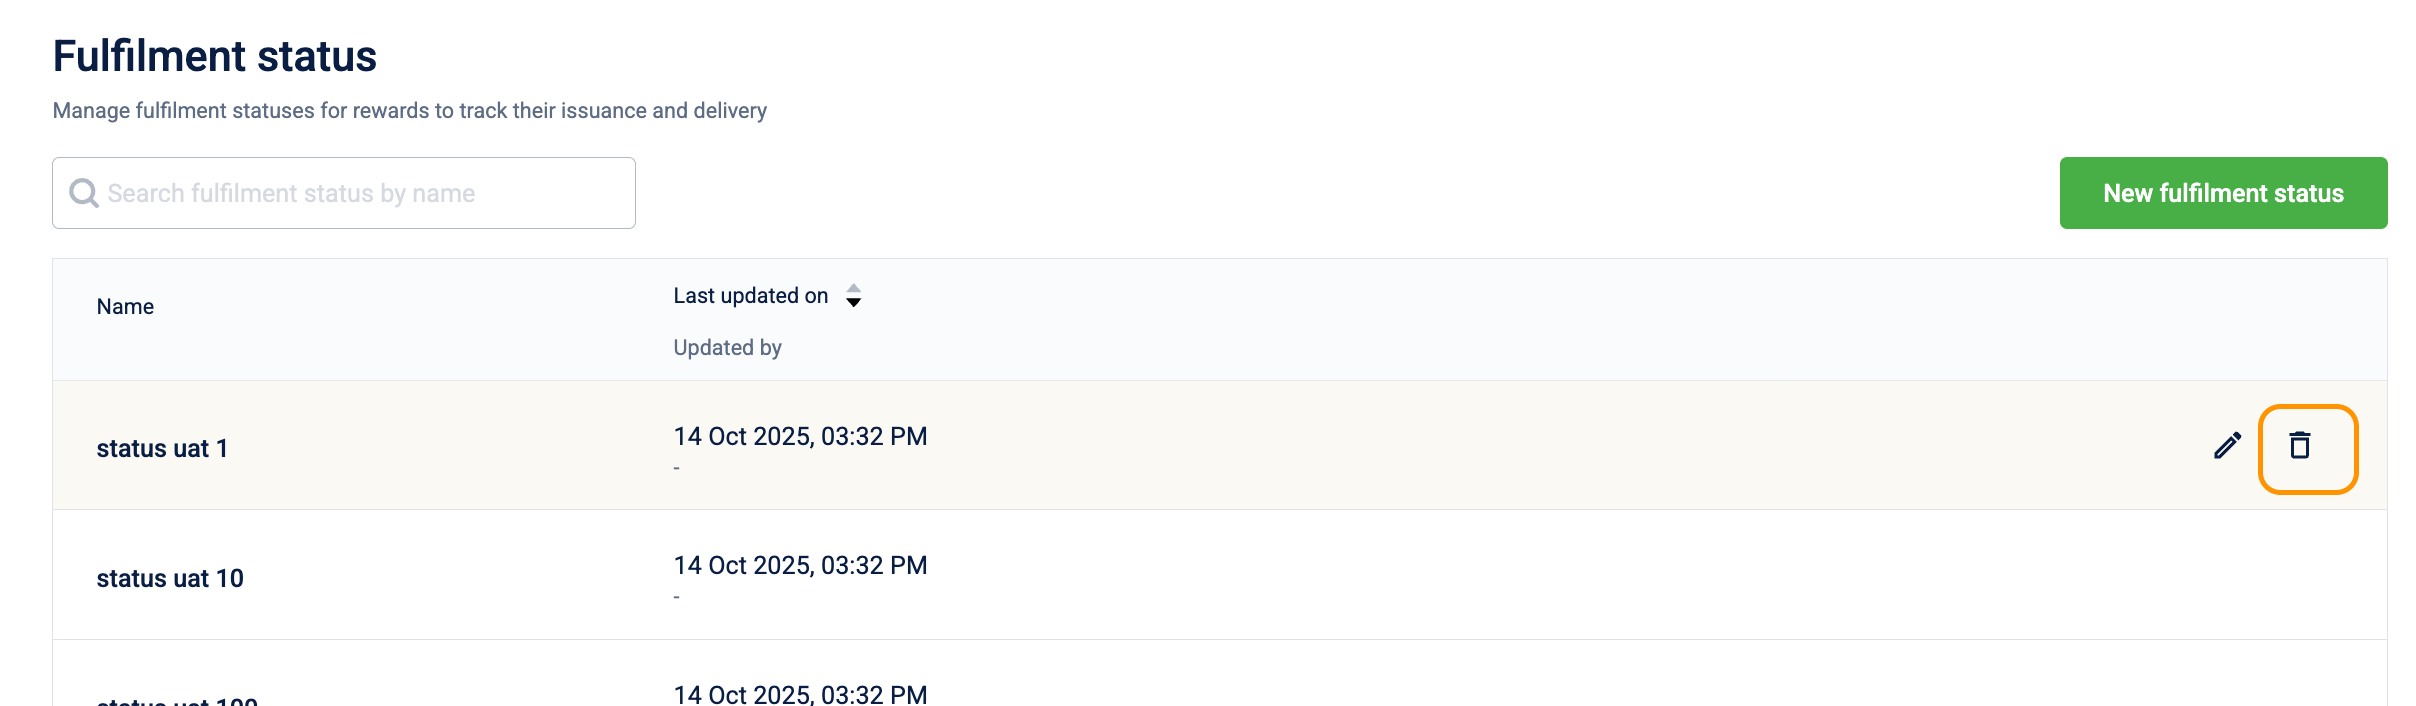
Fulfilment status
Fulfilment statuses appear on the order tracking view that customers see after redeeming a physical reward. When an operator updates a redemption's status to "Shipped," the customer sees "Shipped" in their order history. Status transitions are manual. An operator or integrated system updates them. The system doesn't transition statuses automatically.
Examples: Processing, Shipped, Out for Delivery, Delivered, Received, In-Progress, Denied, Completed.
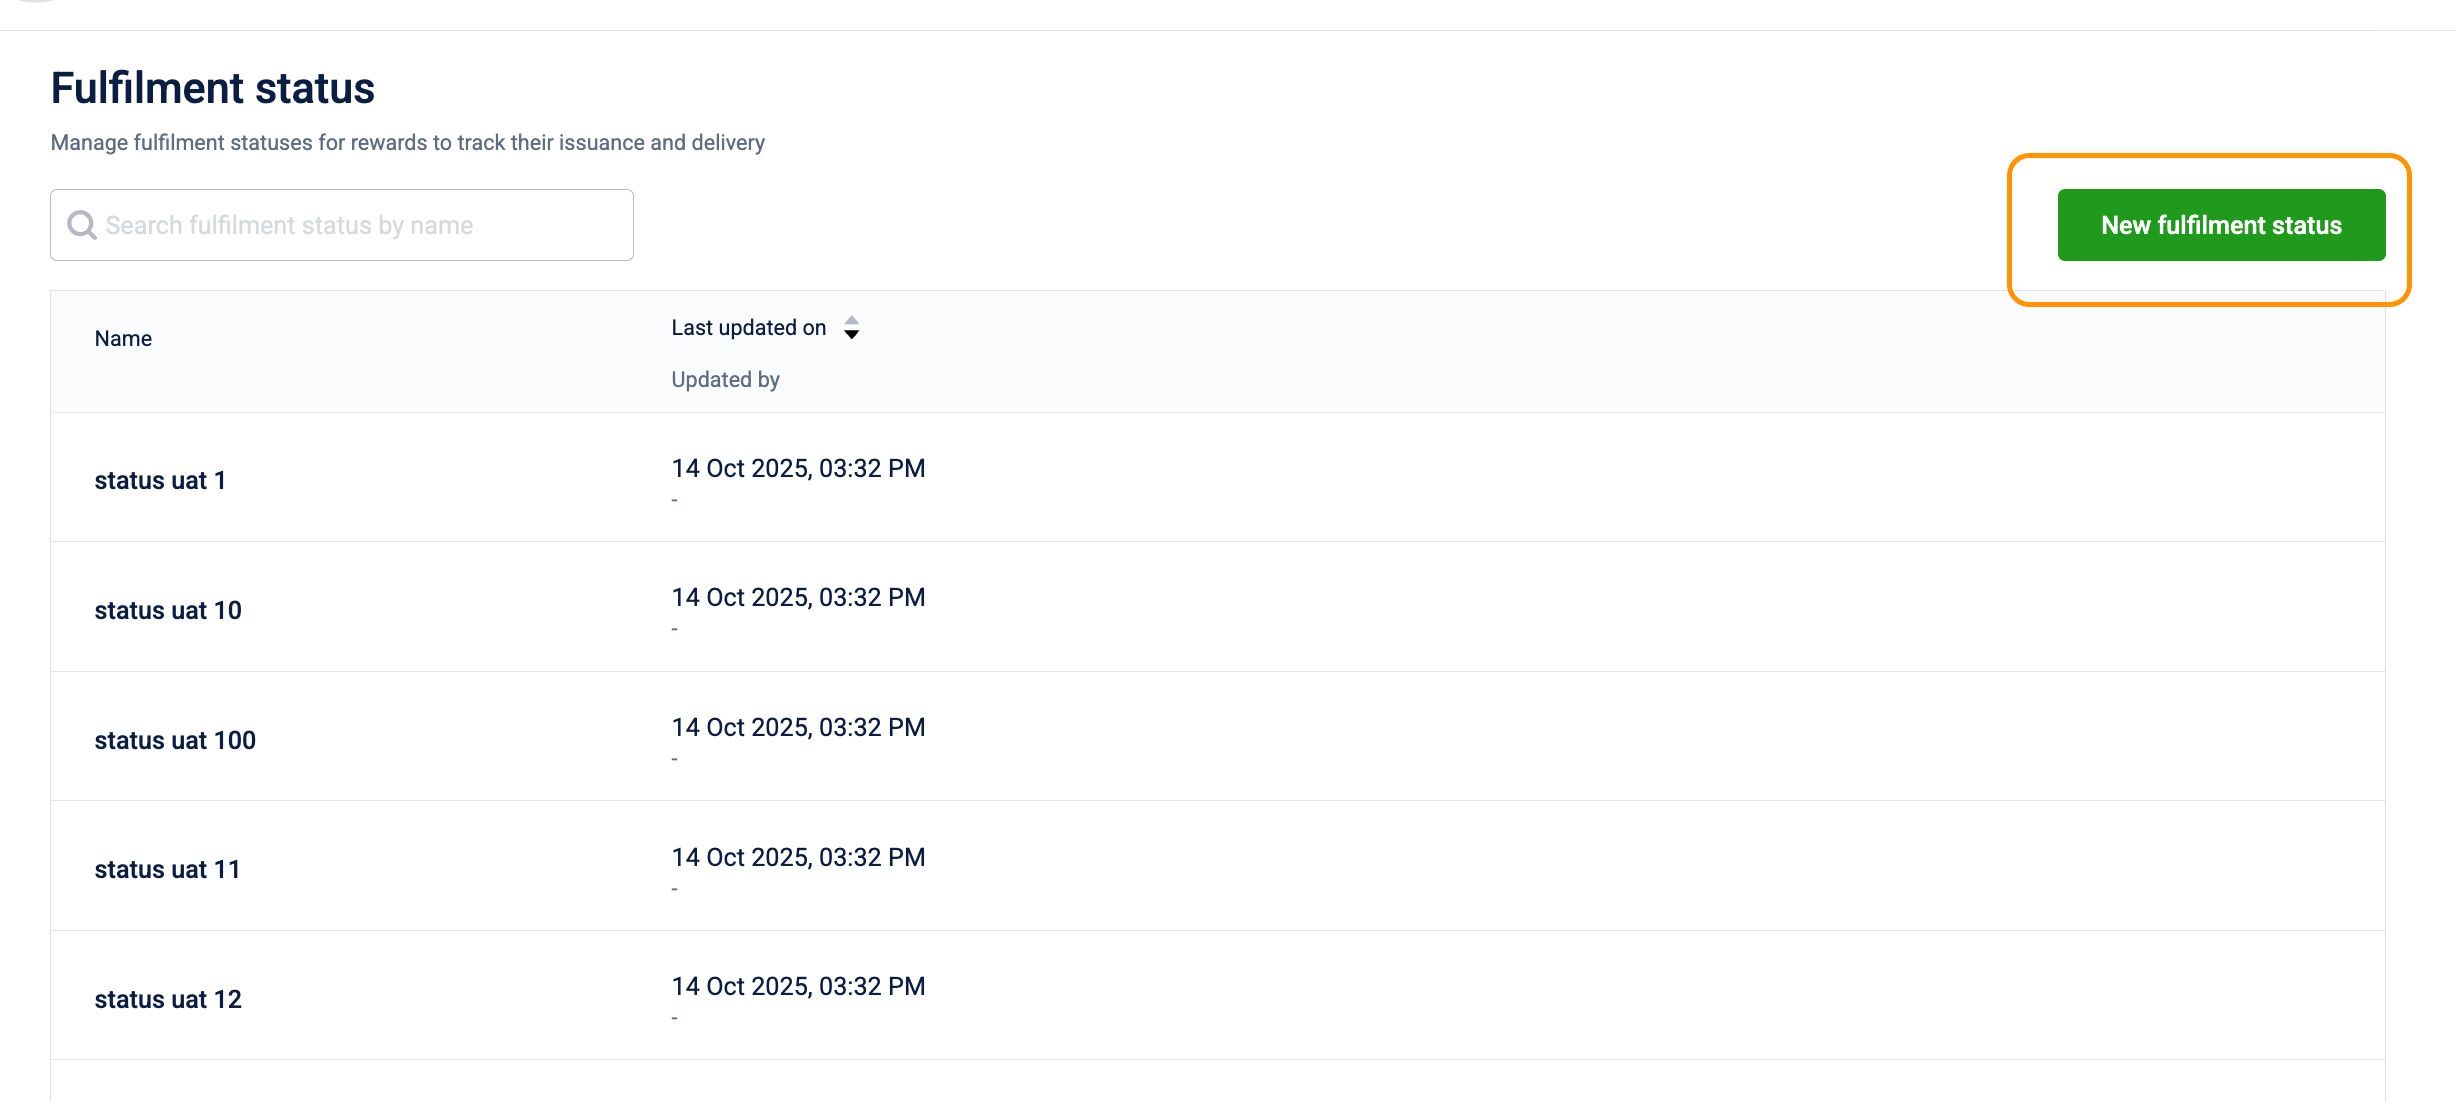
Create a fulfilment status
- Go to Settings > Fulfilment Status.
- Select New fulfilment status.
- Enter a Name. Maximum 255 characters.
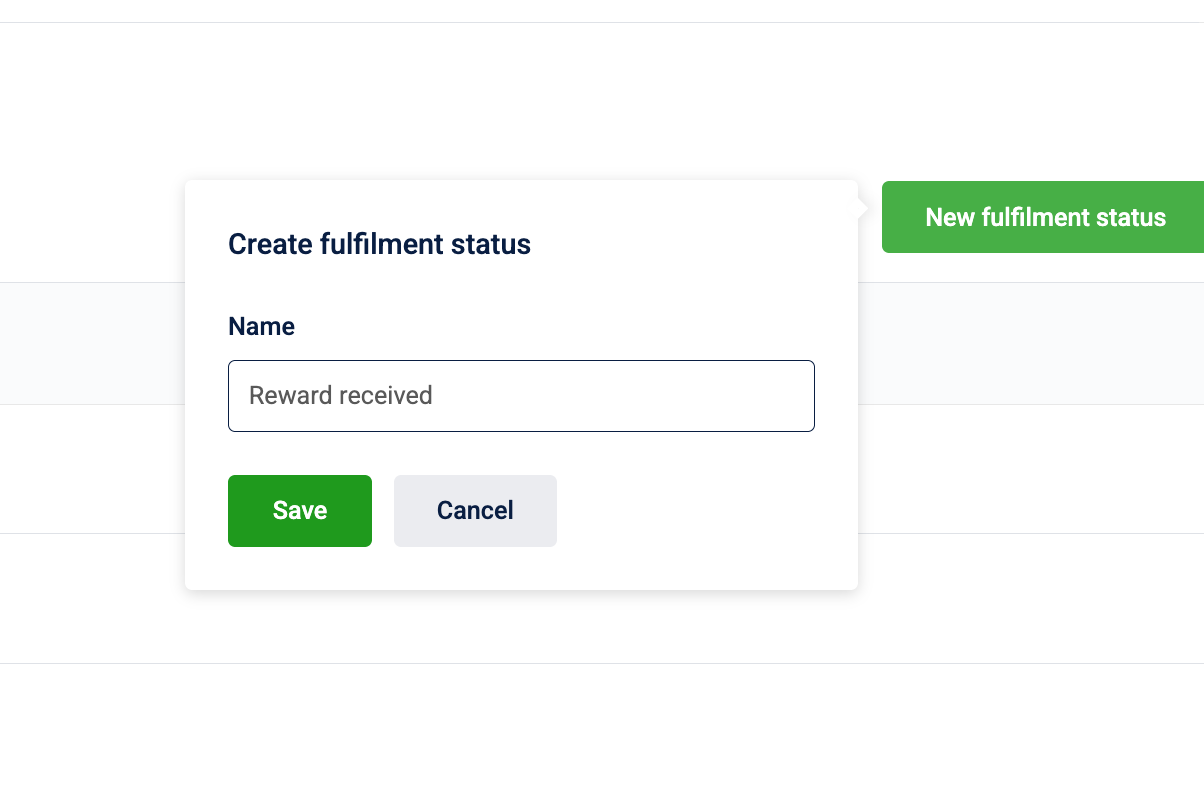
- Select Save.
Delete a fulfilment status
Select the delete icon next to the status. When prompted, select confirm to delete.
What happens to existing records
- All redemption records currently showing that status are updated to show no status.
- The redemptions themselves remain. Only the status label is removed.
Groups
Groups appear as browsable collections in the customer-facing catalog. When you assign a reward to a group, customers browsing that group see the reward. The rank within the group controls the display order within it.
Multi-level nesting creates a hierarchy that customers can navigate, for example, Seasonal Promotions / Winter 2025 / Clothing creates a three-level path. You assign groups and their ranks to rewards in Step 6 of reward creation.
Create a group
- Go to Settings > Groups.
- Select New Group.
- In the Create group dialog, enter:
- Name: The display name for the group. Maximum 255 characters.
- Enter rank (Optional): Controls the group's display order in the catalog. Lower numbers appear first. Must be a positive integer.
- Select Save.
How to delete a group?
Once a group is deleted, it is immediately and permanently removed from the system.
When a group is deleted, the following changes occur to existing rewards:
- Group and Rank Removal: The group and rank metadata is removed from all assigned rewards.
- Reward Visibility: The rewards themselves remain in the catalog under the "All" view — they just no longer appear within the deleted group's collection.
To delete a group:
- Select the delete icon next to the group.
- When prompted, select Confirm to delete.
Languages
Adding a language makes it available in Step 5 of reward creation, where admins configure localized names, descriptions, terms, and images. No existing rewards are automatically translated. Admins must go into each reward and add the language content manually.
The Language Code is used by the system to match the language to the customer's device or app locale setting. An incorrect code means the language is never served to customers even if content has been added. The system can't match the code to any device locale.
English is the default and fallback language. It can't be turned off.
Add a language
- Go to Settings > Languages.
- Select New Language.
- Enter:
- Language name: The full name, for example,
Arabic. Accepts letters, numbers, and spaces only. - Language Code: The ISO 639-1 code for the language, for example,
ar. Maximum 9 characters. Accepts letters, hyphens, and underscores only.
- Language name: The full name, for example,
- Select Save.
The language now appears in the Content in multi-language step of reward creation.
Deactivate a language
Select the toggle next to the language. When prompted, "Once deactivated, this language cannot be used in any catalog item. However, it can be re-activated later." confirm to deactivate.
What happens to customers mid-campaign: Customers whose language preference matches the deactivated language immediately see the reward in the default language. Their redemption ability isn't affected. They can still see and redeem the reward, just in the default language. The language configuration is preserved and can be reactivated at any time. Languages can't be deleted, only deactivated.
Redemption limit
Points redemption limits set organization-wide rules that cap the maximum points any customer can redeem within a defined timeframe. These rules apply across rewards. They aren't tied to a specific reward. When a customer attempts a redemption that would exceed the limit, the redemption fails. The customer sees an error and no points are deducted.
Up to 15 redemption limits are supported per organization.
Limits stack: If you create two rules, one daily and one monthly, a customer must have headroom under both to redeem. If they've hit the daily limit, they're blocked even if the monthly limit still has headroom.
Create a redemption limit
-
Go to Settings > Redemption Limit.
-
Select New redemption limit.
-
In the Create points redemption limit dialog, configure the following:
Apply limits to
Option What it does Every customer Applies the limit to all customers in the organization. Specific customer Applies the limit only to customers matching specific criteria: Loyalty Program, Tier, Segment, Supplementary Program, or Customer Label. Limit on specific reward type (Optional)
Turn on Limit on specific reward type to apply the limit to a specific type, for example, Auction, Voucher, or Gift card. When off, the limit applies to all reward types.
Frequency of limit
Frequency What it does Daily Resets the limit every day. Weekly on Resets the limit every week on the selected day. Monthly Resets the limit at the start of each calendar month. No frequency Creates a lifetime cap. The customer can redeem up to X points total from this organization, forever. Once hit, all further redemptions are blocked regardless of reward type. Redemption limit per customer: Enter the maximum points a customer can redeem within the frequency period.
Redemption limit end date & time (Optional): Set a date and time after which this limit expires and no longer applies.
-
Select Done.
ExampleTo prevent any customer from redeeming more than 10,000 points per month on gift cards:
- Apply limits to: Every customer
- Limit on specific reward type: Gift card
- Frequency: Monthly
- Redemption limit per customer: 10,000